Quick answer
Layer winter accessories in this order: a thin moisture-wicking base, a breathable scarf, then removable outer pieces like gloves and a hat. Choose accessories you can take off and stash easily, and avoid tight, non-breathable fabrics that trap sweat. The goal is to adjust warmth as you move between cold outdoor air and heated indoor spaces.
You step outside into freezing air, bundle up, then walk into a warm store or train and immediately start sweating. That swing between cold and hot is why layering winter accessories well matters more than piling on the thickest pieces you own. The right approach is to build warmth in removable layers you can shed in seconds, not one heavy, fixed setup.
This guide walks through a simple order for layering scarves, hats, gloves, and other cold weather accessories so you stay comfortable whether you are commuting, running errands, or spending time outdoors. Each step includes a common mistake to avoid and a quick checkpoint so you can adjust before you overheat.
Start with a breathable base layer
Before you add any accessory, your base layer sets the tone. A thin, breathable top that moves moisture away from your skin keeps you from feeling clammy once you warm up. Cotton holds sweat and gets cold when you slow down, so look for fabrics that dry quickly if you plan to be active or move between indoors and outdoors.
This step is about what touches your skin, not what people see. If your base layer is already damp from a workout or a hot commute, no scarf or hat will fix that. Change it or choose a dry, breathable option before adding accessories.
- Checkpoint: If your base layer feels damp before you go outside, swap it. Damp fabric is the fastest route to feeling cold later.
Add a scarf you can loosen or remove
A scarf is your most adjustable accessory because you can loosen it, drape it, or take it off entirely without undoing your whole outfit. Choose one that is long enough to wrap but not so bulky that it traps heat against your neck when you go inside. Natural fibers and looser weaves breathe better than tight, heavy knits.
Common mistake: wrapping a thick scarf tightly around your neck and leaving it on indoors. That traps heat right where you feel it most. Instead, loosen the wrap or drape it over your shoulders when you step inside, then re-wrap when you head back out.
- Checkpoint: If your neck feels hot or damp, loosen the scarf before you start sweating through your base layer.
Choose gloves you can remove quickly
Gloves are easy to forget in the layering plan because they are small, but they matter. If your hands overheat, you will want to take them off fast, so pick a pair that slides off without a struggle. Lined gloves add warmth, but if you are moving between heated spaces, a lighter pair you can pocket is often more practical.
Common mistake: wearing thick, tight gloves for a short commute and then having nowhere to put them. If you do not have pockets or a bag, you will end up holding them, which defeats the purpose. A small pouch or bag keeps them contained and ready.
- Checkpoint: Can you remove your gloves in under five seconds and store them without losing them? If not, simplify.
Top with a hat or ear cover you can stash
Heat escapes through your head, so a hat is one of the most effective winter accessories. But it is also the first thing you will want off indoors. Choose a hat that fits without squeezing and can fold into a pocket or bag. Ear warmers or a headband work well if you want warmth without full head coverage.
Common mistake: wearing a tight, non-breathable hat all day indoors. That traps heat and can make your head feel itchy or damp. If you know you will be inside for a while, take the hat off and store it rather than pushing it up on your forehead.
- Checkpoint: If your head feels hot or your hair is damp, remove the hat before you overheat.
Keep small accessories organized so you can adjust fast
The best layering system falls apart if your accessories are scattered. A small pouch or compact kit keeps gloves, hair ties, and other small pieces together so you can add or remove them without digging. This is especially useful when you are moving between outdoor cold and indoor heat several times a day.
Think of this as your adjustment station. When you feel warm, you should be able to shed a layer and store it in one motion. When you head back out, everything should be exactly where you left it.
- Checkpoint: If you have to search for a glove or hat, your system is too loose. Consolidate into one bag or pouch.
Plan for rain and wind with a compact layer
Cold weather often comes with rain or wind, which changes how layering feels. A compact umbrella or a wind-resistant outer piece can make a light layer feel much warmer without adding bulk. The key is that it should be easy to carry and quick to deploy.
Common mistake: leaving rain protection at home because it looks clear, then getting caught in a shower and soaking your layers. Wet accessories lose their insulating value fast. A small umbrella that fits in your everyday bag solves this without weighing you down.
- Checkpoint: If rain is even possible, pack a compact umbrella. Wet scarves and gloves are worse than no accessories at all.
Your step-by-step layering sequence
- Step 1: Start with a dry, breathable base layer: Put on a thin, moisture-wicking top before any accessories. This keeps sweat off your skin so you stay warm when you slow down. Checkpoint: If your base layer is damp before you go out, change it.
- Step 2: Add a scarf you can loosen or remove: Wrap a breathable scarf loosely around your neck. Avoid tight, heavy wraps that trap heat when you go indoors. Checkpoint: If your neck feels hot or damp, loosen the scarf.
- Step 3: Add gloves you can remove in seconds: Choose gloves that slide off easily and can be stored in a pocket or pouch. Thick, tight gloves are hard to manage indoors. Checkpoint: Can you remove and store your gloves in under five seconds?
- Step 4: Top with a hat or ear cover you can stash: Wear a hat that fits comfortably and folds into a pocket or bag. Remove it indoors before you overheat. Checkpoint: If your head feels hot or your hair is damp, take the hat off.
- Step 5: Keep small accessories organized in one place: Use a pouch or compact kit to hold gloves, hair ties, and other small pieces so you can adjust layers without searching. Checkpoint: If you have to dig for a glove, consolidate your storage.
- Step 6: Pack a compact rain layer if needed: Carry a small umbrella or wind-resistant piece when rain or wind is possible. Wet accessories lose insulating value fast. Checkpoint: If rain is possible, pack a compact umbrella in your everyday bag.
Accessories that help you layer and adjust
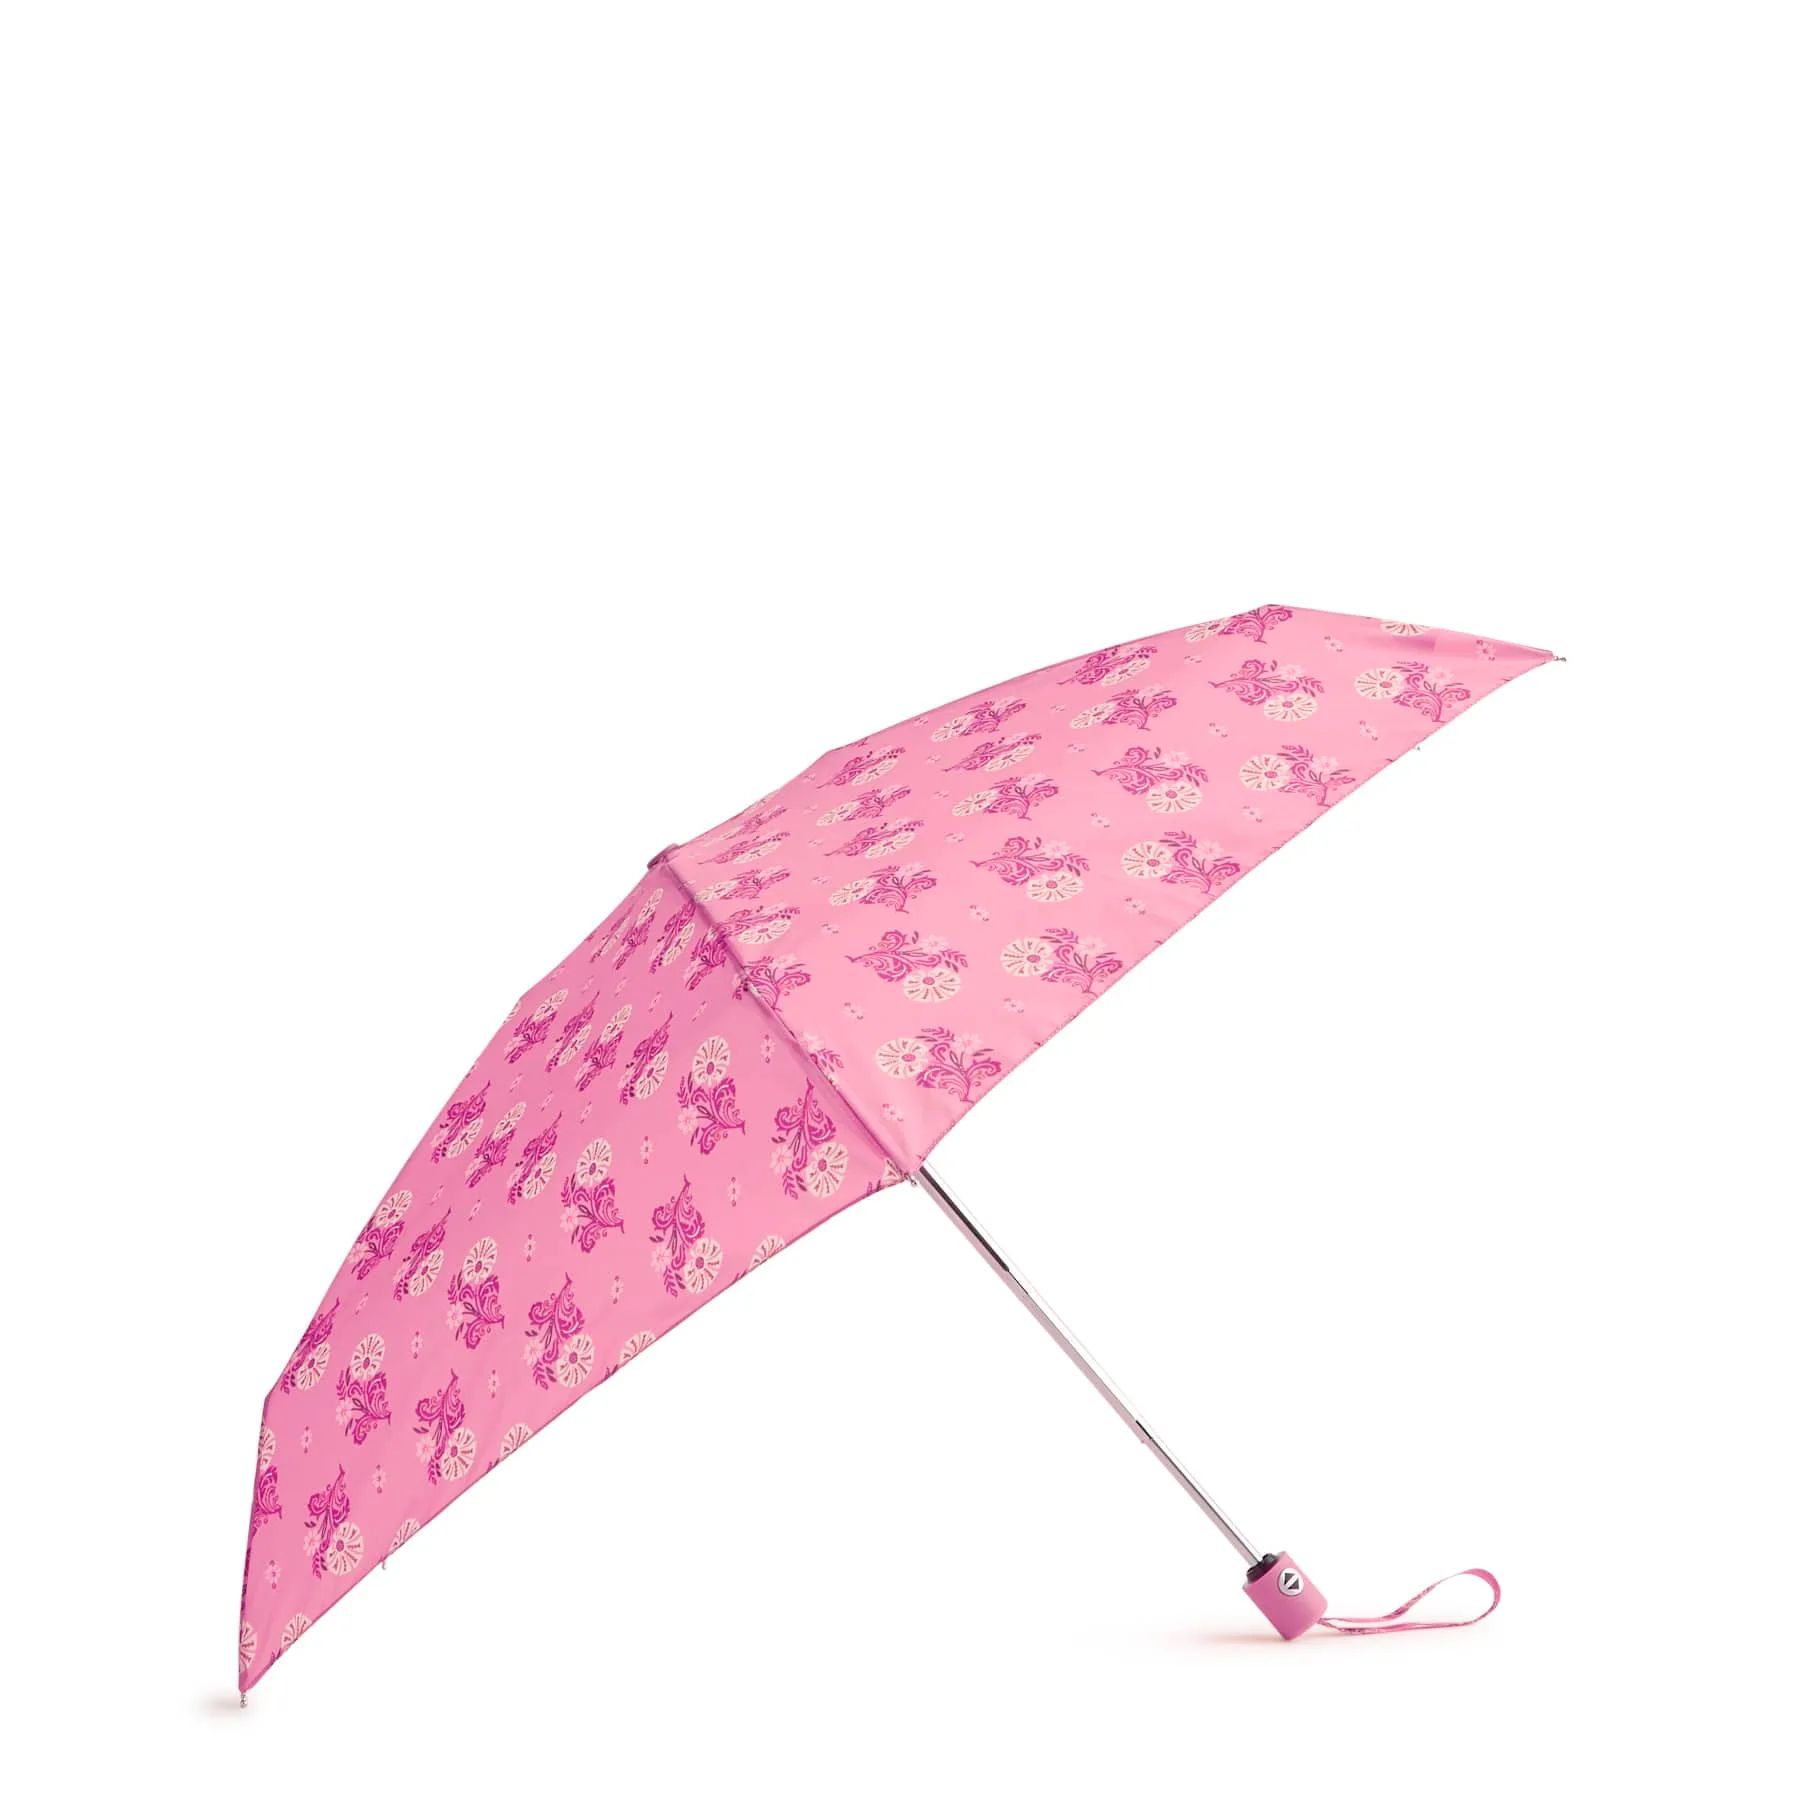
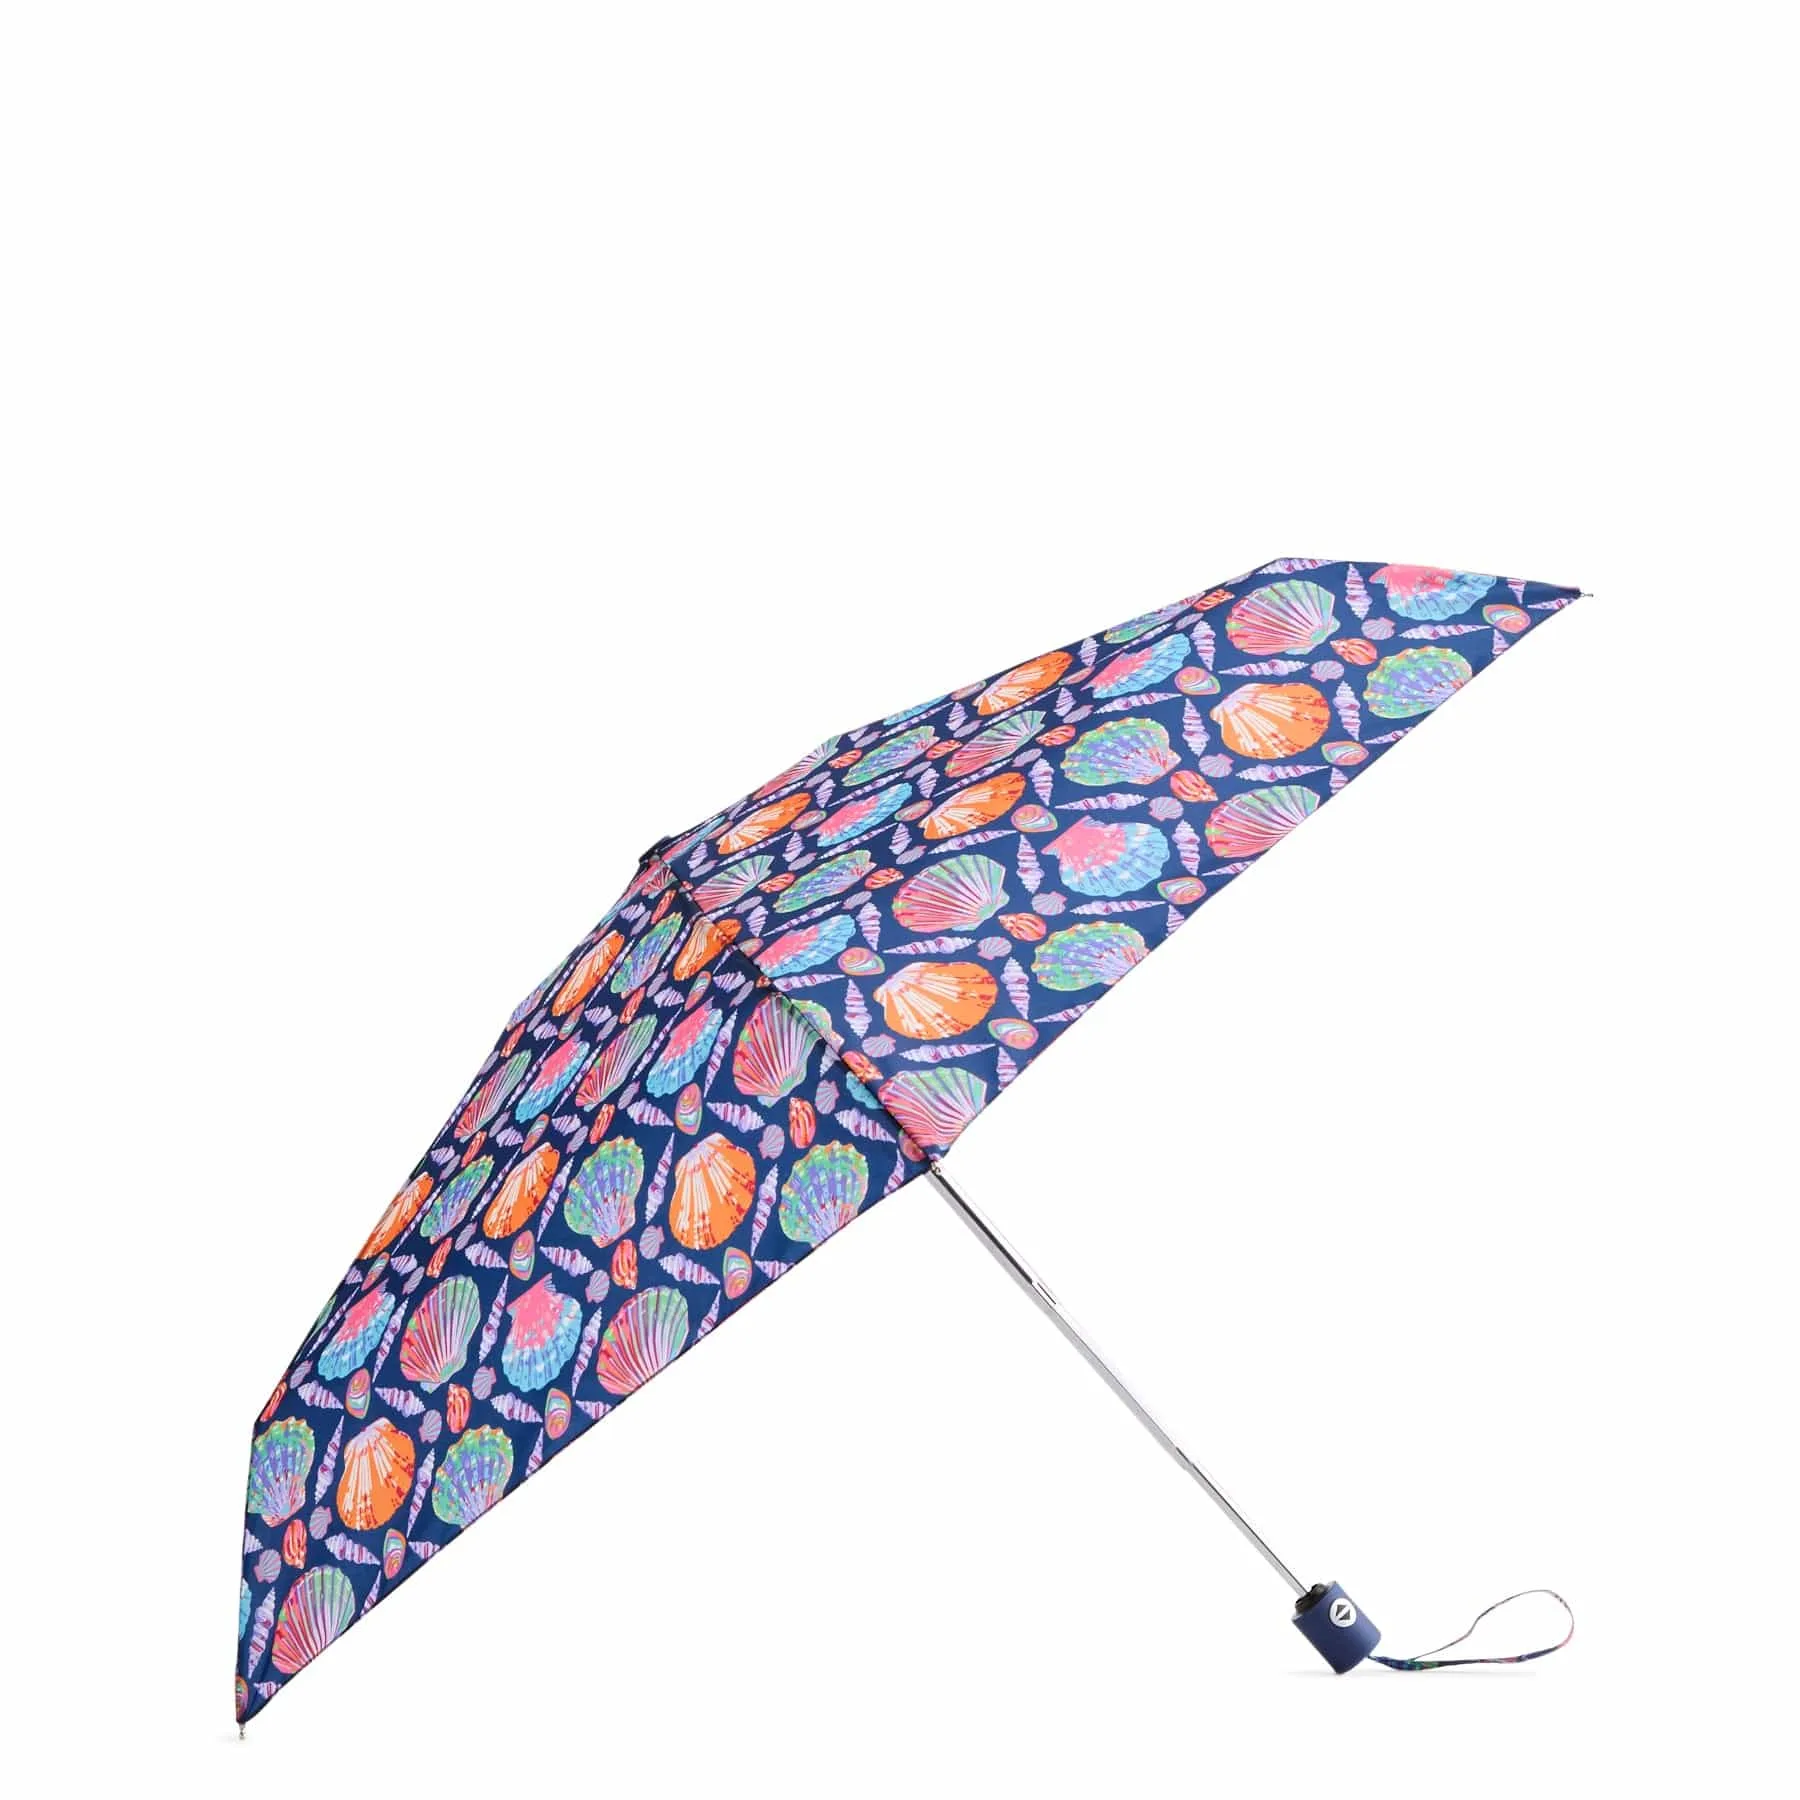
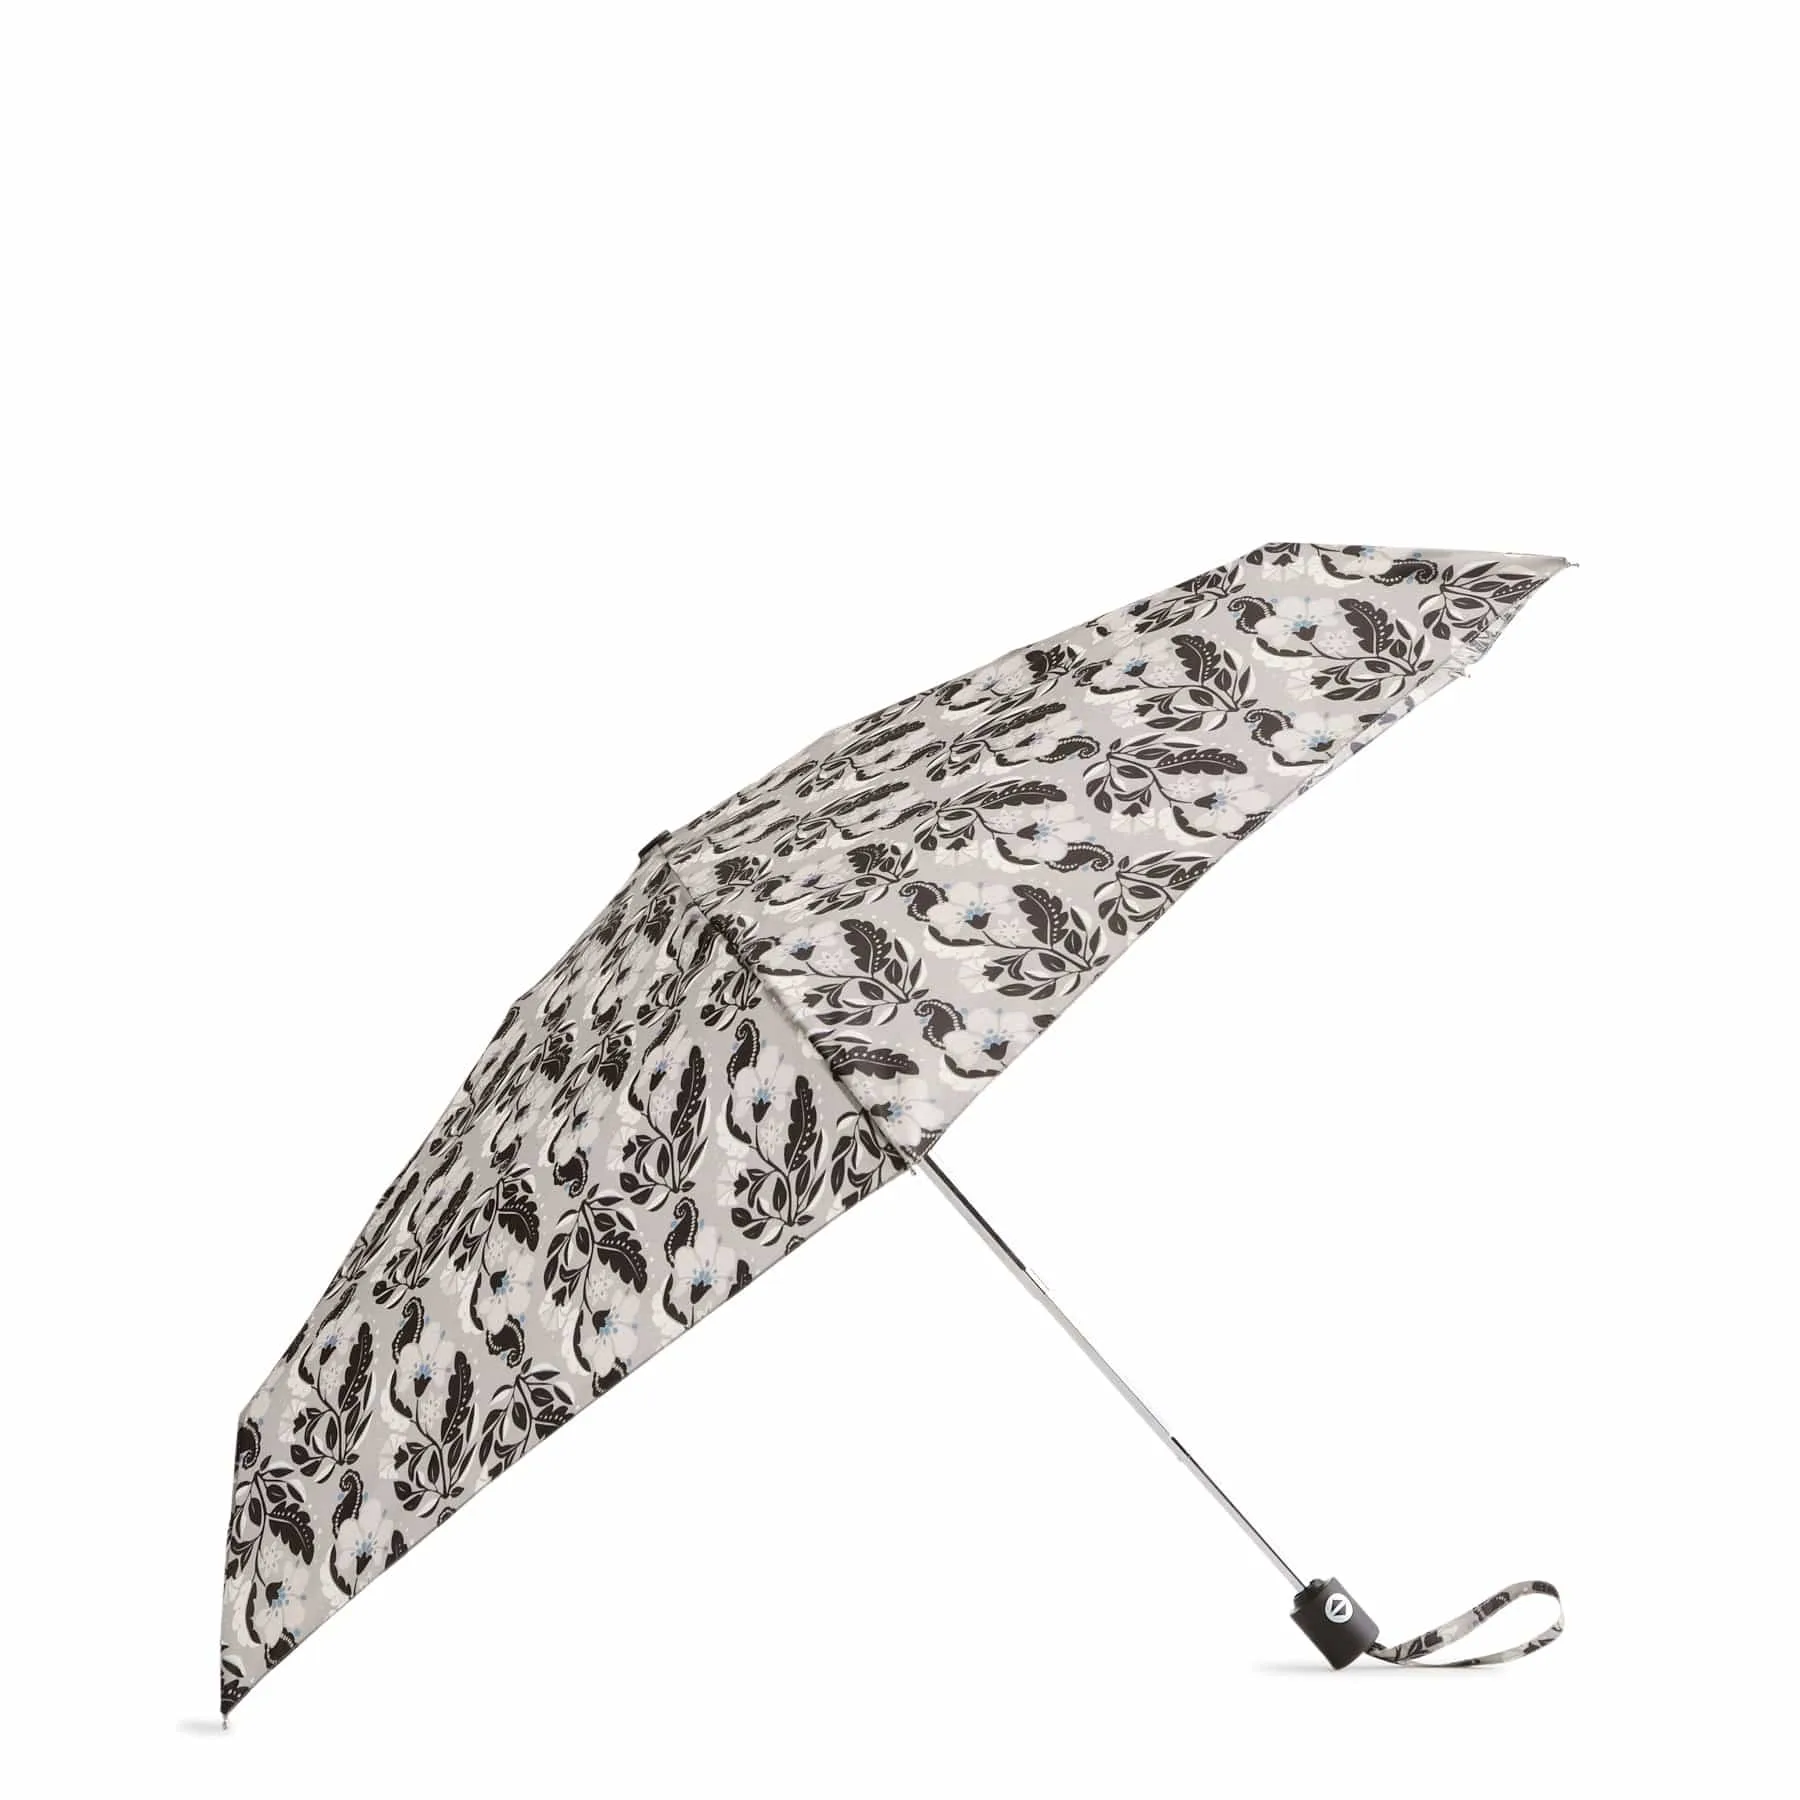
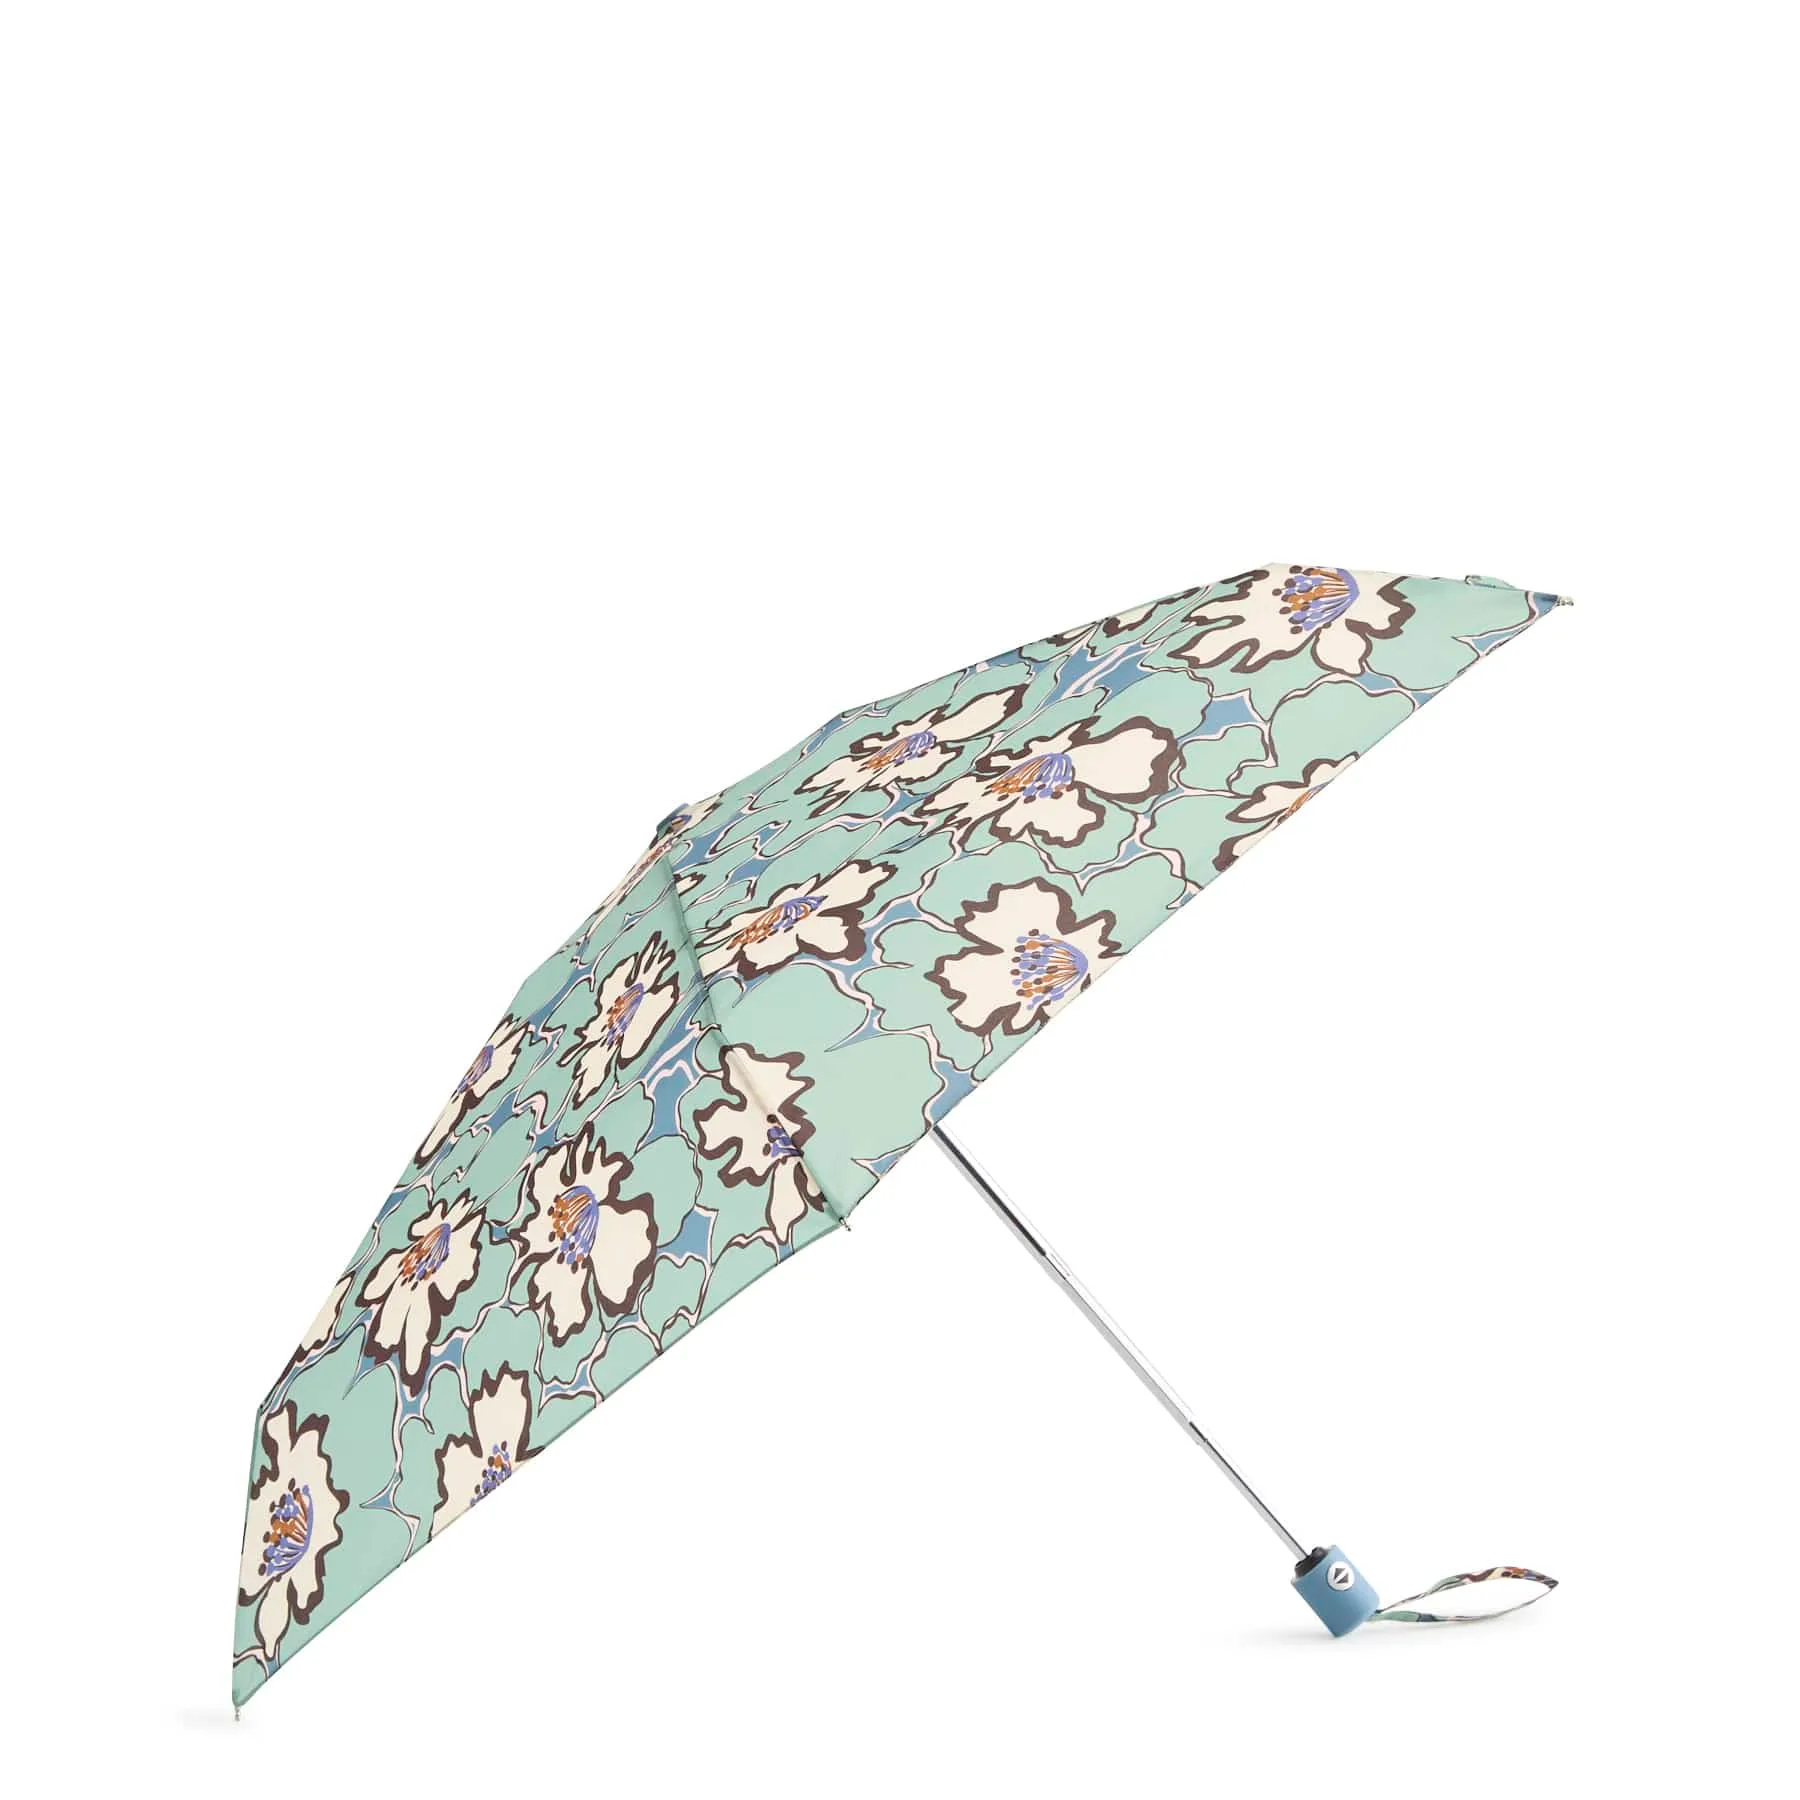
- https://verabradleyoutletex.com/products/outlet-essential-mini-umbrella-5067024289-496aa94ae19723607480ca17-1641057https://verabradleyoutletex.com/products/outlet-essential-mini-umbrella-5067023416-ec55f618e5d52ac7b0ea0341-1641058https://verabradleyoutletex.com/products/outlet-essential-mini-umbrella-5067024291-dde4f710a4e6e7cf0185ddf2-1641062https://verabradleyoutletex.com/products/outlet-essential-mini-umbrella-5067023422-43023ac4c1e4da0f7278f040-1641063Outlet Essential Mini Umbrella: Auto open and close, ergonomic handle, elastic handle strap, canopy size 38 inches, dimensions 2.0 by 7.5 inches, weight 0.62 lb. A compact umbrella that fits in an everyday bag keeps rain from soaking your layers, and the auto open/close makes it fast to use when your hands are full.
- Large Pouch: Spacious interior designed for storing makeup, toiletries, tech accessories, travel essentials, and more. A single pouch gives you a place to stash gloves, a hat, or a scarf when you shed layers indoors, so you can adjust without losing pieces.
- Outlet Hair Accessories Kit: Includes one headband, one scrunchie, and one spiral hair tie in a zip-close cotton case, dimensions 4.0 by 6.5 by 2.0 inches. When you take off a hat indoors, a compact hair kit lets you tidy your hair quickly and keeps small accessories contained.
- Outlet Essential Reusable Tote Bag Charm: Unfolds into a reusable tote, dimensions 14.0 by 14.0 by 1.75 inches, weight 0.19 lb. If you shed a scarf or hat while out, this charm unfolds into a tote so you can carry extra layers without juggling them.
Layering winter accessories well is about adjustability, not thickness. Start with a breathable base, add removable pieces in order, and keep small items organized so you can shed or add warmth in seconds. That way you stay comfortable from the cold street to the warm room and back again.