Quick answer
Use a handheld mirror to see every angle of your nails during application—especially your non-dominant hand—and check for alignment before the adhesive sets.
Why a handheld mirror helps
When you apply press-on nails at home, your dominant hand can block your view of the other hand. A handheld mirror lets you tilt and angle the reflection so you see the nail bed straight on, which reduces guesswork and re-dos.
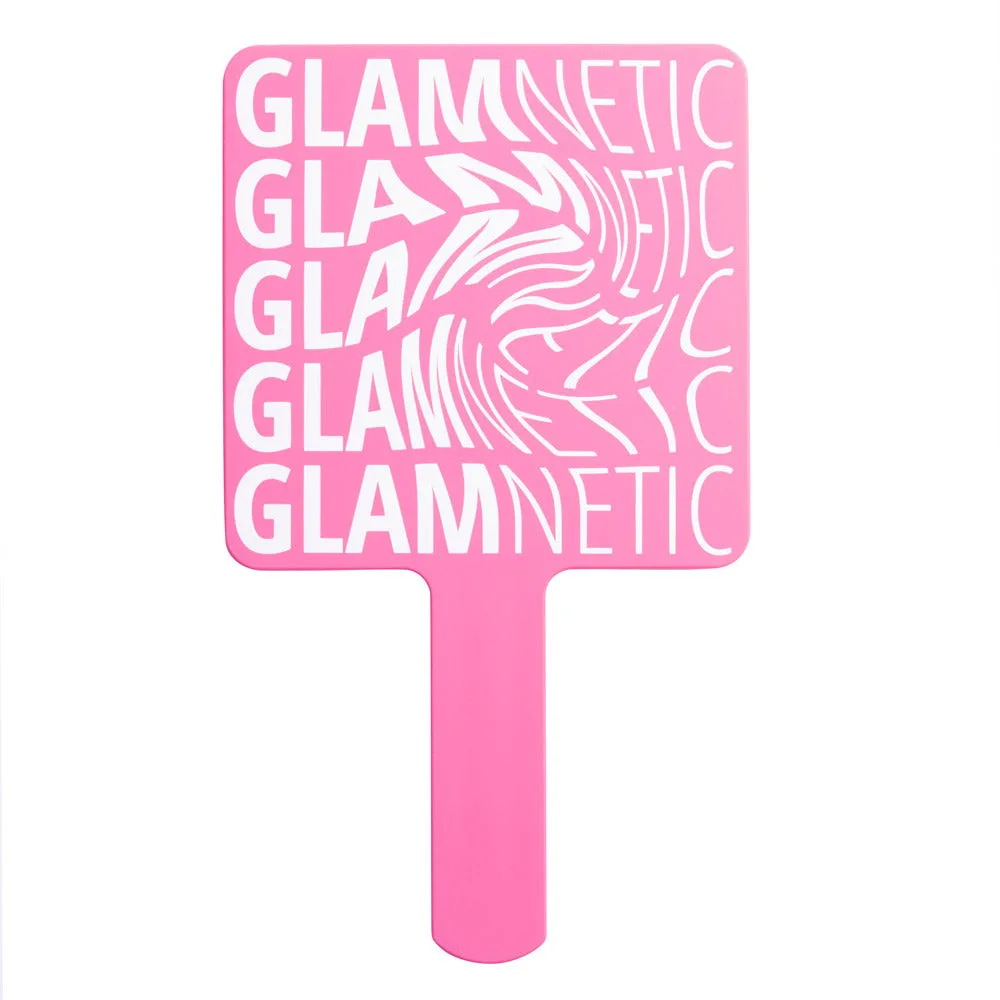
The lightweight Glamnetic Handheld Mirror is easy to hold in your non-dominant hand while you work. Its compact size also makes it simple to bring near a window or lamp for better lighting.
Where to place your mirror
Set up your mirror on a flat surface at eye level, or hold it in your lap angled upward. Avoid placing it directly behind your work area—this creates a confusing reverse image. Instead, position it to the side or slightly below your line of sight so you see the nail from the side you cannot normally see.
Step-by-step guide: Using a handheld mirror for press-on nails
- Prep your work area: Clean and dry your natural nails. Lay out your press-on nails, glue or tabs, and the handheld mirror within easy reach. Position a lamp so it shines onto your hands, not into the mirror. Good lighting on your hands is more important than bright light on the mirror.
- Hold the mirror in your non-dominant hand: Tilt the mirror so you see the underside of your dominant hand’s nails. This angle reveals the nail bed shape and cuticle line, which helps you center the press-on correctly. If the reflection looks distorted, adjust the mirror angle rather than moving your hand.
- Apply the press-on nail while watching the mirror: Line up the press-on with your cuticle in the mirror, then press down from base to tip. Check that the nail is straight and fully seated before the adhesive bonds. Press firmly for 10 seconds; a common mistake is releasing early and getting a crooked fit.
- Switch hands and repeat: Now hold the mirror in your now-dominant hand. Apply press-ons to your non-dominant hand using the same mirror-check technique. This step is where the mirror saves the most time. Double-check the thumb nail—it is the easiest to misalign because of its angle.
- Final inspection: Hold the mirror at arm’s length and rotate your hands slowly. Look for any gaps, uneven edges, or nails that sit too high on the cuticle. Adjust immediately while the adhesive is still pliable. If you notice a problem after the glue sets, soak in warm water for a few minutes to loosen the bond before repositioning.
Product spotlight
-
Handheld Mirror: The Glamnetic Handheld Mirror is lightweight and comes in matte or shiny finishes. It can also help you get a full view of every step in your lash application process. Its light weight means you can hold it for several minutes without fatigue, and the dual-finish options let you choose a surface that matches your vanity or travel kit.
Handheld Mirror