Quick Answer
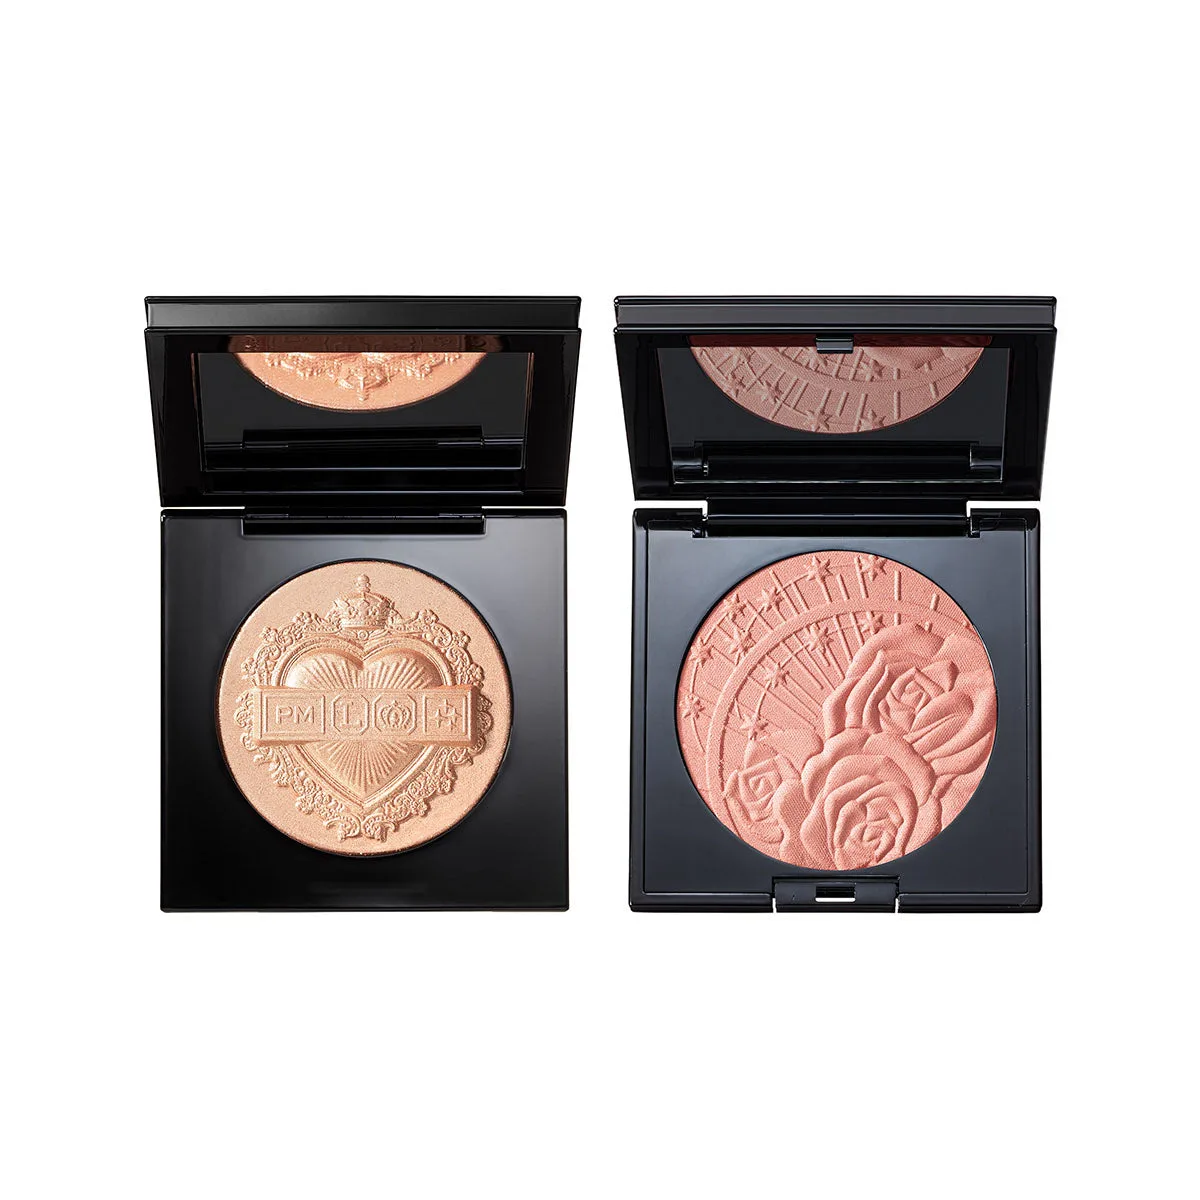
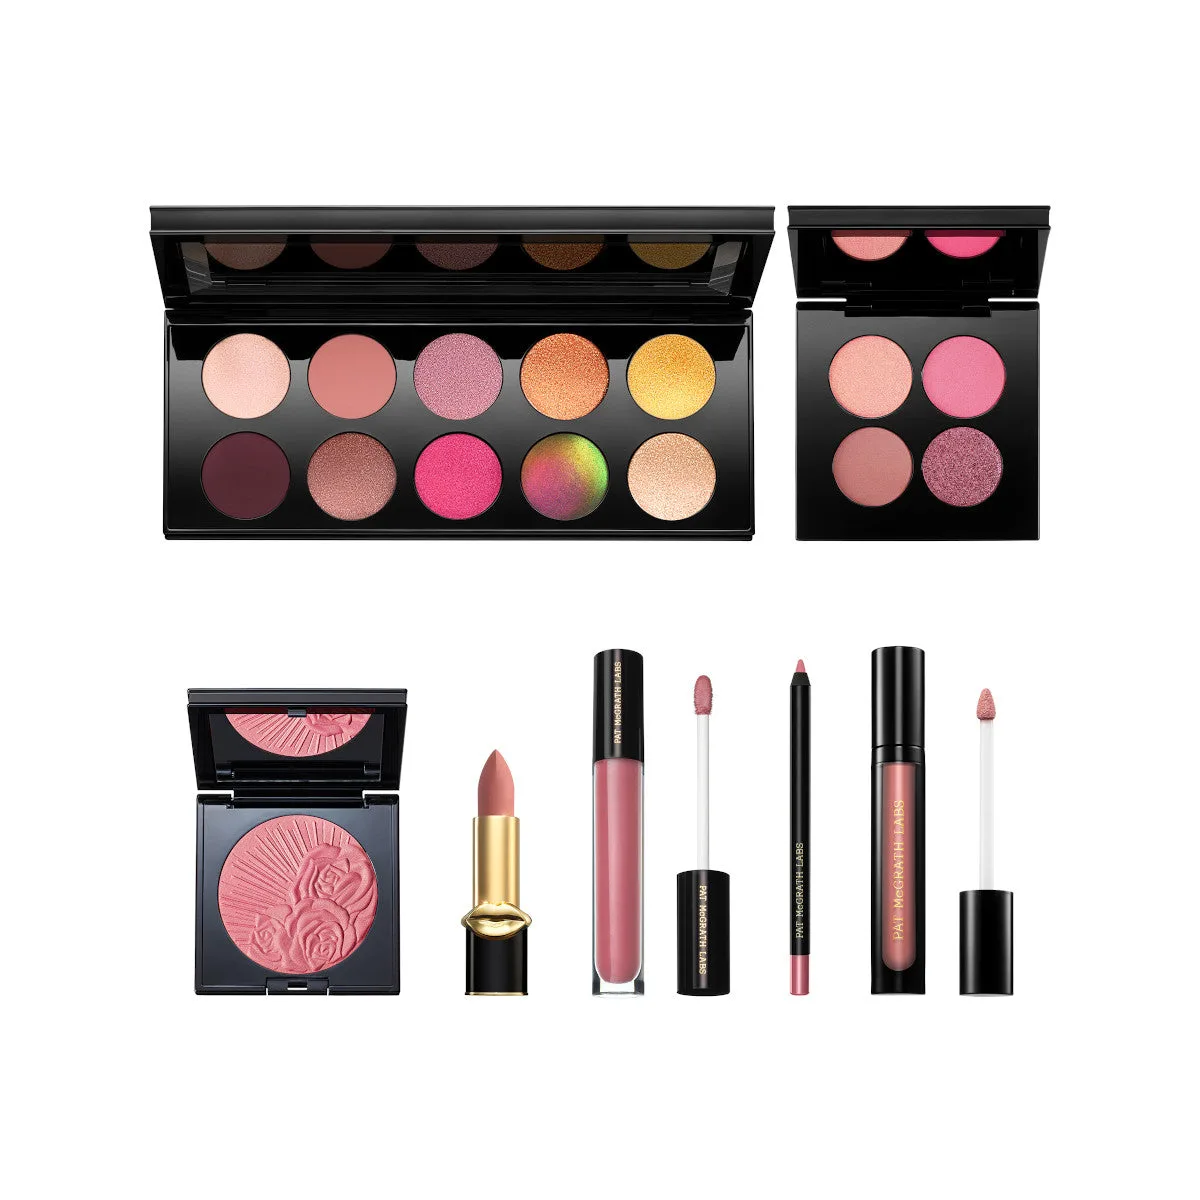
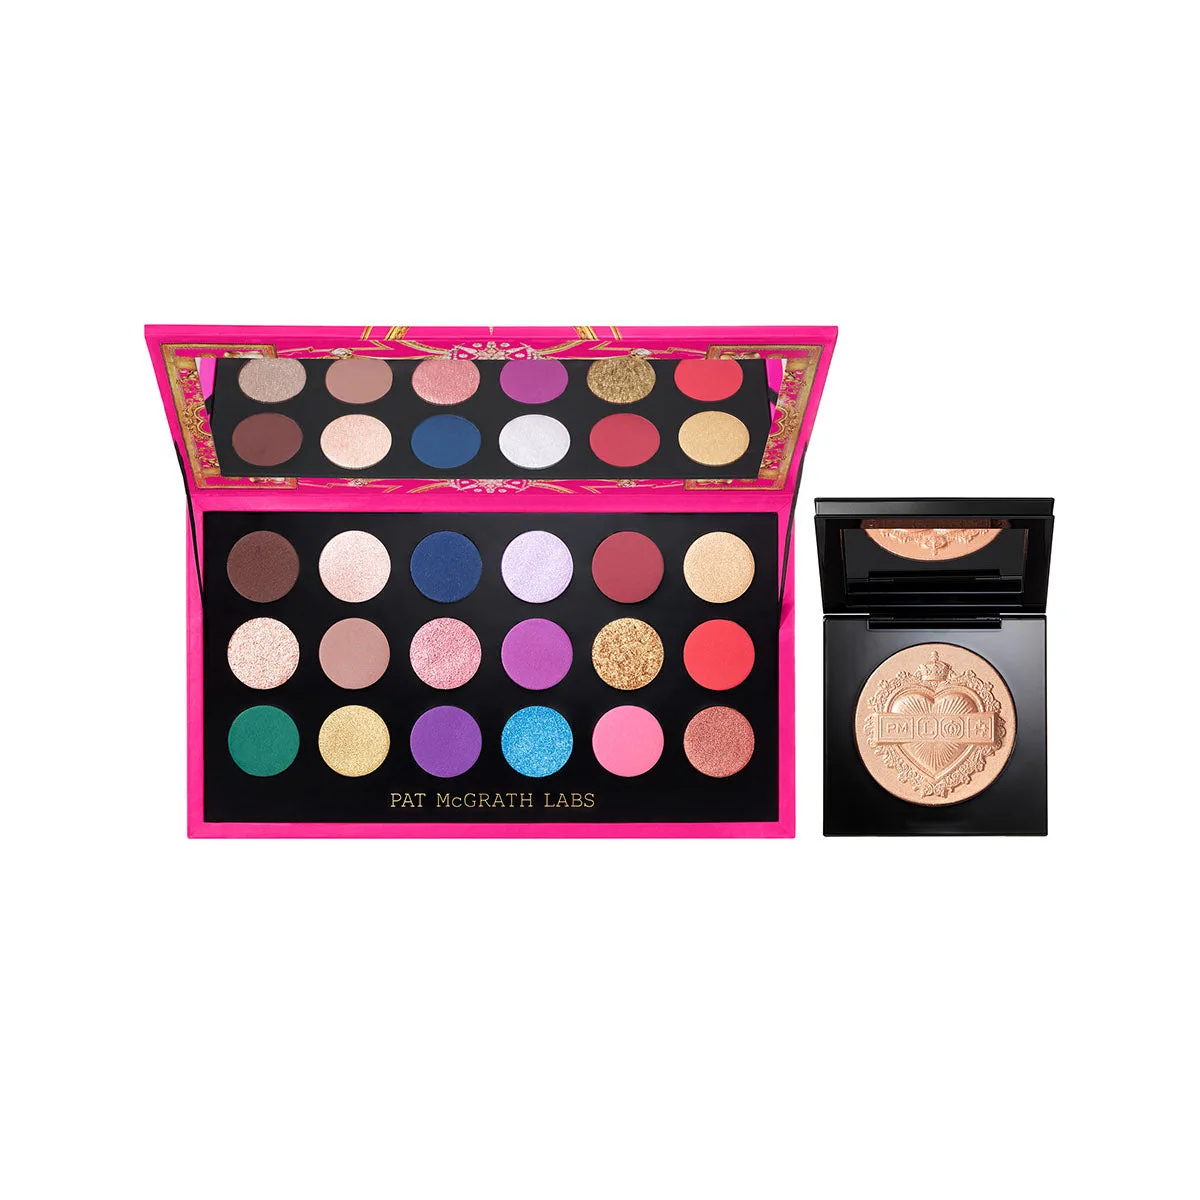
To layer face kits for a sculpted glow, start with a matte contour to define your bone structure, then apply a luminous highlighter on the high points. Finish with a setting spray to blend the layers seamlessly. This technique works best with curated kits like PAT McGRATH LABS' offerings, which pair complementary shades for a cohesive finish.
Why Layering Face Kits Creates a Sculpted Glow
Layering face kits—specifically contour and highlight kits—gives you control over both structure and radiance. A single product rarely delivers the depth of a contour and the sheen of a highlight simultaneously. By using a curated kit, you ensure the shades are designed to work together, avoiding muddy or chalky results. PAT McGRATH LABS face kits, for example, pair matte and shimmer finishes that blend without fighting each other, making the layering process more forgiving for beginners.
Tools You'll Need for Flawless Application
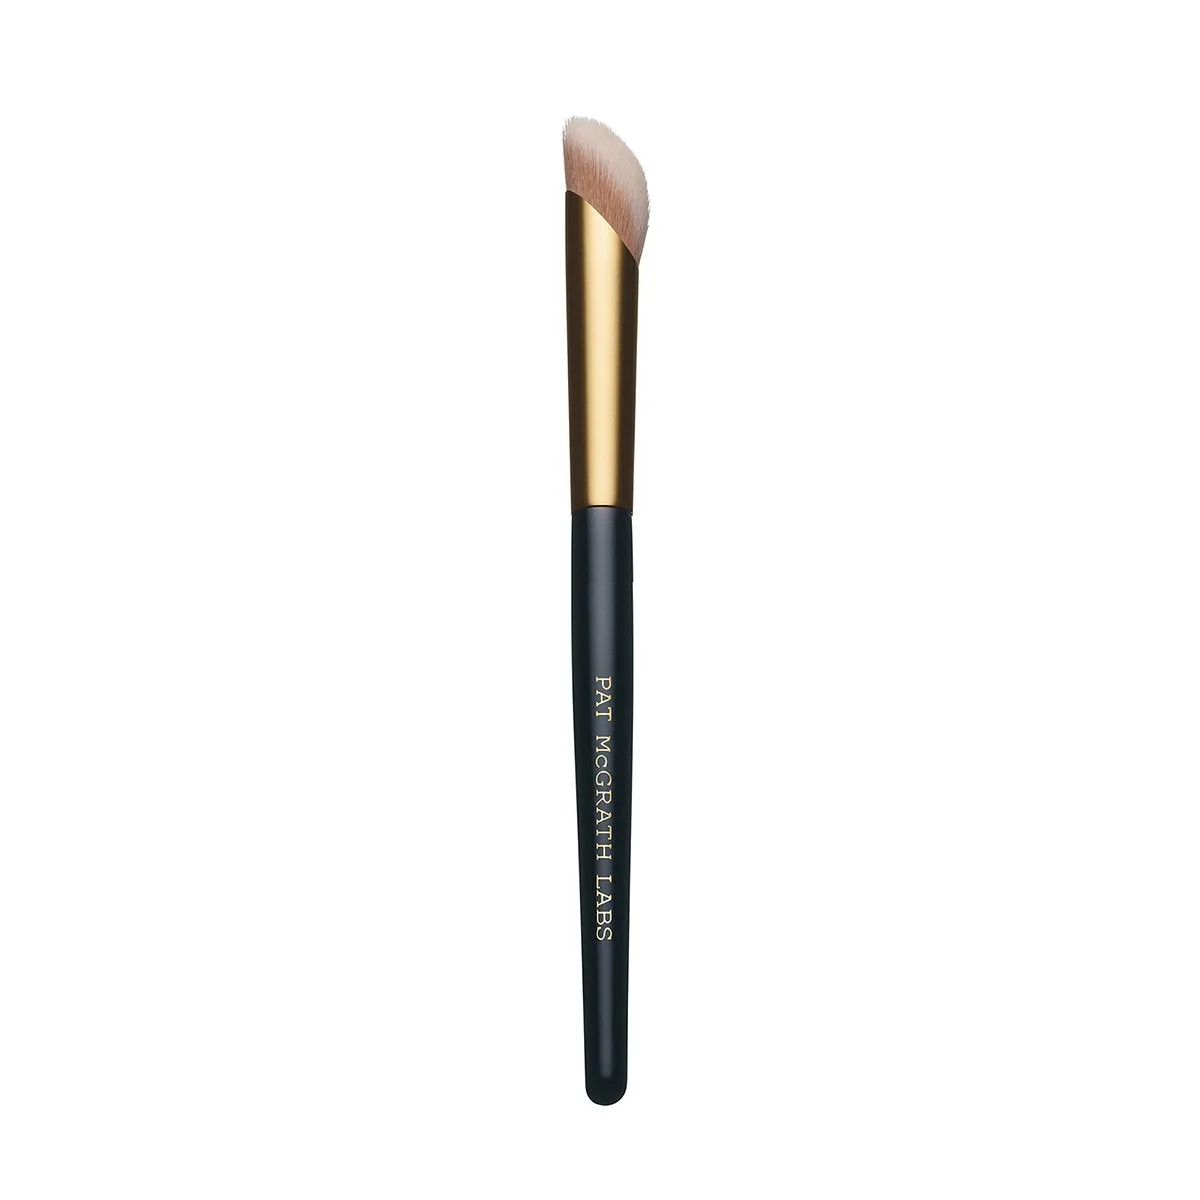
The right tools make layering easier and more precise. Use an angled brush for contour placement, a fluffy brush for blending, and a small fan or tapered brush for highlighter. Damp beauty sponges can also help soften edges. Clean brushes between layers to avoid transferring product from one area to another, which can dull the glow.
Step-by-Step Guide to Layering Face Kits
- Prep Your Skin: Start with a clean, moisturized face. Apply a primer suited to your skin type—matte if you're oily, hydrating if you're dry. This creates a smooth base for the contour and highlight layers to adhere evenly. Checkpoint: Skipping primer can cause patchiness. Wait 2 minutes after primer before applying any face kit product.
- Apply the Contour First: Using an angled brush, apply the matte contour shade from your face kit under your cheekbones, along your jawline, and at the temples. Blend outward in short, feathery strokes. Keep the product concentrated where you want shadow. Common mistake: Applying too much contour at once. Build slowly—you can always add more, but removing excess is harder.
- Layer the Highlight on High Points: With a clean brush, pick up the shimmer highlight shade from your kit. Apply to the tops of your cheekbones, the bridge of your nose, your cupid's bow, and your brow bone. Tap rather than swipe to keep the glow concentrated. Checkpoint: Avoid dragging highlight into the contour area—it can muddy the definition. Keep a 1 cm gap between the two.
- Blend the Transition Zone: Use a clean, fluffy brush or a damp sponge to softly blend where the contour and highlight meet. Use a windshield-wiper motion, not a circular one, to maintain the shadow-light contrast. Common mistake: Over-blending makes the sculpted effect disappear. Blend only the edge, not the entire product.
- Set and Refresh: Lightly dust a translucent powder over the contour areas to lock the matte finish. Then mist a setting spray over your entire face to meld the layers and add a natural sheen. Final tip: Use a spray that adds dew, not matte, to preserve the glow. Hold the bottle 8-10 inches away for even coverage.
Product Spotlight: The Double Sculpt Lip Kit
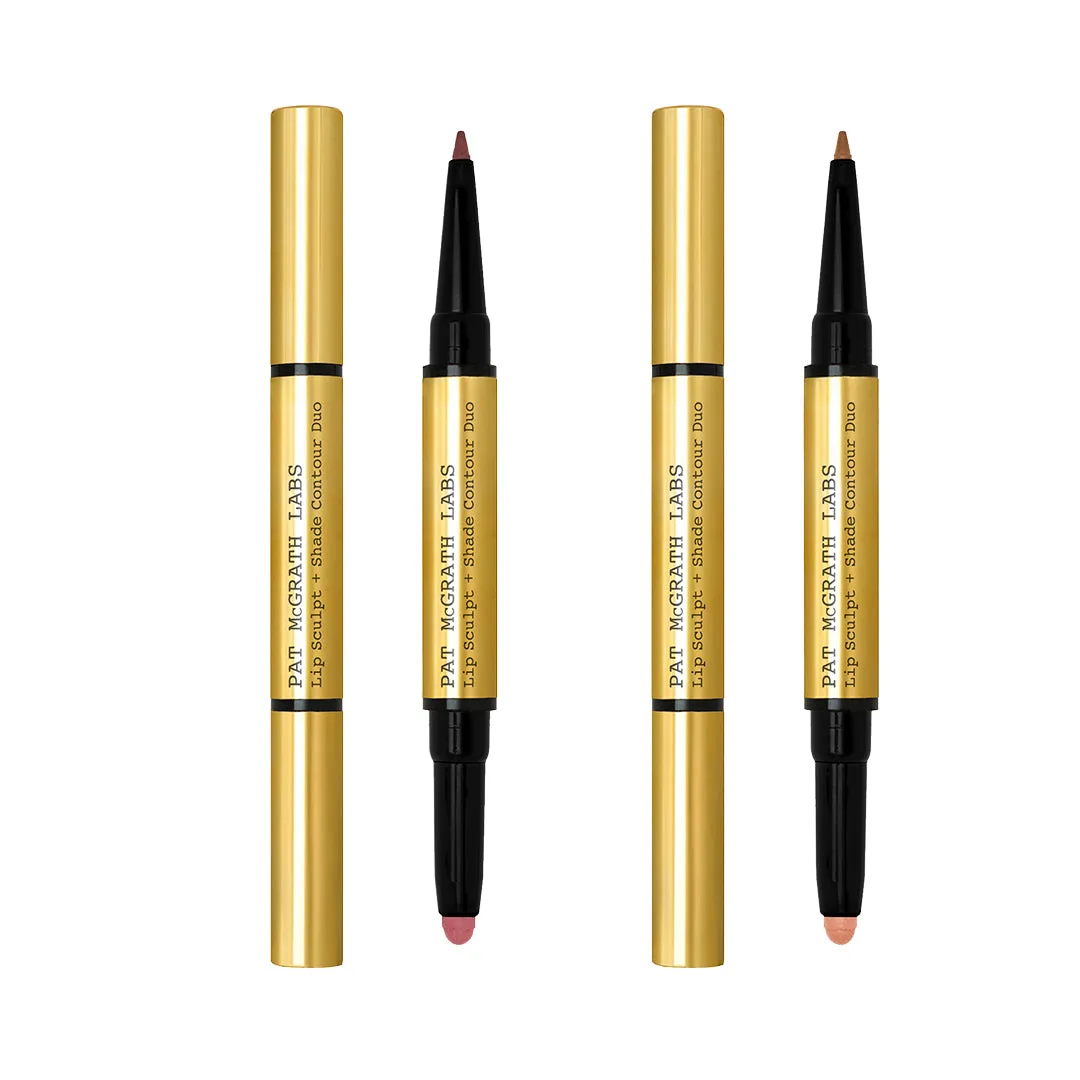
- The Double Sculpt Lip Kit: The Double Sculpt Lip Kit from PAT McGRATH LABS pairs two iconic lip shades to create a bold, sculpted look. Available in four curated pairings. While this article focuses on face kits, the same layering principle applies to lips: using two complementary shades (one deeper, one lighter) can sculpt and define the lip shape. The kit's pre-matched pairings remove guesswork for a polished result.