Quick answer
Layer a sheer jelly polish as a base, then add one or two coats of a crelly polish for a milky, dimensional effect. The jelly provides a translucent tint while the crelly builds opacity and depth. This technique works best with buildable formulas like Lights Lacquer's crelly finish polishes.
Why Layer Jelly and Crelly?
Jelly polishes are ultra-sheer and translucent, giving a stained-glass effect. Crelly finishes sit between a cream and a jelly—they are more opaque but still let light pass through. Combining them creates a manicure that shifts in different lighting, with subtle depth that a single polish can't achieve.
The key is using buildable formulas. Both jelly and crelly polishes are designed to be layered, so you control the final opacity. This technique is especially useful if you want a custom shade that isn't available off the shelf.
Choosing Your Base and Top Colors
Start with a jelly or sheer polish as your base. Lighter shades, like a milky pink or clear, work best because they let the crelly color shine through. For the top layers, pick a crelly polish in a contrasting or complementary shade—think cherry mocha over a light pink base for a warm, dimensional look.
Avoid pairing two very dark or opaque polishes, as the layering effect will be lost. The goal is to see the base color peek through the crelly layers.
Step-by-Step Layering Guide
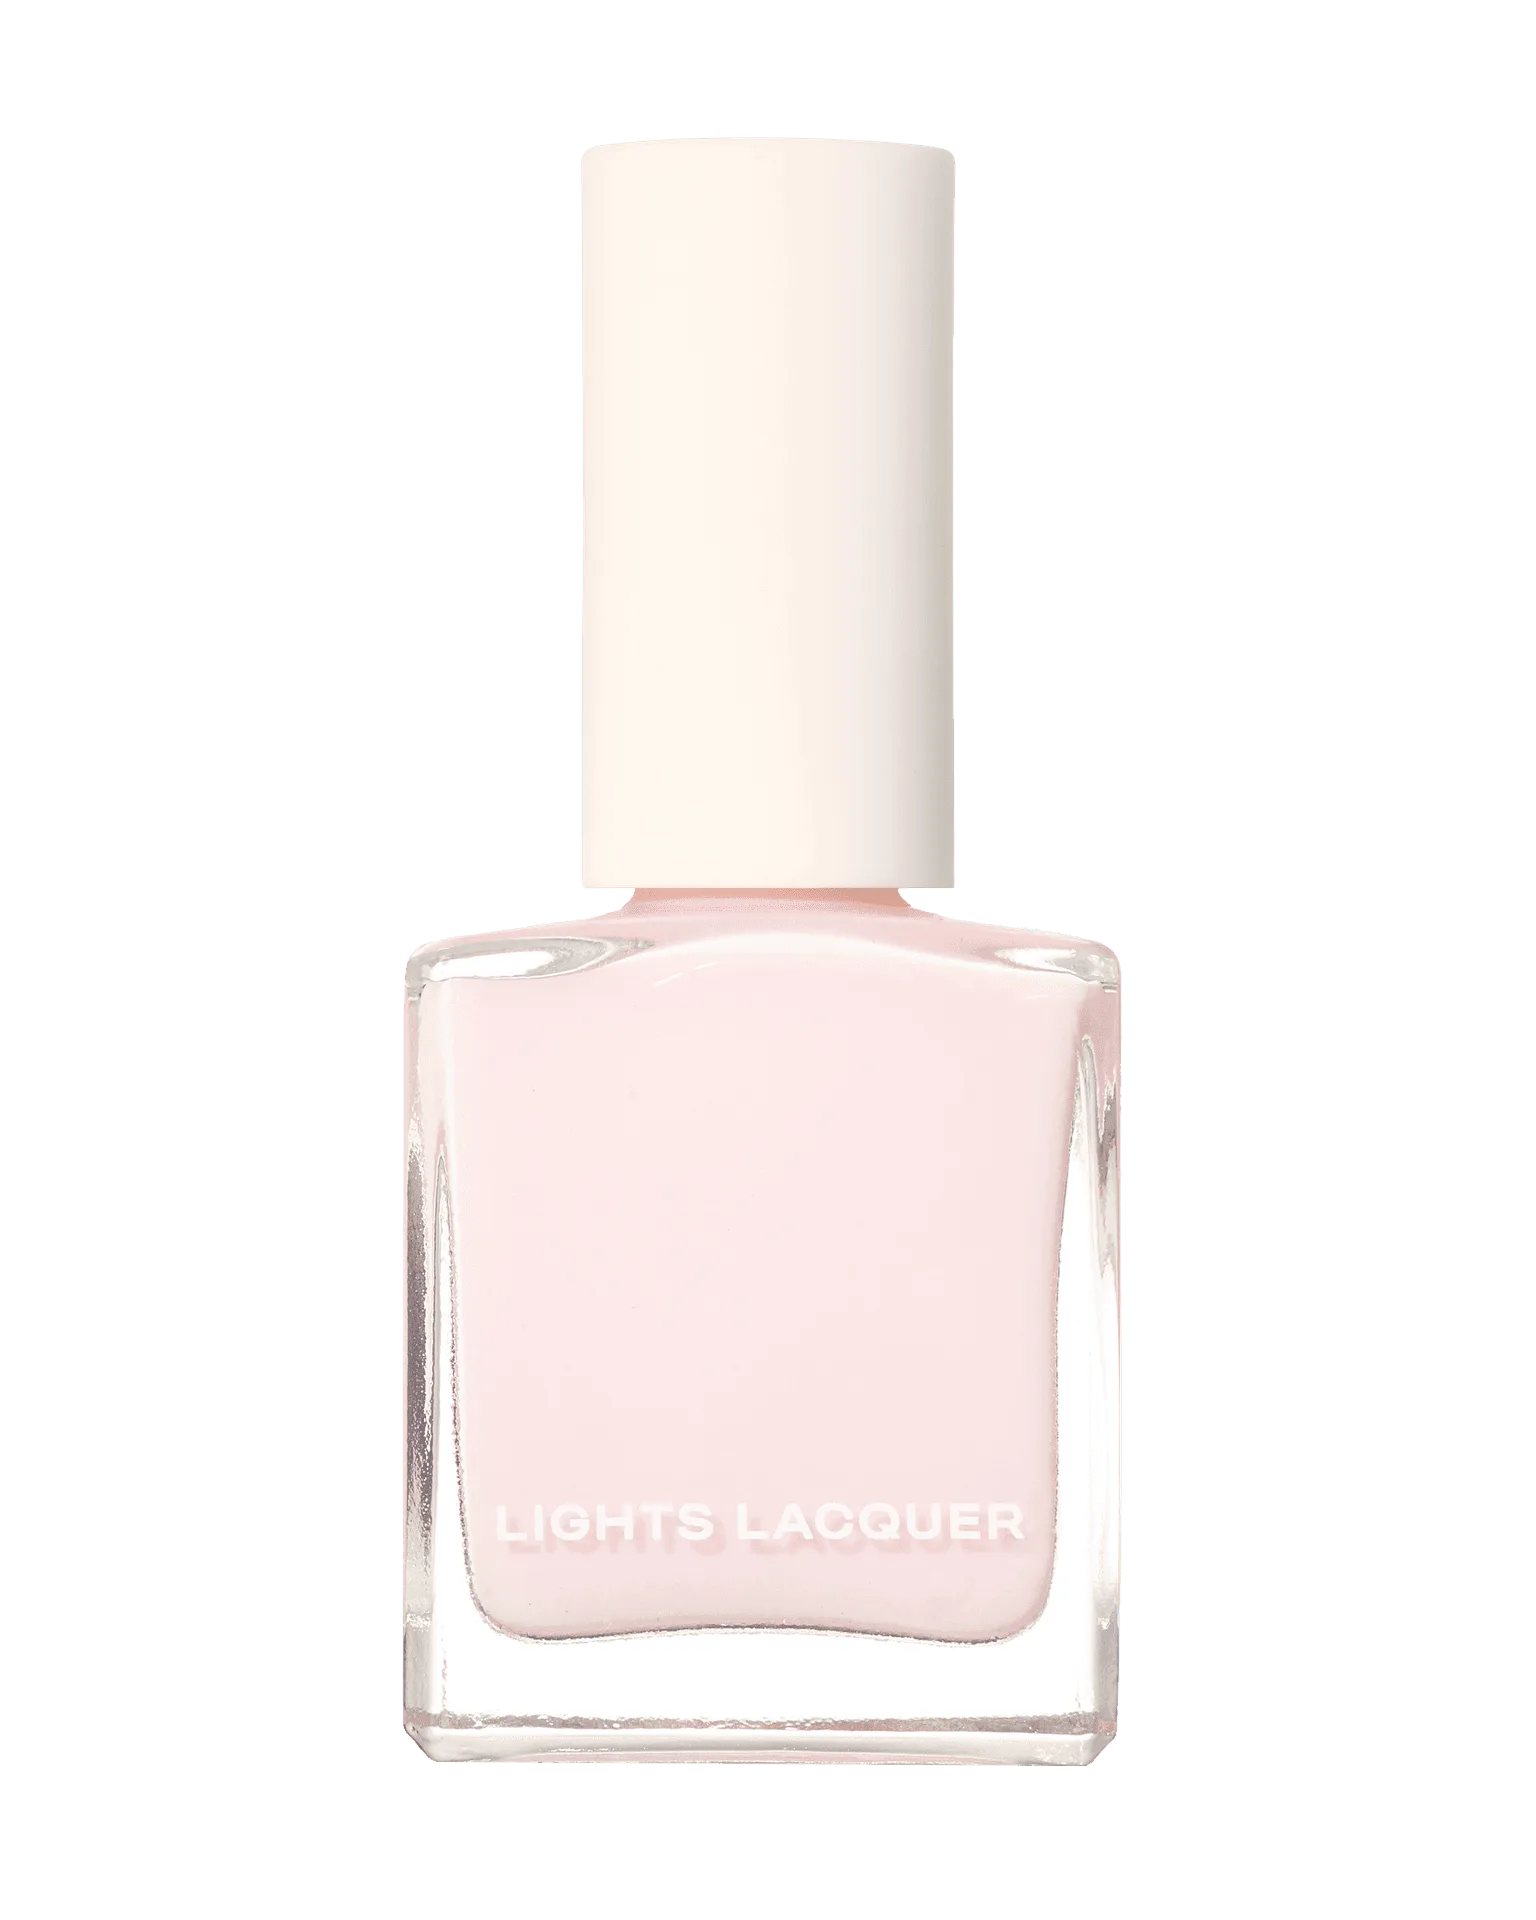
- Step 1: Prep and Apply a Jelly Base: Start with clean, dry nails. Apply one thin coat of a sheer jelly or light crelly polish (like Bubble Boy). Let it dry completely. This creates a translucent canvas. Common mistake: applying too thick a base coat. Keep it thin so the layering effect remains visible.
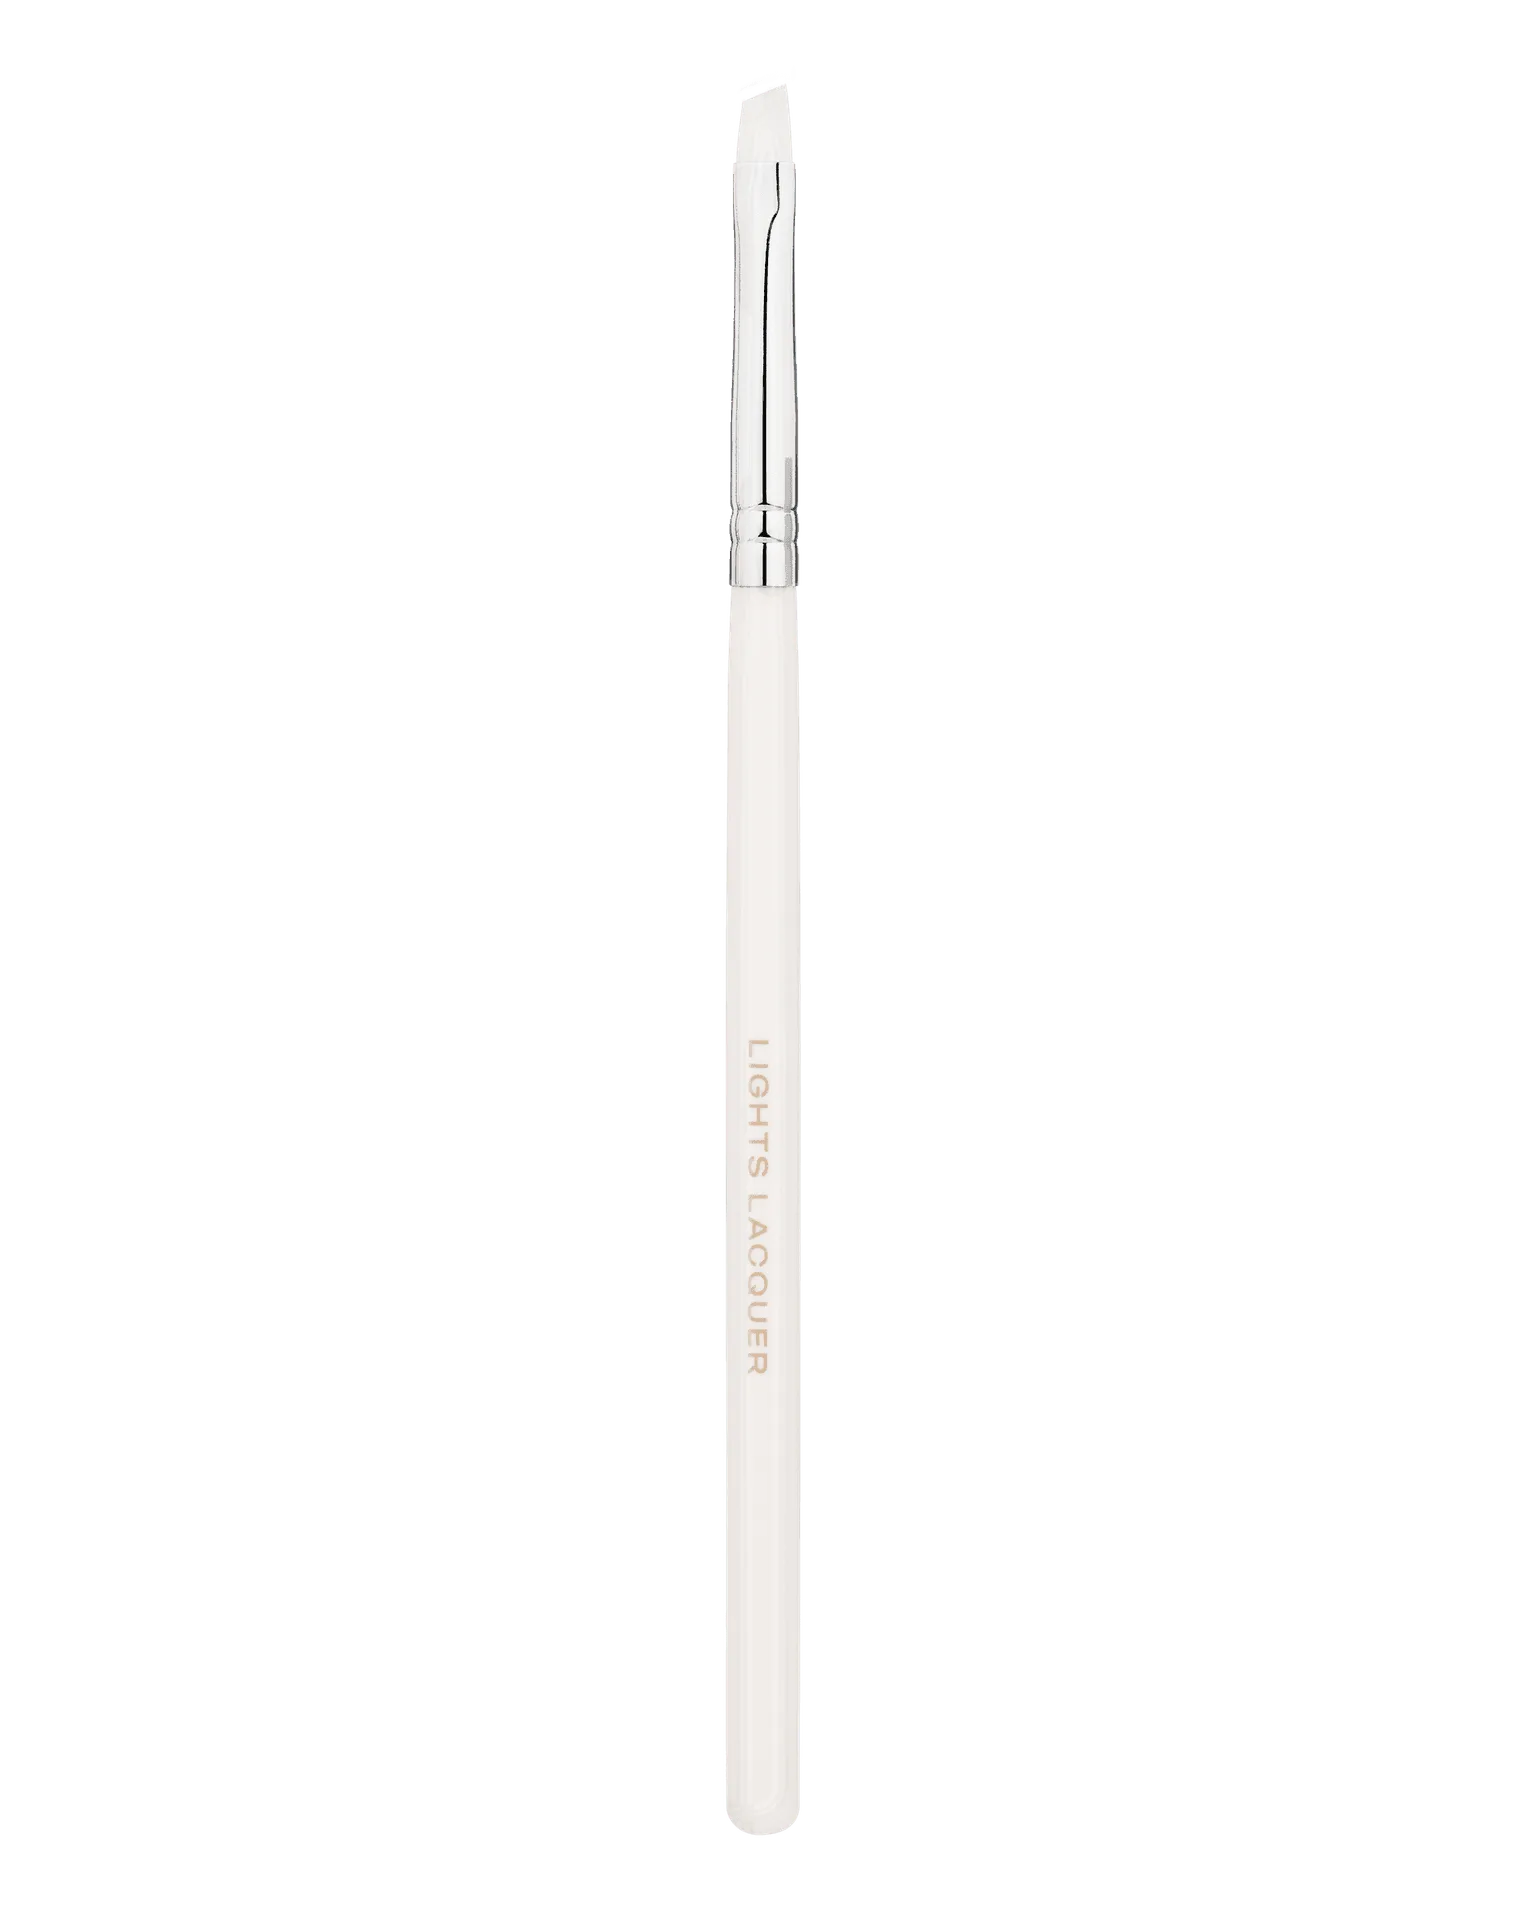
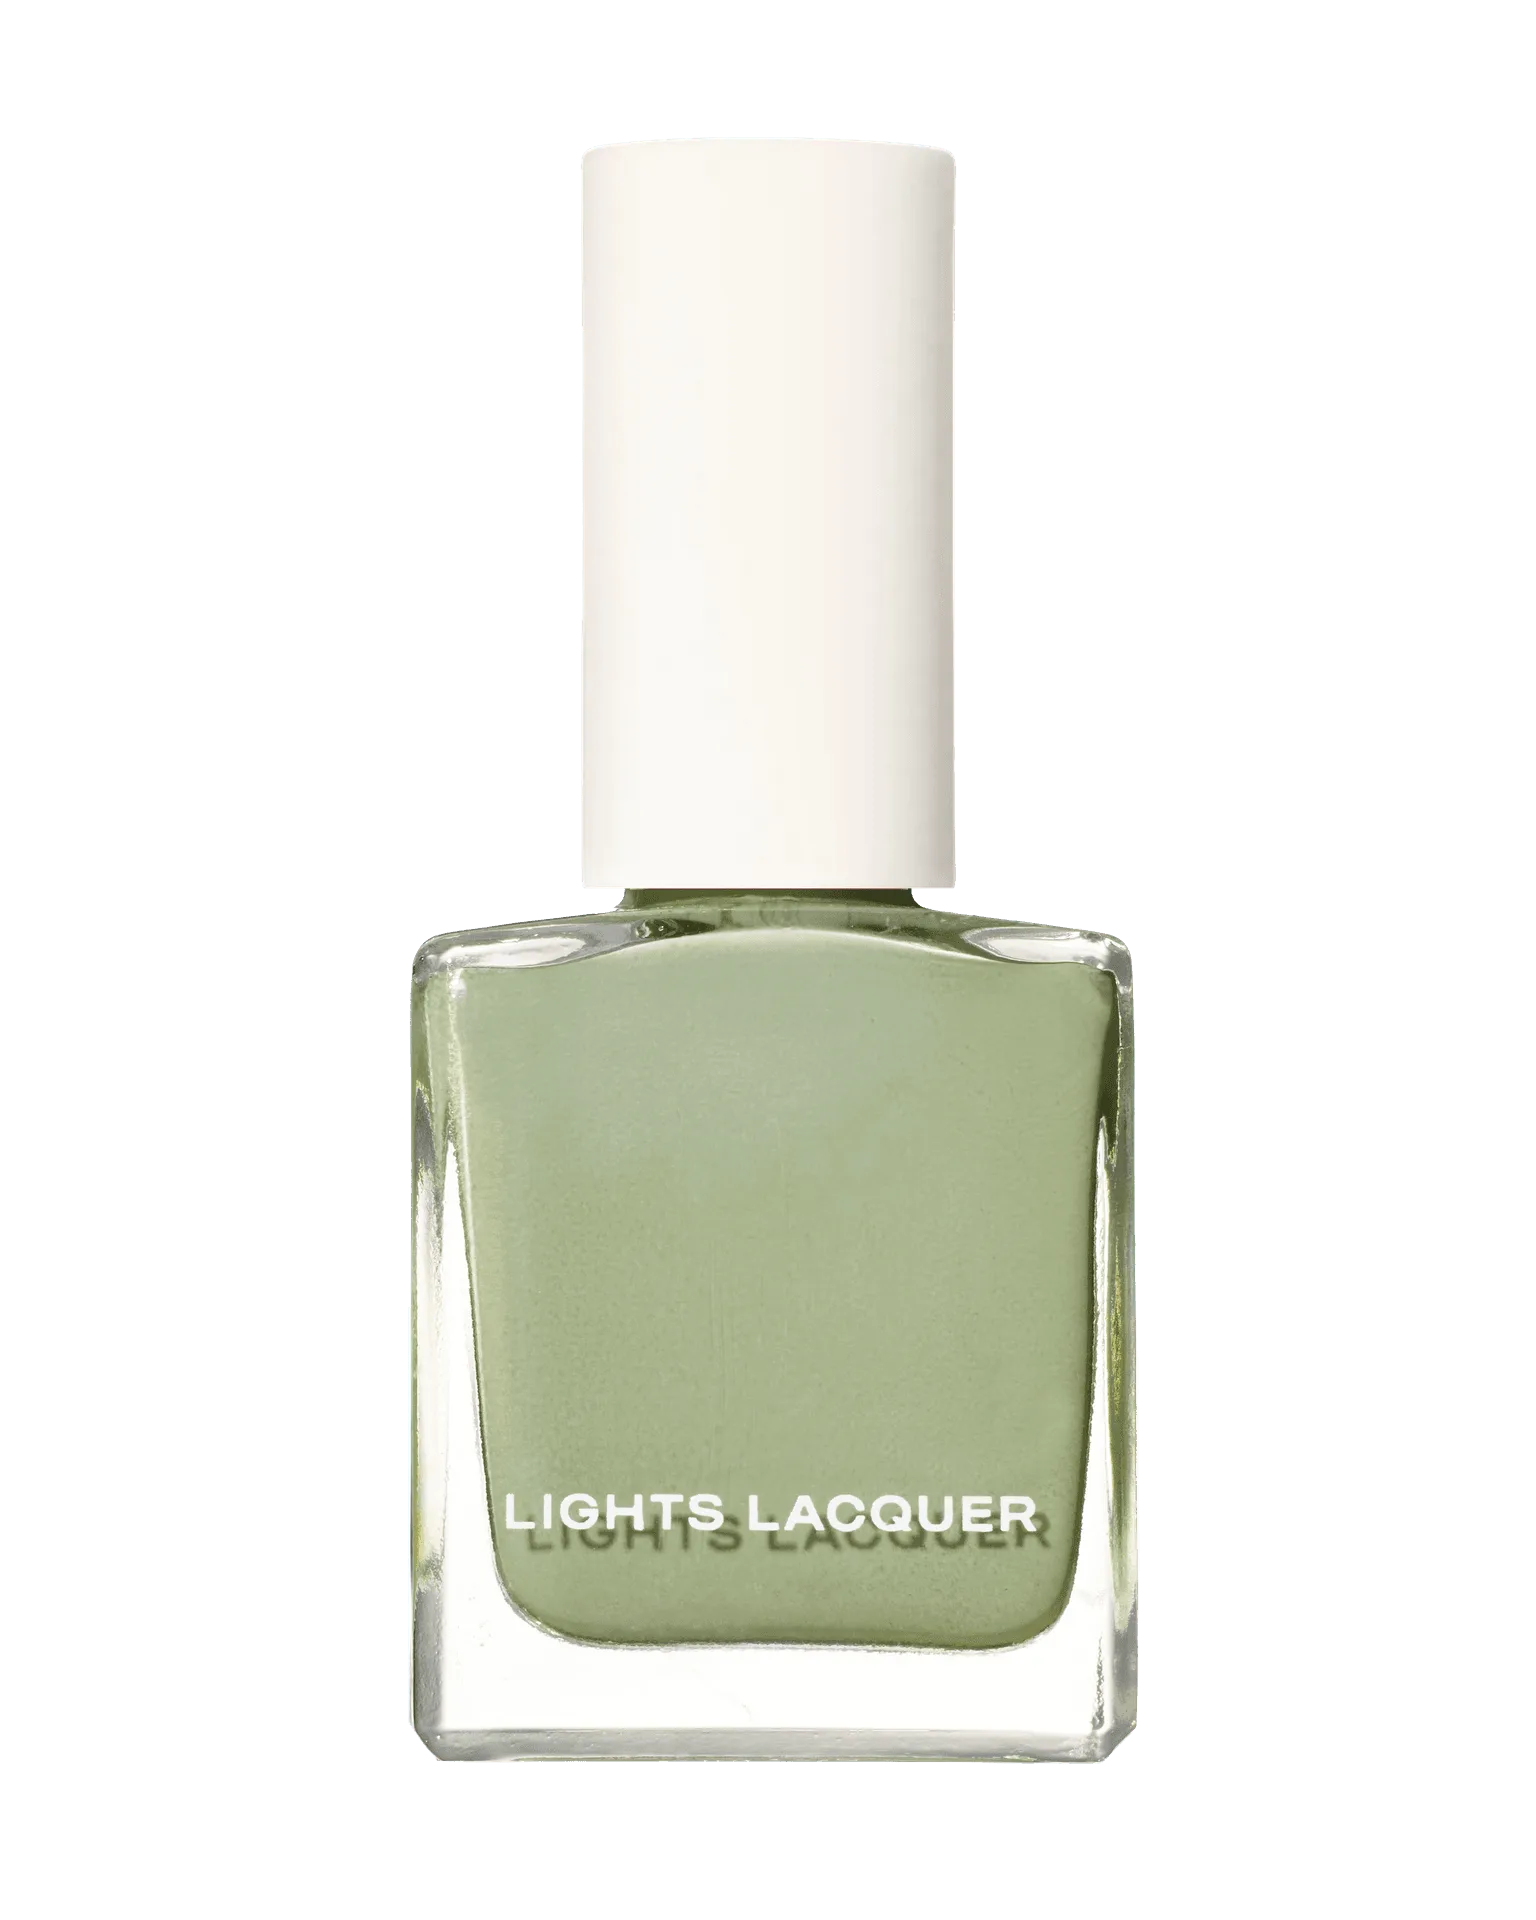
- Step 2: Add the First Crelly Layer: Apply one coat of your chosen crelly polish (e.g., Lady Marmalade or Flower Girl). Use the oval paddle brush for even, streak-free coverage. Let dry. Checkpoint: if the color is too sheer, you can add a second coat. If it's already opaque enough, stop here.
- Step 3: Build Opacity with a Second Crelly Coat (Optional): For a more opaque, creamier finish, apply a second coat of the same crelly polish. This will mute the jelly base slightly but still allow light to pass through. Common mistake: applying too many coats too quickly. Let each coat dry fully to avoid bubbling or smudging.
- Step 4: Seal with a Glossy Top Coat: Finish with a clear glossy top coat to enhance the dimensional effect and extend wear. This also smooths out any minor imperfections. For maximum shine, use a quick-dry top coat and avoid touching anything for at least 10 minutes.
Product Facts
- Flower Girl: A milky pink polish with a crelly finish. Buildable sheer, can be layered in 2–3 coats for a milky effect. This makes it an excellent top layer over a jelly base—you can control how much of the base shows through by adjusting the number of coats.
- Lady Marmalade: A cherry mocha polish with a crelly finish. Buildable medium coverage—apply 1–2 coats for a soft jelly-to-crelly look, or 2–3 for a crelly-to-creme finish. The medium coverage means you can use it as a single statement layer or build it up for more opacity, giving you flexibility in the final look.
- Bubble Boy: A light pink polish with a crelly finish. Buildable sheer, can be layered in 2–3 coats for a milky effect. As a base, it provides a subtle pink tint that complements warmer crelly shades like cherry mocha or apricot without overwhelming them.