Quick Answer
To achieve a glass nail effect with jelly polish, layer thin coats of a sheer jelly shade over a neutral base, allowing each coat to dry fully before adding the next.
Why Jelly Polish Creates a Glass-Like Finish
Jelly nail polishes are inherently translucent and buildable, which gives them a unique depth that mimics the look of colored glass. Unlike opaque cremes, jelly polishes let light pass through and reflect off the nail bed, creating a glossy, dimensional effect. The key is layering—each coat adds a hint more color without losing transparency.
Choosing the Right Jelly or Crelly Shade
For the glass nail effect, start with a sheer jelly shade in a light or pastel tone—like a soft pink or ocean blue. These colors allow the natural nail to show through, enhancing the translucent look. If you want a touch more opacity, a crelly polish (a hybrid between creme and jelly) can be used for the first coat, then topped with a clear jelly for depth.
Step-by-Step Guide to a Glass Nail Effect
- Step 1: Prep and Apply a Neutral Base: Start with clean, dry nails. Apply a thin layer of a nude or clear base coat to even out the nail surface and prevent staining from the jelly polish. Let the base coat dry completely before moving on—this prevents the jelly layers from mixing and becoming muddy.
- Step 2: Apply the First Thin Coat of Jelly Polish: Using a light hand, apply one thin coat of your chosen jelly polish (e.g., Mrs Potts or Balou). Do not overbrush—keep the layer even and sheer. If the first coat looks streaky, that's normal. Resist the urge to apply a thick layer; thin coats are essential for the glass effect.
- Step 3: Let Each Coat Dry Fully: Wait at least 2 minutes between coats. Jelly polishes are slow to dry because of their sheer formula. Use a quick-dry top coat if you're in a hurry. Rushing the drying time can cause bubbles or uneven opacity. Patience pays off with a smooth, glassy finish.
- Step 4: Build Color with 2-3 More Thin Coats: Apply additional thin coats until you reach your desired depth of color. For a true glass effect, stop while the polish is still slightly translucent—the nail should be visible underneath. Too many coats can make the polish look opaque and lose the glass effect. Aim for 3-4 coats total for a perfect balance.
- Step 5: Seal with a High-Shine Top Coat: Finish with a glossy top coat to amplify the glass-like shine. A thick, self-leveling top coat works best to smooth out any minor imperfections. Avoid matte top coats—they kill the glass effect. Stick with a high-gloss formula for maximum reflection.
Product Highlights for Your Jelly Manicure
-
Mrs Potts: A white-pink sheer polish with a jelly finish. Jelly polishes are meant to be transparent and buildable. Its soft pink tint is ideal for a delicate glass effect, and its buildable nature lets you control the opacity with each layer.
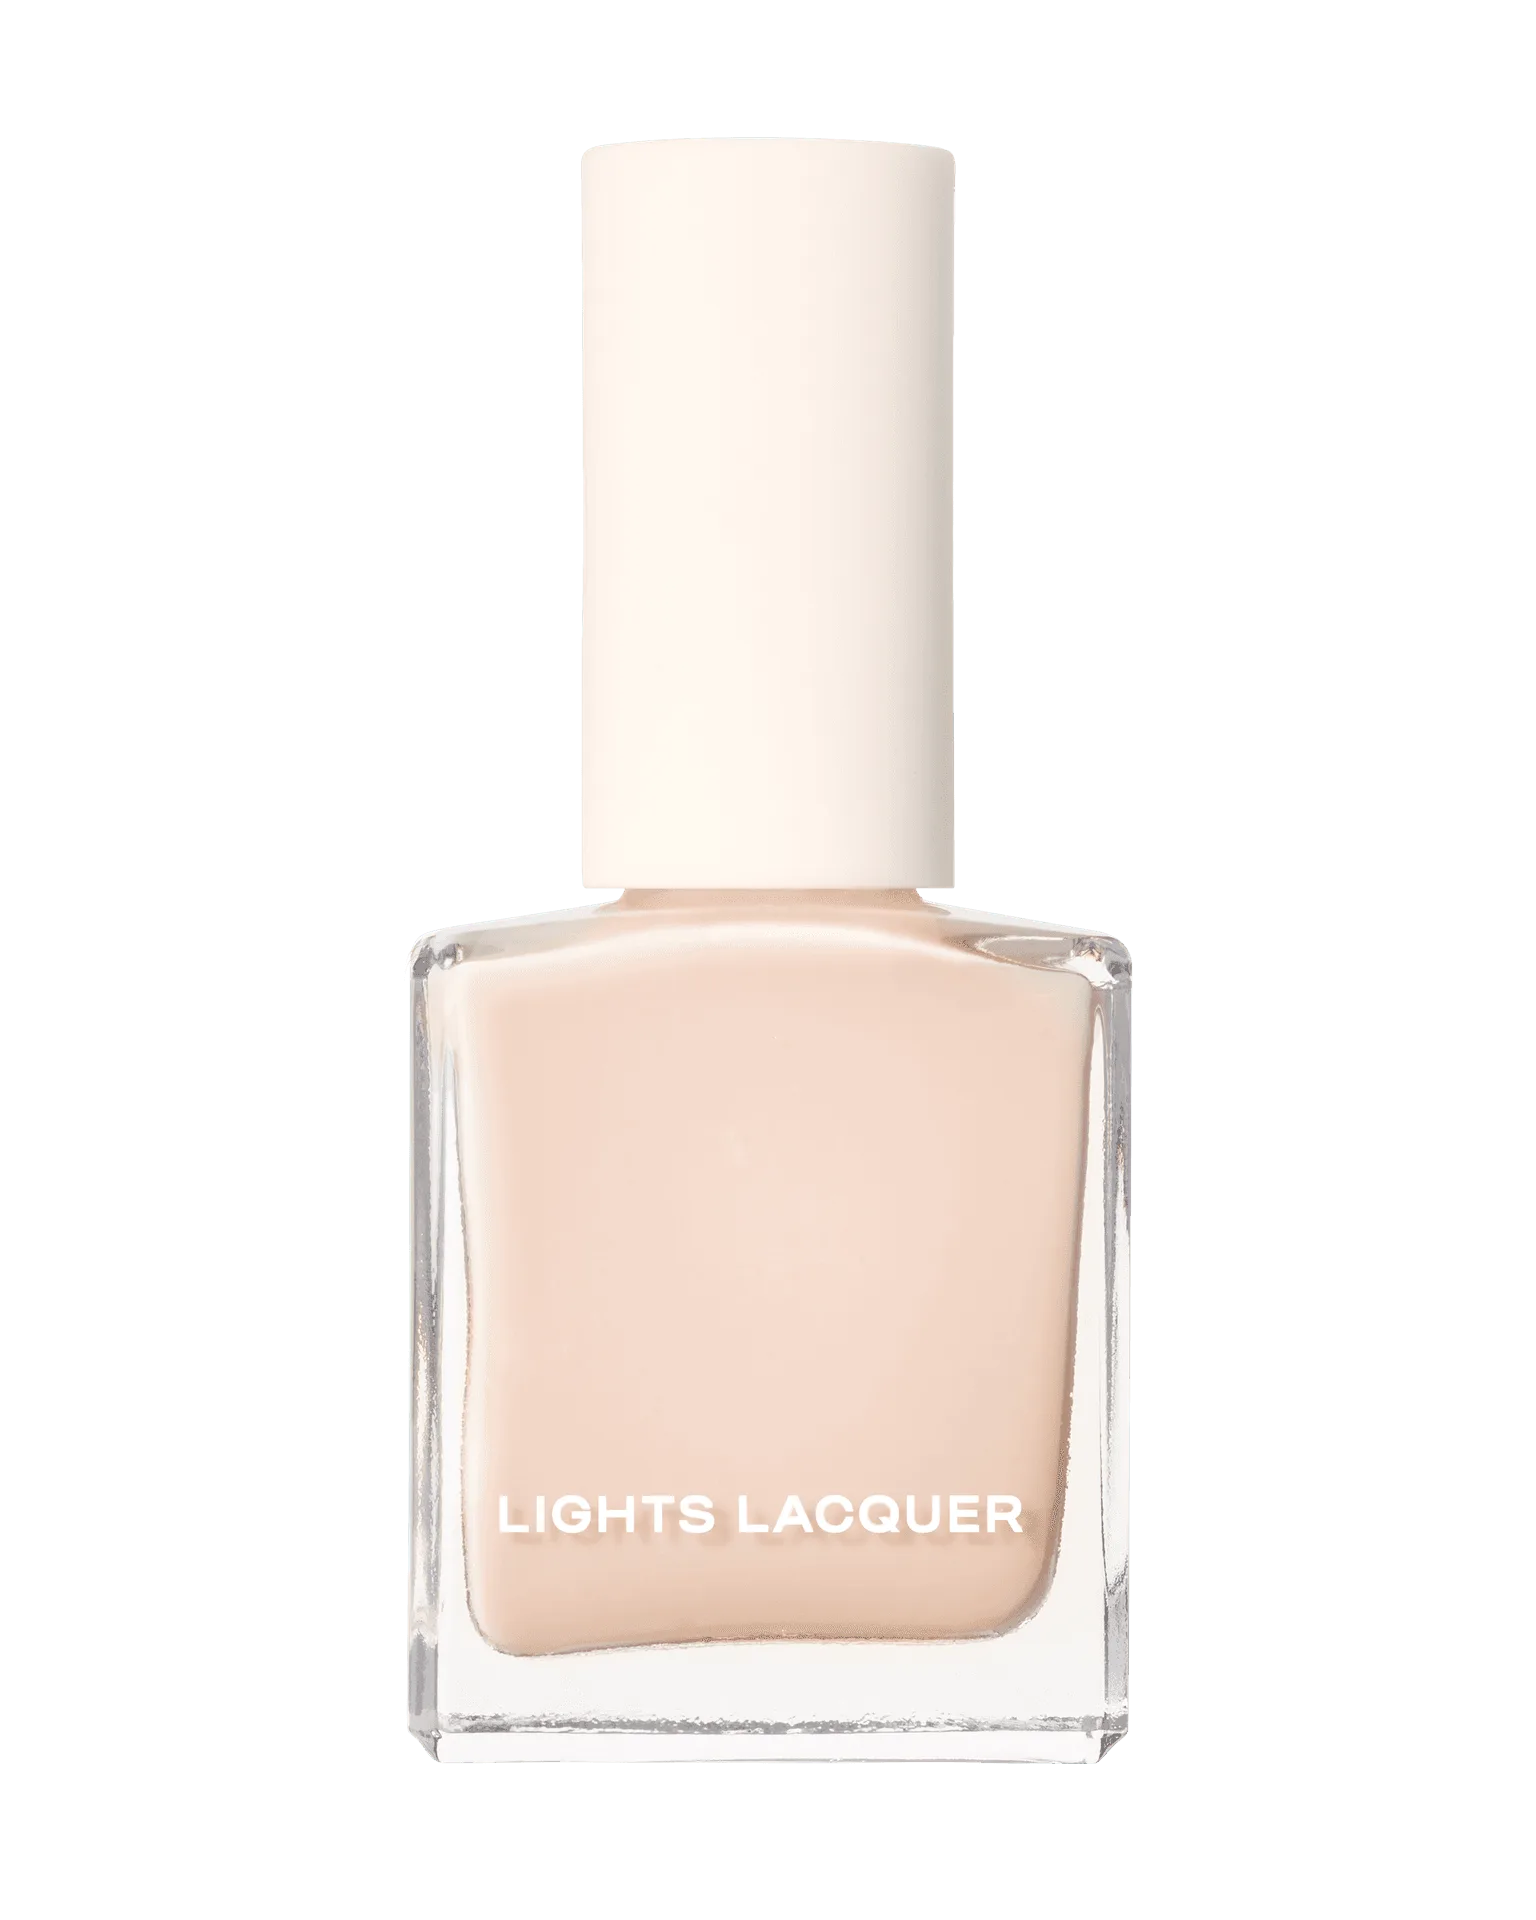
Mrs Potts
-
Balou: An ocean blue sheer polish with a jelly finish. Jelly polishes may require more coats to achieve desired opacity. The blue shade creates a striking stained-glass look, and knowing it may need extra coats helps you plan your layering process.
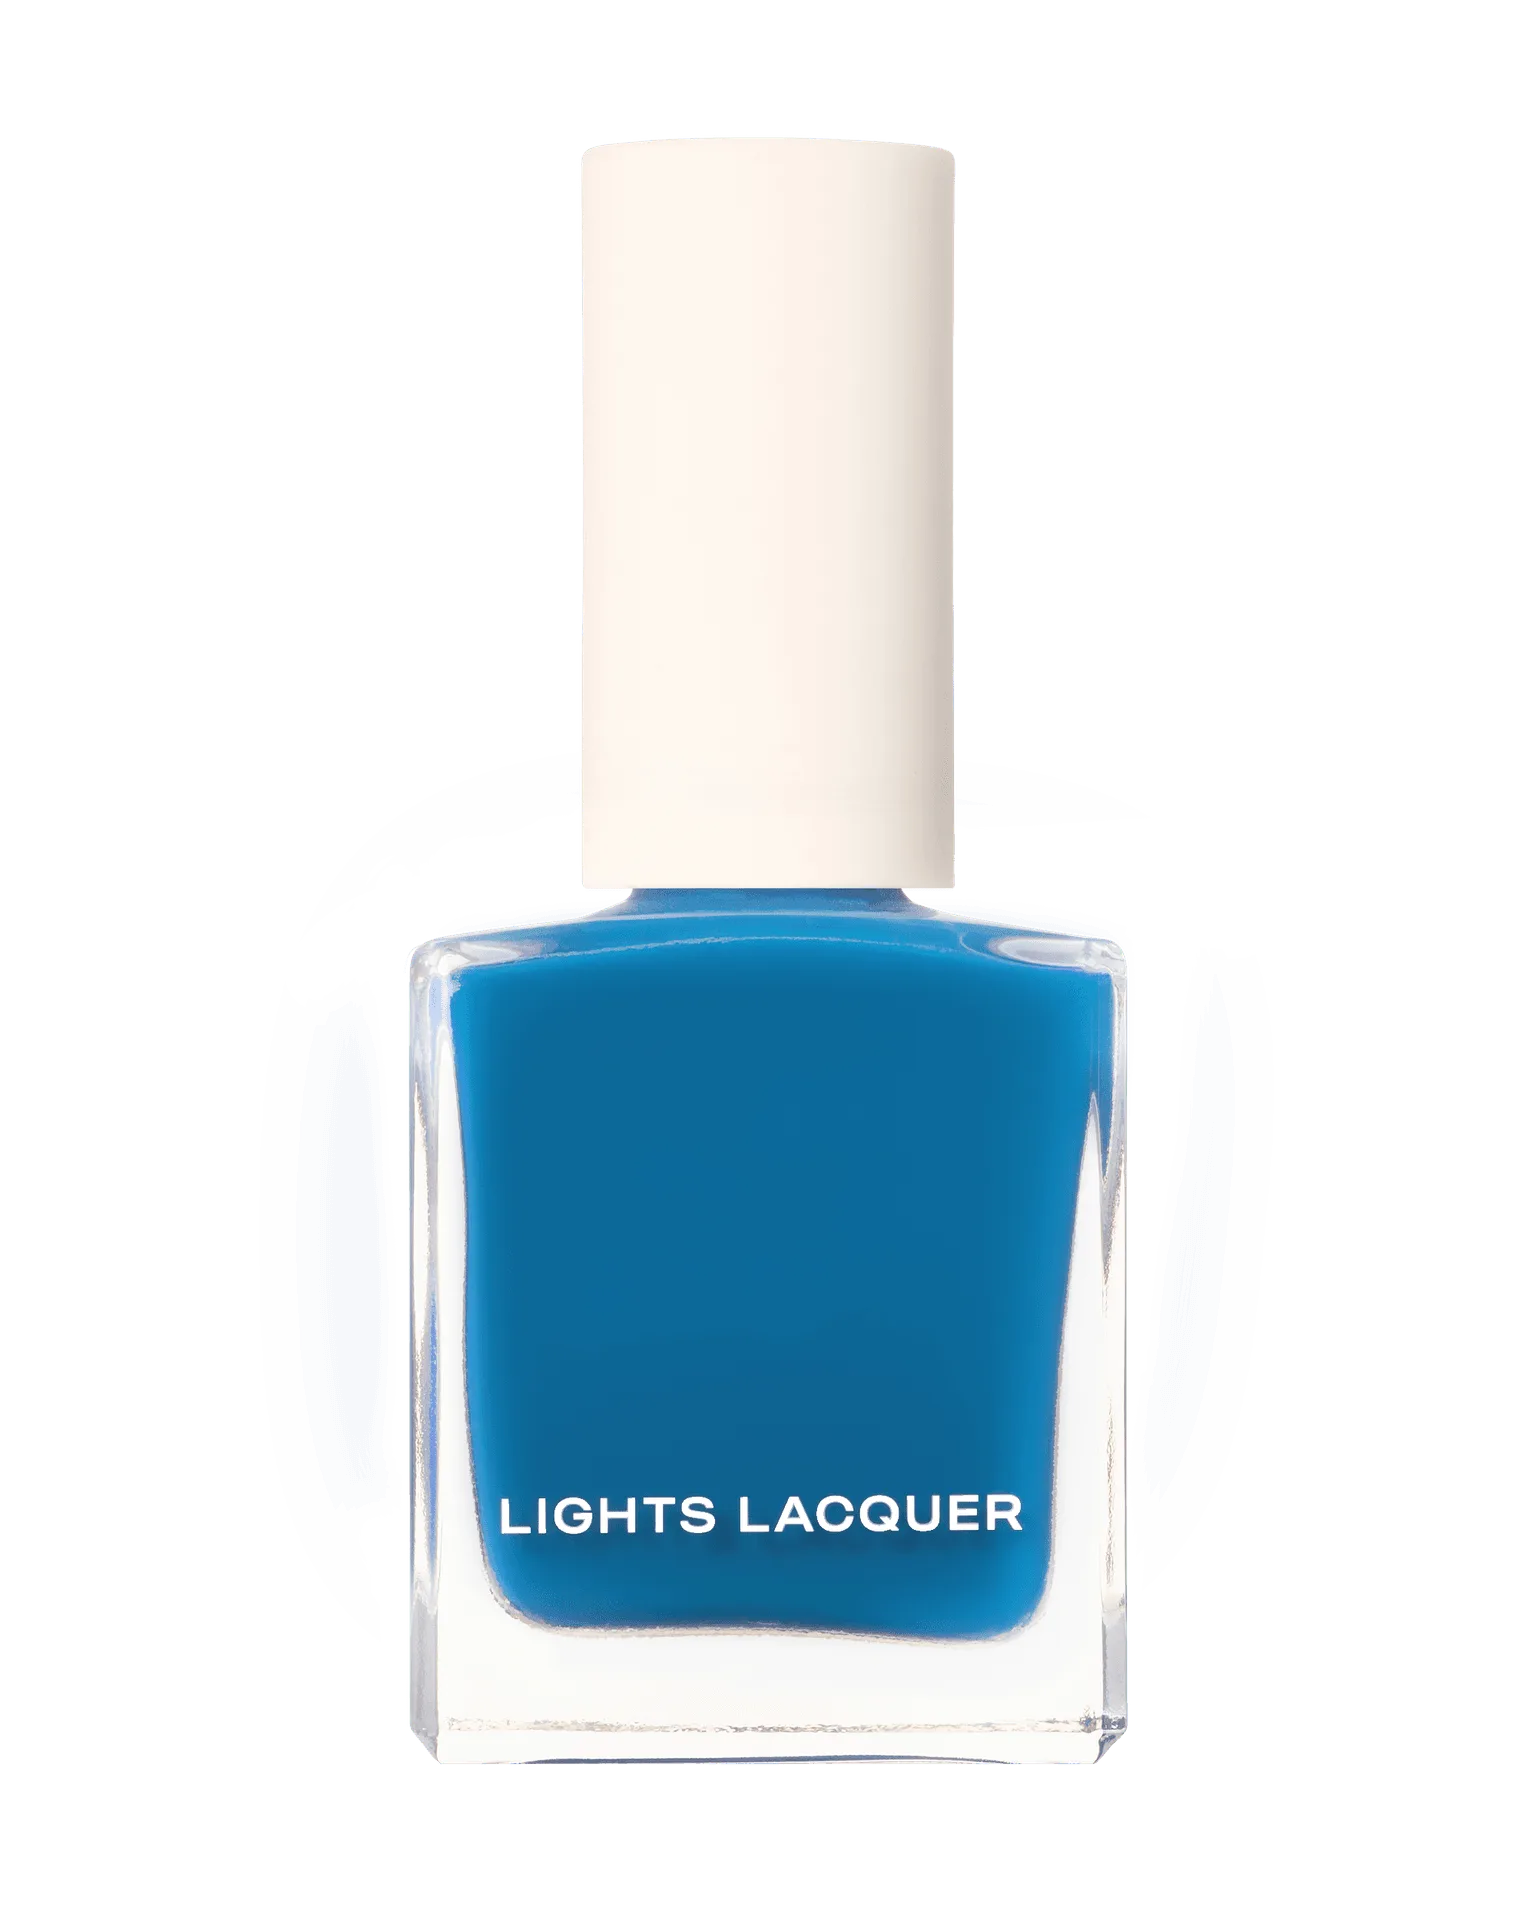
Balou