Quick answer
Start with a large anchor print, then layer smaller prints and postcards in odd-numbered clusters, and finish with stickers on removable surfaces. Keep at least 2 inches between frames so each piece reads clearly, and use removable adhesive for anything you might rearrange. This method gives you a balanced indie art wall decor without committing to permanent holes.
Plan the wall before you commit to holes
Measure your wall and mark a rough rectangle with painter's tape. This shows the true boundaries of your gallery wall layout ideas and stops the arrangement from creeping too high or too wide. A common mistake is starting from the center of the wall instead of the center of the viewing area, which usually sits at eye level or about 57 to 60 inches from the floor.
Choose one anchor piece and build outward
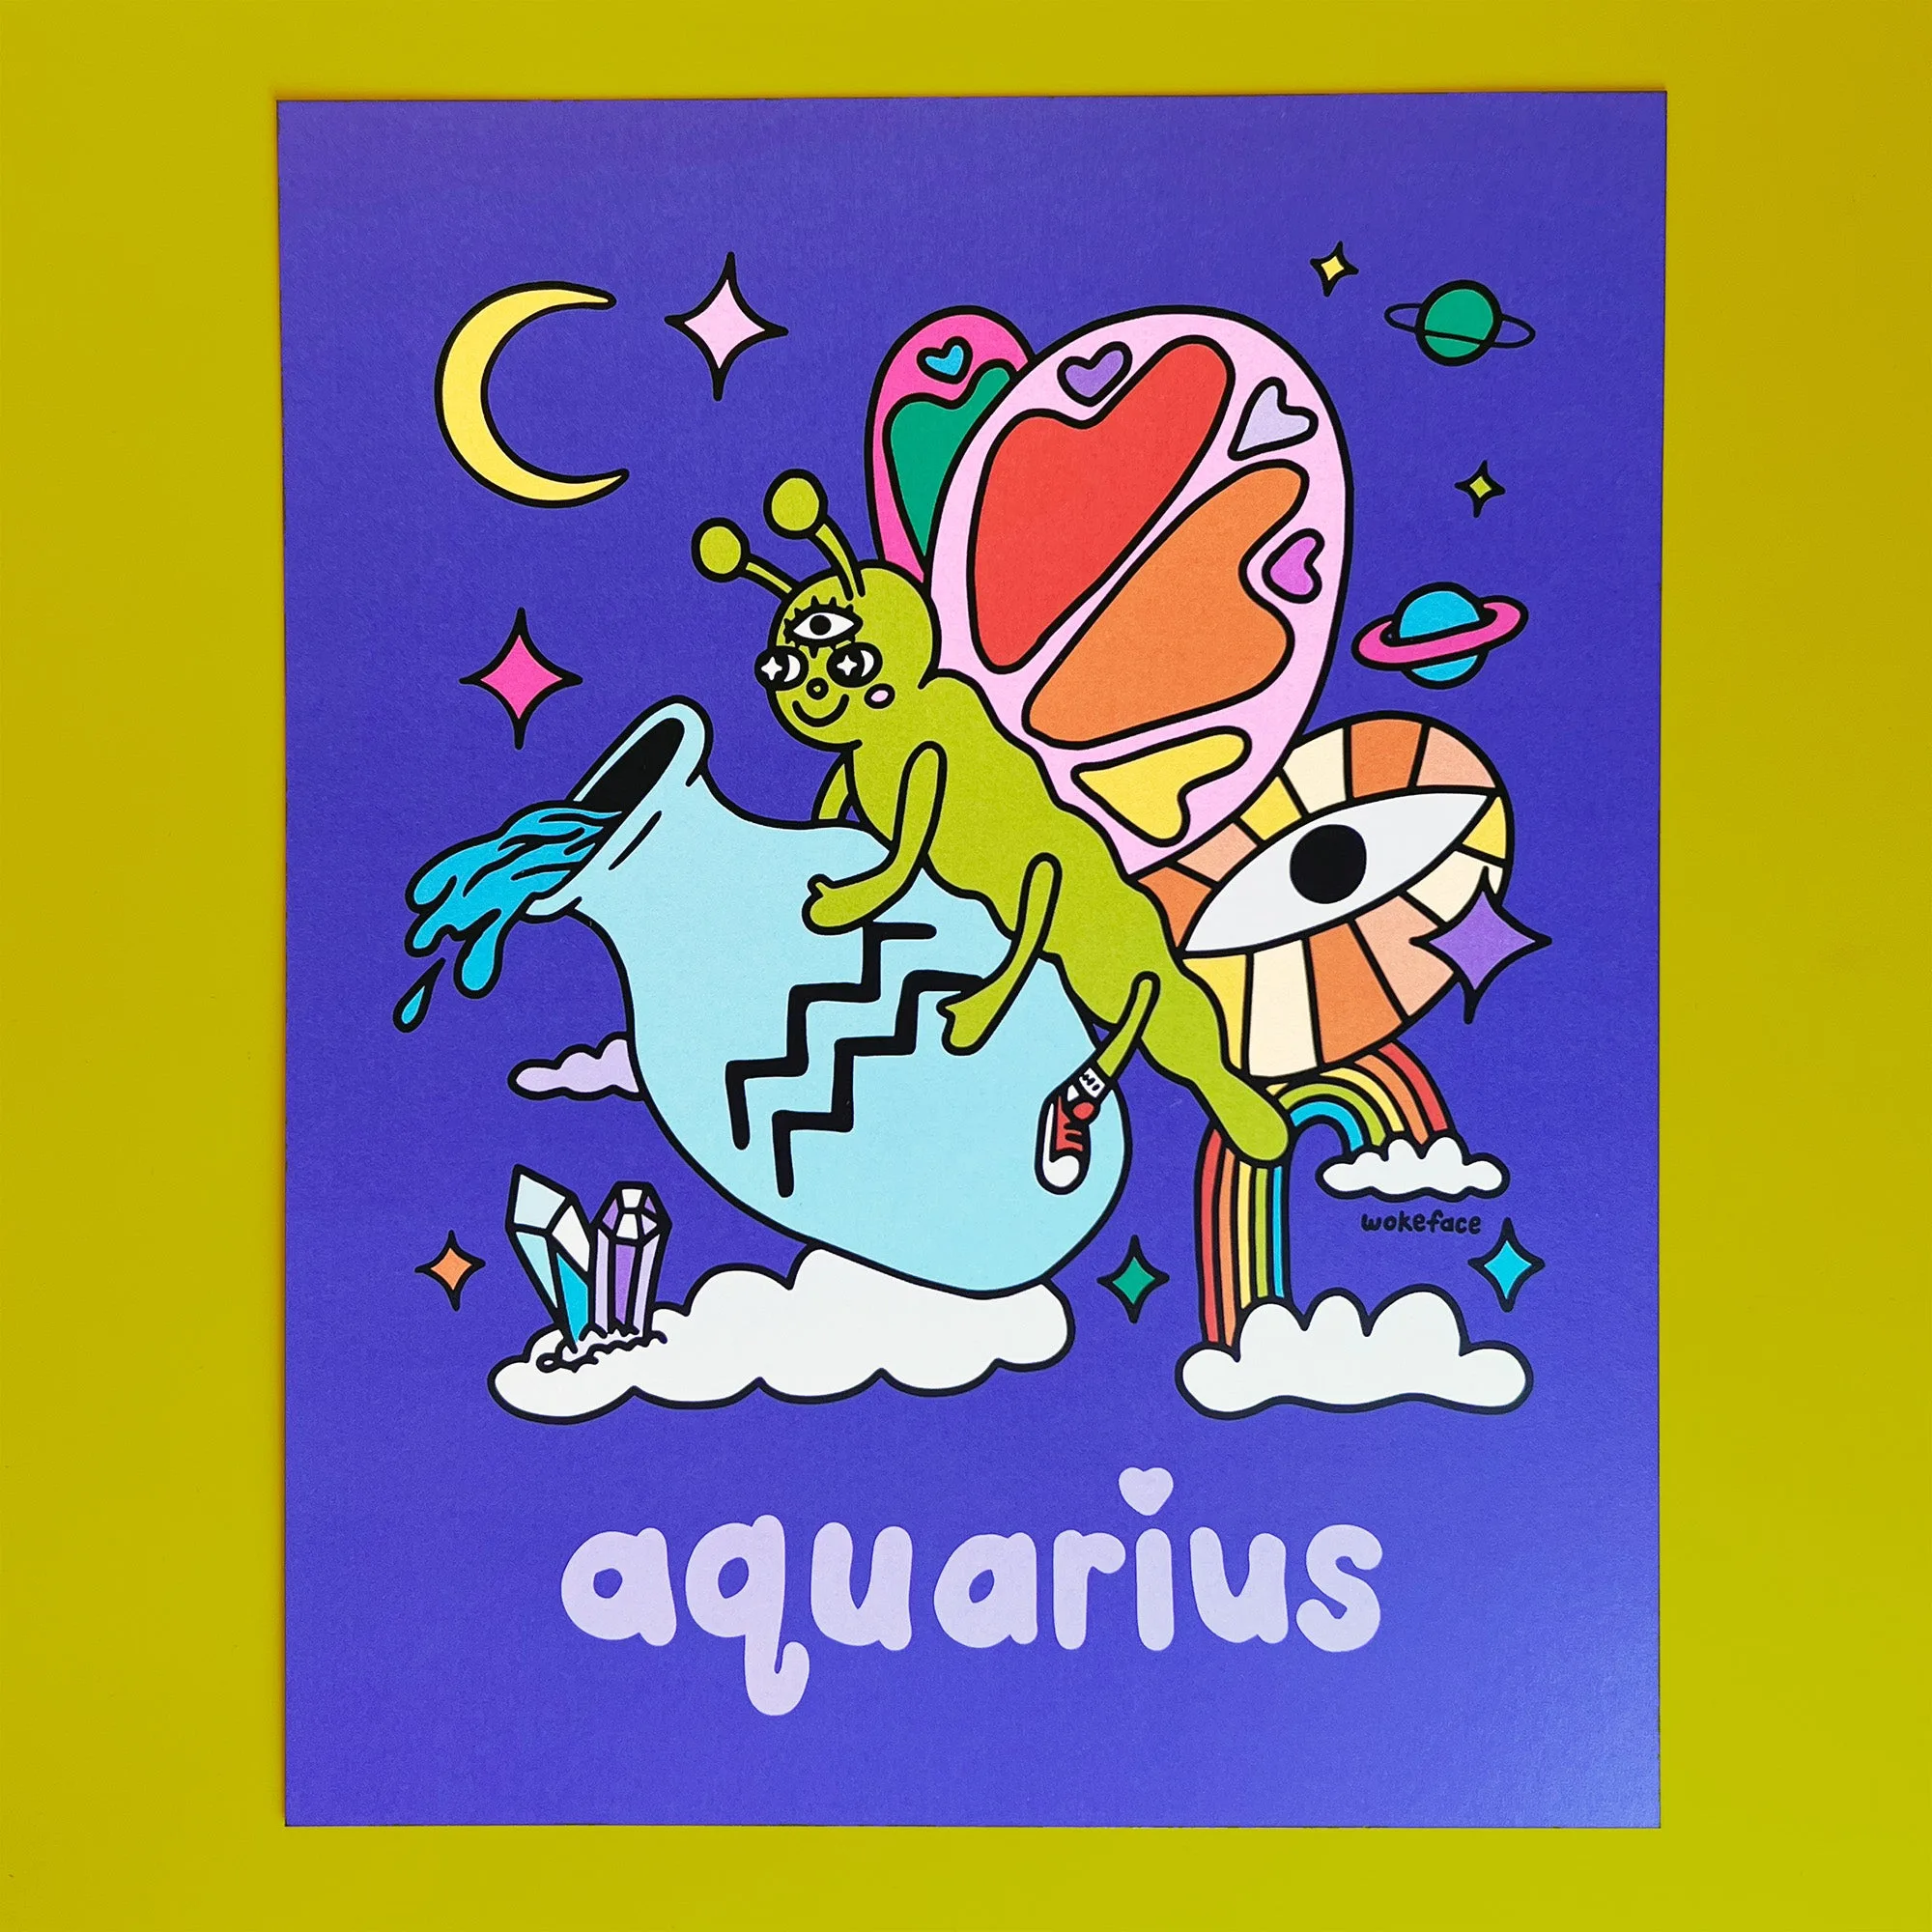
Pick the largest print as your anchor. An 8x10 inch print such as the Zodiac Aquarius Print works well because its size is easy to balance against smaller postcards. Place the anchor slightly off-center rather than dead center, then add pieces around it in odd-numbered groups of three or five. Odd numbers create a more natural rhythm and make the layering prints and postcards feel intentional instead of symmetrical.
Mix formats without crowding them
Combine framed prints, unframed postcards, and stickers so each format has room to breathe. A small print gallery wall can handle three to five pieces in a tight cluster, but keep at least 2 inches of wall space between frames. If you are using postcards, mount them on cardstock or place them in small floating frames so they do not curl. For stickers, reserve a separate zone such as a door, a shelf edge, or a corner of the wall where the sticker wall arrangement can change without leaving residue.
Test the arrangement on the floor first
Lay every piece on the floor in the exact layout you plan to hang. This step costs nothing and prevents extra nail holes. Adjust spacing until the cluster feels balanced, then take a photo with your phone. The photo flattens the arrangement and makes uneven gaps obvious. A common checkpoint is to step back three feet and check whether your eye moves smoothly from the anchor to the smallest piece.
Hang from the center out and level as you go
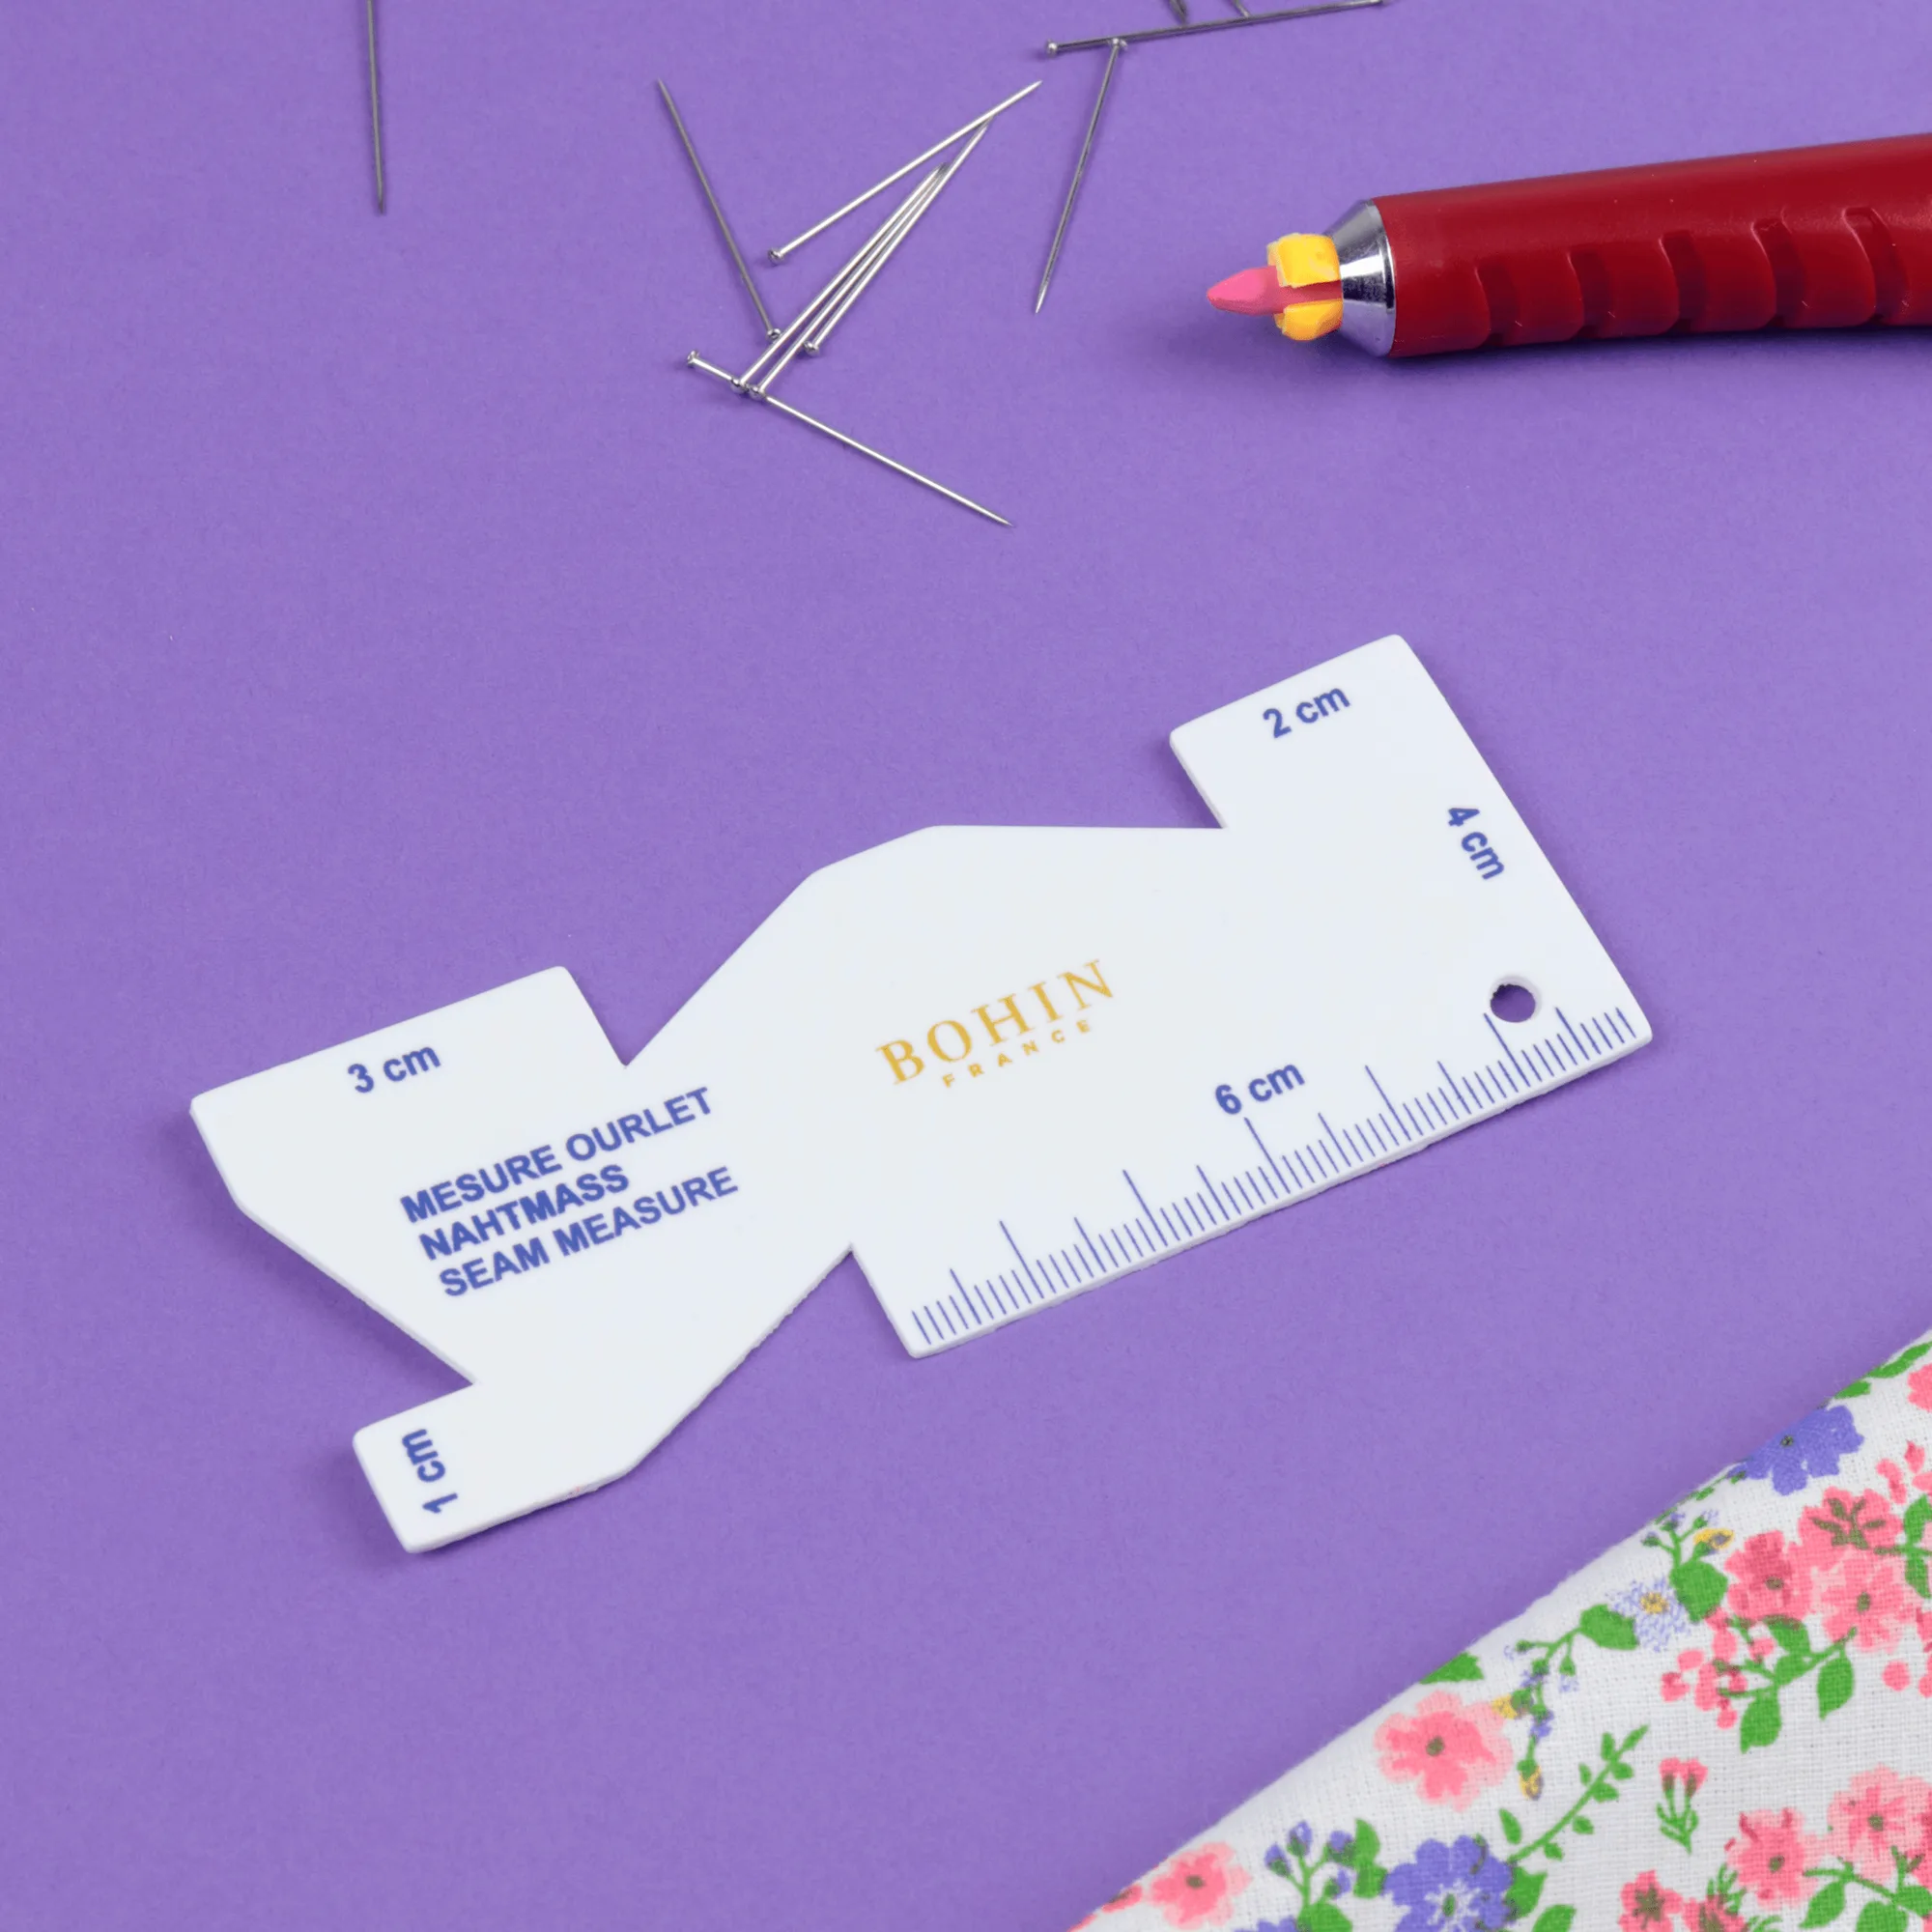
Start with the anchor piece, then work outward in pairs. Use a level for each frame, and check the spacing with a ruler rather than eyeballing it. For postcards, removable adhesive putty or washi tape works well on painted walls; for heavier prints, use proper picture hooks rated for the weight. If you are hanging a print that ships in a sturdy flat mailer, keep the backer board and artist card behind the print or store them flat, since they can double as a spacer or a note for the back of the frame.
Add stickers last and keep them removable
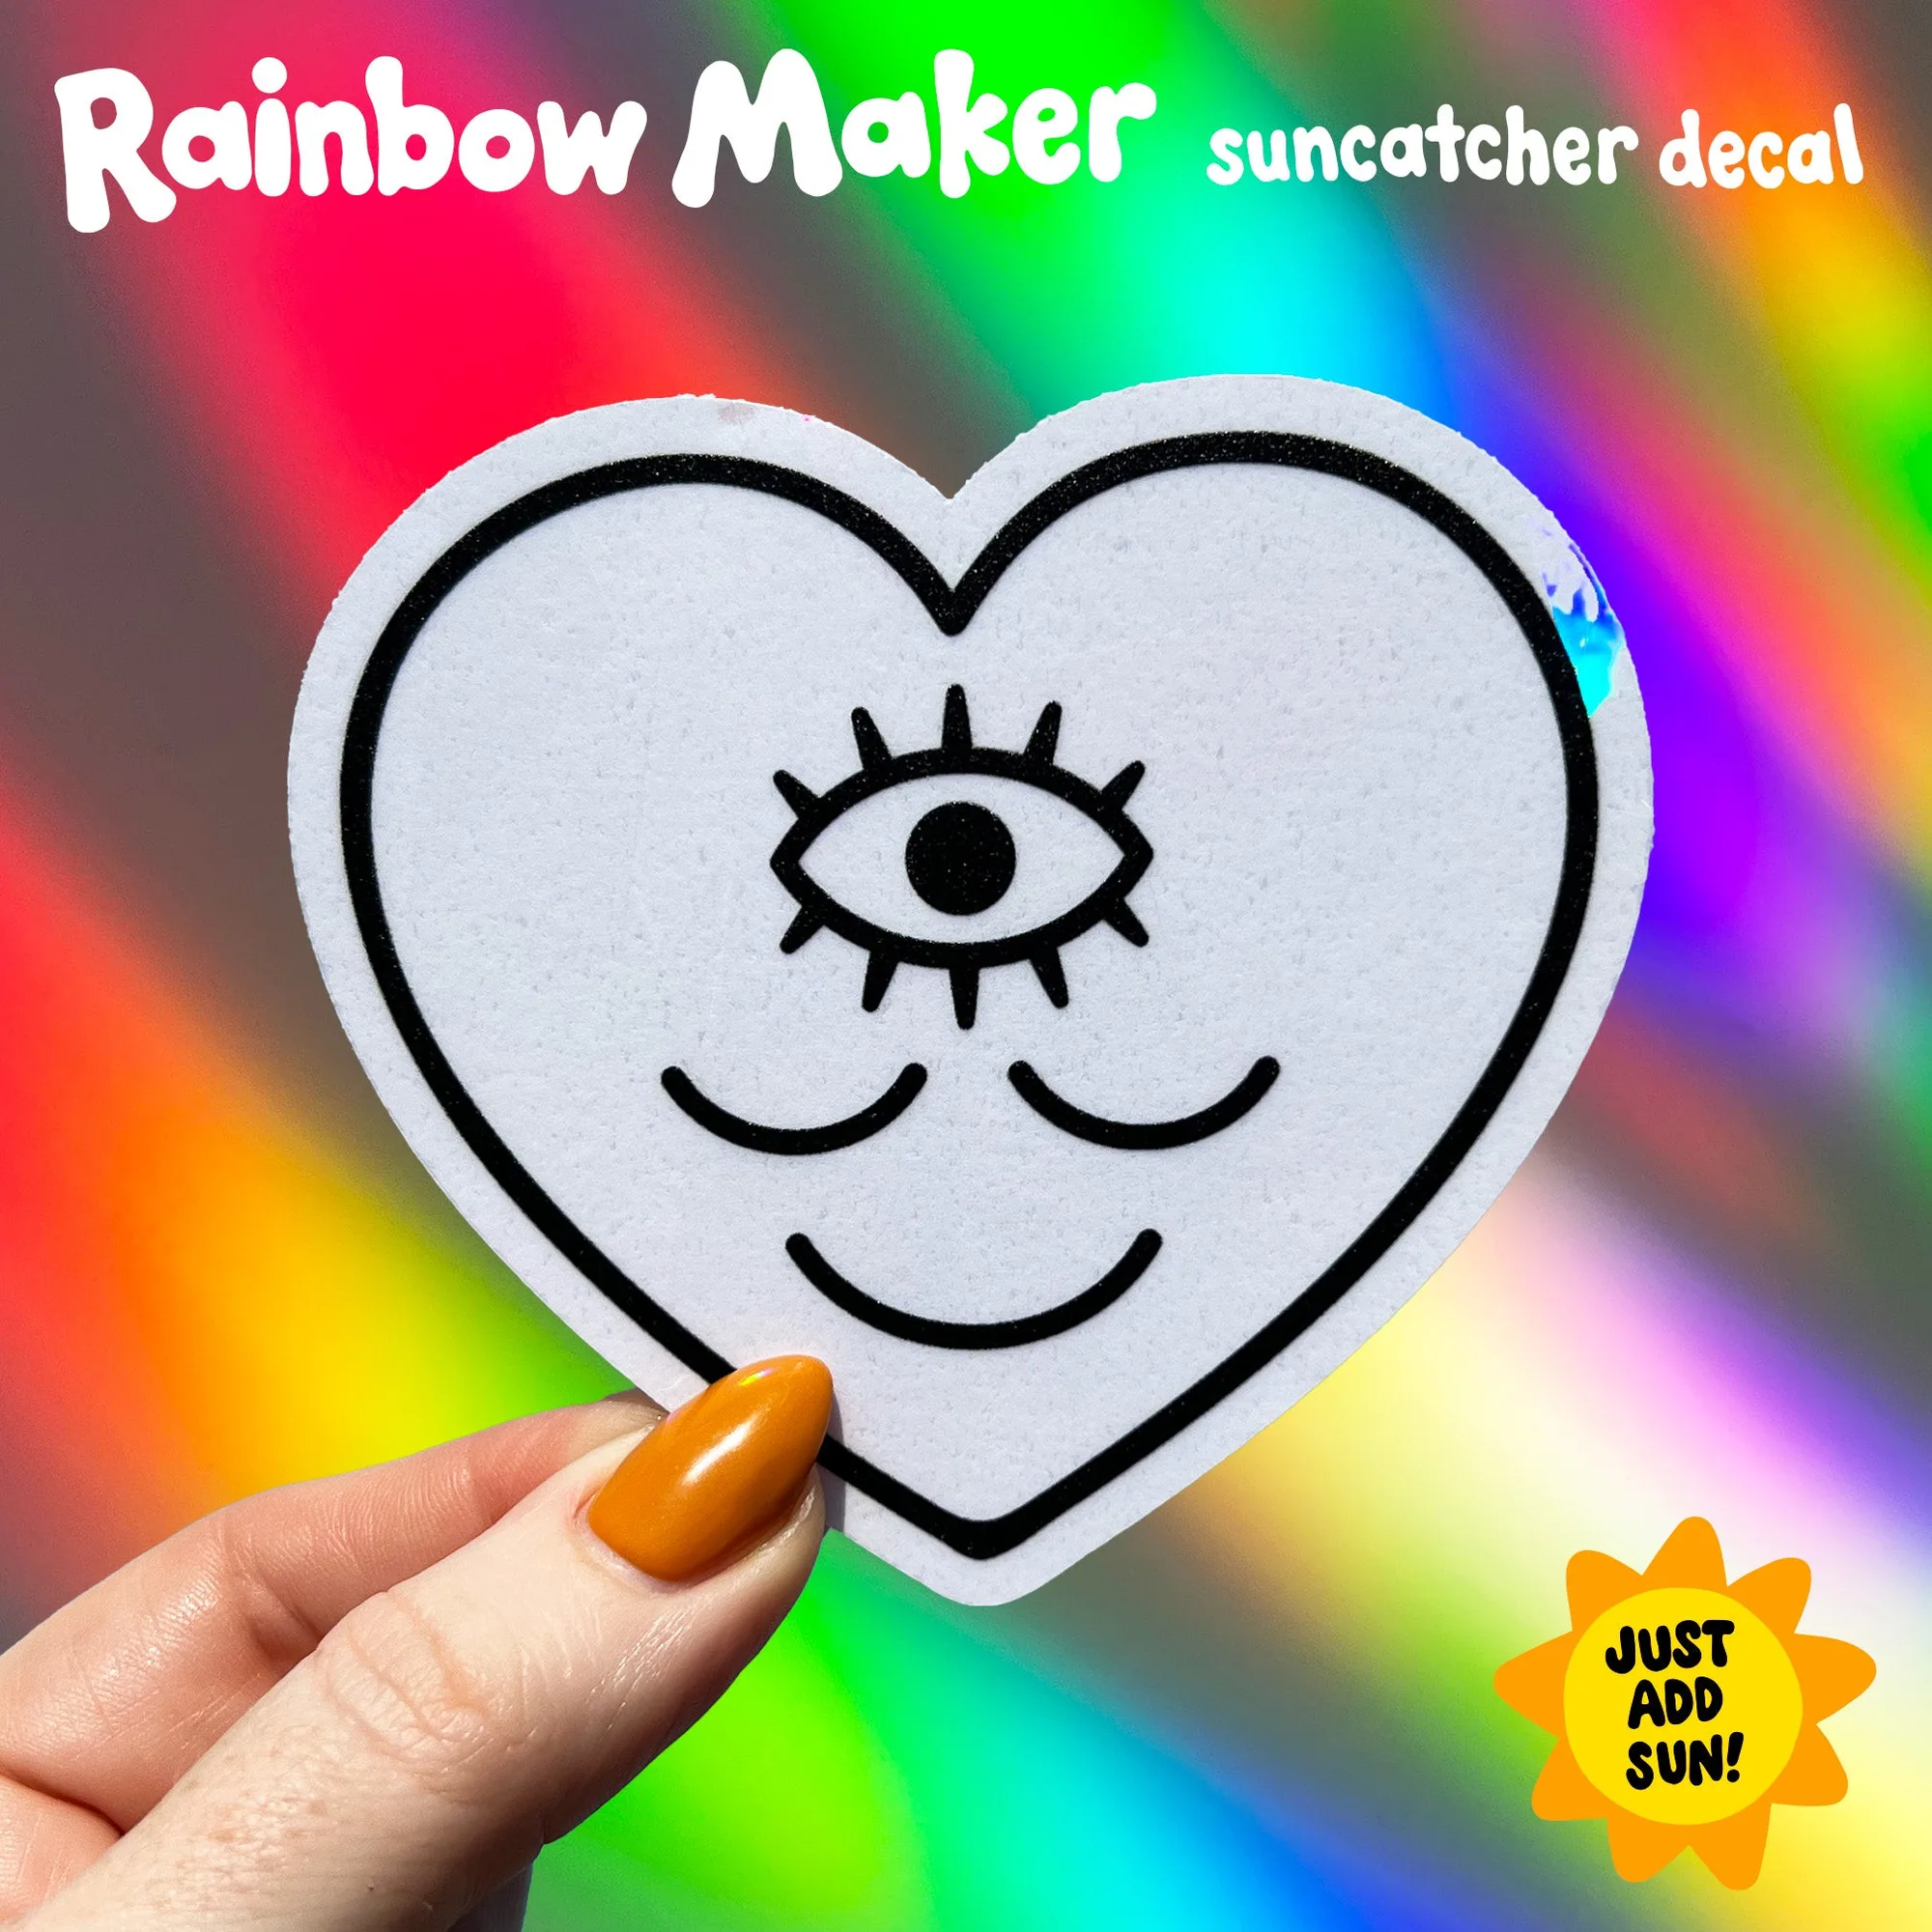
Stickers are the most flexible layer, so add them after the prints and postcards are set. Place them on a clean, dry surface and avoid direct sunlight if you want the colors to stay bright. A sticker wall arrangement works best when you group stickers by theme or color rather than scattering them randomly. If you might rearrange later, test one sticker in a hidden spot first to confirm it lifts cleanly from your wall.
Six steps to layer prints, postcards, and stickers
- Map the wall with tape: Measure your wall and outline the gallery area with painter's tape at eye level (57-60 inches from the floor). Checkpoint: stand back and confirm the tape rectangle feels balanced before making any holes.
- Place the anchor print: Choose the largest print, such as an 8x10 inch piece, and position it slightly off-center. Mistake to avoid: centering the anchor perfectly, which makes the rest of the layout feel rigid.
- Cluster smaller pieces in odd numbers: Group three or five smaller prints and postcards around the anchor, keeping at least 2 inches between frames. Checkpoint: each piece should be readable from three feet away without overlapping.
- Test the layout on the floor: Arrange everything on the floor first, then photograph it to spot uneven gaps. Mistake to avoid: skipping the floor test and drilling extra holes you will later patch.
- Hang from the center outward: Install the anchor first, then work outward in pairs. Use a level and a ruler for consistent spacing. Checkpoint: verify each frame is level before moving to the next one.
- Add stickers as the final layer: Place stickers on a clean, dry surface away from direct sunlight, grouping by theme or color. Mistake to avoid: putting stickers on fresh paint or textured walls without testing removal first.
Product facts for your layered wall
- Zodiac Aquarius Print: 8x10 inch (20x25.5cm) print, printed in Portland, Oregon, packaged in cello with backer board and artist card, ships in a very sturdy flat mailer. The 8x10 size is a reliable anchor for a small print gallery wall, and the flat mailer protects corners during shipping.
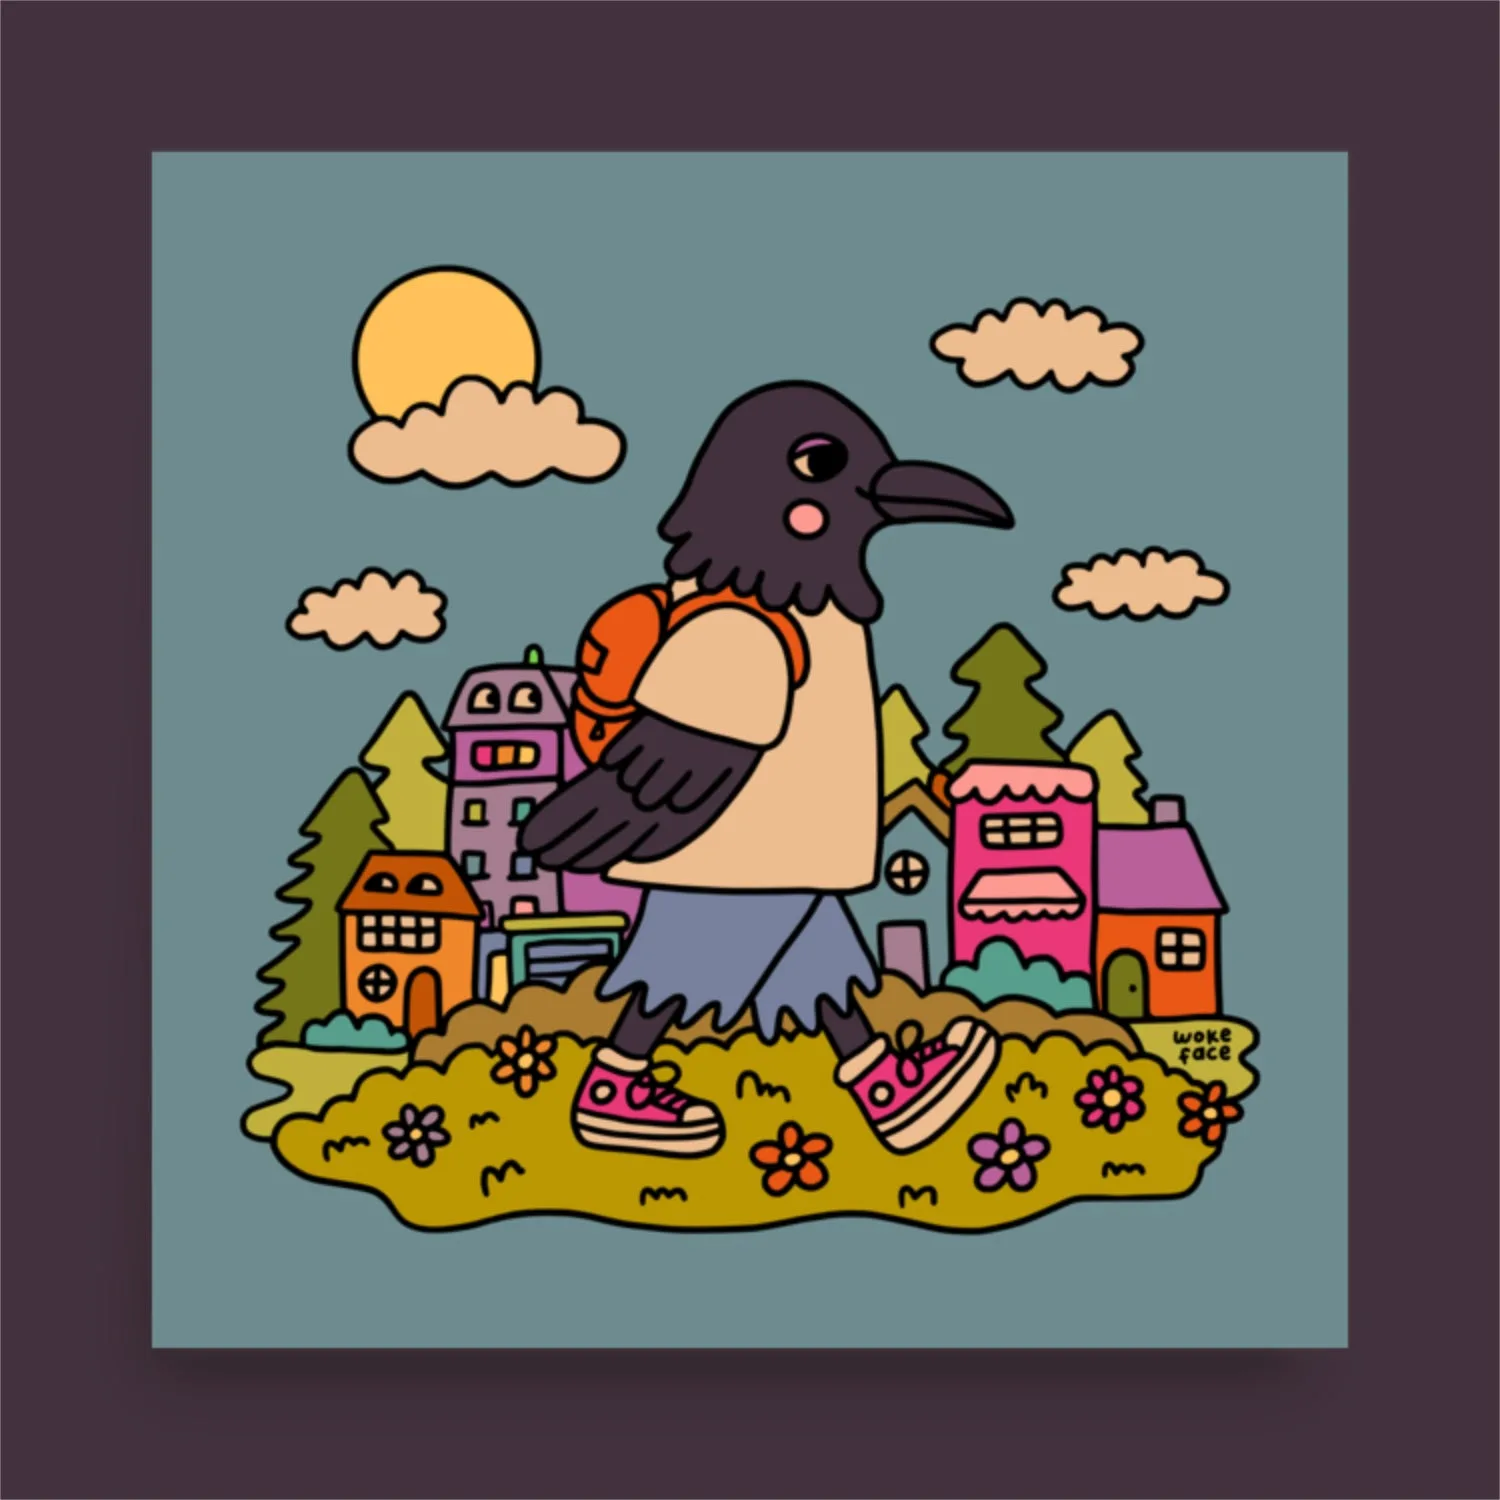
- Crow Walk Print: Saturated print on thick matte paper, paper thickness 10.3 mil, paper weight 189 g/m2, opacity 94%, ISO brightness 104%, paper sourced from Japan, available in multiple sizes. The heavier matte paper resists curling and glare, which helps it sit flat in a layered arrangement. Size options let you scale the print to your wall.
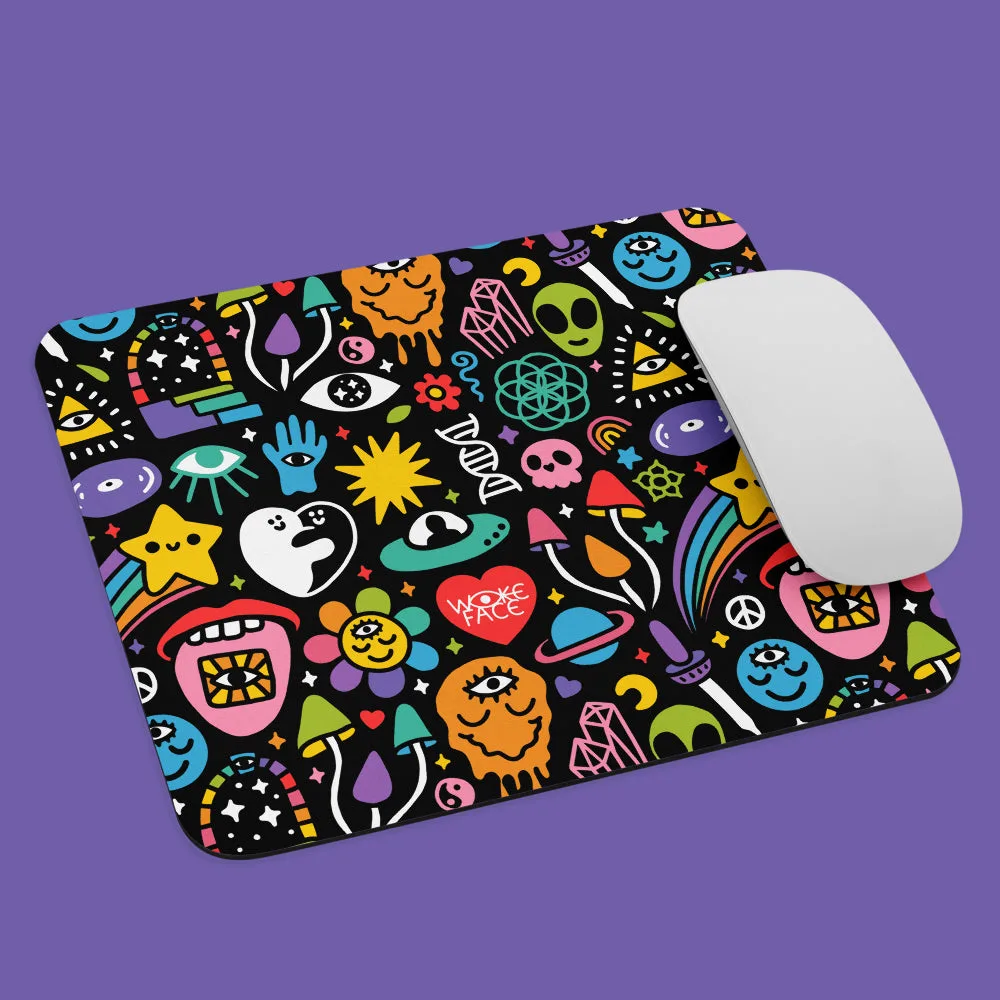
- Trip Mouse Pad: Soft polyester surface with natural rubber base, rounded edges, size 8.7 x 7.1 x 0.12 inches (220 x 180 x 3 mm), printed on demand and ships directly from the printer. If you use a mouse pad as part of a desk-side art display, its low profile and rounded edges keep the surface comfortable. Avoid direct sunlight to prevent fading.