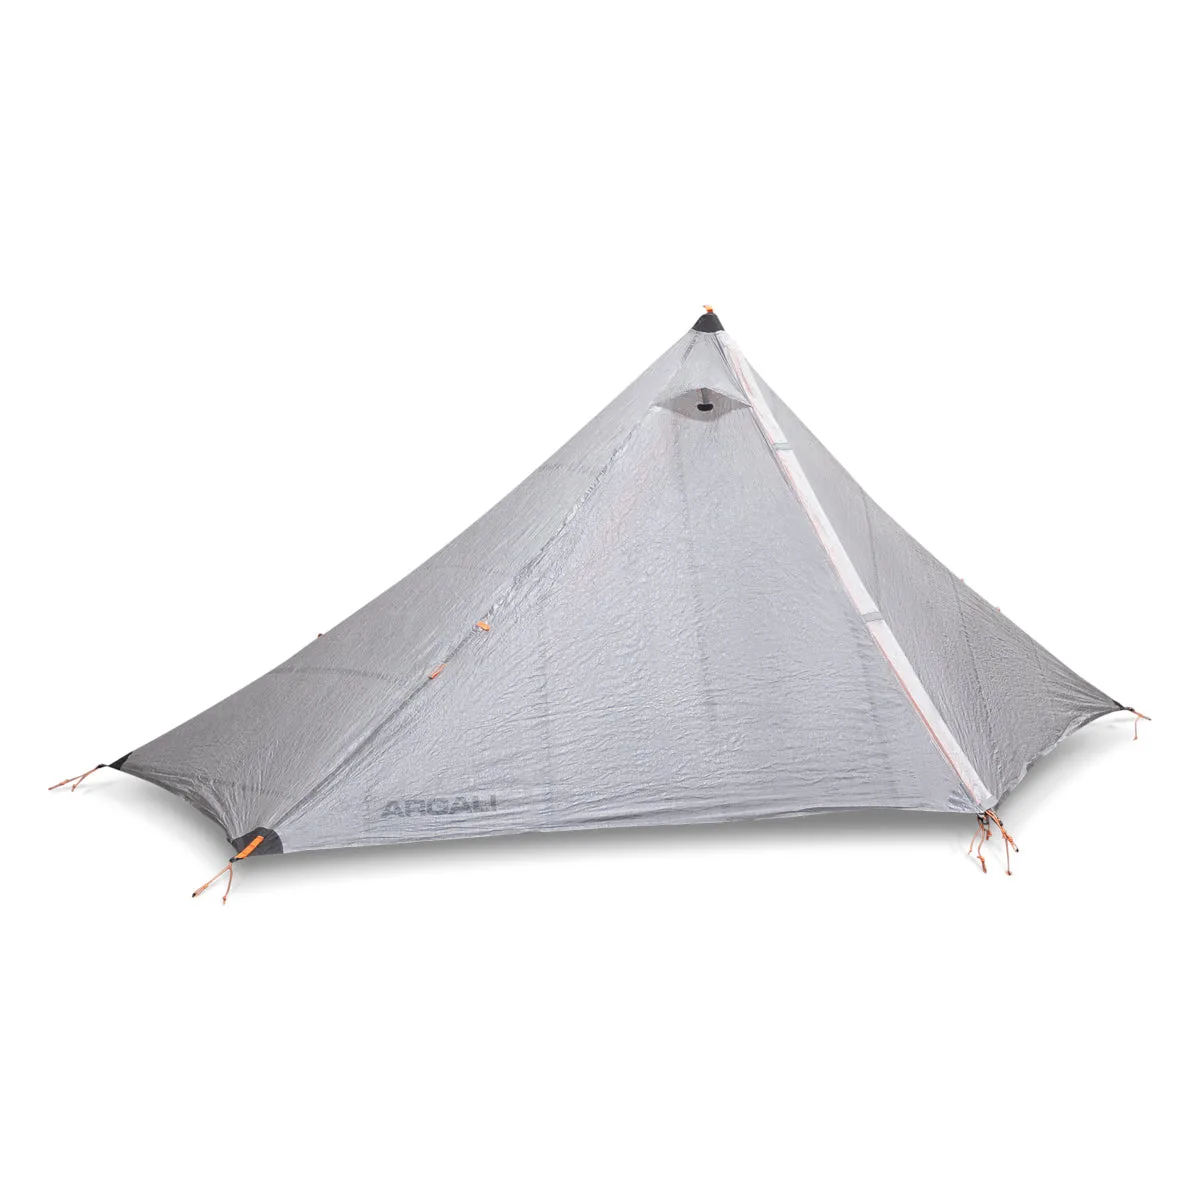
Quick answer
Treat the mattress as your insulation base and the quilt as your adjustable cover. Match the pad's warmth to the ground temperature, then attach or tuck the quilt so it seals around the pad edges instead of hanging open. A quilt that stays connected to the mattress keeps you warmer than a looser bag-style setup, and a dry quilt keeps its loft.
Cold camping fails more often from the ground up than from the top down. Your mattress is what stops heat from draining into the soil, and your quilt only holds the warmth your body already produces. Layer them as one system and a 20°F night feels manageable; treat them as two separate items and you will fight drafts all night.
The process below is the order that works: choose and prepare the pad, set up the quilt attachment, seal the edges, manage moisture, and store everything so it survives the trip. Each step includes the mistake that quietly ruins warmth.
Start with the mattress, not the quilt
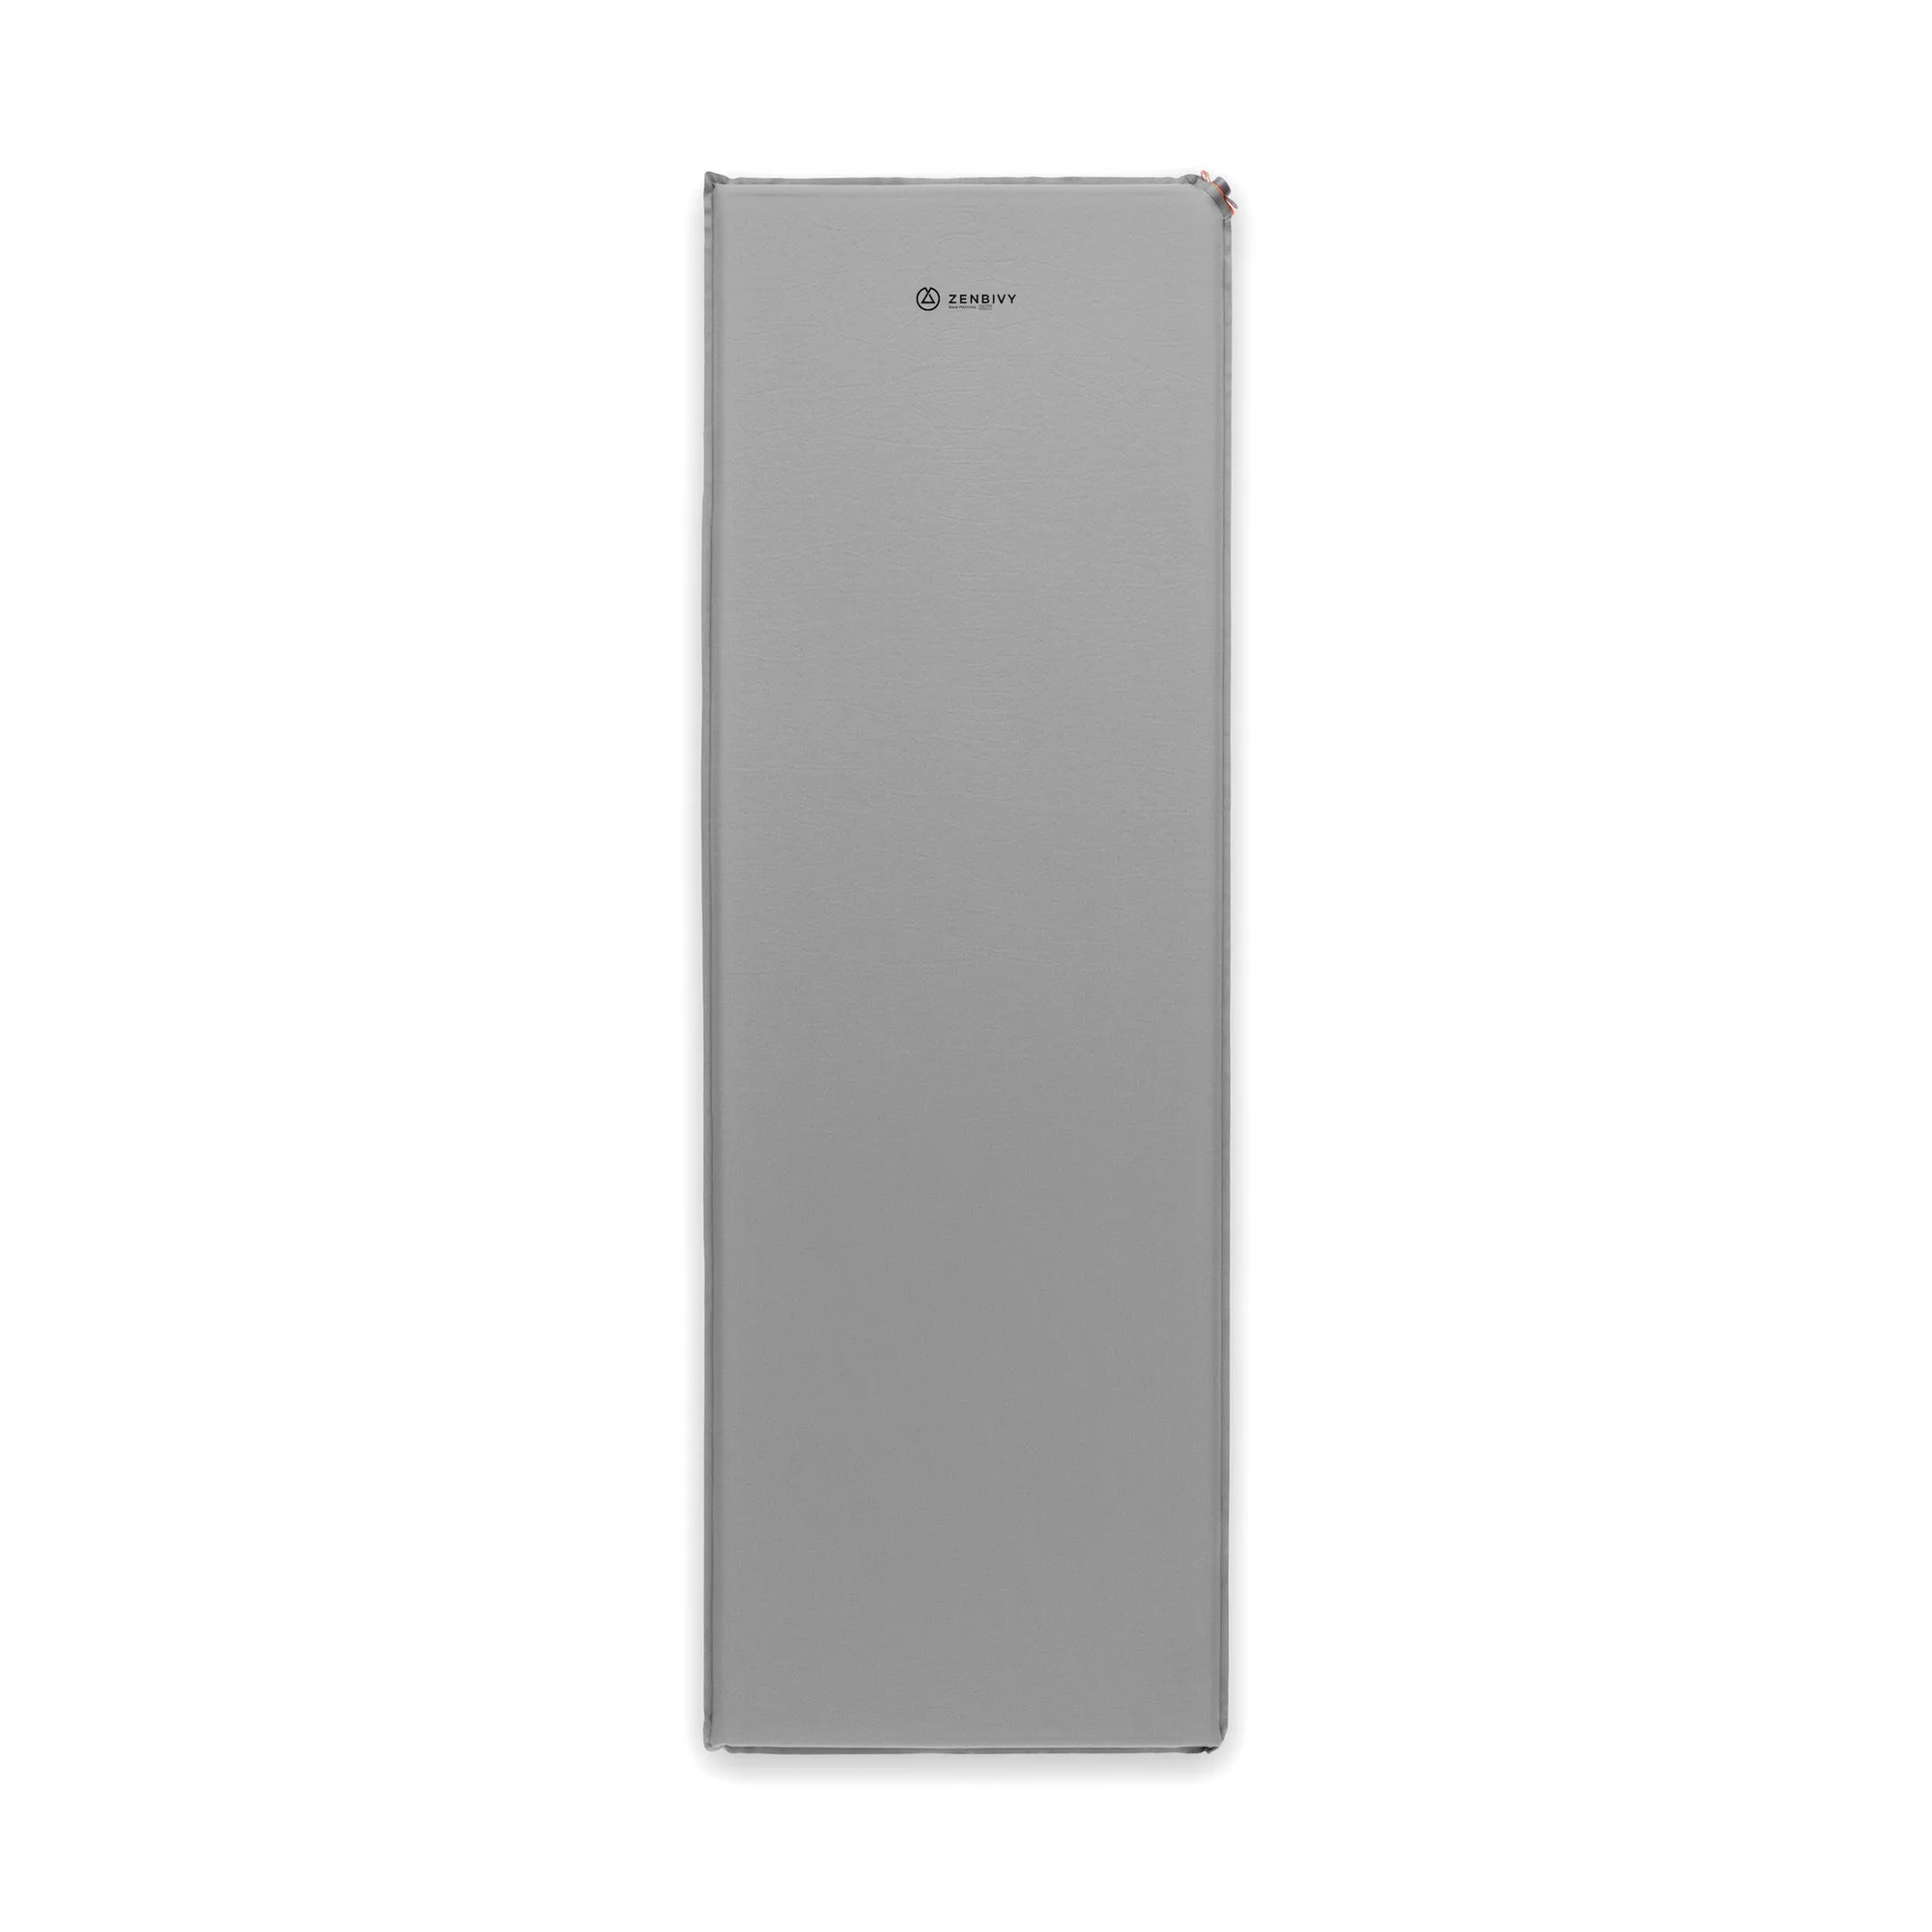
Your sleeping pad is the foundation of a cold weather sleep system. If the pad is under-insulated for the ground temperature, no quilt will fix it. Pick a pad rated for the conditions and inflate it fully before you lay anything on top. A partially inflated pad compresses under your hips and shoulders, creating cold spots that a quilt cannot cover.
Check the pad's surface before you commit to a spot. Sharp debris, pine needles, and rough rock can puncture an ultralight mattress. A tiny puncture at bedtime becomes a cold, deflated night by 2 a.m.
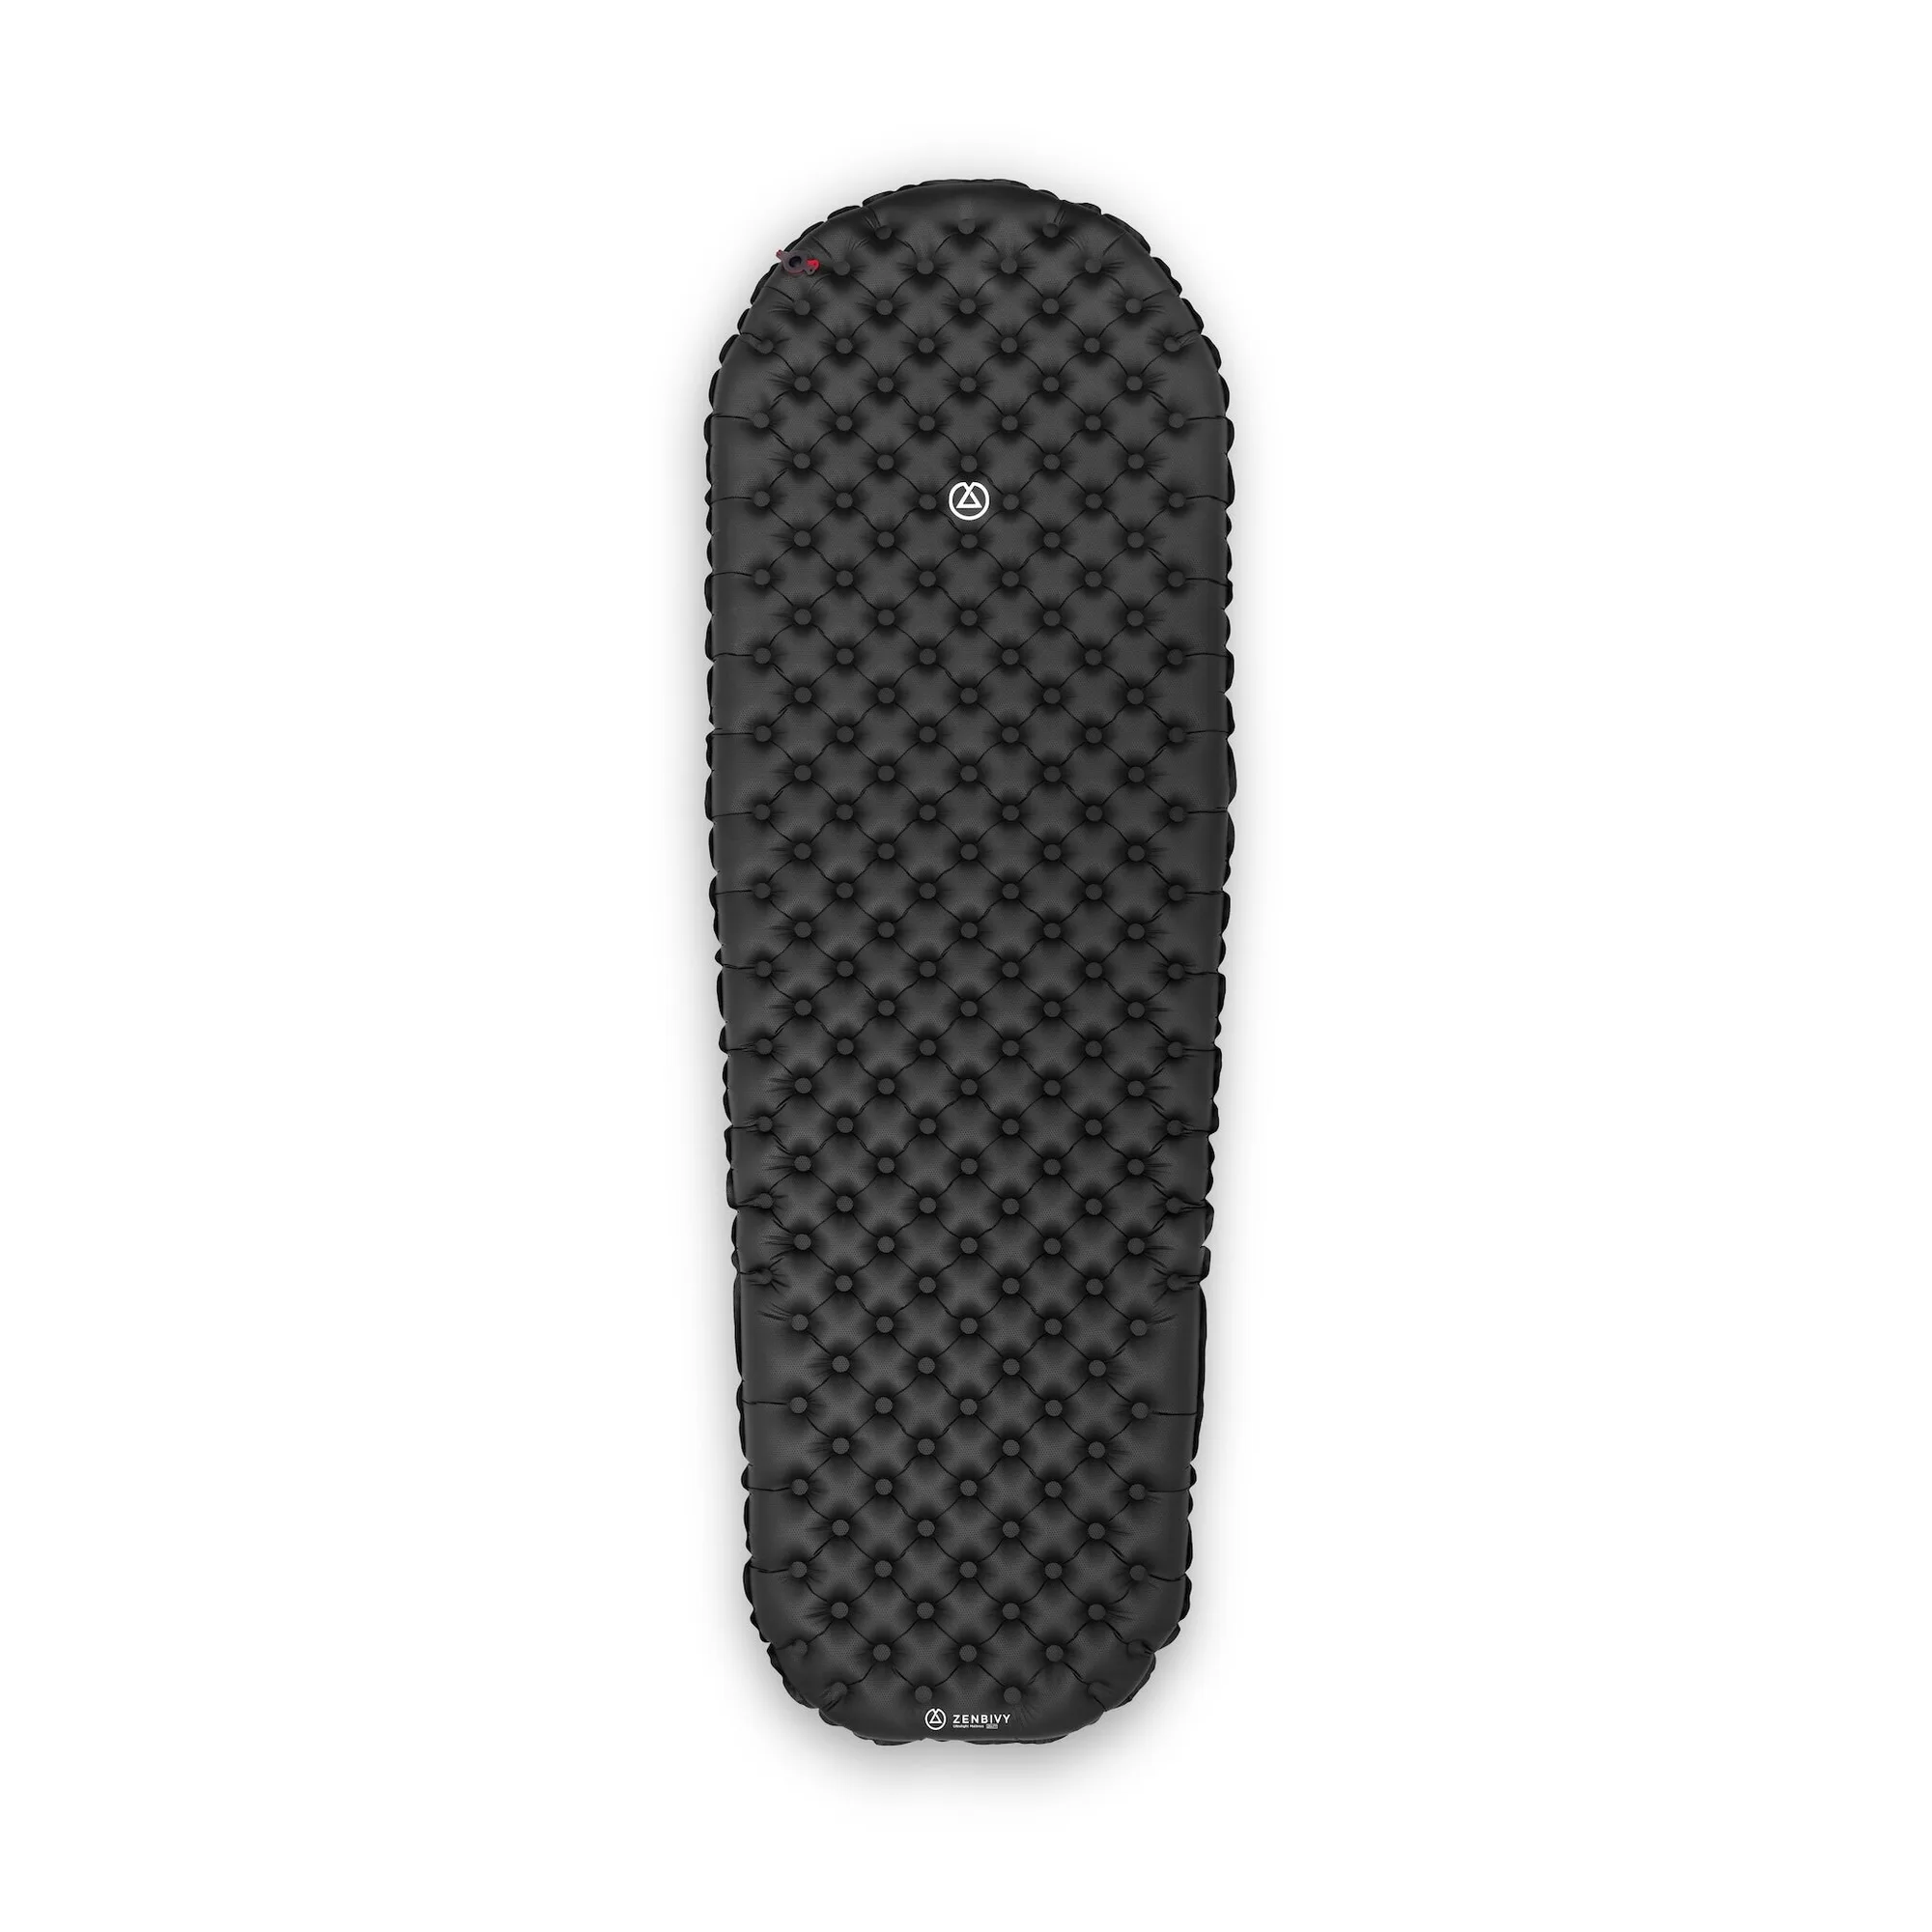
ultralight mattress
- Inflate the pad to firm, then lie on it for a minute before adding the quilt.
- Clear your tent floor or ground sheet of anything sharp before the pad goes down.
Match quilt warmth to the pad, not just the air temperature
A quilt's temperature rating assumes a pad with matching insulation. If your quilt is rated for 20°F but your pad is a thin summer model, you will sleep cold no matter how well you layer. Think of the two ratings as a pair: the pad handles conduction, the quilt handles convection.
In deep cold, add a closed-cell foam pad under an air mattress for a cheap warmth boost. The foam adds a barrier that air cells alone cannot provide, and it also protects the air pad from punctures.
- Write your pad and quilt ratings on a note in your gear bin so you stop guessing.
- If you sleep cold, size up the quilt rather than adding a second one; extra width seals better than extra layers.
Attach the quilt to the mattress before you get in
The biggest advantage of a quilt over a bag is that it can be clipped or strapped to the pad, so it moves with you instead of twisting away. Attach the quilt's straps or clips to the mattress at the widest points, then lie down and roll side to side to test the seal. If the quilt lifts off the pad when you roll, tighten the connection.
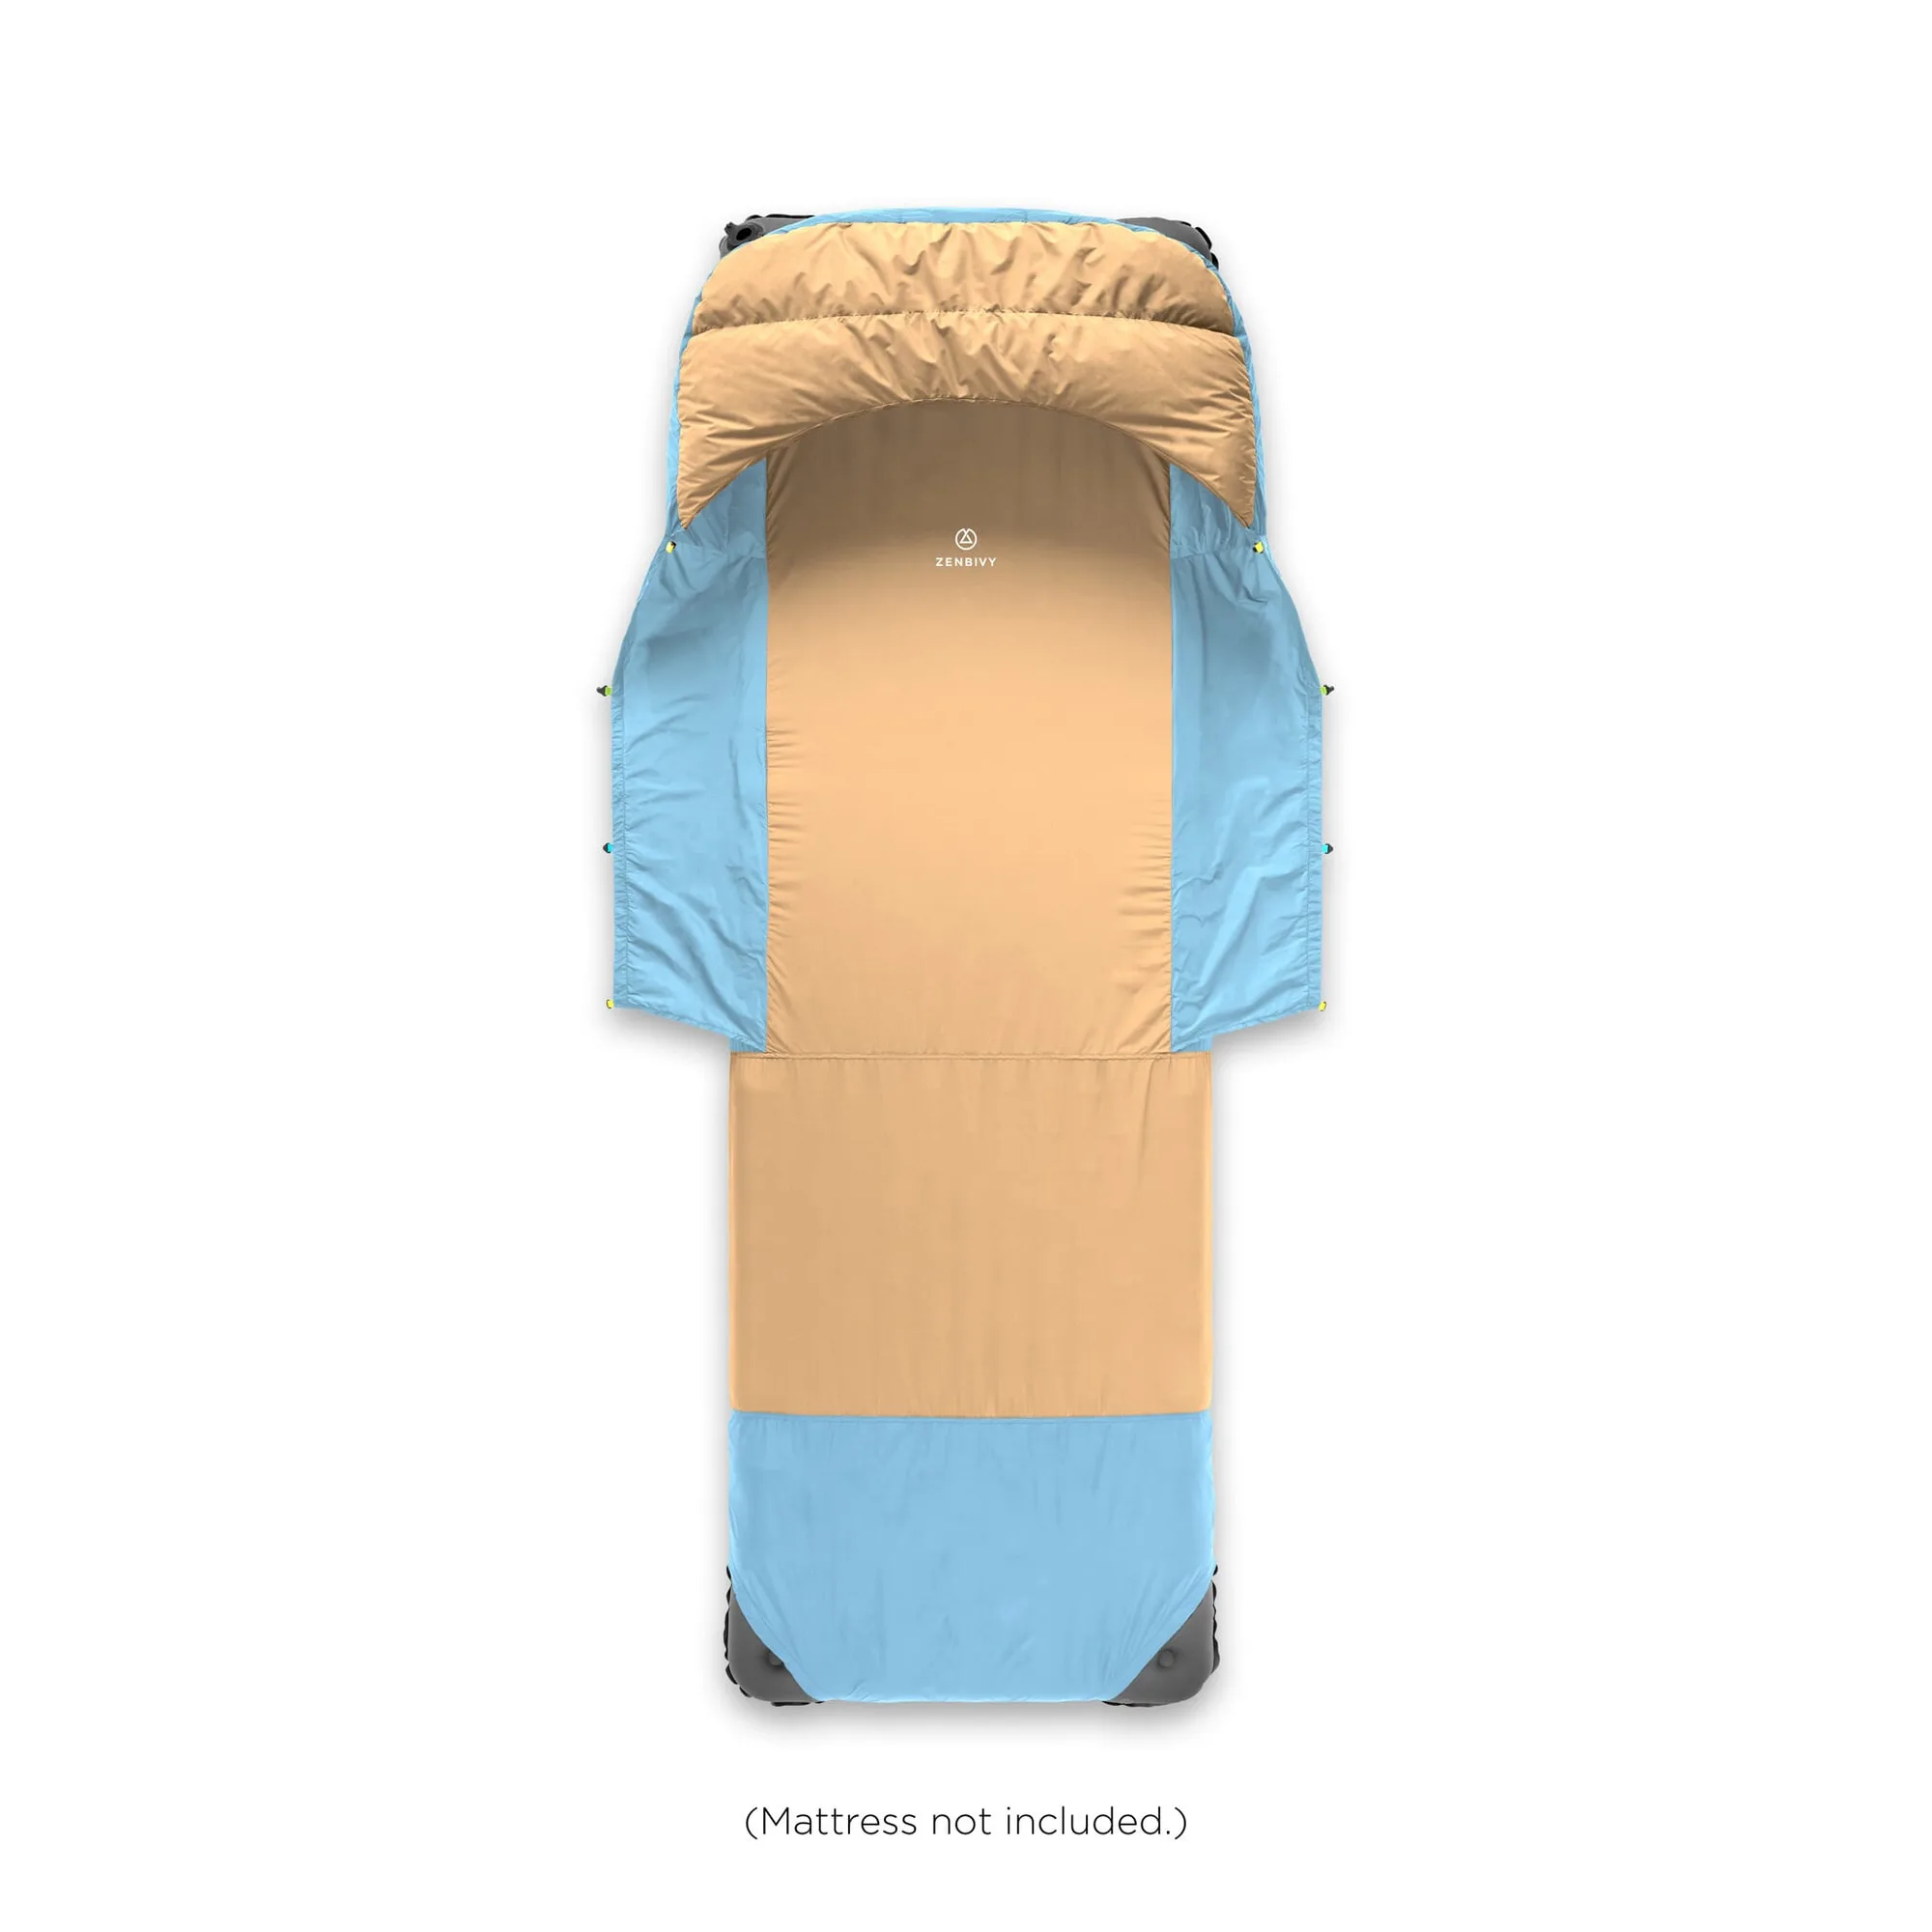
For quilts that use a sheet system, the sheet goes on the mattress first and the quilt clips to the sheet. That setup keeps the quilt aligned and stops it from sliding off during the night. It also keeps your pillow from wandering.
- Test the attachment by rolling both directions before you commit to sleep.
- If your quilt has no attachment points, tuck the edges under the pad rather than leaving them loose.
Seal the edges and manage drafts
Cold air finds every gap. Once the quilt is attached, tuck the side edges under the mattress or use the quilt's draft collar to close the opening around your neck and shoulders. A quilt that hangs over the edge of the pad lets warmth escape sideways, and you will feel it as a cold stripe along your side.
If you use a hooded sheet or a quilt with a hood, pull it over your head before you zip or clip the top closed. Warm air rises, and an open top is the fastest way to lose it. Wear a dry hat if your quilt has no hood.
- Tuck the quilt edges under the pad, not over it, so the pad's edge stays covered.
- Close the top opening to a small breathing gap rather than leaving it wide.
Keep the quilt dry and the pad protected
Moisture is the quiet enemy of a cold weather sleep system. Body vapor and condensation collect in quilt insulation overnight, and damp down loses loft. Ventilate your shelter slightly, keep wet clothing out of the sleep area, and air the quilt in the morning sun before packing.
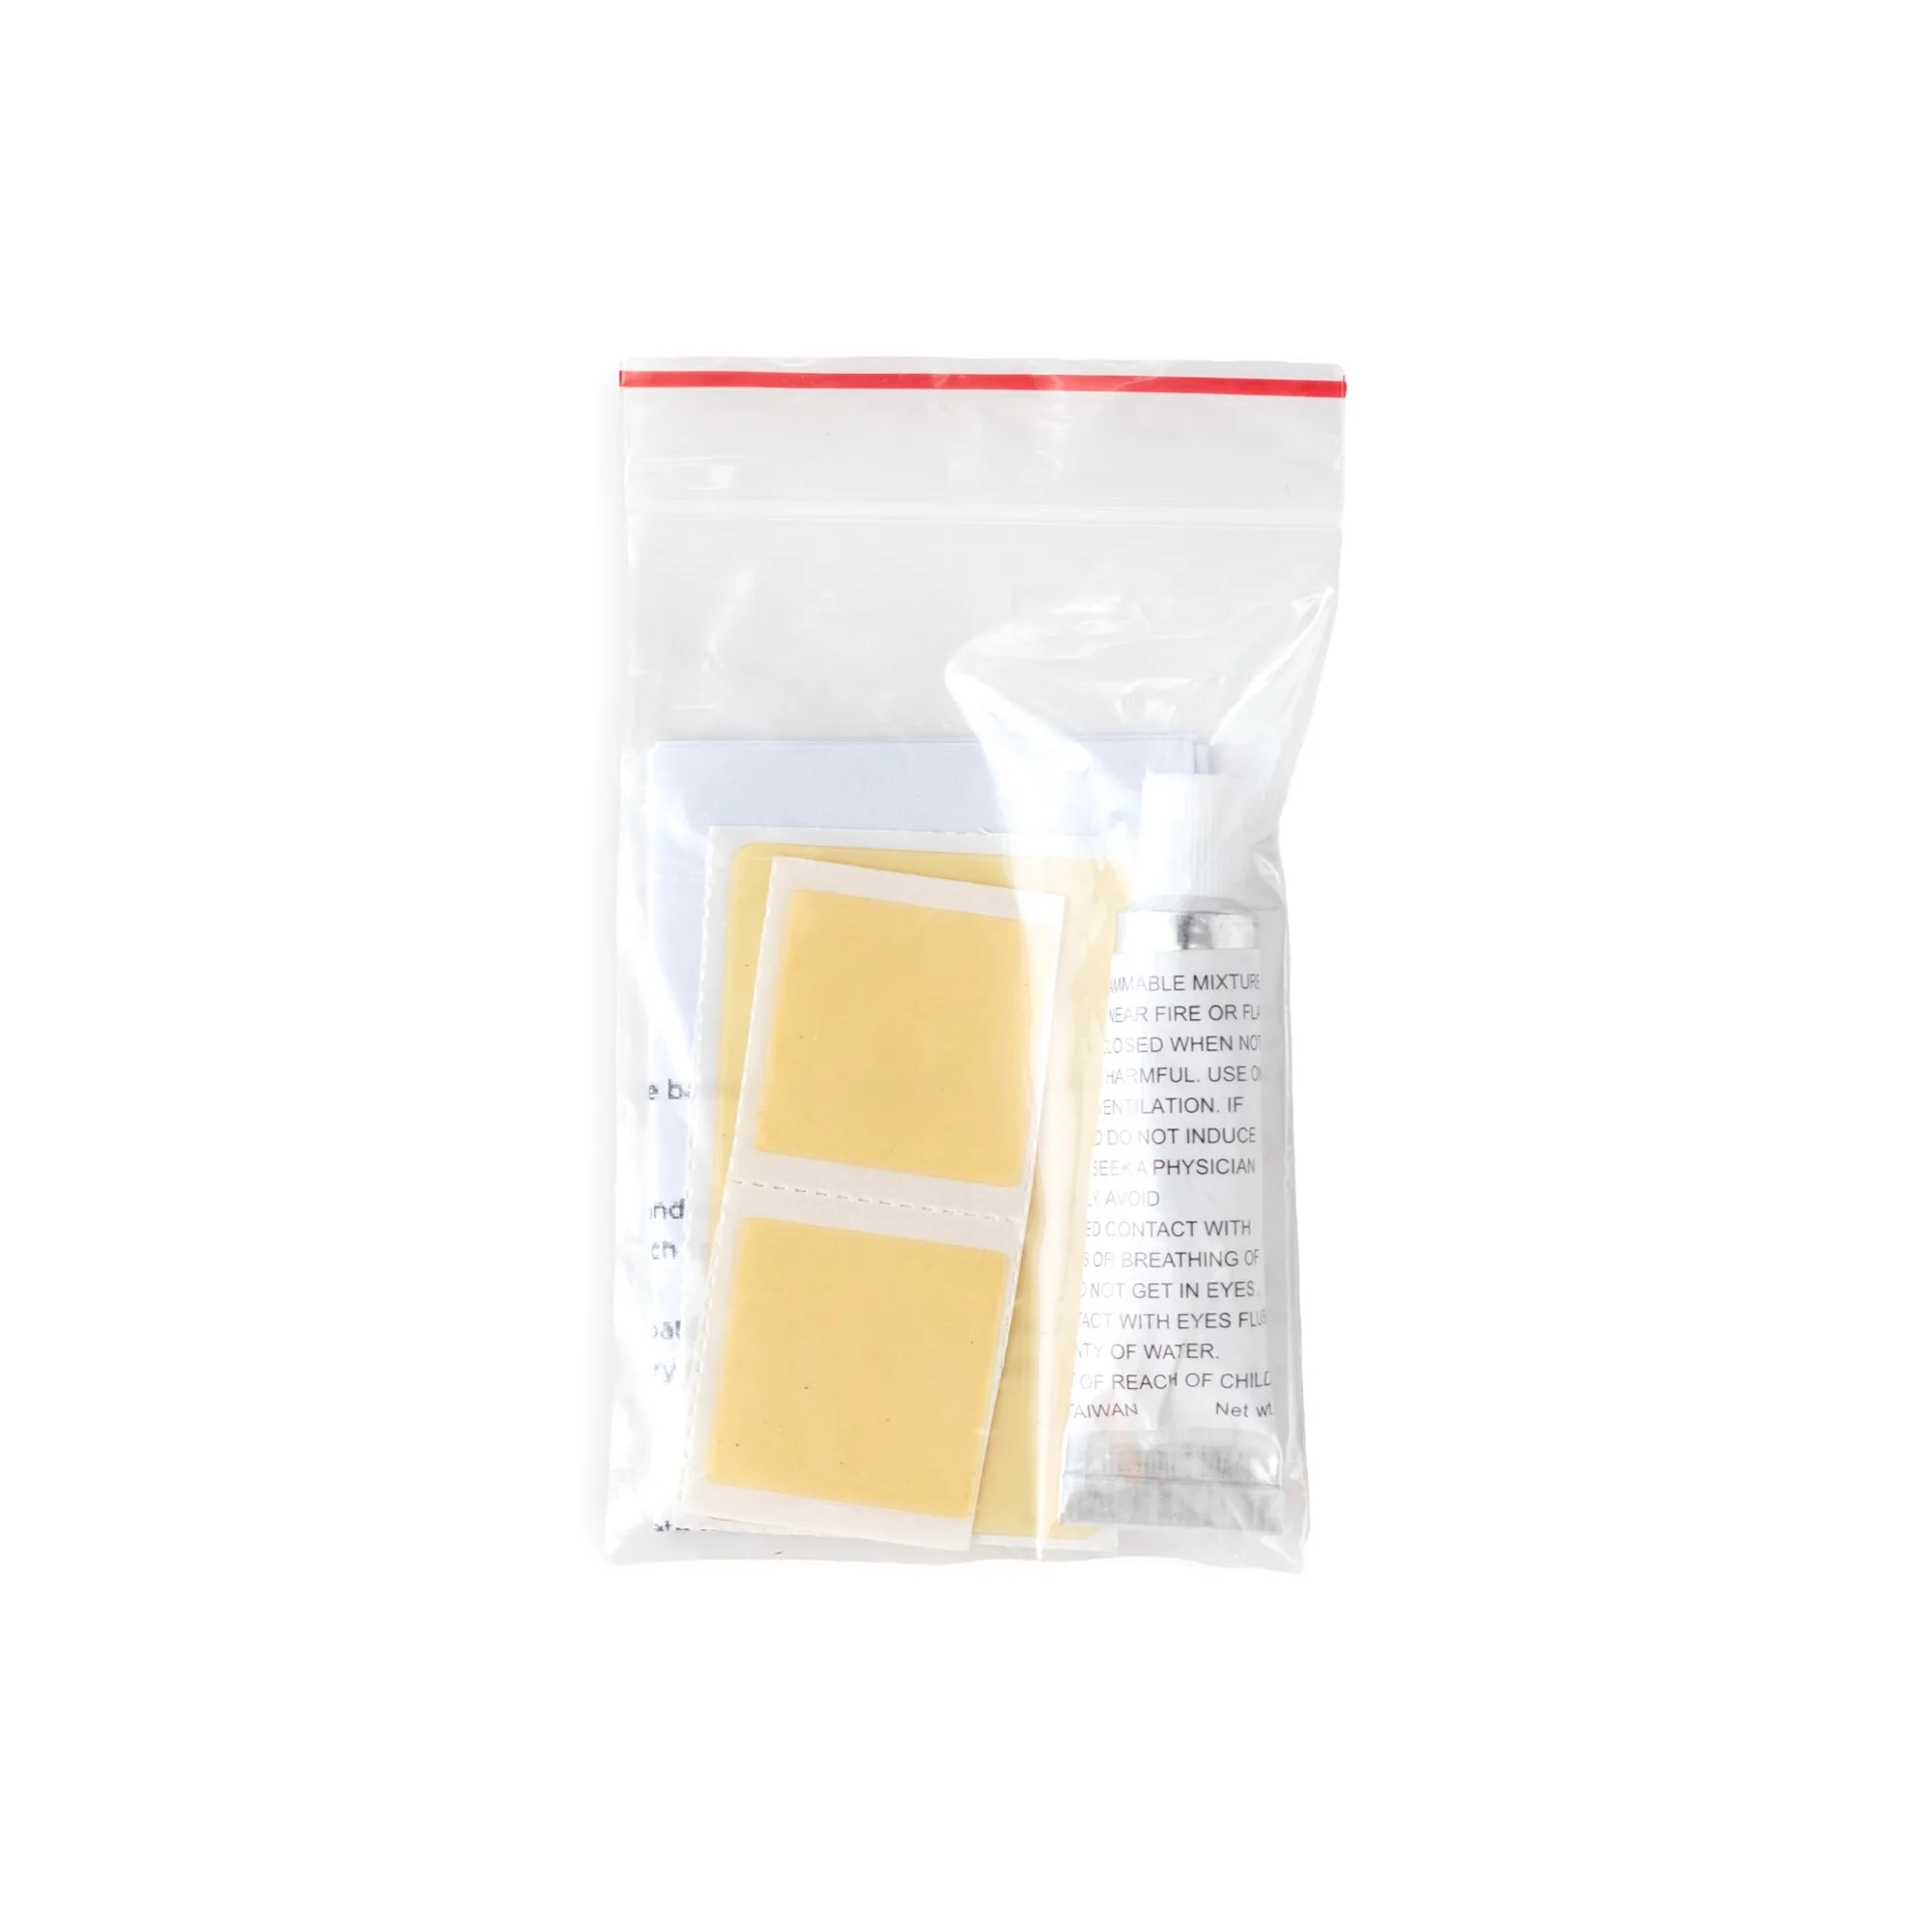
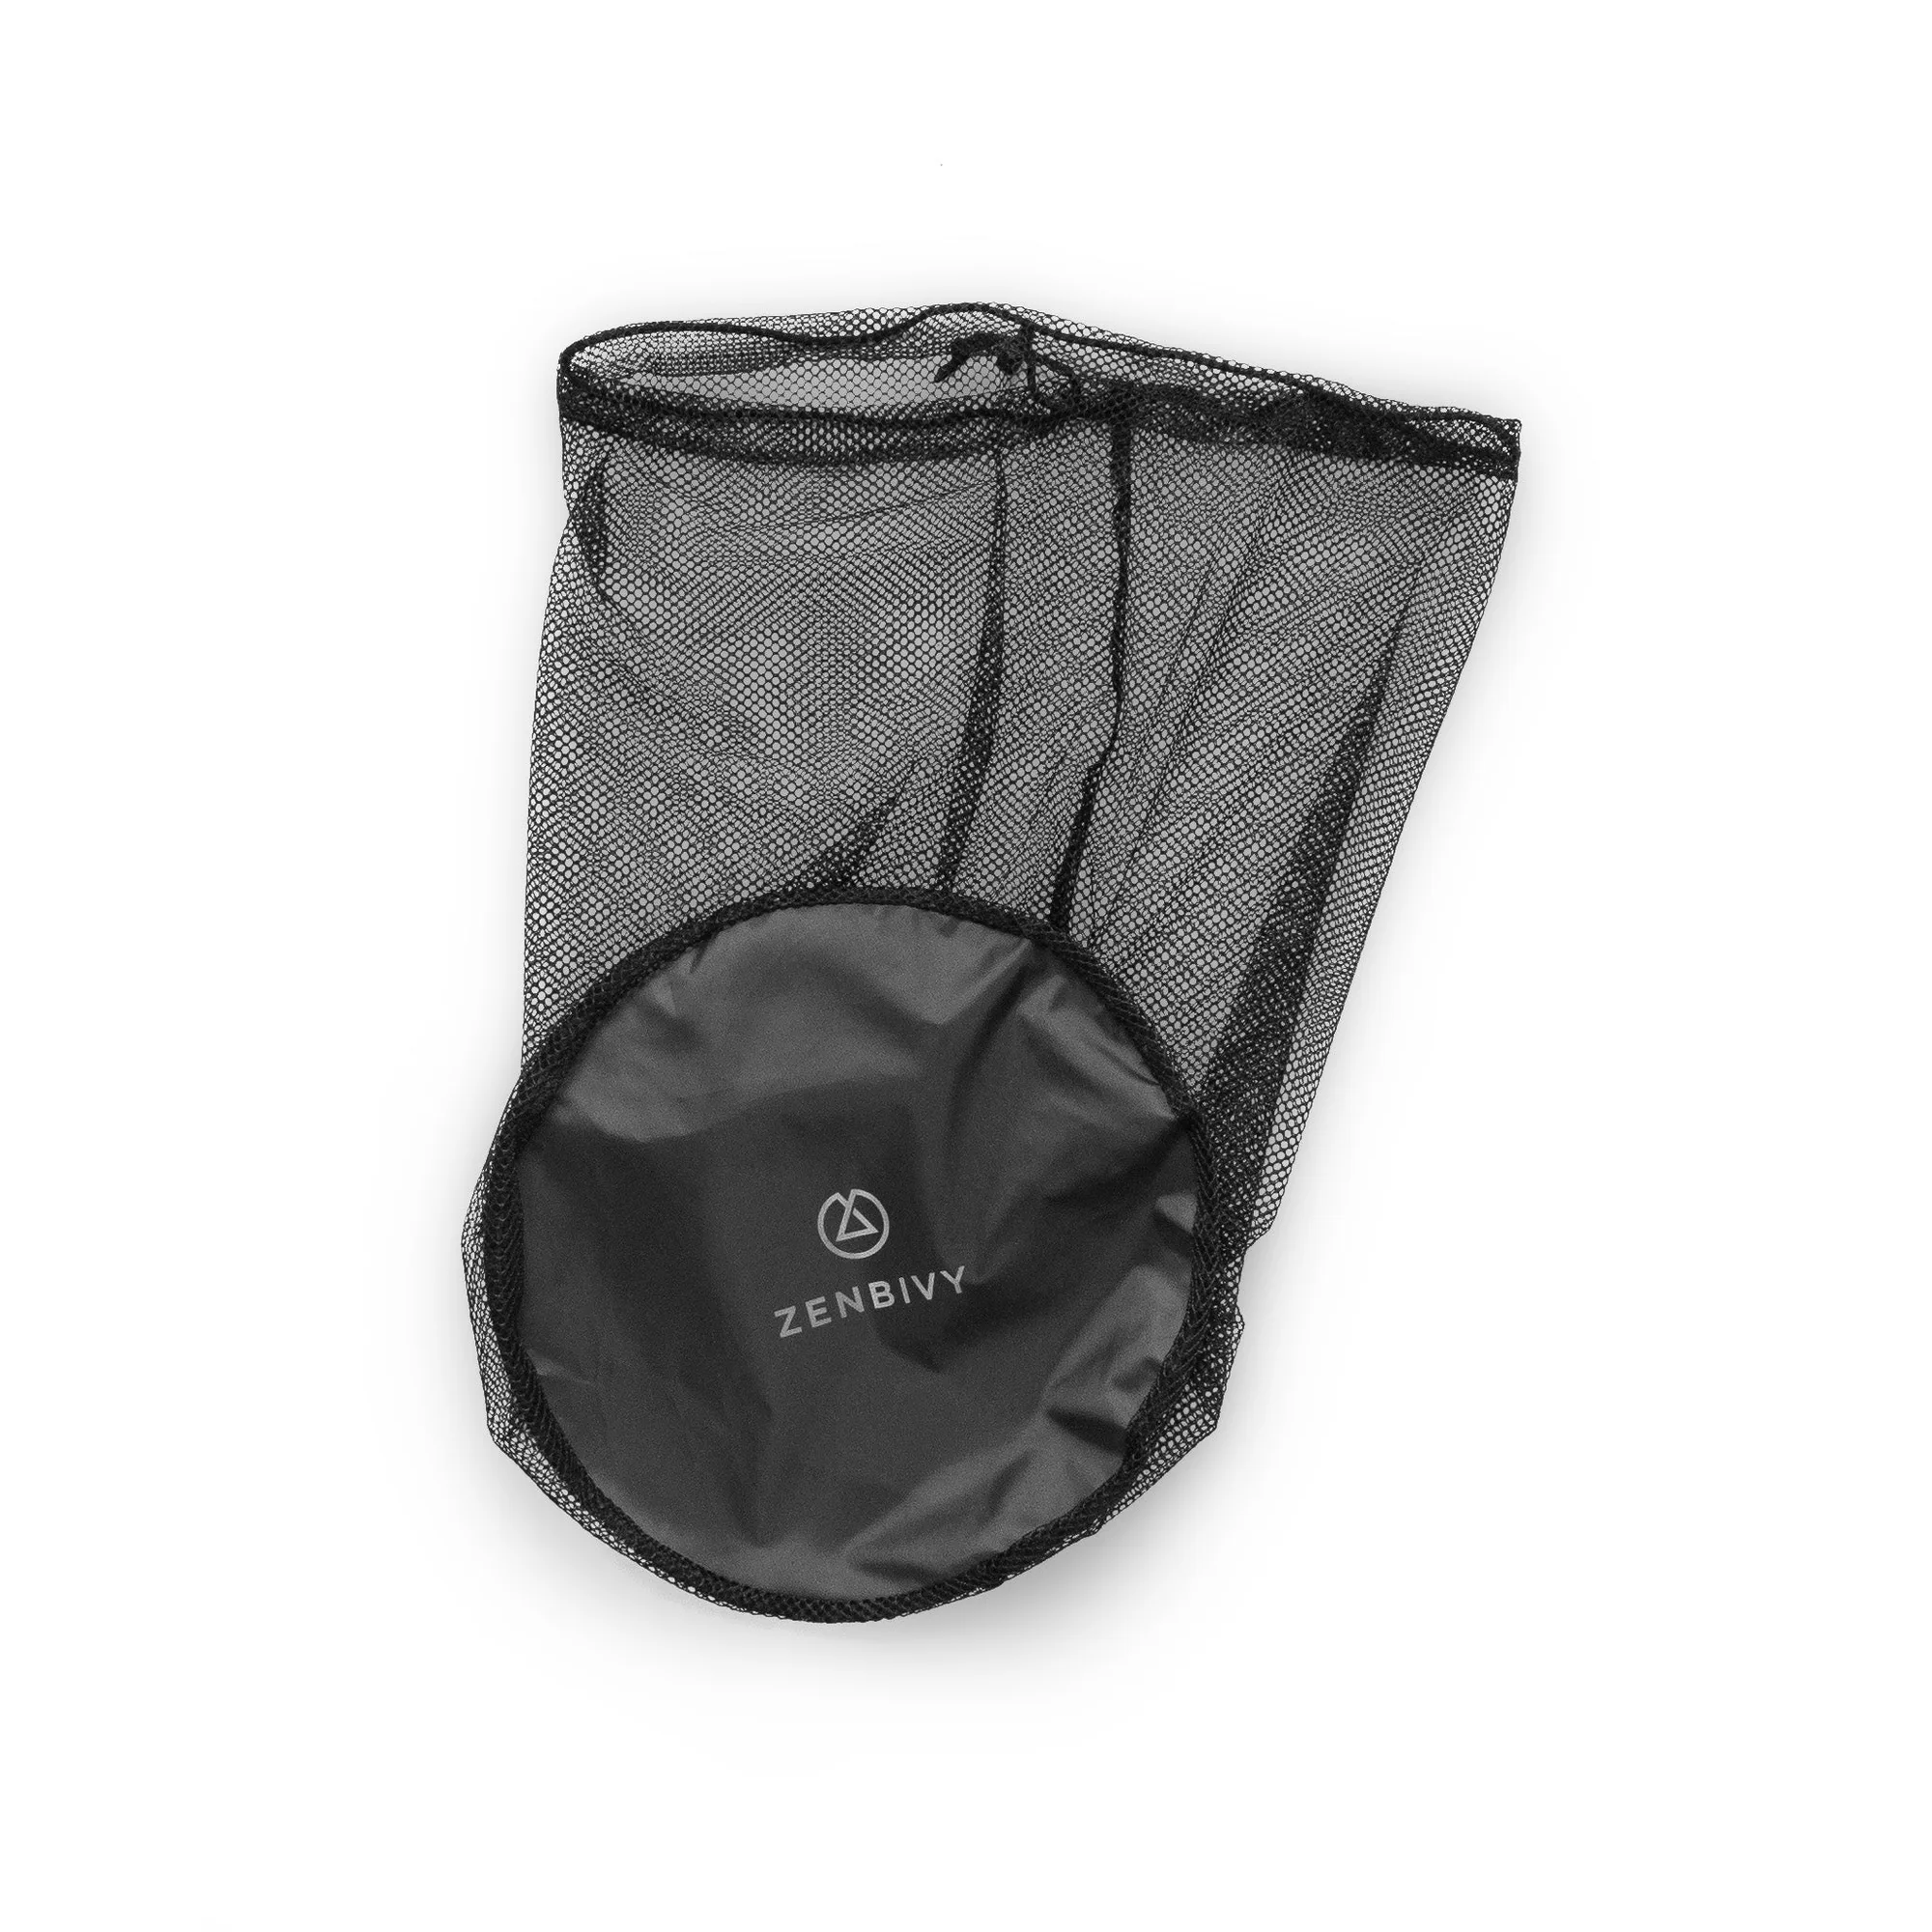
Carry a small repair kit for the mattress. A puncture at camp is a minor inconvenience if you have patches and glue; without them, it is a cold night. Store the quilt loosely in a mesh sack between trips so it keeps its loft instead of staying compressed.
- Pack the quilt in a waterproof liner inside your pack so rain never reaches it.
- Air and dry the quilt every morning before you roll it up.
Cold camping layering steps
- Inflate and inspect the mattress: Fill the pad fully and lie on it before adding anything else. Run a hand over the ground first and remove sharp objects. Checkpoint: if you sink to the ground at hips or shoulders, add air or add a foam layer.
- Match quilt and pad ratings: Confirm the pad's warmth suits the forecast ground temperature and that the quilt is rated for the air temperature. Treat them as a pair. Mistake to avoid: bringing a summer pad under a winter quilt.
- Attach the quilt to the pad: Clip or strap the quilt to the mattress at the widest points, or install the sheet first if your system uses one. Roll side to side to test. Checkpoint: the quilt should stay put when you roll; tighten if it lifts.
- Seal the edges and top: Tuck quilt edges under the pad, close the draft collar or hood, and leave only a small breathing gap. Mistake to avoid: leaving the top wide open and losing heat all night.
- Manage moisture and store correctly: Ventilate the shelter, keep wet layers away from the quilt, air it each morning, and store it loosely in a mesh sack at home. Next step: carry a repair kit so a pad puncture does not end the trip.
Gear that makes layering work
- Light Sheet: The Zenbivy Light Sheet features an ultra-soft 25D Pongee lining and provides full mattress coverage for maximum comfort. It blocks drafts, eliminates constriction, and keeps your pillow securely in place throughout the night. On cold nights, keep your head warm under the sheet's insulated hood. Available in down and synthetic. Compatible with any Zenbivy clip quilt. A sheet that covers the whole mattress and clips to the quilt is the cleanest way to seal the quilt-to-pad connection, which is exactly what cold camping demands.
- Mesh Storage Sack: All Zenbivy quilts come with a mesh storage sack for long-term storage between camping trips. Looking for a spare or a replacement? We've got you covered. Storing a quilt compressed kills loft over time; a mesh sack lets it breathe between trips so it performs on cold nights.
- Mattress Repair Kit: Punctures happen... but a punctured sleeping pad shouldn't end your trip early. Zenbivy's Mattress Repair Kit gets you back to a full night's sleep fast. Each Repair Kit includes repair glue (travel-size tube), 3 durable TPU patches, and instructions. A pad puncture in cold weather is a safety issue, not just a comfort one; a patch kit keeps the insulation base intact.
- Pack Liner: Simplify your packing process. The Zenbivy Pack Liner is a fully waterproof, easy-to-compress dry sack that holds all your sleep gear in one compact layer at the base of your pack—saving time, maximizing space, and eliminating frustration. Keeping the quilt and pad dry on the hike in protects the loft that makes your layering strategy work.
Layer your quilt and mattress as one system: warm pad underneath, quilt attached and sealed on top, both kept dry. Get those three things right and cold camping becomes a comfort problem you have already solved.