Quick answer
Apply your water-based serums and treatments first, wait until they absorb, then use your LED mask on clean, dry skin. Skip heavy creams, oils, and occlusives before your session because they can block light. After your 12-minute session, follow with moisturizer and any active ingredients your skin tolerates.
Why the order matters more than the products
LED light therapy works by delivering specific wavelengths to your skin. Red (630nm) and infrared (850nm) light target collagen production and fine lines, while blue (460nm) light targets acne-causing bacteria. Anything sitting on top of your skin can scatter or absorb that light before it reaches the deeper layers. That is why the order of your routine matters: thin, water-based products go first, and thick, oil-based products go last or get skipped before your session.
The 12-minute auto shut-down timer on the Lumamask Pro gives you a built-in window. Use the time before your session to apply lightweight products and let them absorb. Use the time after to seal everything in. This keeps your routine efficient and your sessions consistent.
The 4-step layering routine
Step 1: Cleanse and dry. Start with a gentle cleanser to remove makeup, sunscreen, and oil. Pat your face dry with a clean towel. Any residue left on the skin can interfere with light penetration. Checkpoint: your skin should feel clean but not tight or stripped.
Step 2: Apply water-based serums and treatments. This is the time for hydrating serums, niacinamide, or vitamin C. These thin formulas absorb quickly and will not block light. Wait 1-2 minutes until your skin feels dry to the touch. Common mistake: layering too many products at once and leaving a tacky film that never fully absorbs.
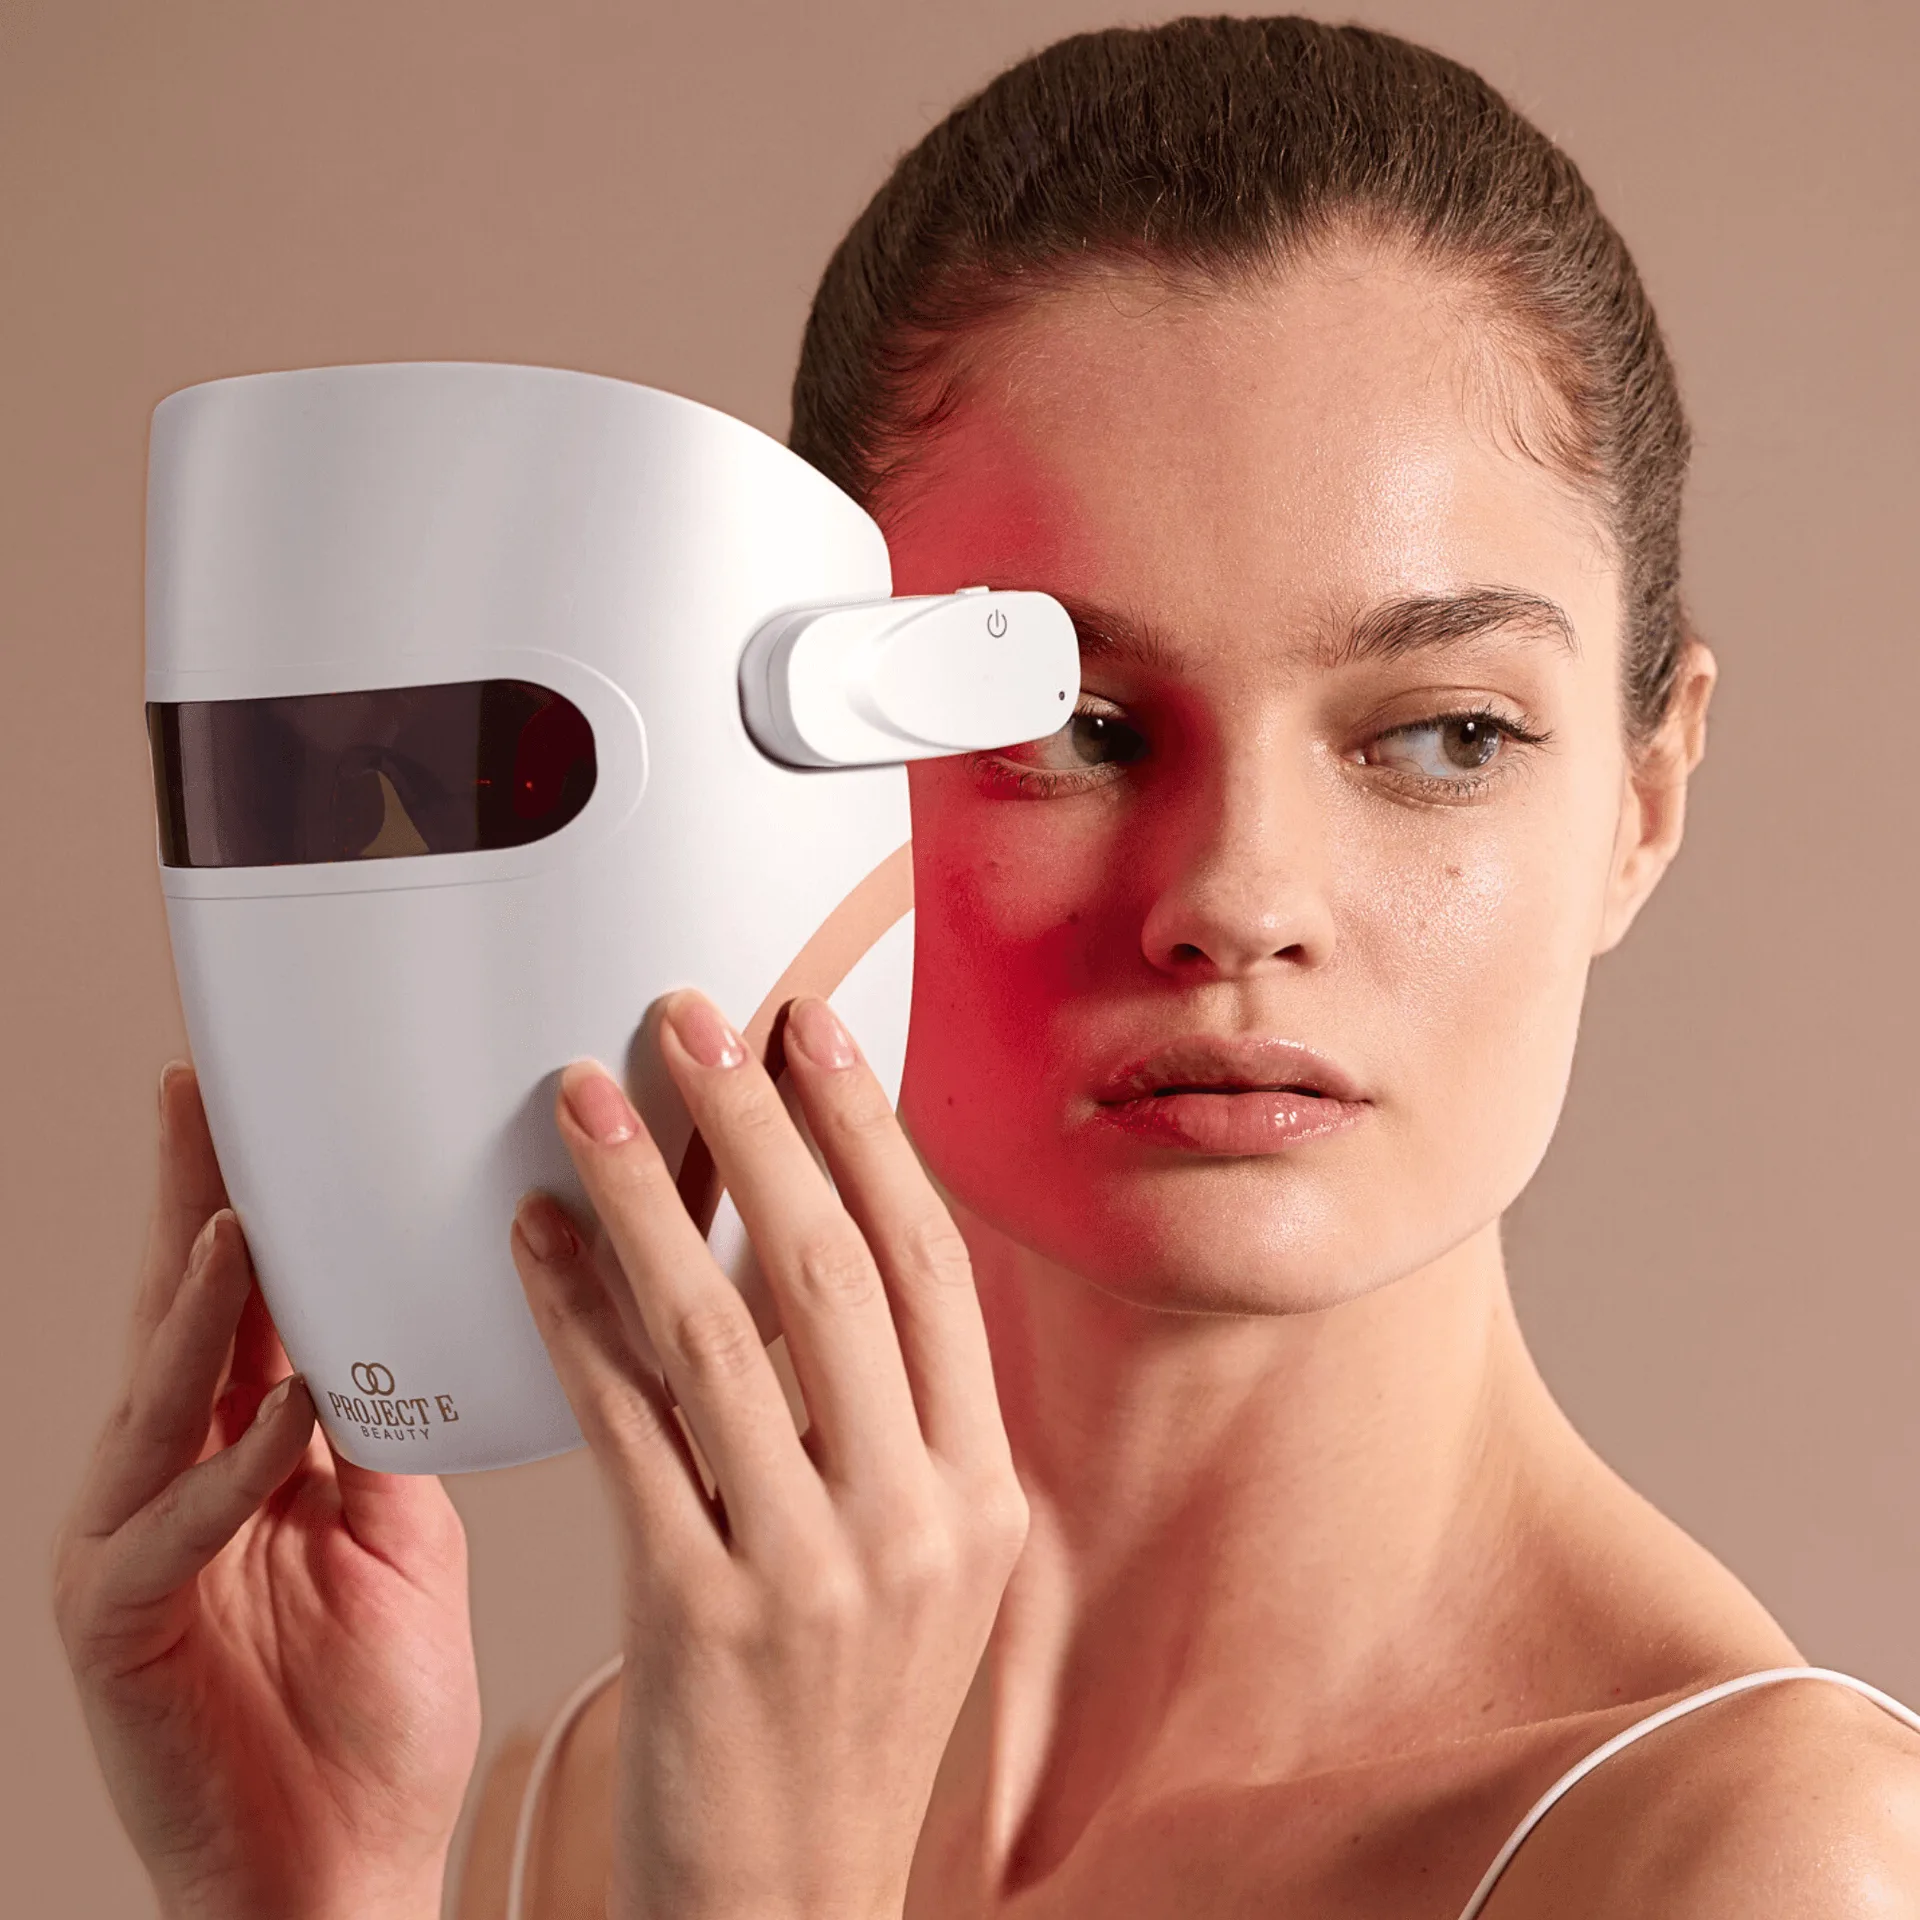
Step 3: Use your LED mask. Put on the Lumamask Pro and run your chosen mode. The 12-minute timer handles the rest. If your device allows, use the red and infrared mode for anti-aging or the blue mode for acne. Checkpoint: if you feel heat or discomfort, stop and check the fit and settings.
Step 4: Finish with moisturizer and occlusives. After your session, apply your moisturizer, face oil, or night cream. These heavier products lock in hydration and support your skin barrier overnight. This is also the time for retinol or exfoliating acids if your skin tolerates them. Common mistake: applying retinol before your LED session, which can increase sensitivity during treatment.
What to skip before your LED session
Not every product belongs under your mask. Heavy creams, facial oils, and thick occlusives create a barrier that light cannot easily pass through. Sunscreen is another one to skip before your session because its purpose is to block light. If you are using prescription retinoids or strong acids, apply them after your LED session, not before.
If your skin is sensitive, patch-test new products on a small area before using them with your LED mask. The combination of light and active ingredients can amplify irritation for some people.
How body devices change the layering question
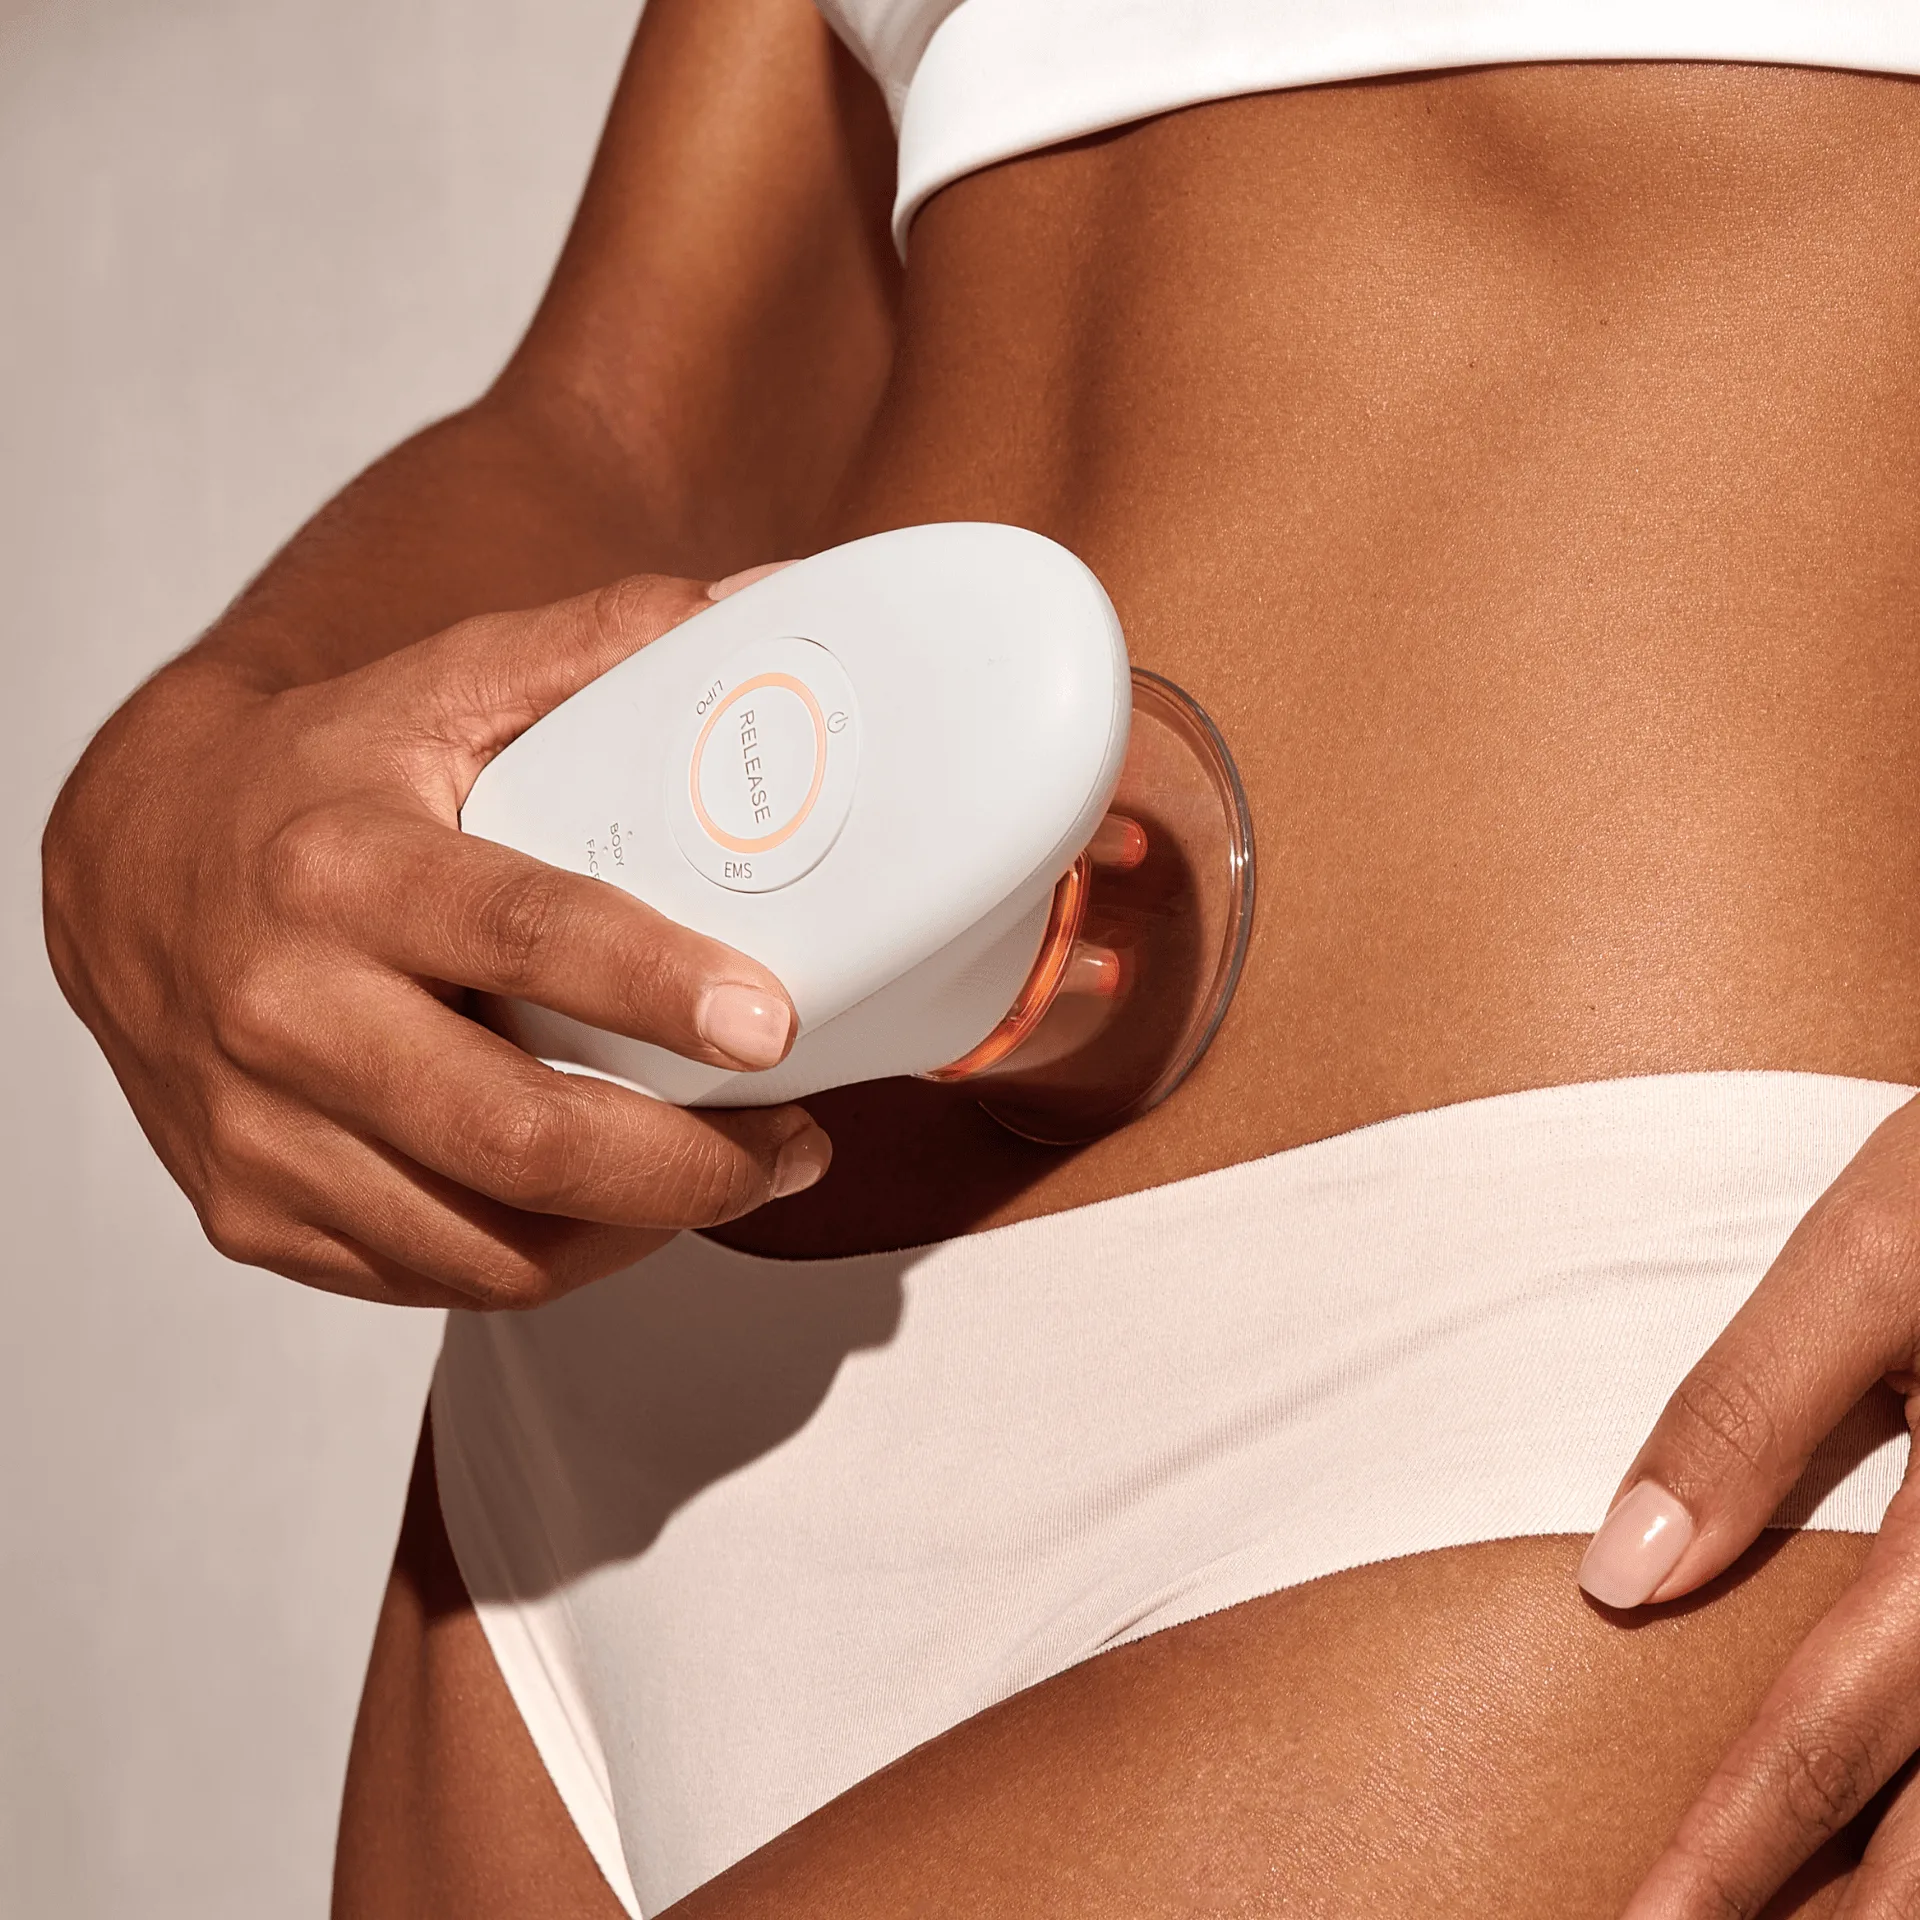
If you are using a body contour device like the SERA Vacuum Body Contour Device, the same principle applies: clean, dry skin gives the best contact. Vacuum therapy, EMS, and red light therapy work together to target adipose tissue, muscle, and skin, but a thick layer of lotion can reduce suction and light delivery. Apply body lotion after your 10-minute treatment, not before.
This is different from a face mask session because body devices often require direct skin contact for the vacuum seal to work. Check your device manual for specific guidance on product use before treatment.
Step-by-step: your LED mask layering routine
- Cleanse and dry: Use a gentle cleanser to remove makeup, sunscreen, and oil. Pat dry with a clean towel. Checkpoint: skin should feel clean, not tight.
- Apply water-based serums: Layer hydrating serums, niacinamide, or vitamin C. Wait 1-2 minutes until absorbed. Common mistake: leaving a tacky film that blocks light.
- Run your LED session: Put on your LED mask and select your mode. The 12-minute timer on the Lumamask Pro handles the rest. Checkpoint: stop if you feel heat or discomfort.
- Finish with moisturizer: Apply moisturizer, face oil, or night cream. This is also the time for retinol or exfoliating acids. Common mistake: applying retinol before your session instead of after.
Products that fit this routine
- Lumamask Pro | LED Red Light Therapy Face Mask: Lumamask Pro uses 3 clinically recognized wavelengths: red (630nm), blue (460nm), and infrared (850nm), with 2 modes for anti-acne and anti-aging. Knowing your device's wavelengths helps you choose the right serum: blue light pairs well with acne treatments, while red and infrared support anti-aging serums.
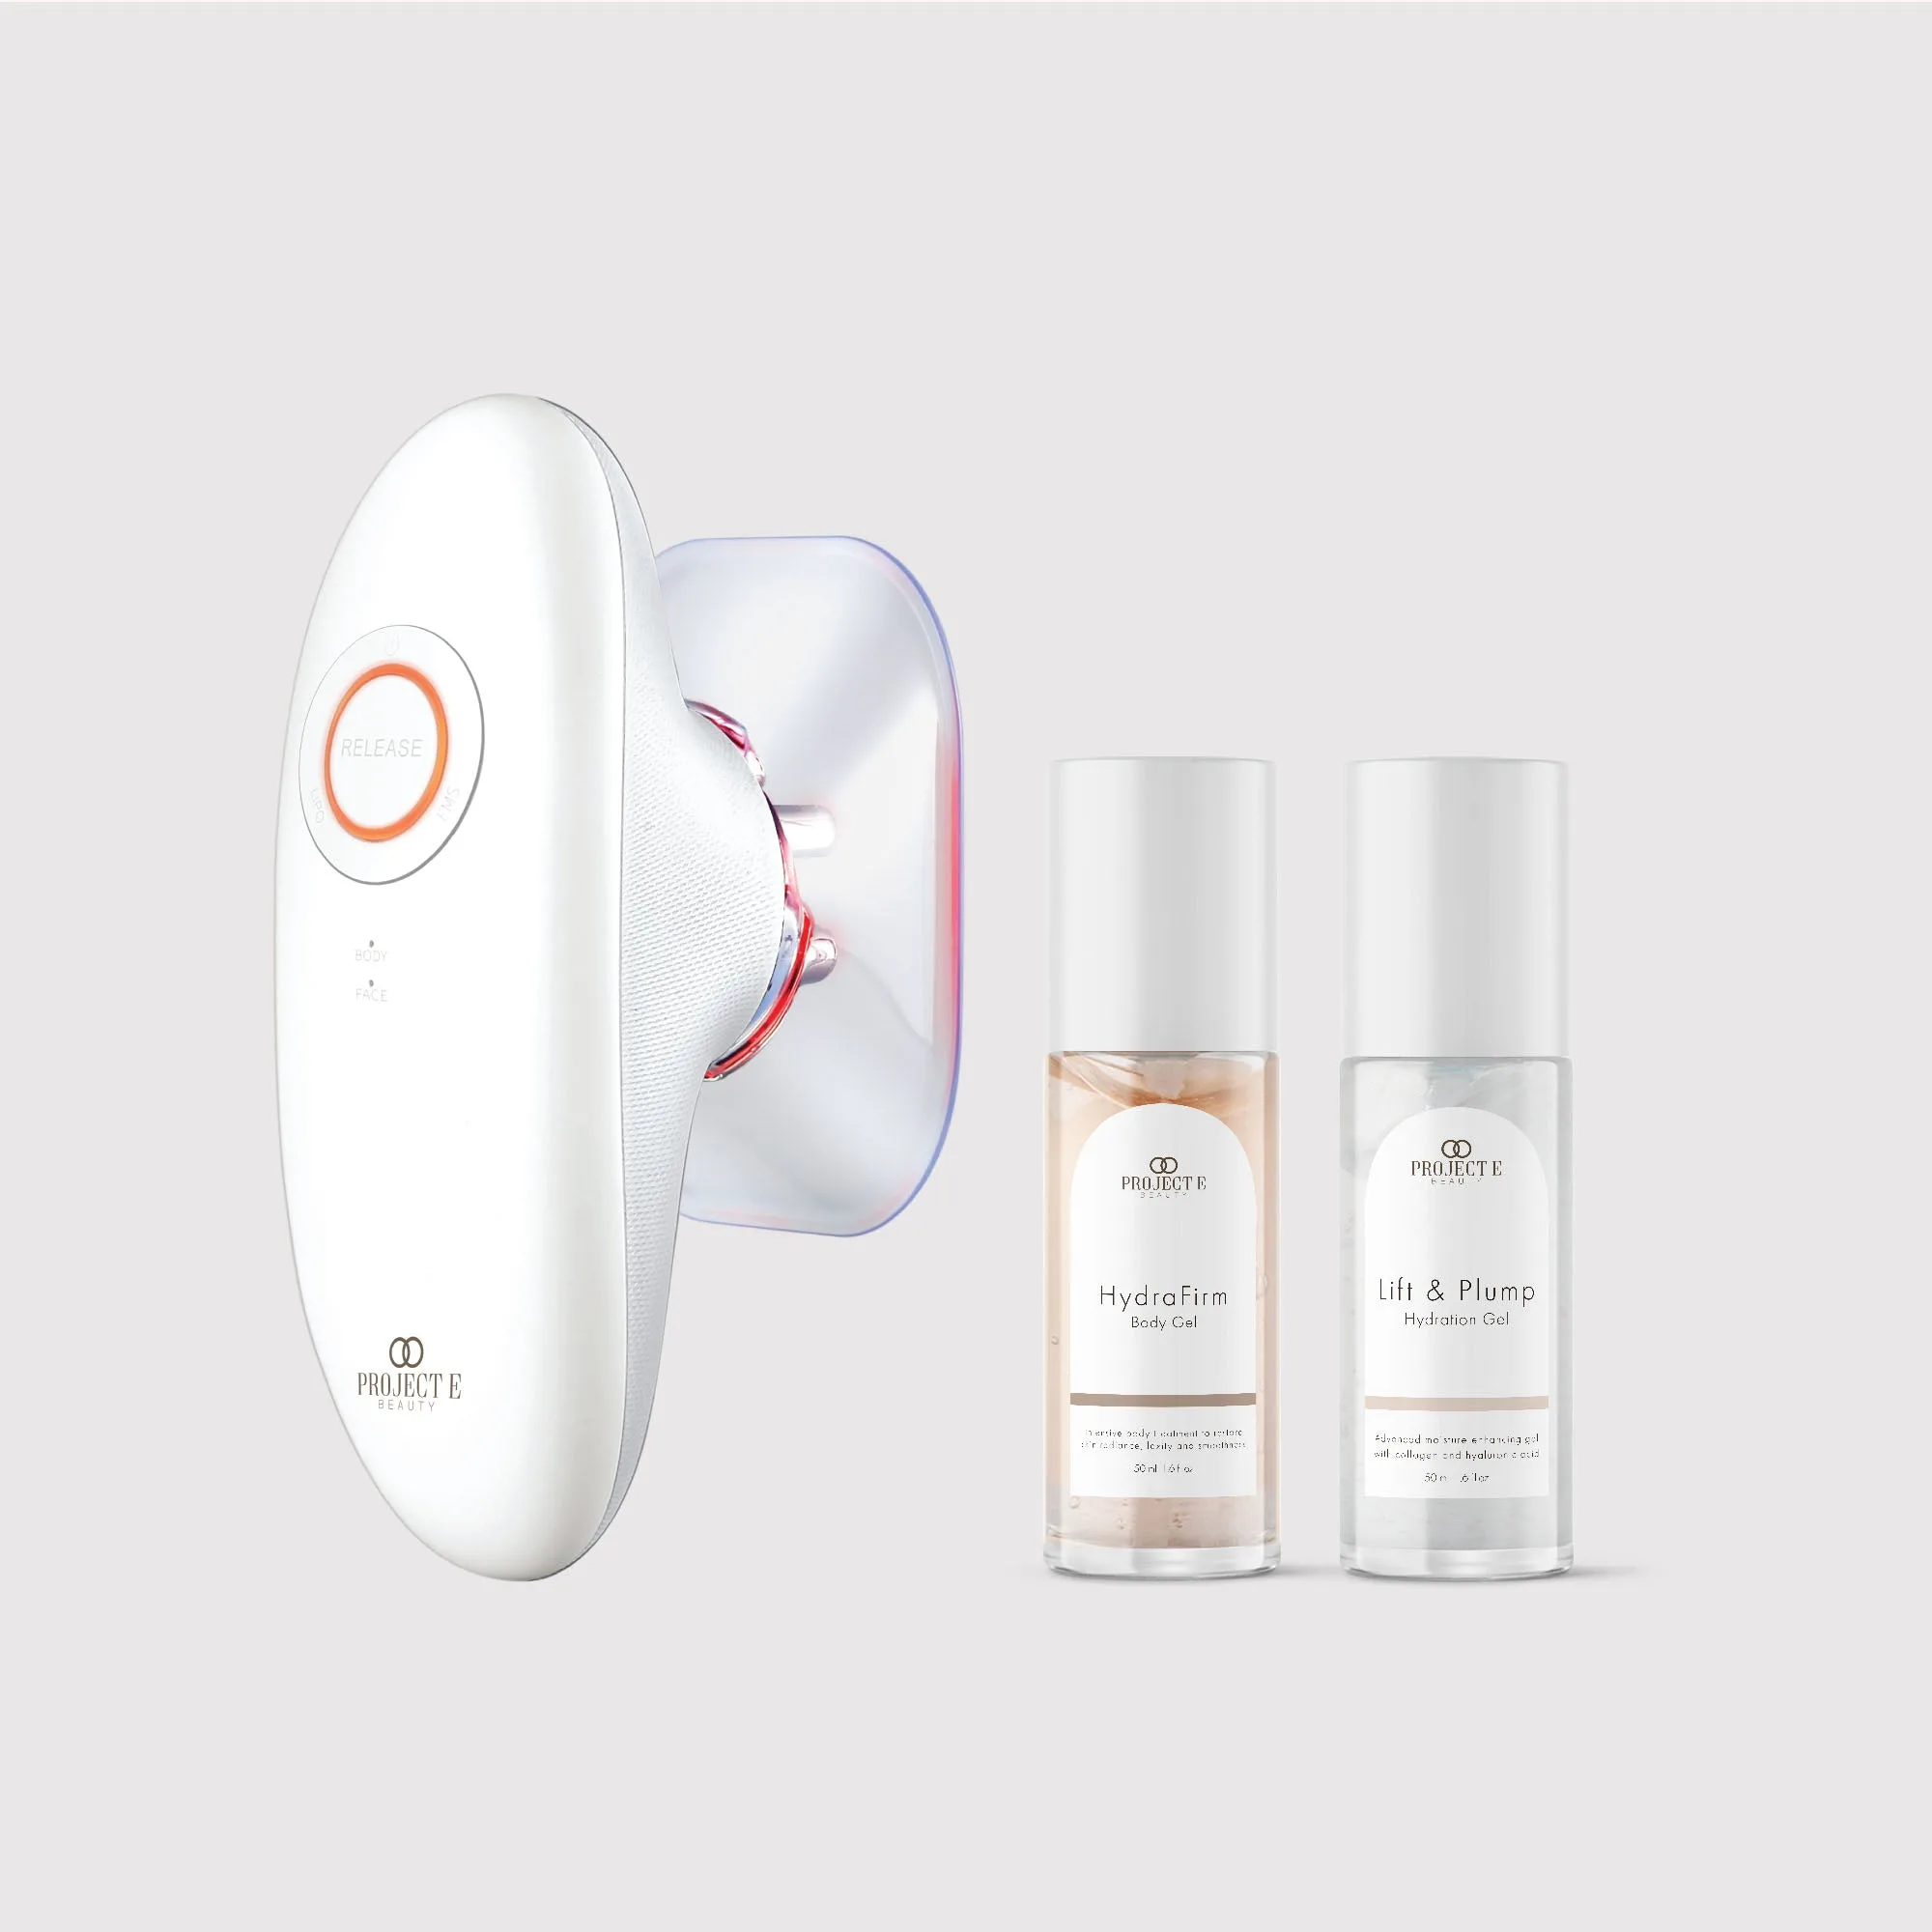
- SERA | Vacuum Body Contour Device: SERA Vacuum Body Contour Device combines vacuum therapy, EMS, and red light therapy with a quick 10-minute treatment time and 3-second auto pulse technology. For body treatments, the vacuum and EMS functions require direct skin contact, so save your body lotion for after your session.
- Shape + Firm Body Toning Kit: Shape + Firm Body Toning Kit combines vacuum therapy, electro muscle stimulation (EMS), and red light therapy to target adipose tissue, muscle, and skin. This kit is designed for full-body use, so the same layering rule applies: clean skin first, moisturizer after.