Quick answer
To change sanding belts on a sanding stick, release the tension, slide the old belt off, align the new belt with the arrows or grit facing out, and re-tension until the belt is snug but not stretched. The most common mistake is over-tightening, which flattens the abrasive and causes the belt to snap. Always check belt direction and seating before you start sanding.
Sanding sticks are handy for reaching into curves, slots, and tight corners where a sanding block won't fit. But if you've ever had a belt slip off mid-stroke or tear at the seam, you know that loading and changing sanding belts is where most of the frustration starts. The good news: it's a quick job once you know the sequence.
This guide walks through the exact steps to change sanding belts on a sanding stick, from releasing tension to checking the final fit. You'll also find the small checkpoints that prevent uneven wear, stretched belts, and scratched workpieces. Whether you're doing a routine sanding belt replacement or swapping grits for a new project, these steps keep your stick working properly.
What you need before you start
You don't need much: your sanding stick, the replacement belt in the correct size and grit, and a clean, flat surface. If your stick uses a tension mechanism, make sure it moves freely before you try to load a belt. A little compressed air or a soft brush helps clear dust from the stick's platen and rollers, which is where slipping often begins.
Check that the new belt matches the stick's width and length. Belts that are too long won't tension properly, and belts that are too narrow can wander side to side. If you're unsure of the size, measure the old belt before you discard it. This one step prevents most loading problems.
- Keep a spare belt in the next grit up or down so you can switch without stopping.
- Work over a tray or mat so small belts don't roll away.
Step-by-step: changing a sanding belt on a sanding stick
Start by releasing the tension. On most sanding sticks, this means flipping a lever, loosening a screw, or sliding a collar. Don't force the old belt off while the stick is still tensioned, as that can bend the frame or tear the belt. Once tension is off, slide the old belt off the end of the stick. If it sticks, rotate it slightly as you pull.
Before loading the new belt, note the direction. Many belts have a backing or a seam that should face a specific way. If the belt has arrows, they usually point in the direction of rotation. Slide the new belt onto the stick, centering it on the platen. Then re-tension gradually. You want the belt snug enough that it doesn't slip when you press it against wood, but not so tight that it flattens the abrasive or distorts the stick.
- Common mistake: over-tightening. If the belt feels rock-hard or the stick bows, back off the tension.
- Checkpoint: press your thumb against the belt. It should give slightly, not feel like a drum.
How to check the belt is seated correctly
After tensioning, rotate the belt by hand through a full cycle. Watch for any side-to-side drift or a wobble at the rollers. A belt that runs true stays centered without wandering. If it drifts, release tension, reseat it, and try again. Also check that the belt's seam, if it has one, isn't catching on the platen.
Run the stick over a scrap piece of wood for a few strokes. You should feel smooth resistance, not a bump or a grab. If the belt slips, it's too loose. If the stick chatters or the belt leaves deep scratches, it may be too tight or the belt may be seated at an angle. Fix it before you touch your project piece.
- Listen for a consistent sanding sound. A rhythmic thump usually means the belt is misaligned.
- If the belt keeps slipping, clean the platen and rollers before you tighten further.
When to replace rather than reload
Not every belt problem is a loading problem. If the abrasive is glazed, worn smooth, or loaded with resin, a new belt is the answer. The same goes for a belt with a torn seam or a stretched backing that no longer tensions. Reloading a worn belt just wastes time and can burnish the wood instead of cutting it.
For sanding sticks that use replaceable abrasive strips or belts, keep a few grits on hand. A coarse belt for shaping and a finer one for smoothing covers most tasks. If you're working with a stick that accepts standard-sized belts, note the size so you can reorder without guessing.
- Replace the belt when it stops cutting and starts polishing.
- Store spare belts flat, away from heat, to prevent the backing from taking a set.
Sanding stick belt change checklist
- Release tension fully: Flip the lever, loosen the screw, or slide the collar until the old belt moves freely. Don't pull a tensioned belt off, as it can bend the frame. Checkpoint: the old belt should slide off with light hand pressure.
- Clean the platen and rollers: Brush or blow out dust and debris before loading the new belt. Contamination is a common cause of slipping and uneven tracking. Checkpoint: run your finger along the platen; it should feel smooth and clean.
- Align and seat the new belt: Slide the belt on, center it on the platen, and follow any directional arrows. Make sure the seam, if present, sits flat against the platen. Checkpoint: rotate the belt by hand one full turn; it should stay centered.
- Tension gradually, then test: Tighten until the belt is snug but still gives slightly under thumb pressure. Run it on scrap wood for a few strokes to confirm it doesn't slip or chatter. Checkpoint: if the belt slips, tighten a quarter turn; if it chatters, back off.
- Replace worn belts promptly: Swap in a fresh belt when the abrasive glazes over or stops cutting. A worn belt polishes instead of sanding and can overheat the workpiece. Next step: store spare belts flat and labeled by grit so the next change is quick.
Excel Blades products that help with sanding and finishing
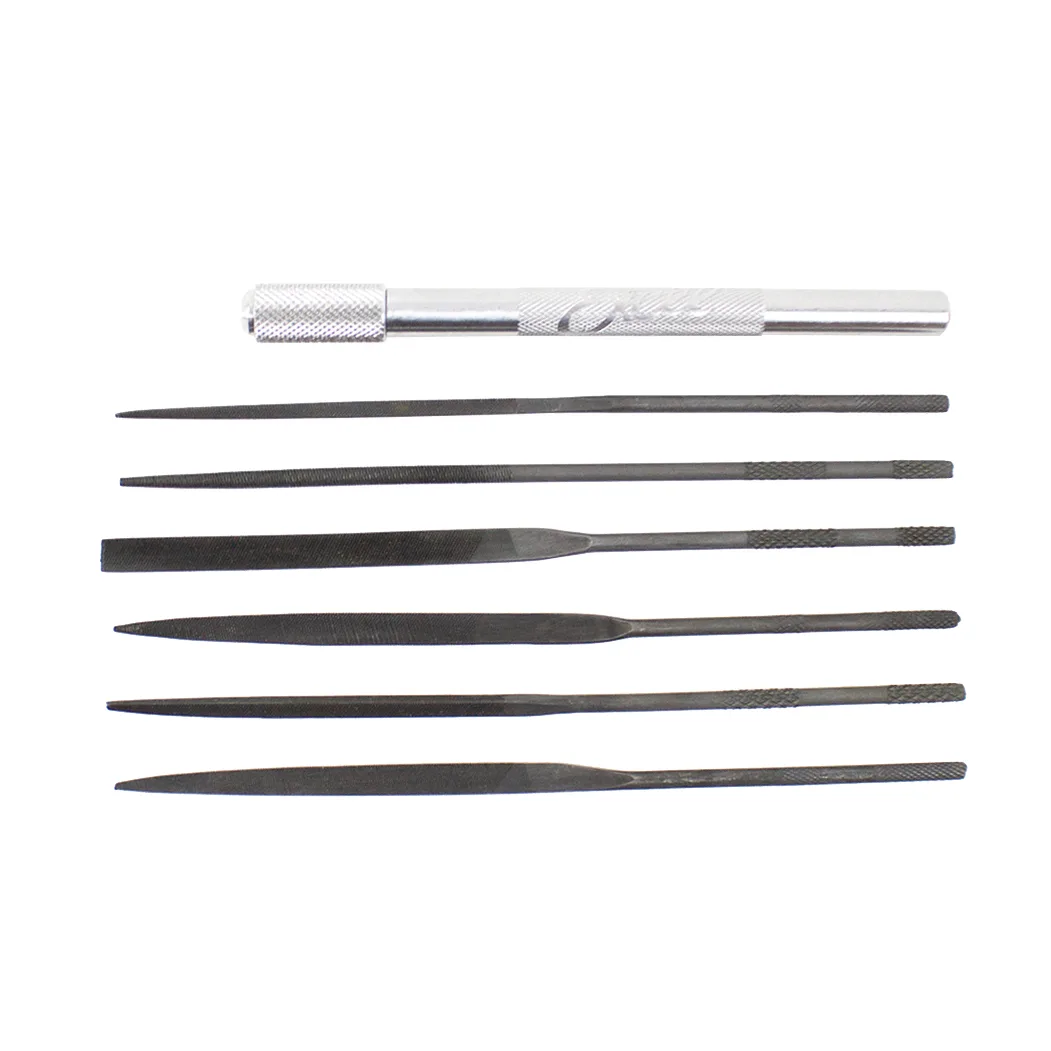
- 6-Piece Assorted Sharpening File Set with Handle: Includes 1 aluminum handle compatible with Excel Blades files, and the set is constructed of high quality steel for strength and durability. A file set gives you a way to refine edges and tight spots after sanding, and the included handle makes detail work more controlled than holding a bare file.
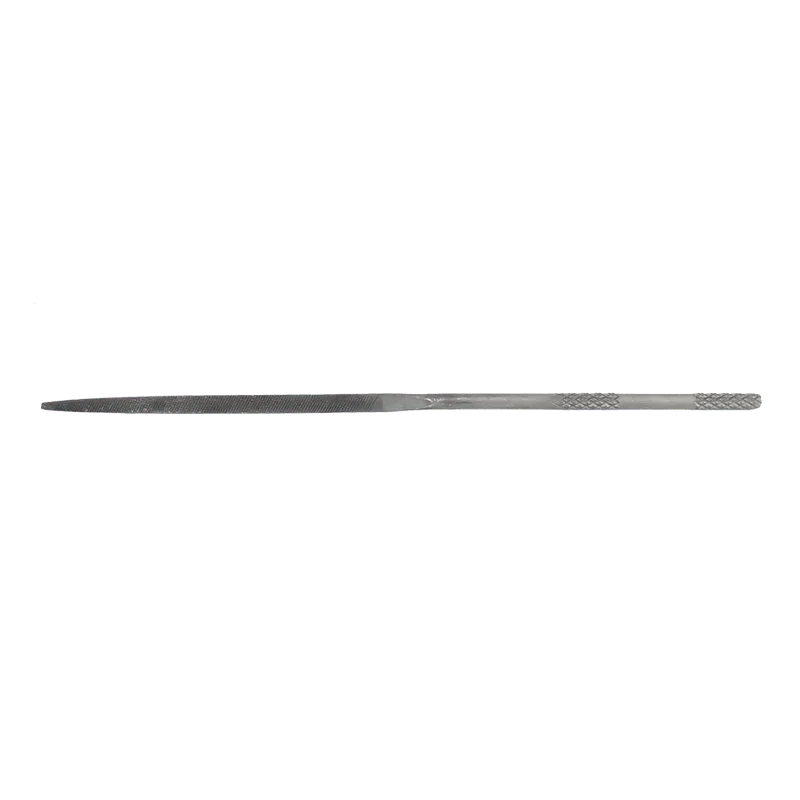
- Triangle Needle File: Triangle-shaped file constructed of high quality steel, useful for enlarging holes or smoothing curved surfaces, and carries a lifetime guarantee. The triangular profile reaches into corners and curved cuts that a flat sanding stick can't, so you can clean up a workpiece without switching to a different tool.
Changing sanding belts on a sanding stick comes down to releasing tension, seating the belt squarely, and tightening just enough to hold without stretching. Do it in that order, check alignment before you sand, and you'll get longer belt life and cleaner results. Keep a couple of grits on hand, and the next swap takes less than a minute.