Quick Answer
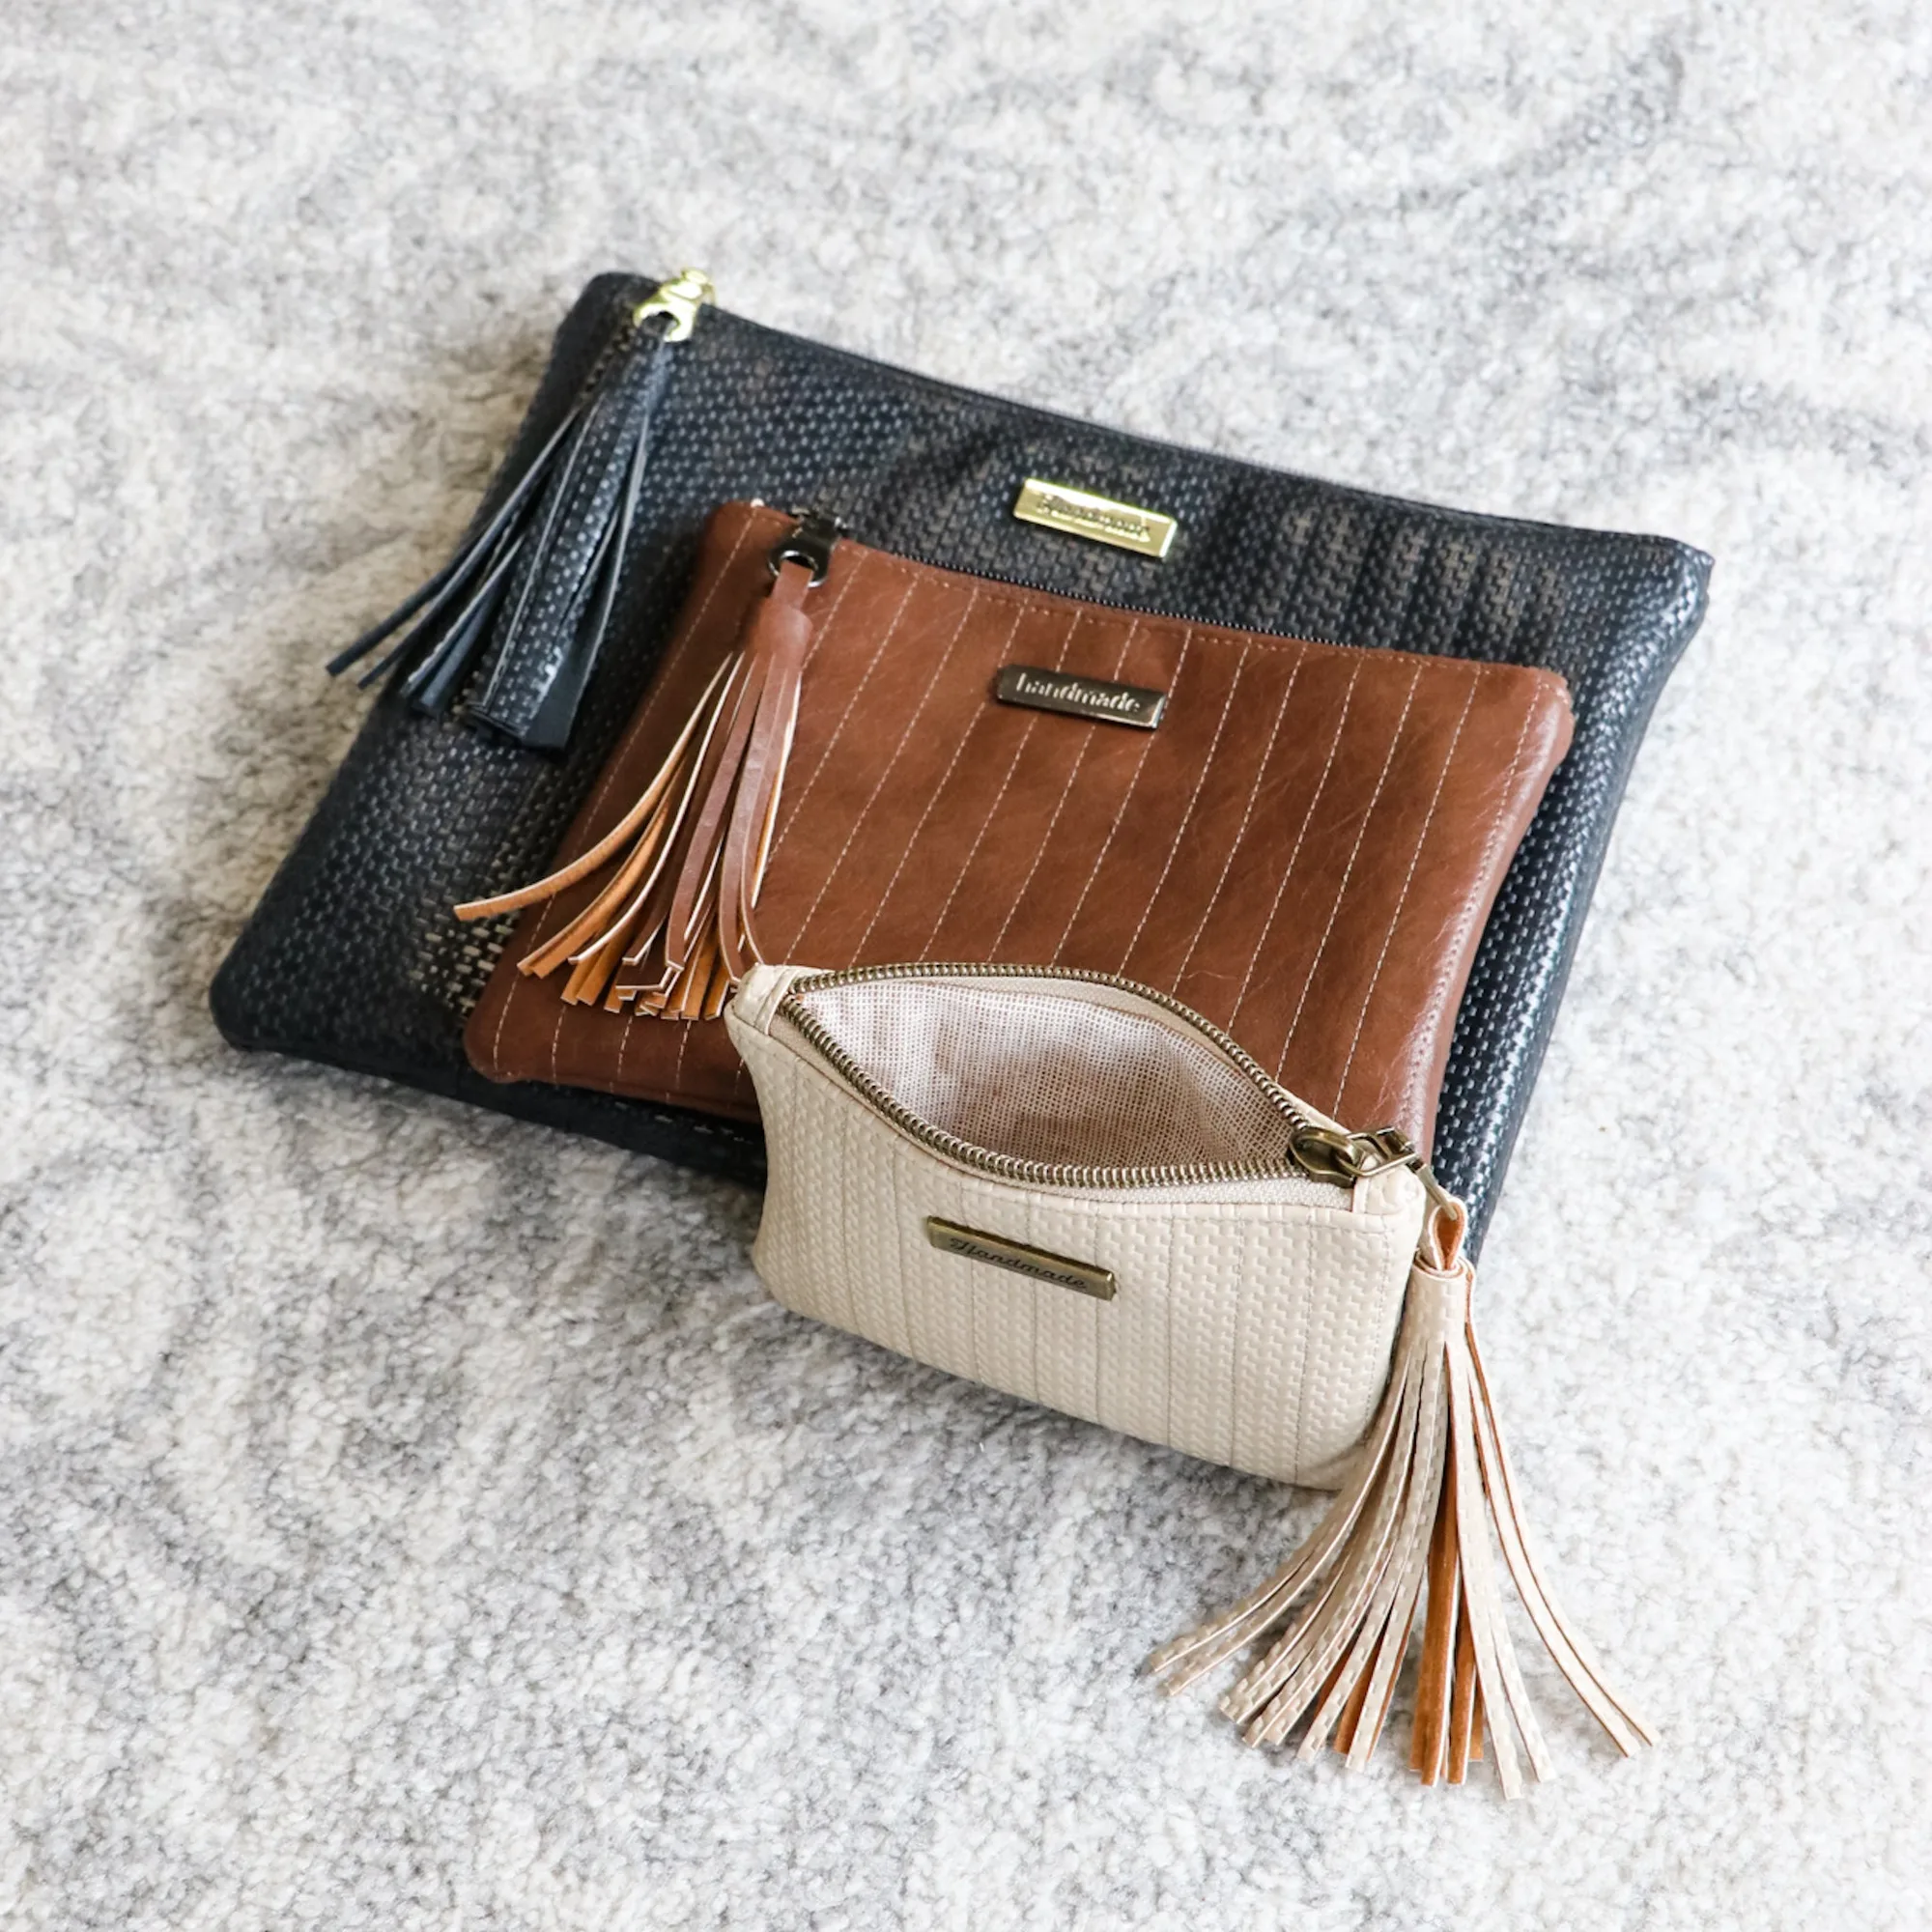
To make a bag with a kit, start by unboxing and organizing all materials, then read the pattern instructions thoroughly. Follow each step sequentially, pressing seams as you go, and finish by installing hardware and giving your bag a final press. For beginners, a project kit like the Month 2: Quilted Pouches - Making Bags: A Field Guide Kit simplifies fabric selection and provides step-by-step guidance.
If you're new to bag making, a kit is the perfect way to start. It takes the guesswork out of choosing fabrics and notions, letting you focus on learning the techniques. In this guide, we'll walk through the entire process of making a bag from a kit, from unboxing to the final stitch, with tips to avoid common pitfalls.
Whether you're making a simple pouch or a structured tote, the steps are similar. We'll cover how to prepare your materials, read the pattern, cut accurately, sew with confidence, and add those finishing touches that make your bag look professional. By the end, you'll have a beautiful bag and the skills to tackle more complex projects.
Why Choose a Bag Making Kit?
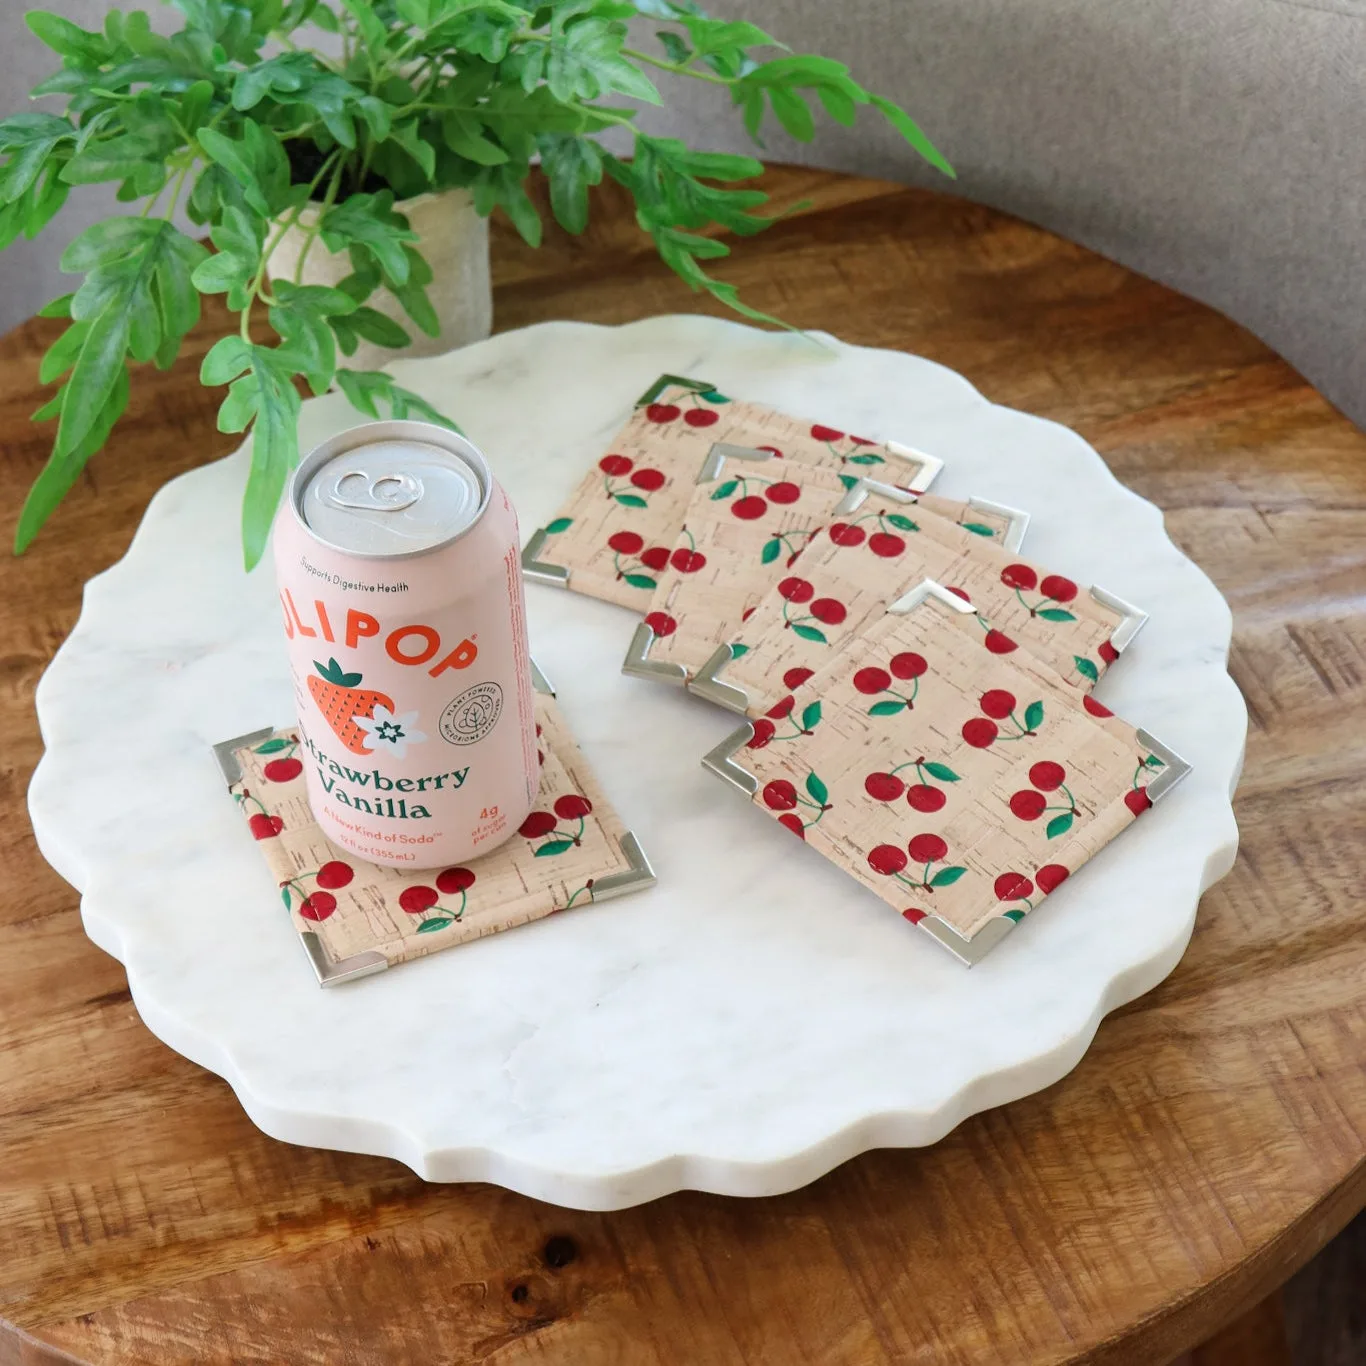
A bag making kit is ideal for beginners because it includes all the materials you need for one project, carefully coordinated by the manufacturer. This eliminates the stress of choosing the right fabric, interfacing, and hardware. For example, the Sterling Coaster Kit includes pre-selected materials to help you confidently sew a functional and stylish home accessory, perfect for practicing your skills on a smaller project.
Sterling Coaster Kit
Kits often come with instructions or access to tutorials, which is invaluable when you're learning. They also help you build a stash of leftover notions and fabric scraps that you can use for future projects. Starting with a kit means you can focus on technique rather than sourcing materials, making the learning process smoother and more enjoyable.
- Look for kits that match your skill level and interest.
- Check the kit contents to ensure you have all necessary tools at home.
Step 1: Unbox and Organize Your Kit
When your kit arrives, open it carefully and lay out all the contents. Check the kit's list to ensure you have everything: main fabric, lining, interfacing, hardware, and any pattern pieces or instructions. Organize them by type, and keep the instructions accessible. This initial step prevents mid-project surprises.
If your kit includes fabric that needs pre-washing, do that first. For specialty materials like cork or vinyl, note that they should not be washed; simply wipe them clean. Understanding your fabric's care requirements early on will prevent damage later.
- Take a photo of the kit contents before you start, in case you need to reference it later.
Step 2: Read the Pattern or Instructions Thoroughly
Before cutting any fabric, read the entire pattern or instruction booklet. Familiarize yourself with the steps, the order of construction, and any diagrams. This bird's-eye view helps you anticipate tricky parts and understand how pieces fit together.
If your kit includes a visual guide, like the Month 2: Quilted Pouches - Making Bags: A Field Guide Kit, use it to follow along. This kit gives you the full scoop on fabrics and walks you through all the steps of the bag-making process, making it an excellent learning tool for beginners.
- Highlight or bookmark pages you think you'll need to refer back to often.
Step 3: Prepare Your Fabric and Cut Accurately
Press your fabric before cutting to remove wrinkles and ensure accurate cuts. Use a rotary cutter, self-healing mat, and clear ruler for precise straight lines. If your pattern includes templates, trace them onto cardstock for durability.
Pay attention to the grainline and pattern placement, especially if your fabric has a directional print. For example, if you're using a fabric like Free Spirit Fabric - Tula Pink - Sofishticated - Full Moon Forest, with its repeating pattern of stylized fish, you'll want to ensure the design is oriented correctly on your bag pieces.
Common mistake: cutting without pressing leads to inaccurate pieces and misaligned seams. Always press first.
- Cut all pieces in one session to maintain consistency.
Step 4: Apply Interfacing and Stabilizers
Many bag patterns require interfacing to give structure. Fuse or sew interfacing to the appropriate fabric pieces as directed. Use a pressing cloth to protect your iron and fabric, and follow the manufacturer's instructions for heat and pressure.
If your kit includes specialty materials like cork or faux leather, you may not need interfacing, but check the pattern. These materials often have enough body on their own. Remember that some materials, like vinyl, should not be ironed directly; use a Teflon press sheet or a cloth barrier.
- Test a scrap of fabric with your interfacing first to ensure proper adhesion.
Step 5: Sew the Exterior and Lining
Follow the pattern to sew the exterior pieces together, then the lining separately. Use a consistent seam allowance, and press seams open or to the side as directed. Clipping curves and notching corners will help the fabric lie flat when turned right side out.
When sewing with thick materials like cork or vinyl, use a walking foot or a Teflon foot to prevent sticking. Lengthen your stitch slightly and use a denim or microtex needle for best results. If your machine struggles, consider hand-cranking through the thickest parts.
- Test your stitch on scraps before sewing the actual pieces.
Step 6: Attach Hardware and Closures
Hardware like zippers, turn locks, and bag feet add functionality and a professional finish. For zippers, install them according to your pattern, ensuring the slider moves smoothly. For magnetic snaps or turn locks, mark placement carefully and reinforce with interfacing or fusible fleece.
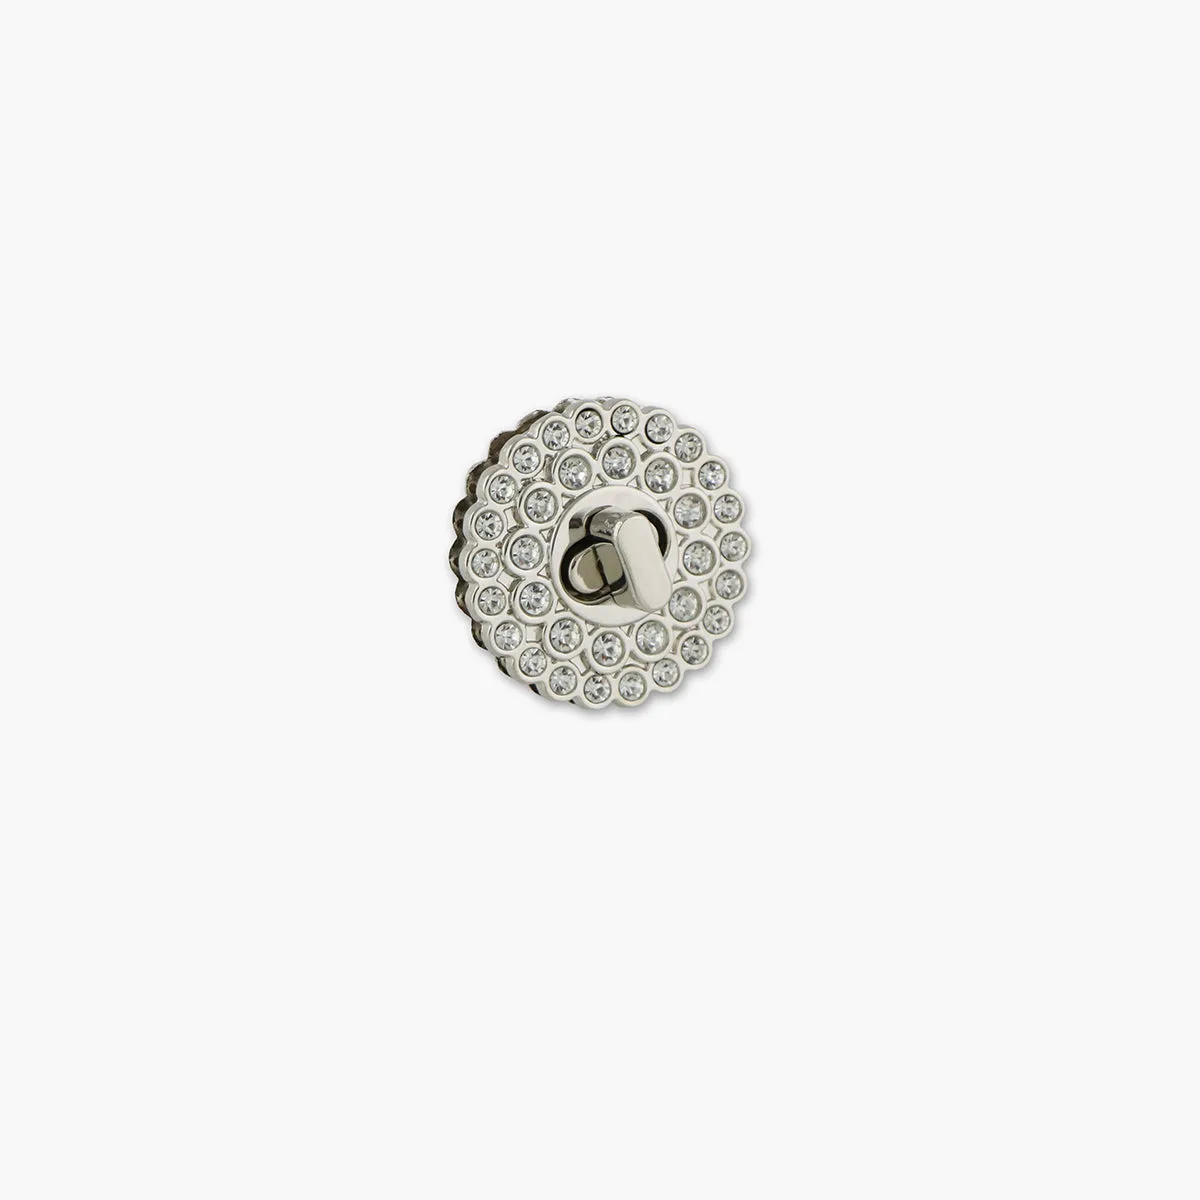
Consider using decorative hardware to elevate your bag. For example, Crystal Turn Locks not only function as closures for pockets, flaps, and bags but also add a touch of sparkle. Similarly, Four Flower Zipper Pulls can replace standard pulls to personalize your zippers. These small details make your bag unique.
Checkpoint: After attaching hardware, test that it functions correctly before moving on.
- Use a small piece of tape to keep screws or small parts from getting lost.
Step 7: Final Assembly and Finishing
Once the exterior and lining are complete, assemble the bag by sewing them together, leaving an opening for turning. Turn the bag right side out, press, and hand-stitch the opening closed. Add any final topstitching for a crisp edge.
Finally, attach any remaining hardware, like bag feet, to the bottom. For example, Four Prism Bag Feet attach to the bottom of your handmade bag to elevate and protect it, giving a professional finish while helping maintain shape. This is especially useful for bags made with medium-to-heavy fabric or cork.
Give your bag a final press, and admire your work!
- Use a point turner to push out corners without damaging the fabric.
Step-by-Step Bag Making Checklist
- Unbox and organize: Lay out all kit contents and check against the list. Pre-wash fabrics if needed. Checkpoint: You have all materials and tools ready.
- Read instructions: Read the entire pattern or booklet before cutting to understand the construction sequence. Highlight any steps that seem tricky.
- Cut accurately: Press fabric, then cut using rotary cutter and ruler. Pay attention to grainline and pattern placement. Double-check measurements before cutting.
- Apply interfacing: Fuse or sew interfacing to required pieces using a pressing cloth. Avoid direct heat on vinyl or cork. Test adhesion on a scrap first.
- Sew exterior and lining: Sew pieces together with consistent seam allowance, clip curves, and press seams. Test stitch on scraps to adjust tension.
- Attach hardware: Install zippers, locks, or other closures. Test functionality. Checkpoint: Hardware works smoothly.
- Final assembly: Sew exterior and lining together, turn, and close opening. Add topstitching and any feet. Press and admire your finished bag!
Products Mentioned in This Guide
- Month 2: Quilted Pouches - Making Bags: A Field Guide Kit: Make three bag projects to practice your new skills and apply basic to advanced sewing techniques. Jessica Barrera, the owner of Sallie Tomato, gives you the full scoop on fabrics from standard quilting cotton to specialty materials like cork, velvet, vinyl, kraft-tex (vegan leather), and so much more. Follow along all the steps of the bag-making process with this visual guide. This kit is perfect for beginners because it includes multiple projects and visual instructions, helping you build confidence and learn a range of techniques.
- Sterling Coaster Kit: Create a Coaster with this coordinated sewing kit, designed for the Sterling Pattern! This kit includes pre-selected materials to help you confidently sew a functional and stylish home accessory perfect for everyday use or gifting with a polished, professional finish. This kit includes all of the materials listed below, carefully coordinated by our team to create one complete project. A smaller project like this coaster kit is ideal for practicing bag-making skills without the commitment of a full bag, making it a great first step.
Making a bag from a kit is a rewarding project that builds your sewing skills and gives you a functional accessory. By following these steps and learning from common mistakes, you'll gain confidence to take on more complex patterns. Start with a kit that matches your skill level, and don't forget to enjoy the process!