Quick answer
To make your first quilt, start with a simple pattern and a manageable size like a baby quilt or lap quilt. Choose 100% cotton quilting fabric, cut accurately with a rotary cutter and ruler, piece the top, baste the layers, quilt the sandwich, and bind the edges. Expect the whole process to take several weekends, not one afternoon.
Making a quilt is a step-by-step process, and the steps do not change much whether you are sewing a baby quilt or a king-size bed quilt. What changes is the scale, the time, and how much fabric you need to manage at once.
This beginner quilt tutorial walks through the full sequence: choosing fabric, cutting, piecing, basting, quilting, and binding. It also points out the mistakes that trip up most first quilts so you can avoid them before you cut into your fabric.
Choose a simple pattern and a realistic size
The fastest way to finish your first quilt is to pick a pattern made from squares or rectangles. A patchwork grid of 5-inch squares is forgiving, needs no matching seams, and lets you focus on cutting and piecing accurately. A baby quilt around 36 by 45 inches is a good target because it is large enough to practice the full process but small enough to baste and quilt on a standard machine.
Read the pattern all the way through before you buy anything. Note the finished size, the number of blocks, and whether the pattern assumes pre-cuts or yardage. If a pattern calls for advanced techniques like curved piecing or Y-seams, save it for a later project and start with something simpler.
- Aim for a finished size you can comfortably baste on your floor or table.
- Check whether the pattern uses fat quarters, 5-inch squares, or yardage before you shop.
Pick fabrics that work together and pre-wash if needed
For a first quilt, choose quilting cotton in a limited palette: one or two focus prints, a few supporting prints, and a solid or two for contrast. Quilting cotton is a lightweight fabric that holds its shape well after washing, which makes it easier to cut and piece accurately. If you want a soft, textured look, a linen-cotton blend like an Essex Yarn Dyed stripe can add visual interest, but it behaves differently from quilting cotton, so keep it to accent pieces rather than the whole top.
Pre-washing is optional, but if you plan to wash the finished quilt, pre-wash your fabric first so any shrinkage happens before you sew. Use machine wash cold and tumble dry low on the fabrics you choose. If you skip pre-washing, be aware that the finished quilt may shrink slightly and colors could run.
- Pre-wash and dry your fabric before cutting if you want to avoid shrinkage surprises.
- Keep a consistent fabric type for most of the quilt top so seams press flat.
Cut accurately and stay organized
Cutting is where first quilts go wrong. Use a sharp rotary cutter, a clear acrylic ruler, and a self-healing mat. Measure twice, cut once, and keep your ruler from slipping by holding it firmly with your non-cutting hand. Cut all your pieces before you start sewing so you can chain-piece efficiently and keep track of your layout.
Label your cut pieces by size or block with sticky notes or small bins. A common mistake is cutting pieces slightly different sizes and assuming you can trim them later. In quilting, small cutting errors multiply across dozens of seams and can throw off your finished block size.
- Replace your rotary cutter blade when it starts skipping or dragging.
- Square up your fabric edge before measuring your first strip.
Piece the quilt top with consistent seam allowances
Most quilt patterns assume a 1/4-inch seam allowance. Test your seam allowance by sewing two scraps together, pressing, and measuring the result. If your seam is too wide, your blocks will finish smaller than the pattern says; too narrow, and they will finish larger. Adjust your needle position or presser foot until your test seam measures exactly 1/4 inch.
Press seams as you go, usually to one side unless the pattern says otherwise. Pressing, not ironing, means lifting and placing the iron rather than sliding it, which prevents stretching. Piece in rows, then join rows into the full top. Pin at seam intersections so corners line up.
- Sew a test seam before you start piecing your blocks.
- Press each seam before crossing it with another seam.
Baste the quilt sandwich
Your quilt sandwich is the quilt top, the batting, and the backing. Spread the backing wrong side up on a clean floor or large table, tape or clip it taut, then layer the batting and the quilt top right side up. Smooth each layer from the center outward to remove wrinkles and bubbles.
Baste with safety pins every 3 to 4 inches, or use a basting spray according to its instructions. A common mistake is basting too sparsely, which lets the layers shift during quilting and creates tucks or pleats on the back. If you are using a batting with a scrim or a specific quilting distance, check the packaging so you know how far apart your quilting lines can be.
- Kneel or walk around the quilt to smooth each layer before pinning.
- Use curved safety pins, which are easier to close through all three layers.
Quilt the layers together
You can quilt with straight lines, a walking foot, or free-motion quilting. For a first quilt, straight-line quilting with a walking foot is the most predictable. Start in the center and work outward, which pushes excess fabric toward the edges instead of trapping it in the middle. Support the quilt's weight so it does not drag and pull your stitches.
If you are quilting on a domestic machine, roll or fold the sides of the quilt to fit through the throat space. A common mistake is quilting too densely in one area and leaving large unquilted gaps elsewhere. Follow the batting's recommended maximum quilting distance, and keep your stitch length consistent.
- Lower your feed dogs if you are free-motion quilting; keep them up for a walking foot.
- Test your tension on a scrap sandwich before quilting the real thing.
Trim, bind, and finish
After quilting, trim the excess backing and batting so the edges are even with the quilt top. Square up the corners with your ruler and rotary cutter. Then attach the binding: sew strips together into one long continuous piece, press it in half, and sew it to the front of the quilt with a 1/4-inch seam. Wrap the binding to the back and stitch it down by hand or machine.
A common mistake is cutting the binding strips too short, so measure your quilt's perimeter and add extra for corners and joining. Miter the corners by folding the binding up and then back down before continuing to sew. Once the binding is finished, wash the quilt cold and tumble dry low to remove markings and let the fabric relax.
- Measure the perimeter and add at least 10 inches of extra binding.
- Use a walking foot for binding if your machine struggles with bulky layers.
Your first quilt, step by step
- Choose a simple pattern and size: Pick a squares or rectangles pattern and a baby or lap quilt size. Read the pattern fully before buying fabric. Checkpoint: you can describe the finished size and the number of blocks before you cut.
- Select and pre-wash fabric: Choose quilting cotton in a limited palette, pre-wash if you plan to wash the quilt, and keep fabric types consistent. Checkpoint: your fabric is washed, dried, and pressed before cutting.
- Cut accurately: Use a sharp rotary cutter, ruler, and mat. Cut all pieces before sewing and label them by size or block. Checkpoint: your pieces match the pattern dimensions and are organized.
- Piece the top: Test your 1/4-inch seam allowance, press each seam, and pin intersections as you join rows. Checkpoint: your blocks finish at the expected size.
- Baste the sandwich: Layer backing, batting, and top, smooth each layer, and baste every 3 to 4 inches with pins or spray. Checkpoint: no wrinkles or loose areas remain before quilting.
- Quilt the layers: Start in the center and work outward with a walking foot or free-motion foot, supporting the quilt's weight. Checkpoint: your quilting lines stay within the batting's recommended distance.
- Trim and bind: Trim edges even, measure the perimeter, sew binding to the front, wrap to the back, and stitch down. Checkpoint: corners are mitered and the binding is fully secured.
Fabric facts that help your first quilt
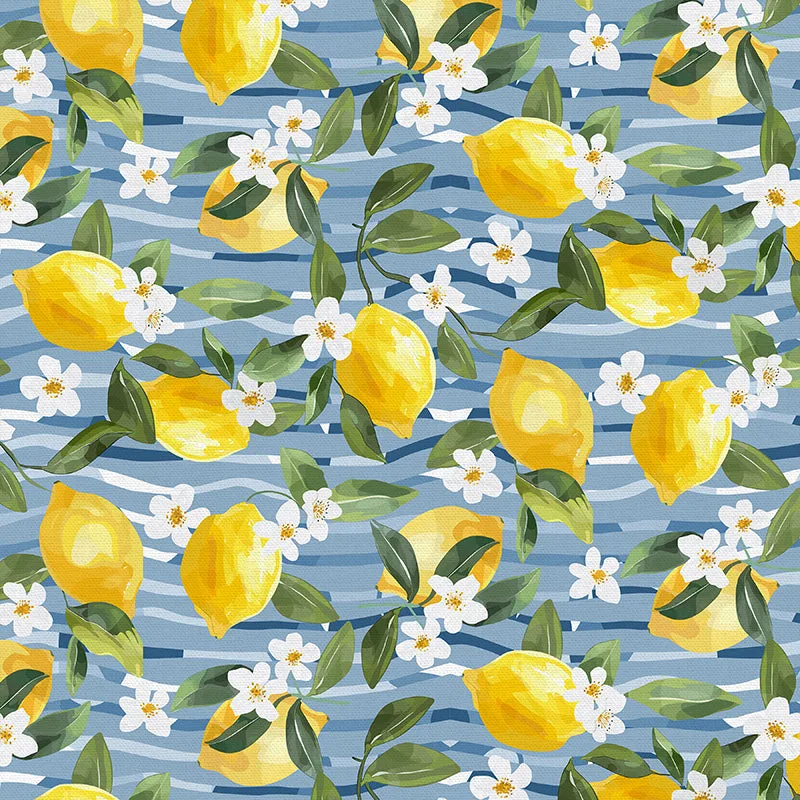
- Lemon Stripes from Italian Citrus by Paintbrush Studio Fabric: Quilting Cotton is a lightweight fabric which tends to hold its shape even after being washed, making it perfect for quilting and crafting structured garments. 100% Cotton, 143GSM, 44/45 inches wide. A quilting cotton like this is easy to cut and piece, and it keeps its shape after washing, which helps your blocks stay square.
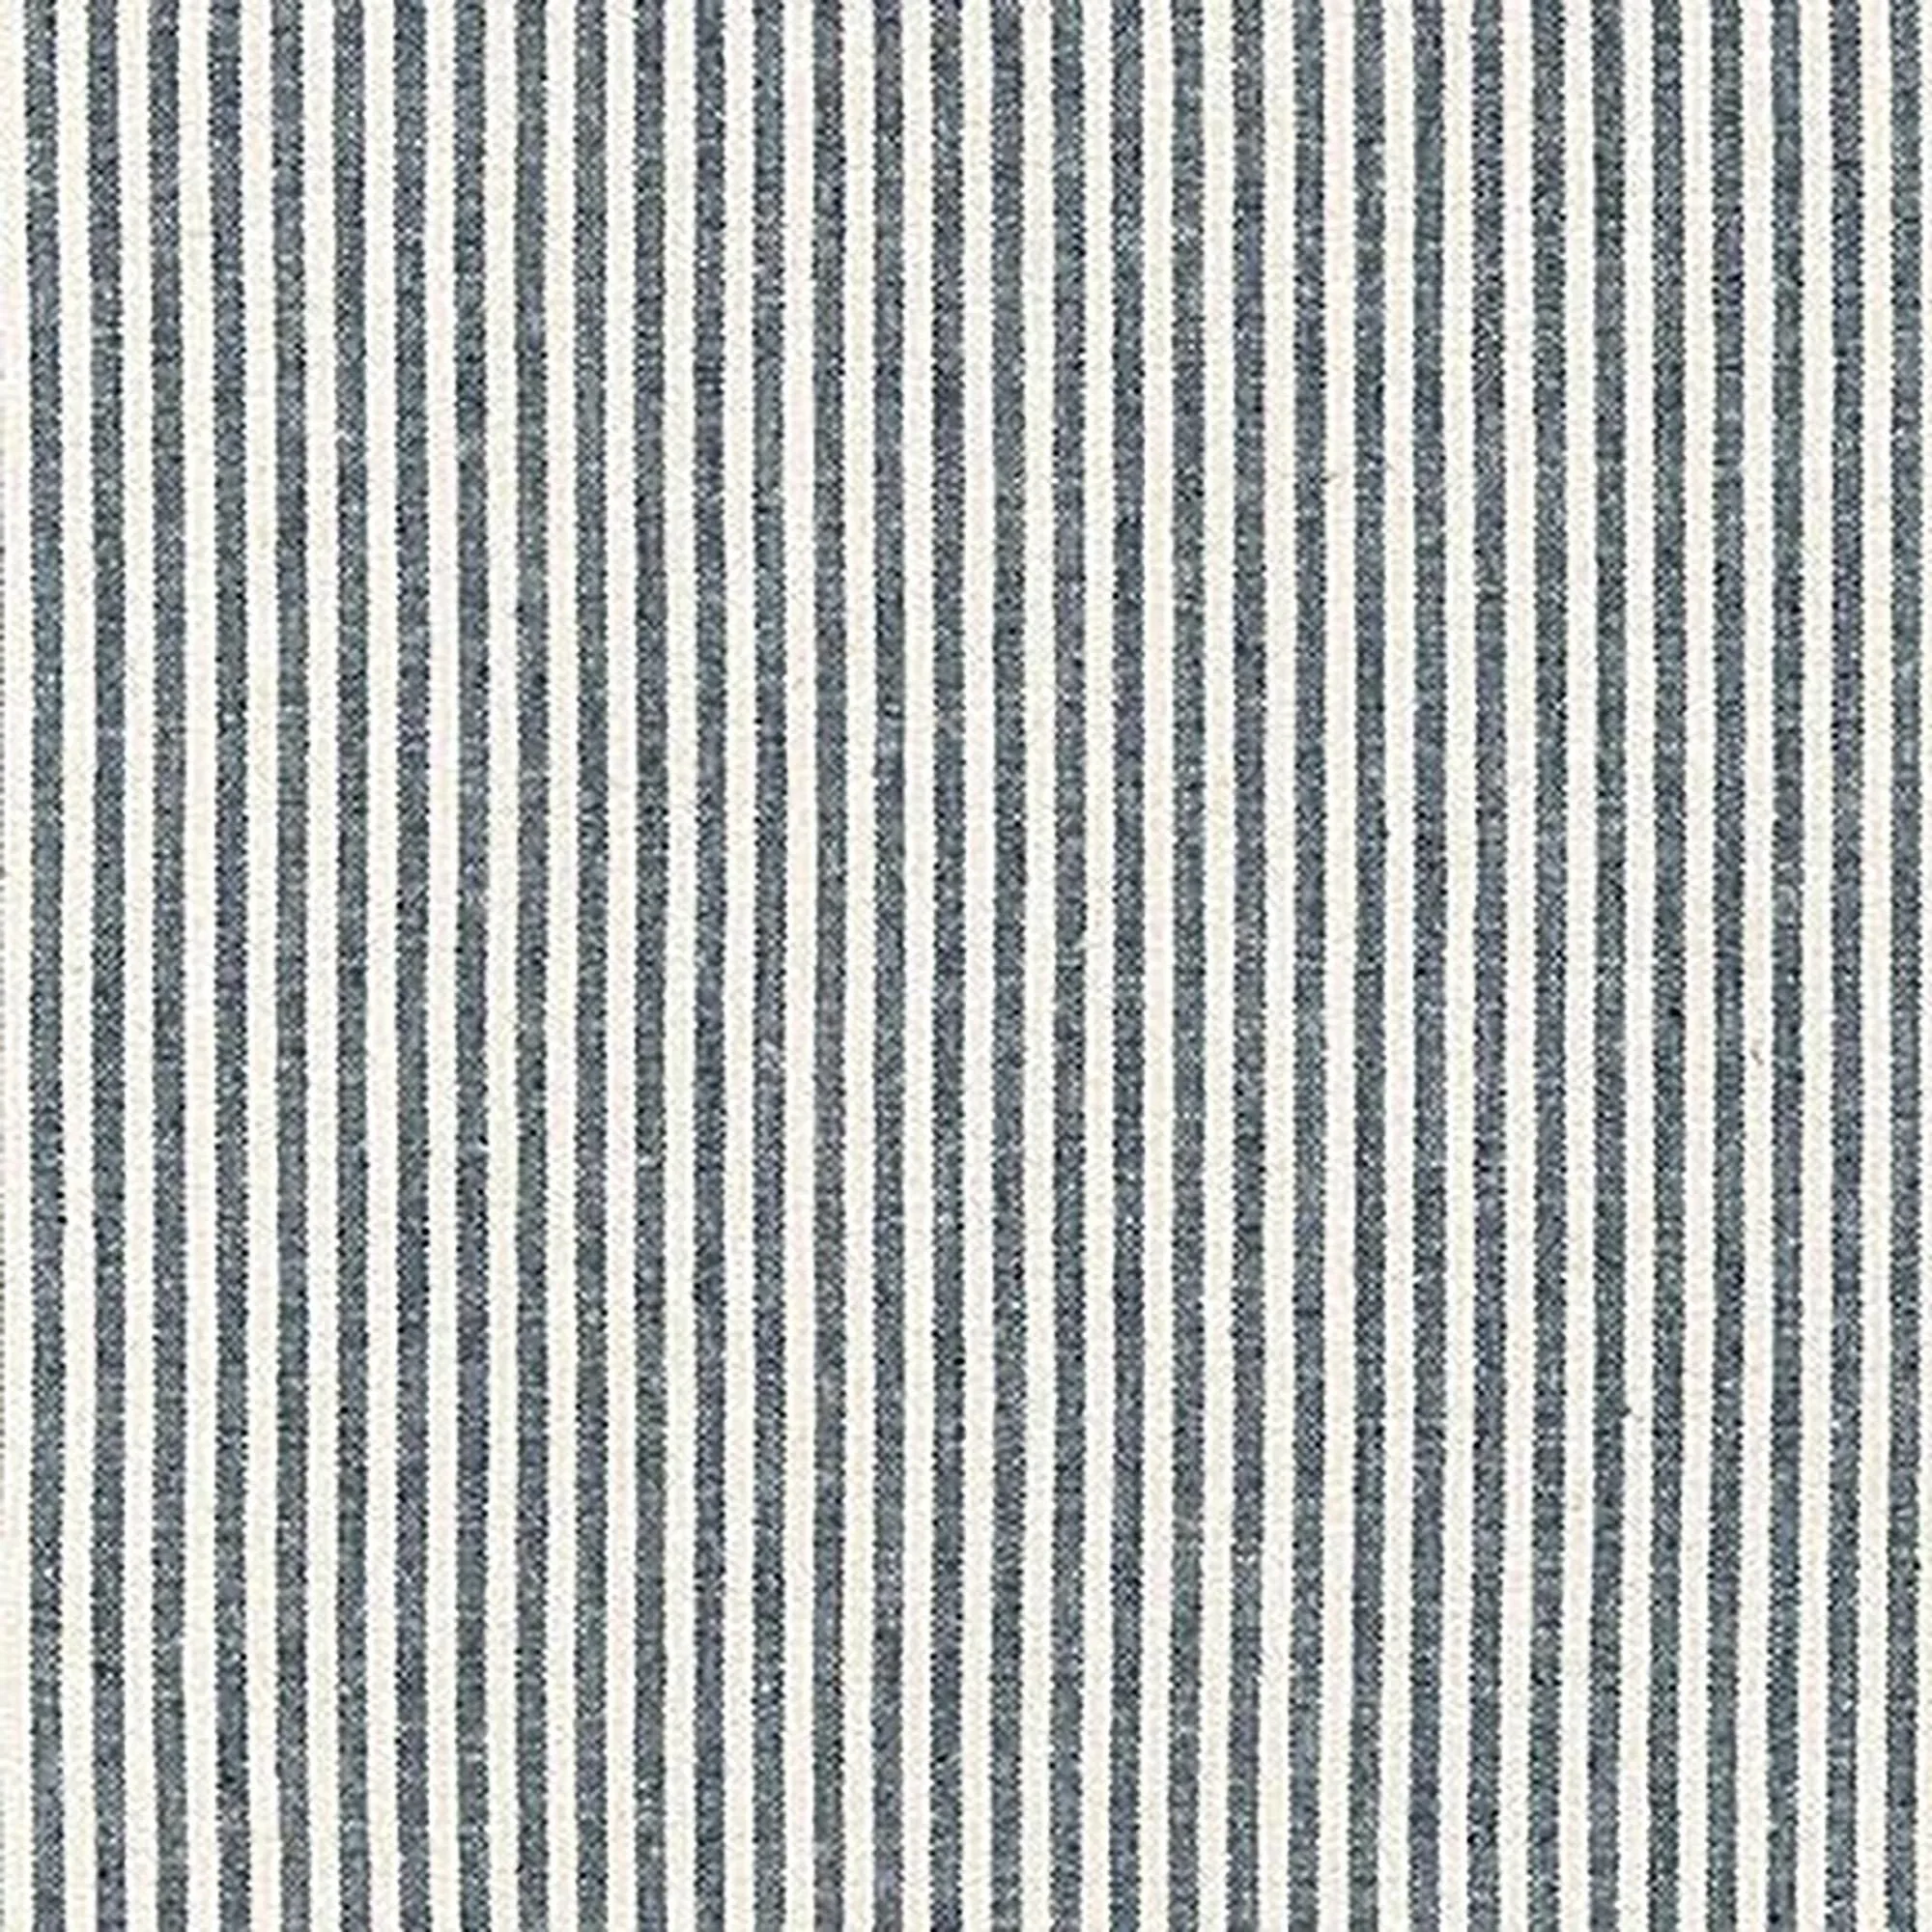
- Indigo Stripe from Essex Yarn Dyed Classic Wovens from Robert Kaufman: 55% Linen 45% Cotton, 43 inches wide, 5.6 oz. per square yard. This linen-cotton blend has more texture and drape than quilting cotton, so use it for accent blocks or backing rather than the entire quilt top if you are a beginner.
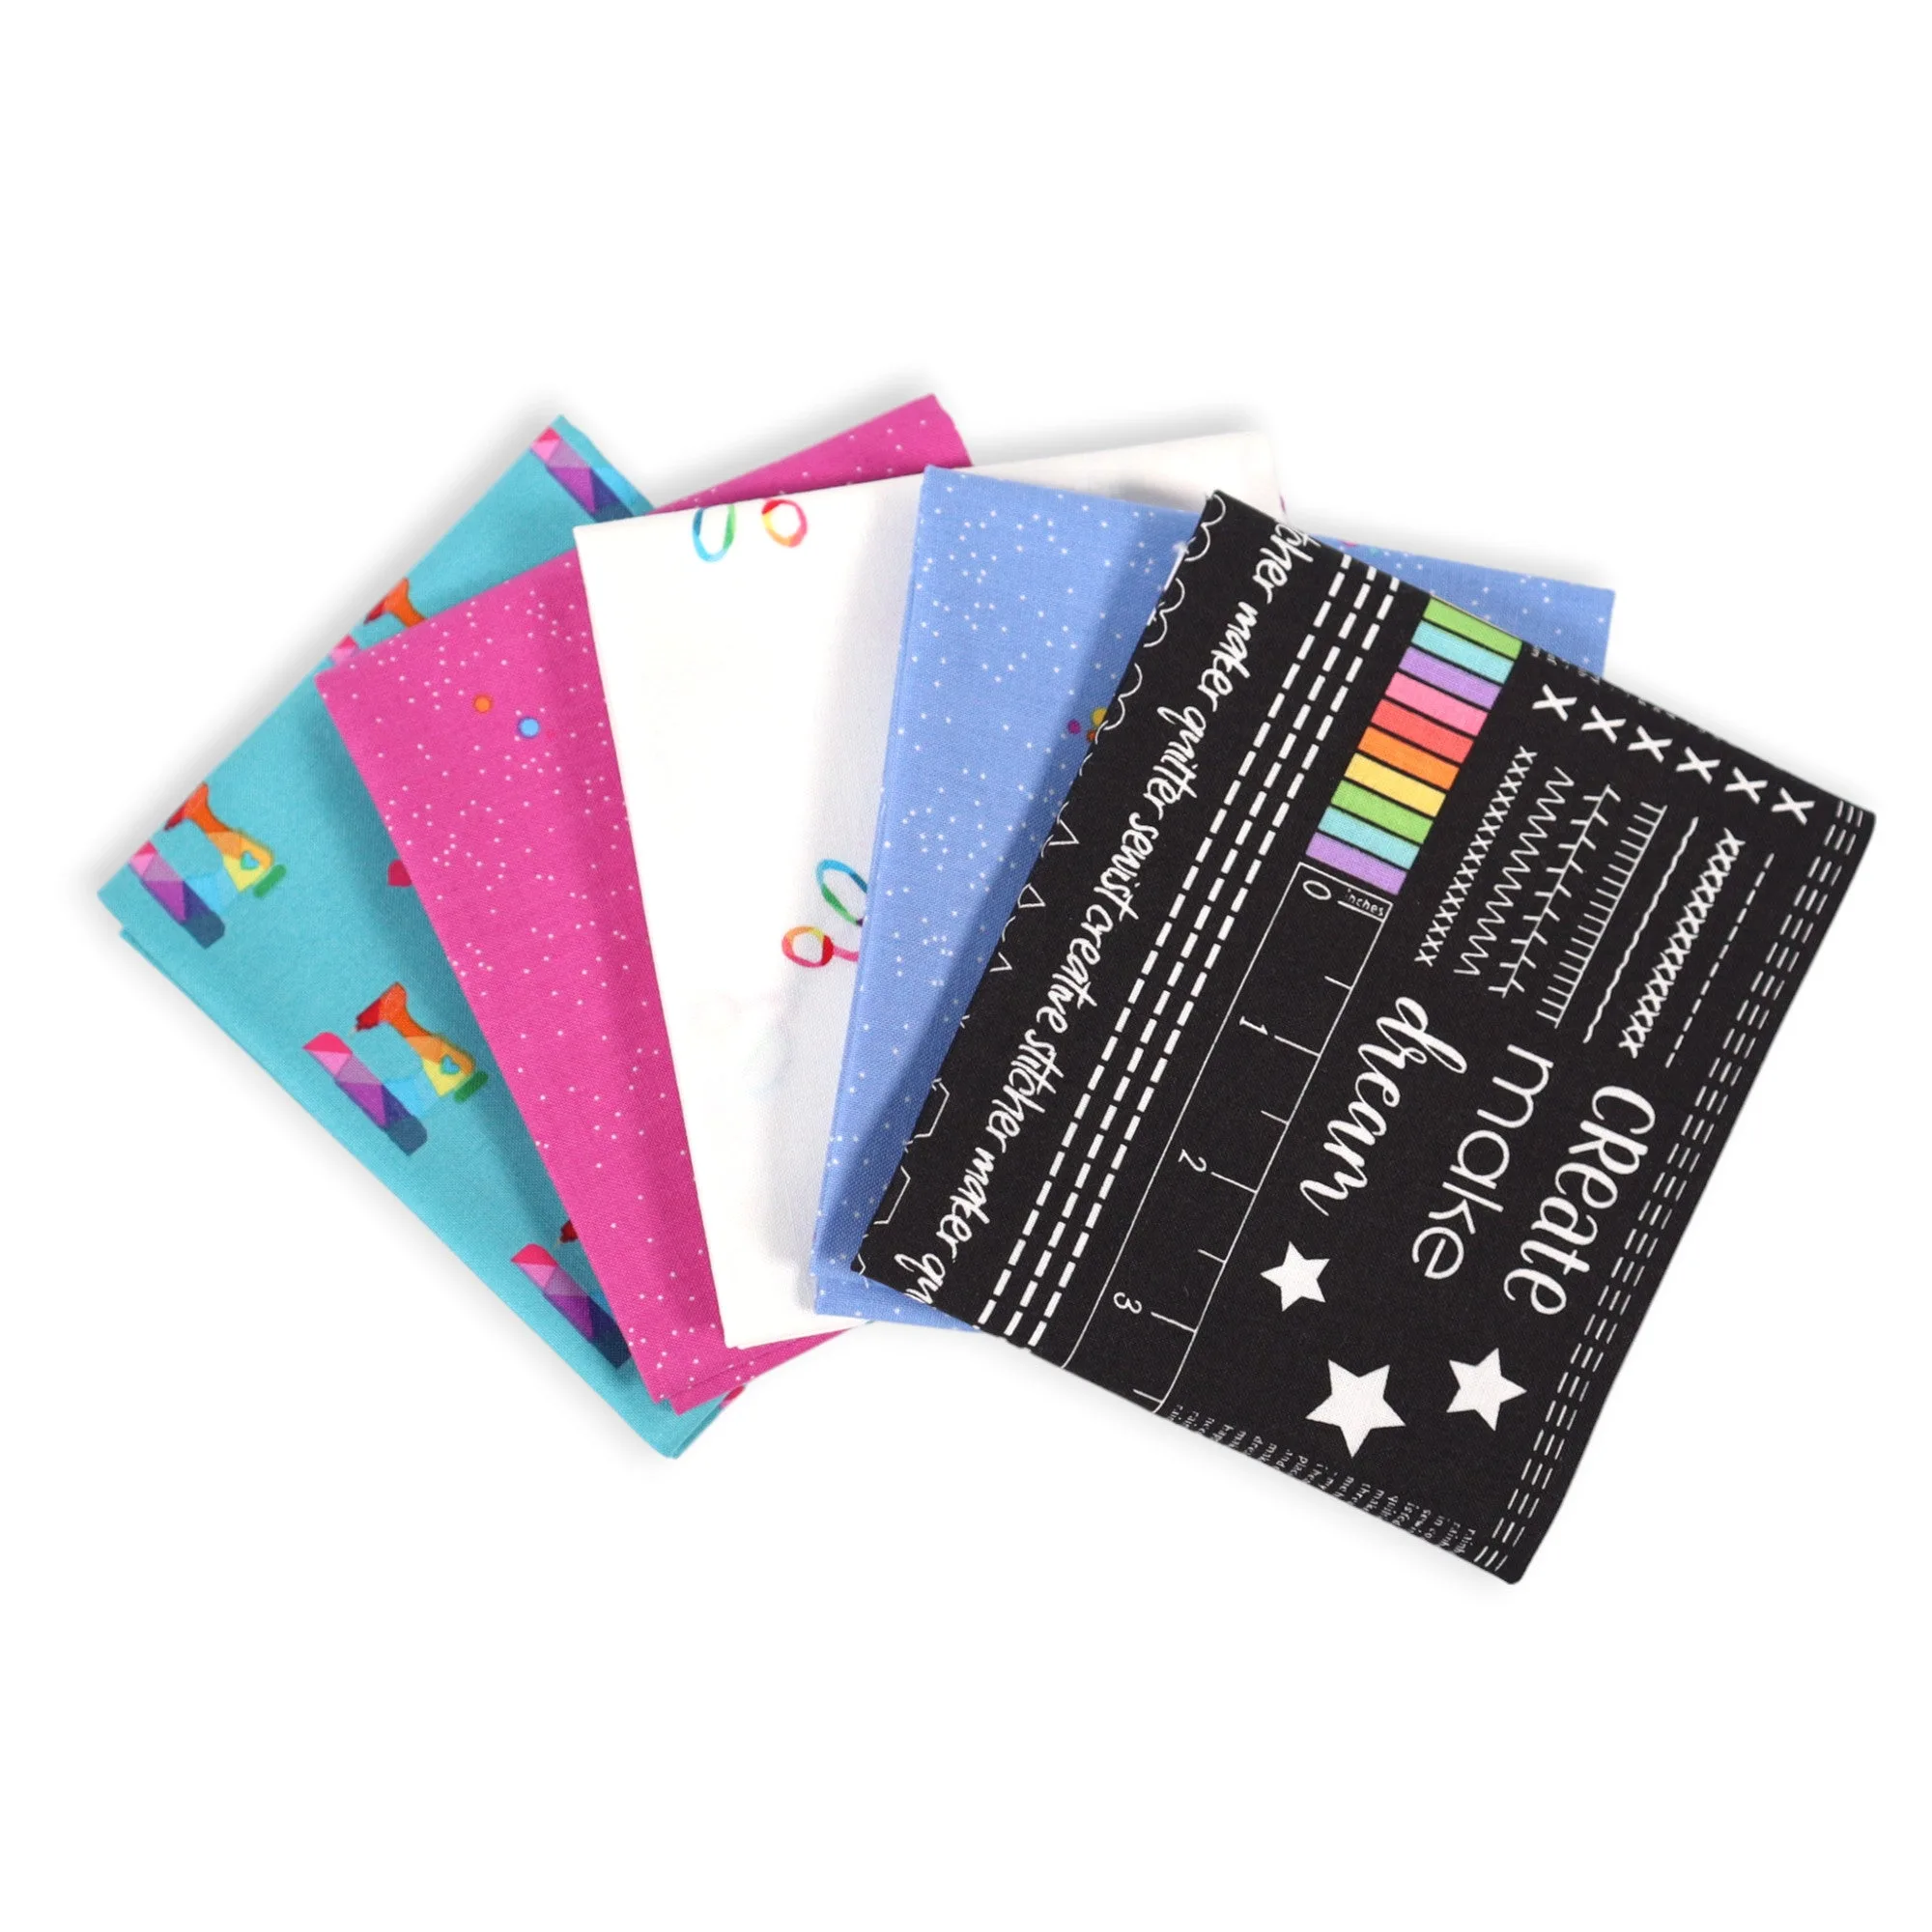
- Make (5) Piece Fat Quarter Bundle: This bundle includes (5) pieces of fabric from Riley Blake. Each piece is approximately 18 x 22 inches. A coordinated fat quarter bundle gives you a ready-made palette and enough fabric for a small quilt top without buying multiple cuts.
Your first quilt will not be perfect, and it does not need to be. Follow the steps in order, slow down at cutting and basting, and you will finish a quilt you can actually use. Keep your first project small, learn from each seam, and your next quilt will go faster.