Quick Answer
To make a quilt with the Mod Owls Revival Quilt Kit, start by prewashing and pressing your Pop Cloth fabrics, then carefully cut all pieces following the kit's layout diagram. Assemble the quilt top in sections, press seams as directed, and finish with your preferred quilting method.
Sewing a quilt from a kit like the Mod Owls Revival Quilt Kit is a rewarding project that combines beautiful fabric coordination with clear instructions. Whether you're new to quilting or an experienced sewist, the Pop Cloth fabric in this kit offers a unique texture that requires a few specific handling tips.
This guide walks you through the entire process, from preparing your fabric to the final binding, so you can confidently create a quilt you'll be proud to display or gift.
Understanding Your Kit and Fabric
Before you start, unpack your Mod Owls Revival Quilt Kit and review the included pattern. The kit typically contains pre-cut Pop Cloth fabrics, but the exact layout and cutting instructions may vary, so read through the entire guide first. Pop Cloth is a cotton-polyester blend that resists fraying but can be slippery, so use a walking foot if your machine struggles with multiple layers.
Check the fabric requirements and note any additional materials you'll need, such as backing, batting, and thread. The pattern will specify the finished quilt size and how to arrange the owl motifs. If your kit doesn't include a ruler, you may need a quilting ruler like the Sew Trim for precise squaring-up.
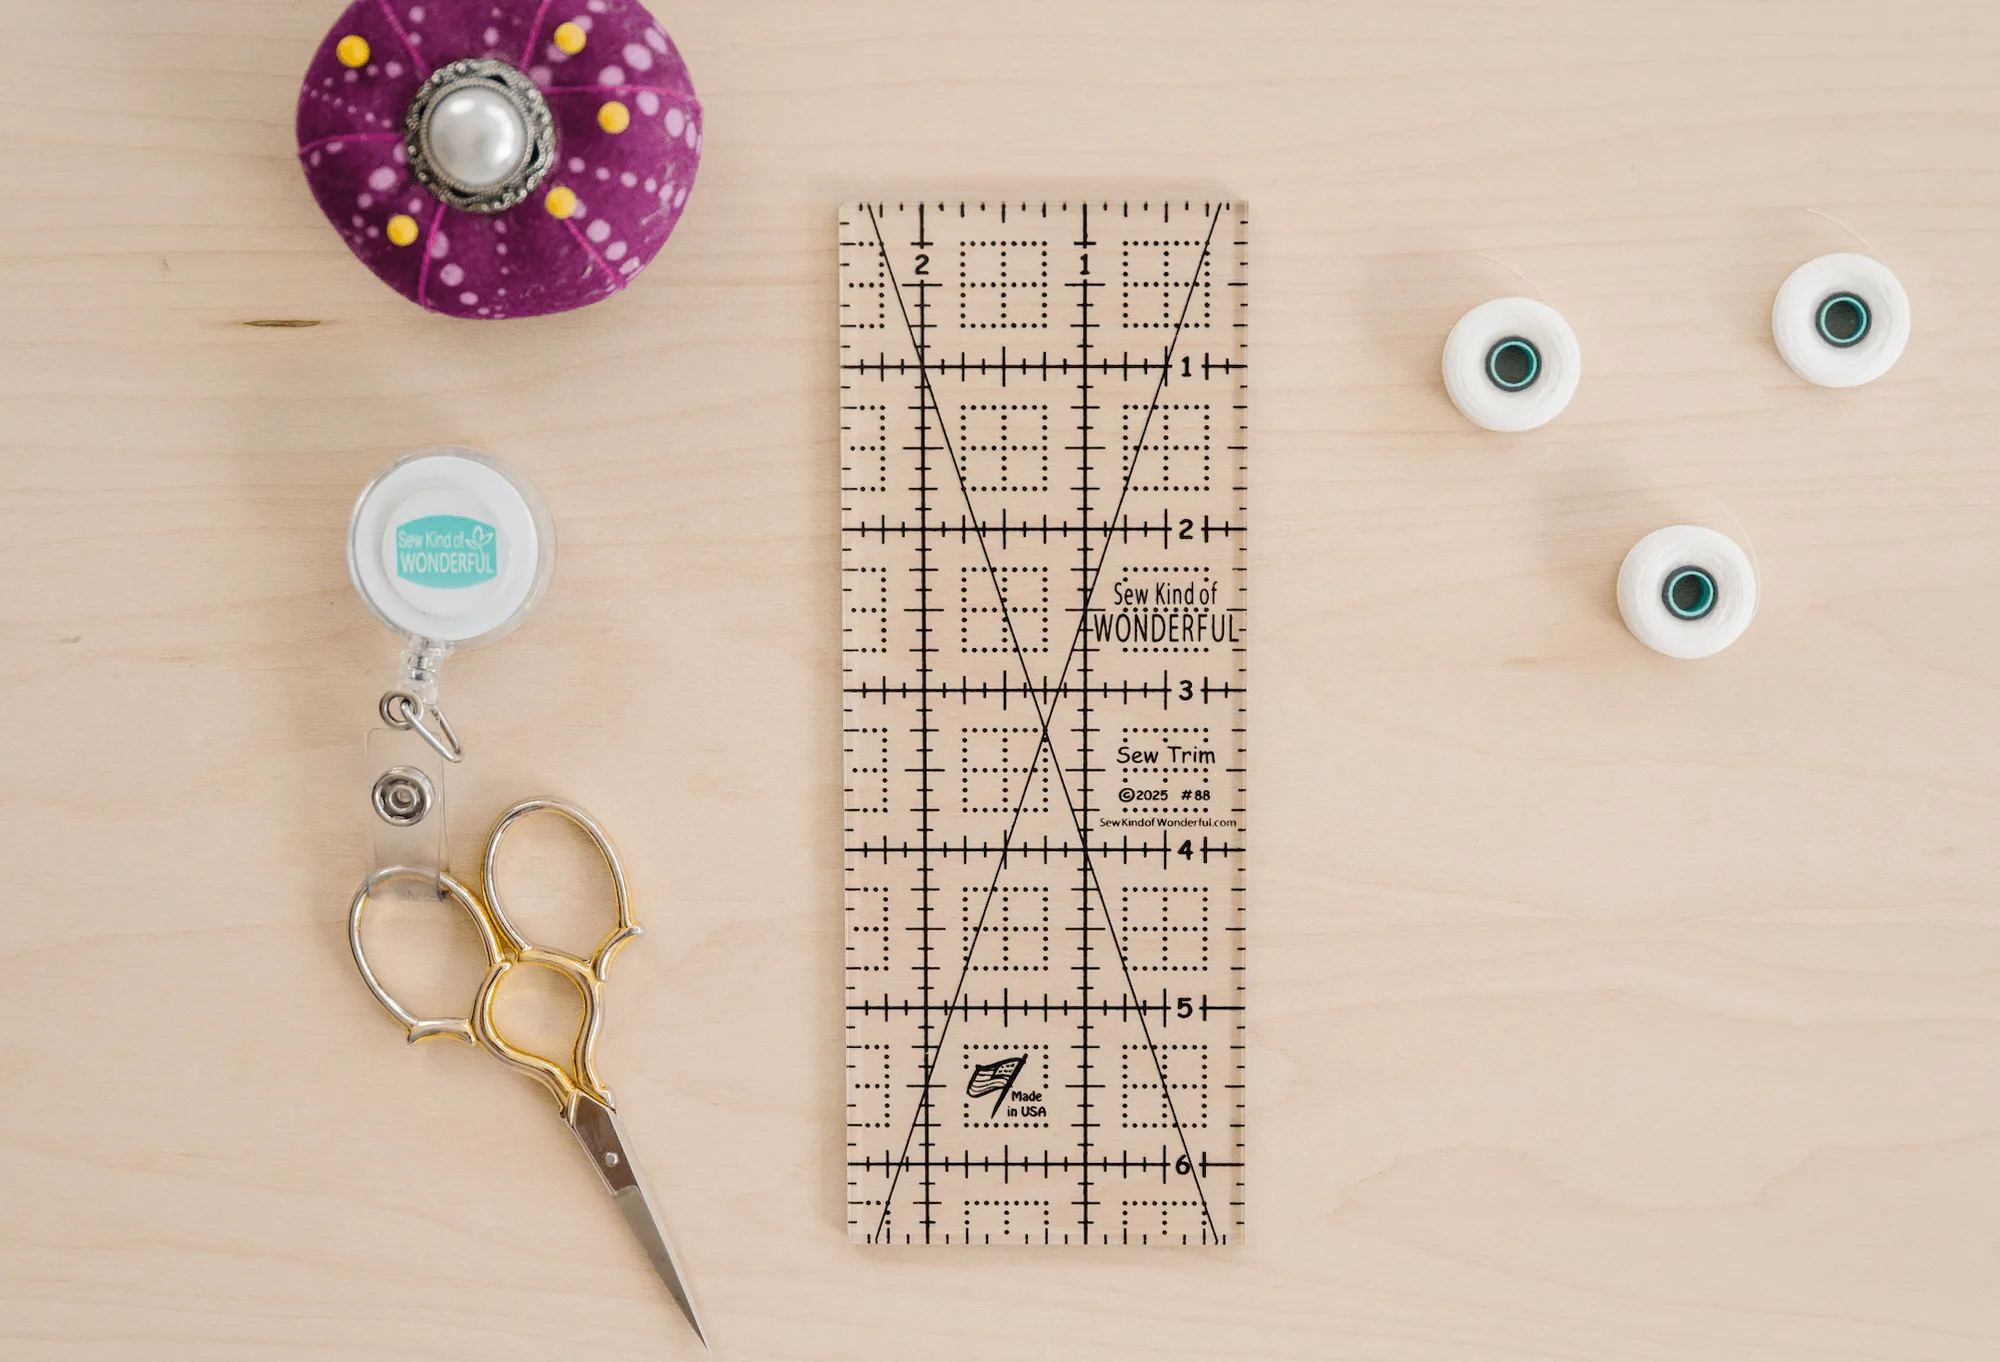
Sew Trim
- Prewash Pop Cloth in cold water and dry on low to minimize shrinkage.
- Press with a medium iron—avoid high heat to prevent melting the polyester content.
Preparing and Cutting Your Fabric
After prewashing, press the fabric flat and lay it on a clean cutting mat. Use a rotary cutter and a clear ruler to cut pieces according to the pattern. Because Pop Cloth can shift, pin or use pattern weights to hold layers in place. Double-check measurements before cutting to avoid mistakes.
If your kit uses precut strips or squares, sort them by color or size as indicated in the diagram. Labeling pieces with sticky notes can help you stay organized, especially if the design has many small owl parts.
- Cut on a flat, stable surface to ensure accuracy.
- Use a fresh rotary blade for clean cuts through the denser Pop Cloth.
Assembling the Quilt Top
Start sewing pieces together using a 1/4-inch seam allowance, as specified in the pattern. Pop Cloth is slightly heavier than quilting cotton, so test your stitch length on a scrap piece first. Sew slowly and use pins to keep seams aligned, especially when joining larger sections.
Press seams open or to one side as the pattern directs. Pressing open reduces bulk in seams where many pieces meet, like around the owl eyes. Be careful not to stretch the fabric while pressing.
- Check seam allowances frequently with a seam gauge.
- If your machine skips stitches, try a new needle size 80/12 or 90/14.
Quilting and Finishing
Once the quilt top is complete, layer it with batting and backing, and baste the three layers together. You can quilt with a walking foot for straight lines or free-motion if you're comfortable. Pop Cloth's stability makes it suitable for both methods.
After quilting, trim the edges and attach binding. The pattern may include binding instructions, but you can use your favorite method. Finish by hand-stitching the binding to the back for a clean look.
- Use a walking foot to prevent shifting when quilting through multiple layers.
- Mark quilting lines with a water-soluble pen before stitching.
Step-by-Step Assembly
- Prepare Fabric: Prewash and press your Pop Cloth fabric. Lay it flat and ensure it's wrinkle-free before cutting. Checkpoint: Fabric should be smooth and not stretched.
- Cut Pieces: Using a rotary cutter and ruler, cut all pieces according to the pattern. Sort them by type and label if needed. Checkpoint: Measure twice to avoid cutting errors.
- Sew Sections: Sew pieces together in small sections first, like individual owl blocks, then join sections into rows. Common mistake: Not matching seams—pin at intersections.
- Press Seams: Press seams as directed, either open or to one side. Use a pressing cloth to protect the fabric. Checkpoint: Seams should lie flat without puckering.
- Quilt Layers: Layer top, batting, and backing; baste and quilt as desired. Start from the center and work outward. Common mistake: Fabric shifting—use a walking foot.
- Bind and Finish: Trim excess batting and backing, then attach binding. Hand-stitch the binding to the back for a neat finish. Checkpoint: Corners should be mitered neatly.
Recommended Tools
- Sew Trim: Sew TrimTM is a 2-1/2" x 6-1/2" clear acrylic ruler with easy to use black lines and marks. It has unique marks for squaring-up 2-1/2" x 6-1/2" units from multiple Sew Kind of Wonderful QSR patterns. If your Mod Owls Revival quilt includes units that need squaring to a specific size, Sew Trim helps you trim accurately for perfect seams.
- Posh Love Video Tutorial: Learn to use the QCR Mini Ruler with this step-by-step video that will walk you through all the important features of the QCR Mini ruler while making the Posh Love quilt project. While this video is for a different project, it teaches ruler techniques that can be applied to curved piecing if your quilt design includes curves.
With careful preparation and attention to detail, your Mod Owls Revival quilt will come together beautifully. Enjoy the process and the unique charm of Pop Cloth fabric in your finished creation.