Quick Answer
To make focaccia on a Baking Steel, use a high-hydration dough, preheat the steel for at least 45 minutes at 500°F, and bake directly on the steel for a deeply crispy bottom. The steel's high thermal mass delivers intense bottom heat that mimics a professional bread oven, giving you that crackly crust and airy crumb you crave.

Baking Steel
Focaccia is all about contrast: a golden, crispy bottom and an open, airy crumb. While a home oven often struggles to deliver both, a Baking Steel changes the game. The steel's superior heat retention and conductivity create a searing-hot surface that crisps the dough instantly, while the oven's ambient heat works its magic on the crumb.
In this guide, you'll learn the exact steps to bake focaccia on a Baking Steel, from mixing the dough to pulling the pan out of the oven. We'll cover the essential techniques and common pitfalls so you can achieve restaurant-quality results at home.
Why Use a Baking Steel for Focaccia?
A Baking Steel isn't just for pizza. Its thick steel plate stores and radiates intense, even heat, which is exactly what focaccia needs for a crispy bottom. Traditional baking stones can't match the thermal conductivity of steel, so they often produce a pale, less crispy crust. The steel's rapid heat transfer also helps the dough spring quickly, contributing to a lighter, airier crumb.
When you place your focaccia pan directly on the preheated steel, you're essentially simulating a bread oven's deck. This direct contact ensures the bottom of the dough gets a blast of heat from the moment it hits the pan, creating that signature crackle. Plus, the steel helps maintain a stable oven temperature, even when you open the door to add or rotate your pan.
- The Baking Steel Pro, at 3/8-inch thick, offers maximum thermal mass for even crisping.
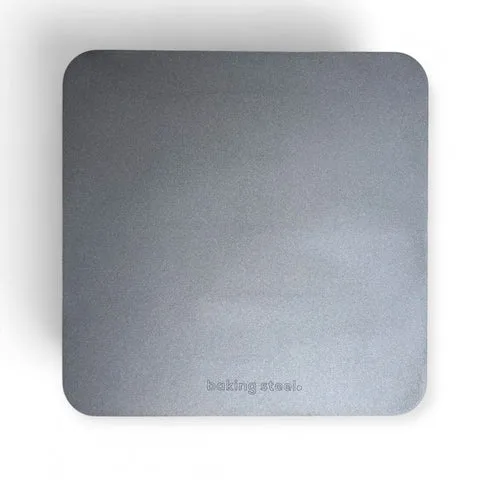
Baking Steel Pro
- For smaller batches, the Original Baking Steel works well too—just adjust preheat time.
Choosing the Right Dough and Pan
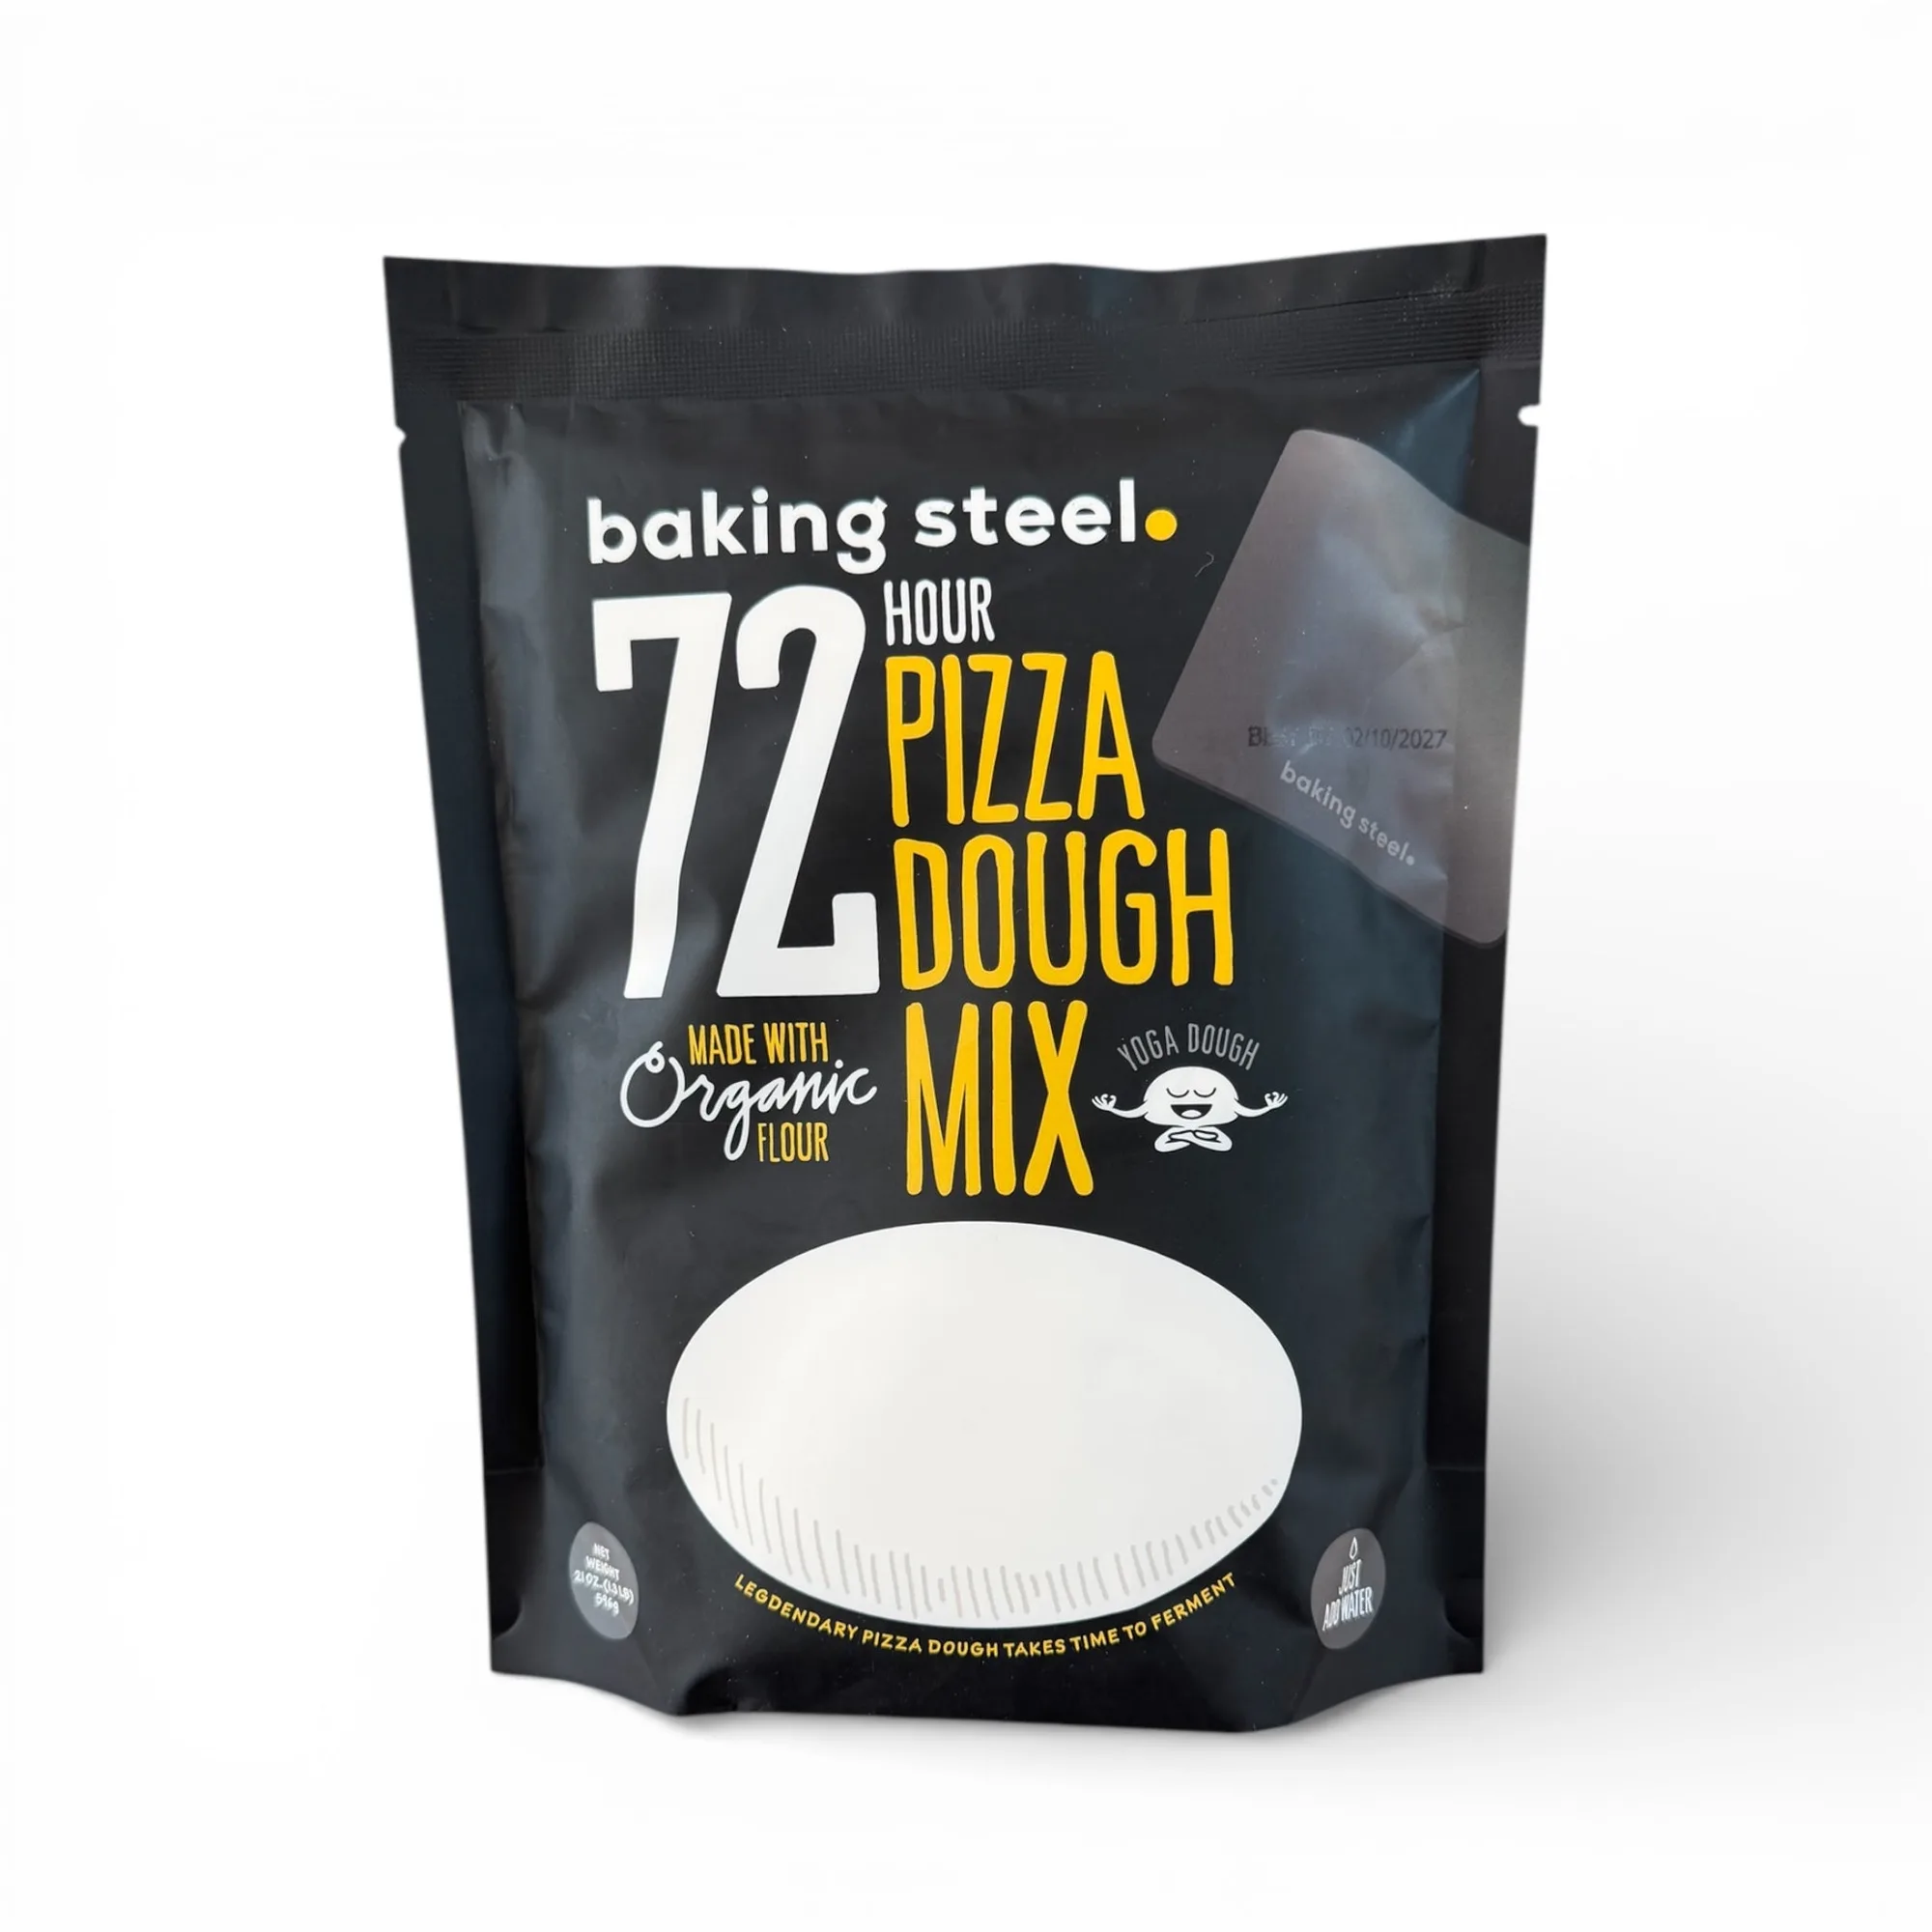
For a light, airy focaccia, use a high-hydration dough (around 75-80% water). This creates more steam during baking, which helps develop an open crumb. You can make your own dough or use a reliable mix like the 72-Hour Pizza Dough Mix — Just Add Water, which simplifies the process while giving you a fermented, flavorful base.
The pan matters too. A heavy-duty aluminum or cast-iron pan conducts heat well and helps brown the bottom. Avoid dark non-stick pans that can over-brown. Make sure the pan fits comfortably on your Baking Steel, leaving a little room for air circulation.
- Use a pan with at least 2-inch sides to accommodate the dough's rise.
- If using a mix, follow the hydration instructions for best results.
Preheating Your Baking Steel
Preheating is non-negotiable. Place your Baking Steel on the middle or lower rack of your oven and preheat to 500°F (260°C) for at least 45-60 minutes. This ensures the steel is fully saturated with heat. A longer preheat, like 60-75 minutes for the thicker Pro, gives you a more consistent bake.
Don't rush this step. If the steel isn't hot enough, you'll get a pale bottom and less oven spring. Use an infrared thermometer to check the surface temperature—you want it around 500°F before baking. This is a common mistake: impatient bakers skip the full preheat and wonder why their crust is soft.
- Set a timer to remind yourself not to open the oven door during preheat.
- If your oven runs hot, adjust slightly to avoid burning the bottom.
Shaping and Proofing the Dough
After your dough has completed its bulk fermentation, gently transfer it to a well-oiled pan. Use your fingertips to press the dough out to the edges, being careful not to deflate it too much. If the dough resists, let it rest for 10-15 minutes before continuing.
Cover the pan and let the dough proof until it's puffy and almost doubled, about 1-2 hours at room temperature. This second proof is crucial for an airy crumb. Don't skip it—under-proofed dough will be dense. Before baking, dimple the dough with your fingers, drizzle with olive oil, and sprinkle with flaky salt and herbs.
- Use a light touch when dimpling to preserve air bubbles.
- If your kitchen is cool, proof in a slightly warm spot or use a proofing box.
Baking and Finishing
Carefully place the pan on the preheated steel. Bake for 20-25 minutes, or until the top is deep golden brown and the bottom is crisp. Rotate the pan halfway through for even browning. If the top browns too quickly, tent loosely with foil.
Once baked, remove the focaccia from the pan immediately and let it cool on a wire rack. This prevents a soggy bottom. For an extra-crispy finish, you can place the focaccia directly on the steel for the last 2-3 minutes of baking, but watch it closely to avoid burning.
- Use a thermometer to check the internal temperature—it should be around 200°F.
- Let it cool for at least 10 minutes before slicing to set the crumb.
Step-by-Step: Focaccia on a Baking Steel
- Mix and Ferment Your Dough: Combine flour, water, yeast, and salt to form a high-hydration dough. Knead until smooth, then let it bulk ferment in the fridge for 12-72 hours. This develops flavor and structure. Checkpoint: The dough should be bubbly and doubled in volume. If it's not, give it more time.
- Preheat the Steel: Place your Baking Steel on the middle rack and preheat the oven to 500°F for at least 45-60 minutes. For a thicker steel like the Pro, aim for 60-75 minutes. Checkpoint: Use an infrared thermometer to confirm the steel surface is around 500°F.
- Shape and Proof: Oil a heavy pan, transfer the dough, and gently press it to the edges. Cover and let it proof until puffy, about 1-2 hours. Common mistake: Pressing too hard deflates the dough. Use fingertips to dimple, not flatten.
- Bake on the Steel: Place the pan on the hot steel and bake for 20-25 minutes, rotating halfway. If the top browns too fast, tent with foil. Checkpoint: The bottom should be deep golden and crisp when you slide a spatula under it.
- Cool and Serve: Remove the focaccia from the pan immediately and cool on a wire rack for at least 10 minutes before slicing. Verdict: Enjoy the contrast of a crispy bottom and airy crumb—perfect for dipping or sandwiches.
Tools That Help You Nail Focaccia
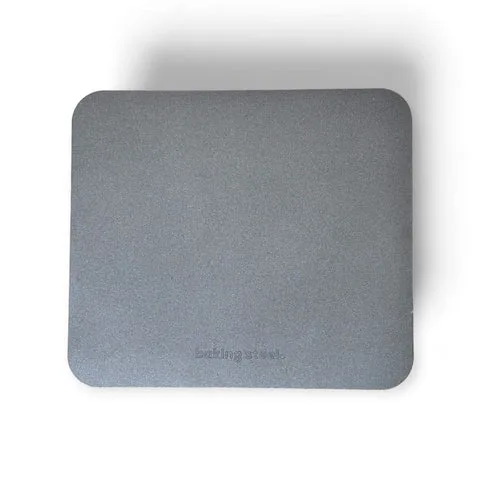
- Baking Steel Pro: The Baking Steel Pro (16" x 16" x 3/8") is a 27-pound slab of solid carbon steel built for one thing: the biggest, best New York-style pizzas you can make in a standard home oven. At 3/8-inch thick, 50% thicker than the Original, the Pro delivers maximum thermal mass, superior heat retention, and edge-to-edge performance. Preheat for 60–75 minutes at 500–550°F. For focaccia, the Pro's extra thickness provides a more stable, even heat source, giving you a consistently crispy bottom without hot spots—especially useful if you're baking large batches.
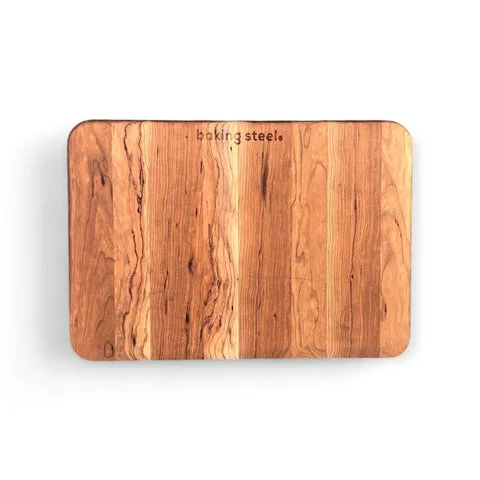
- The Bread Board: The Baking Steel Bread Board was designed to perfectly pair with our Baking Steel Plus. At 14" x 20", it gives you serious surface area for prepping, shaping, launching, and serving. Whether you’re open-baking sourdough loaves, rolling out 18" baguettes, or launching two pizzas at once, this board handles it all. Use the Bread Board to shape and transfer your focaccia dough without sticking or tearing, preserving the airy structure you've built during proofing.
- 72-Hour Pizza Dough Mix — Just Add Water: Judge.me %20AppleWebKit%2F537.36%20(KHTML%2C%20like%20Gecko)%20Chrome%2F151.0.0.0%20Safari%2F537.36&site=bakingsteel.com) This mix simplifies dough preparation while delivering a fermented, flavorful base—perfect for focaccia when you want consistent results without measuring multiple flours.
Baking focaccia on a Baking Steel is a game-changer for home bakers. The intense, even heat delivers that elusive crispy bottom while keeping the crumb light and airy. With the right dough, a proper preheat, and a little patience, you'll be pulling golden, crackly focaccia out of your oven in no time. Pair your steel with the right tools, and you'll never go back to pale, soggy focaccia again.