Quick answer
Making fresh bread in a Zojirushi breadmaker is straightforward: measure ingredients precisely, add them in the correct order, select the right course, and let the machine handle the kneading, rising, and baking.
Why ingredient order matters
Zojirushi breadmakers are designed for a specific ingredient layering sequence to ensure even mixing and proper yeast activation. Typically, you add liquids first, then dry ingredients, and finally yeast on top. Skipping this order can lead to dense or uneven loaves.
If your recipe includes butter or oil, add it with the liquids. Salt and sugar should be placed in separate corners of the pan so they don't contact the yeast directly before mixing begins.
Choosing the right cycle for your loaf
Different bread types need different cycles. Zojirushi models offer settings for white, whole wheat, gluten-free, and even quick breads. Using the wrong cycle may underbake or overbake your bread. For example, whole wheat dough requires a longer rise time, so selecting a standard white bread cycle can result in a dense loaf.
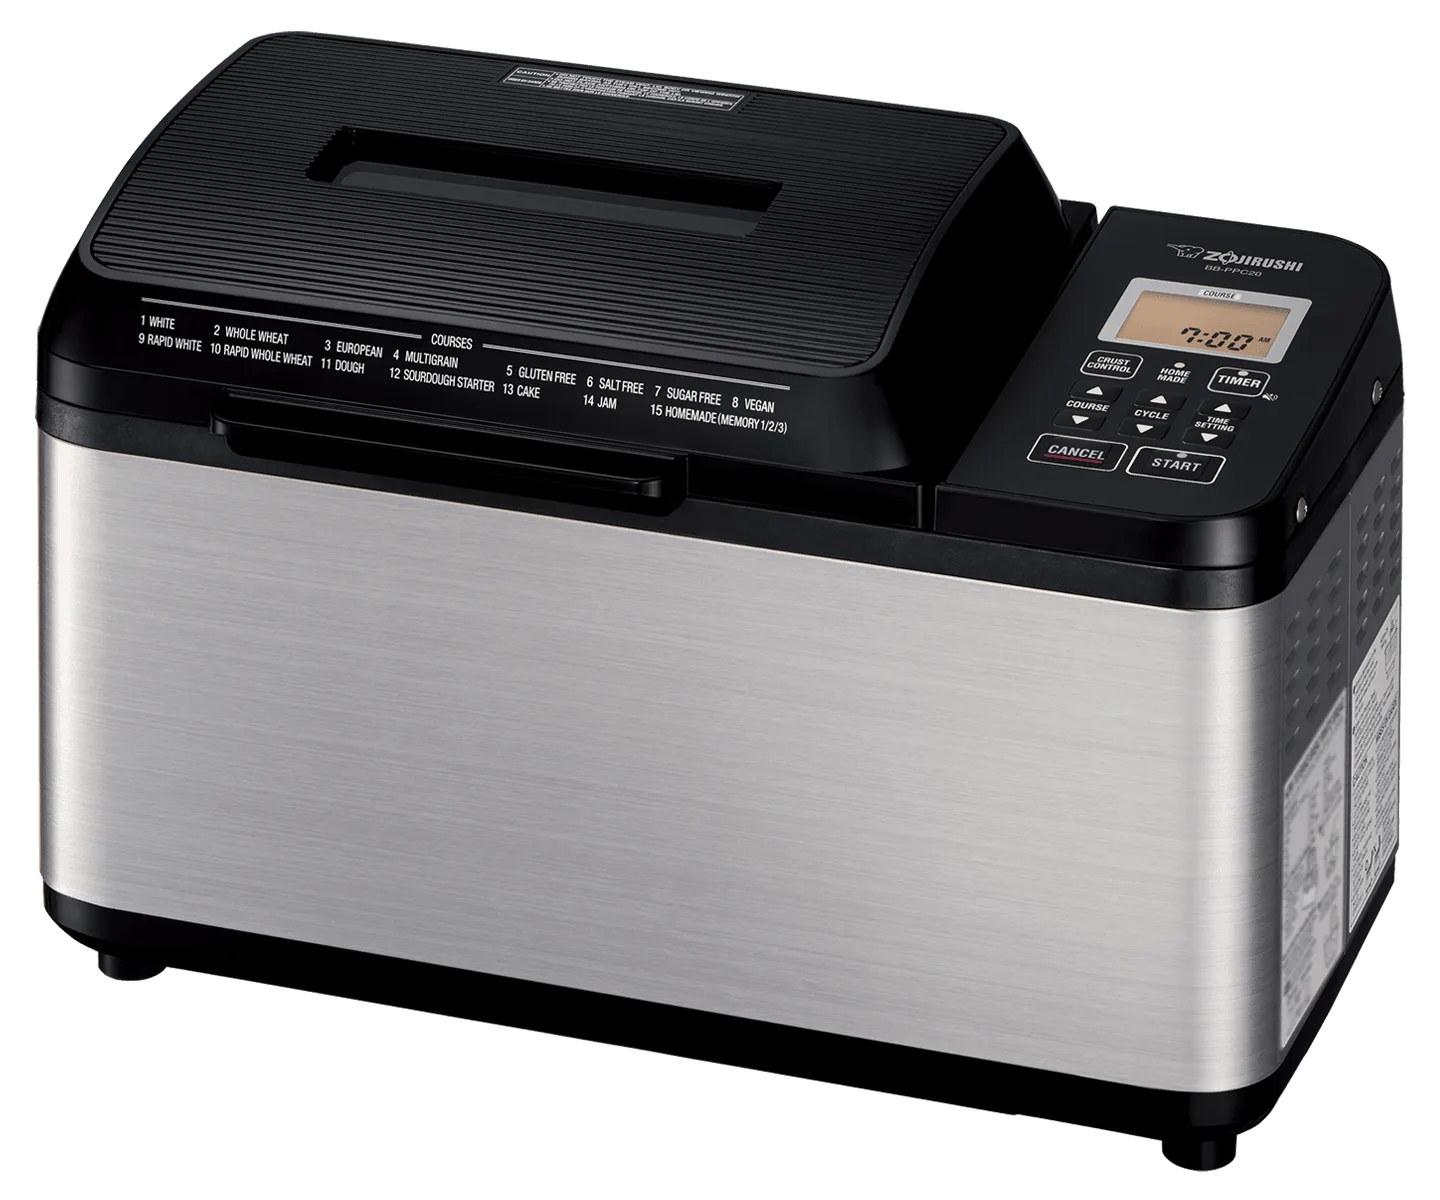
The Home Bakery Maestro BB-SSC10 includes 15 course selections, including Multigrain, Whole Wheat, Quick Whole Wheat, and Gluten Free. The Home Bakery Virtuoso Plus BB-PPC20 offers dual kneading blades for thorough mixing on larger 2-lb loaves.
Step-by-step guide to baking bread in your Zojirushi breadmaker
- 1. Measure ingredients accurately: Use the measuring cup and spoon that came with your breadmaker. Level off dry ingredients with a knife. Too much flour or liquid is the most common cause of failed loaves. Weighing ingredients on a kitchen scale is even more precise than measuring cups.
- 2. Add ingredients in the correct order: Pour liquids (water, milk, oil) into the bread pan first. Then add dry ingredients (flour, salt, sugar) and make a small well on top for the yeast. Do not let yeast touch liquid until mixing begins. If you're using a delayed timer, keep yeast completely dry until the cycle starts.
- 3. Select the appropriate course and crust color: Choose the course that matches your bread type (e.g., White, Whole Wheat, Gluten Free). Set the crust color to Light, Medium, or Dark based on your preference. Press Start. For whole wheat or multigrain loaves, select the dedicated course to allow extra rising time.
- 4. Remove the loaf promptly after baking: When the cycle ends, use oven mitts to remove the bread pan. Turn it upside down and shake gently to release the loaf. Let it cool on a wire rack for at least 20 minutes before slicing. Leaving bread in the pan too long can cause a soggy crust from trapped steam.
Which Zojirushi breadmaker fits your needs?
-
Home Bakery Mini Breadmaker BB-HAC10: The Home Bakery Mini Breadmaker BB-HAC10 bakes a 1-lb loaf and has a compact, slim design. Ideal for singles, couples, or small kitchens where counter space is limited and you want fresh bread without leftovers.
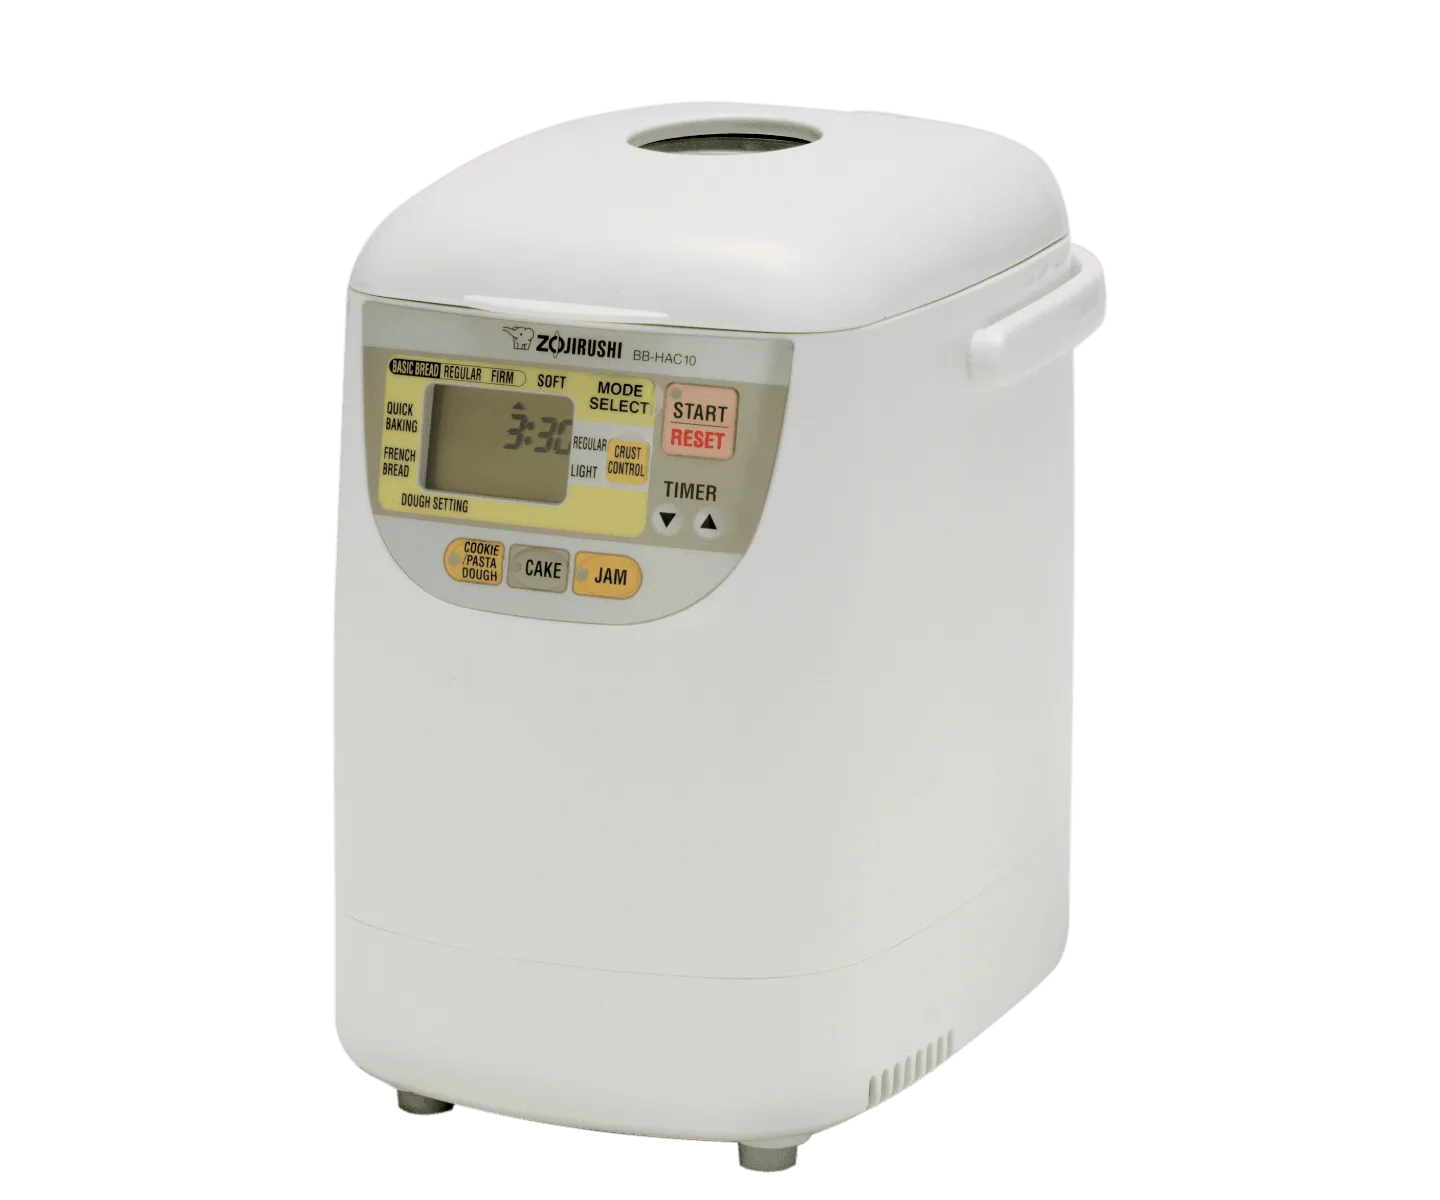
Home Bakery Mini Breadmaker BB-HAC10
-
Home Bakery Maestro® Breadmaker BB-SSC10: The Home Bakery Maestro BB-SSC10 offers 15 course selections including healthy options like Multigrain, Whole Wheat, Gluten Free, and Vegan. Great for households with dietary preferences or restrictions, giving you flexibility to bake bread that fits your lifestyle.
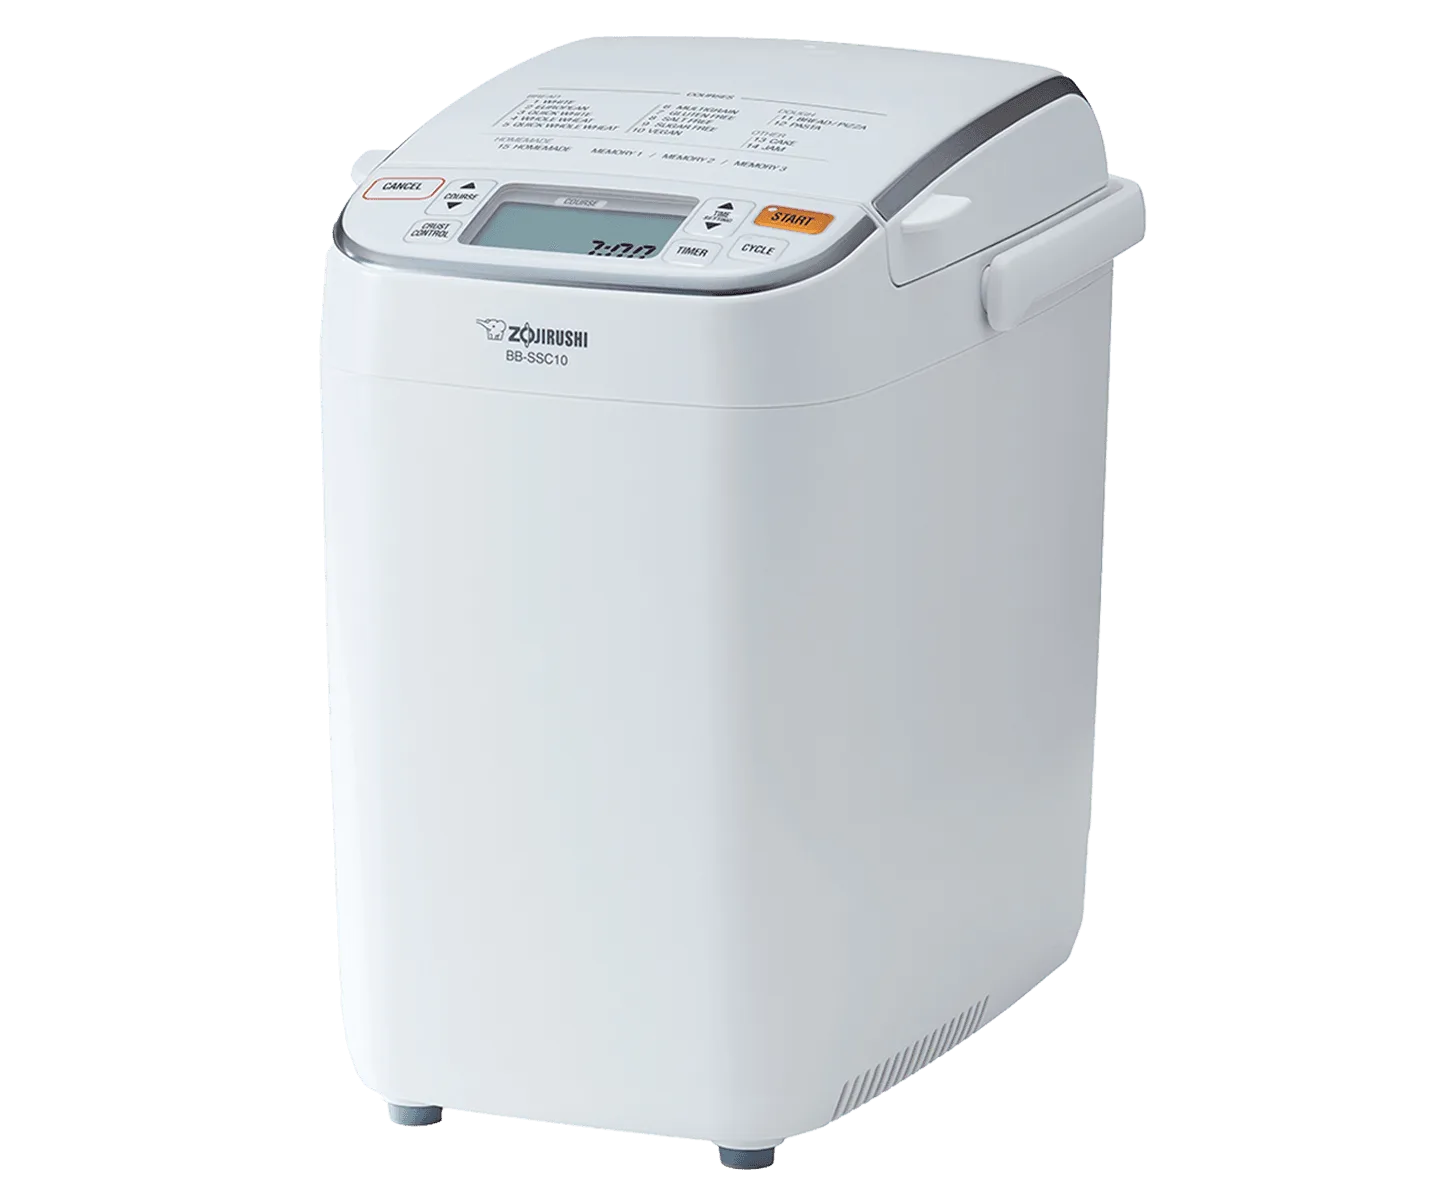
Home Bakery Maestro® Breadmaker BB-SSC10
-
Home Bakery Virtuoso® Plus Breadmaker (with Ceramic Nonstick) BB-PPC20: The Home Bakery Virtuoso Plus BB-PPC20 bakes a 2-lb loaf and features dual kneading blades plus an additional heater on the lid. Best for larger families who want even baking and thorough kneading, and it is free of PFAS and BPA on all food-contact surfaces.