Baking gluten-free at home often feels like it requires a kitchen full of gadgets, especially a stand mixer. But what if you don't have one, or simply prefer to keep things simple? The good news is that you can absolutely make delicious gluten-free mixes without a stand mixer. Whether you're whipping up a batch of pancakes, a loaf of bread, or a skillet meal, hand mixing can produce equally fantastic results.
In this guide, we'll explore the best tools, techniques, and tips for making gluten-free mixes by hand. From choosing the right bowl to mastering the art of whisking, you'll learn how to achieve the perfect texture without relying on electricity. Plus, we'll highlight some of our favorite mixes that are perfect for hand mixing, so you can start baking right away.
Why Hand Mixing Works for Gluten-Free Mixes
Gluten-free flours and mixes behave differently than traditional wheat-based ones. They often lack the elasticity that gluten provides, which means overmixing can lead to dense or tough results. Hand mixing gives you more control over the process, allowing you to stop as soon as the ingredients are combined. This is especially important for delicate items like pancakes, muffins, and scones.
Another advantage of hand mixing is that it's gentler on the batter. Many gluten-free mixes, such as our Gluten-Free Pancake & Waffle Mix, are designed to be mixed until just combined. Using a spatula or whisk by hand helps avoid overworking the batter, ensuring a light and fluffy texture every time.
- Hand mixing prevents overmixing, which can make gluten-free baked goods tough.
- It's easier to control the consistency when you mix by hand.
- No need for extra appliances – saves space and energy.
Essential Tools for Hand Mixing Gluten-Free Mixes
You don't need a lot of fancy equipment to mix gluten-free mixes by hand. A few basic tools will do the job perfectly. A large mixing bowl is essential – choose one that gives you plenty of room to stir without spilling. A sturdy whisk is great for combining dry ingredients and for mixing wet ingredients into dry. A silicone spatula is also handy for scraping down the sides and folding in delicate ingredients.
For some mixes, like our Gluten-Free Banana Bread or Muffin Mix, you might want a fork or pastry blender to incorporate butter or other fats. A simple hand mixer can also be useful, but it's not necessary. The key is to have tools that are comfortable to hold and easy to clean.
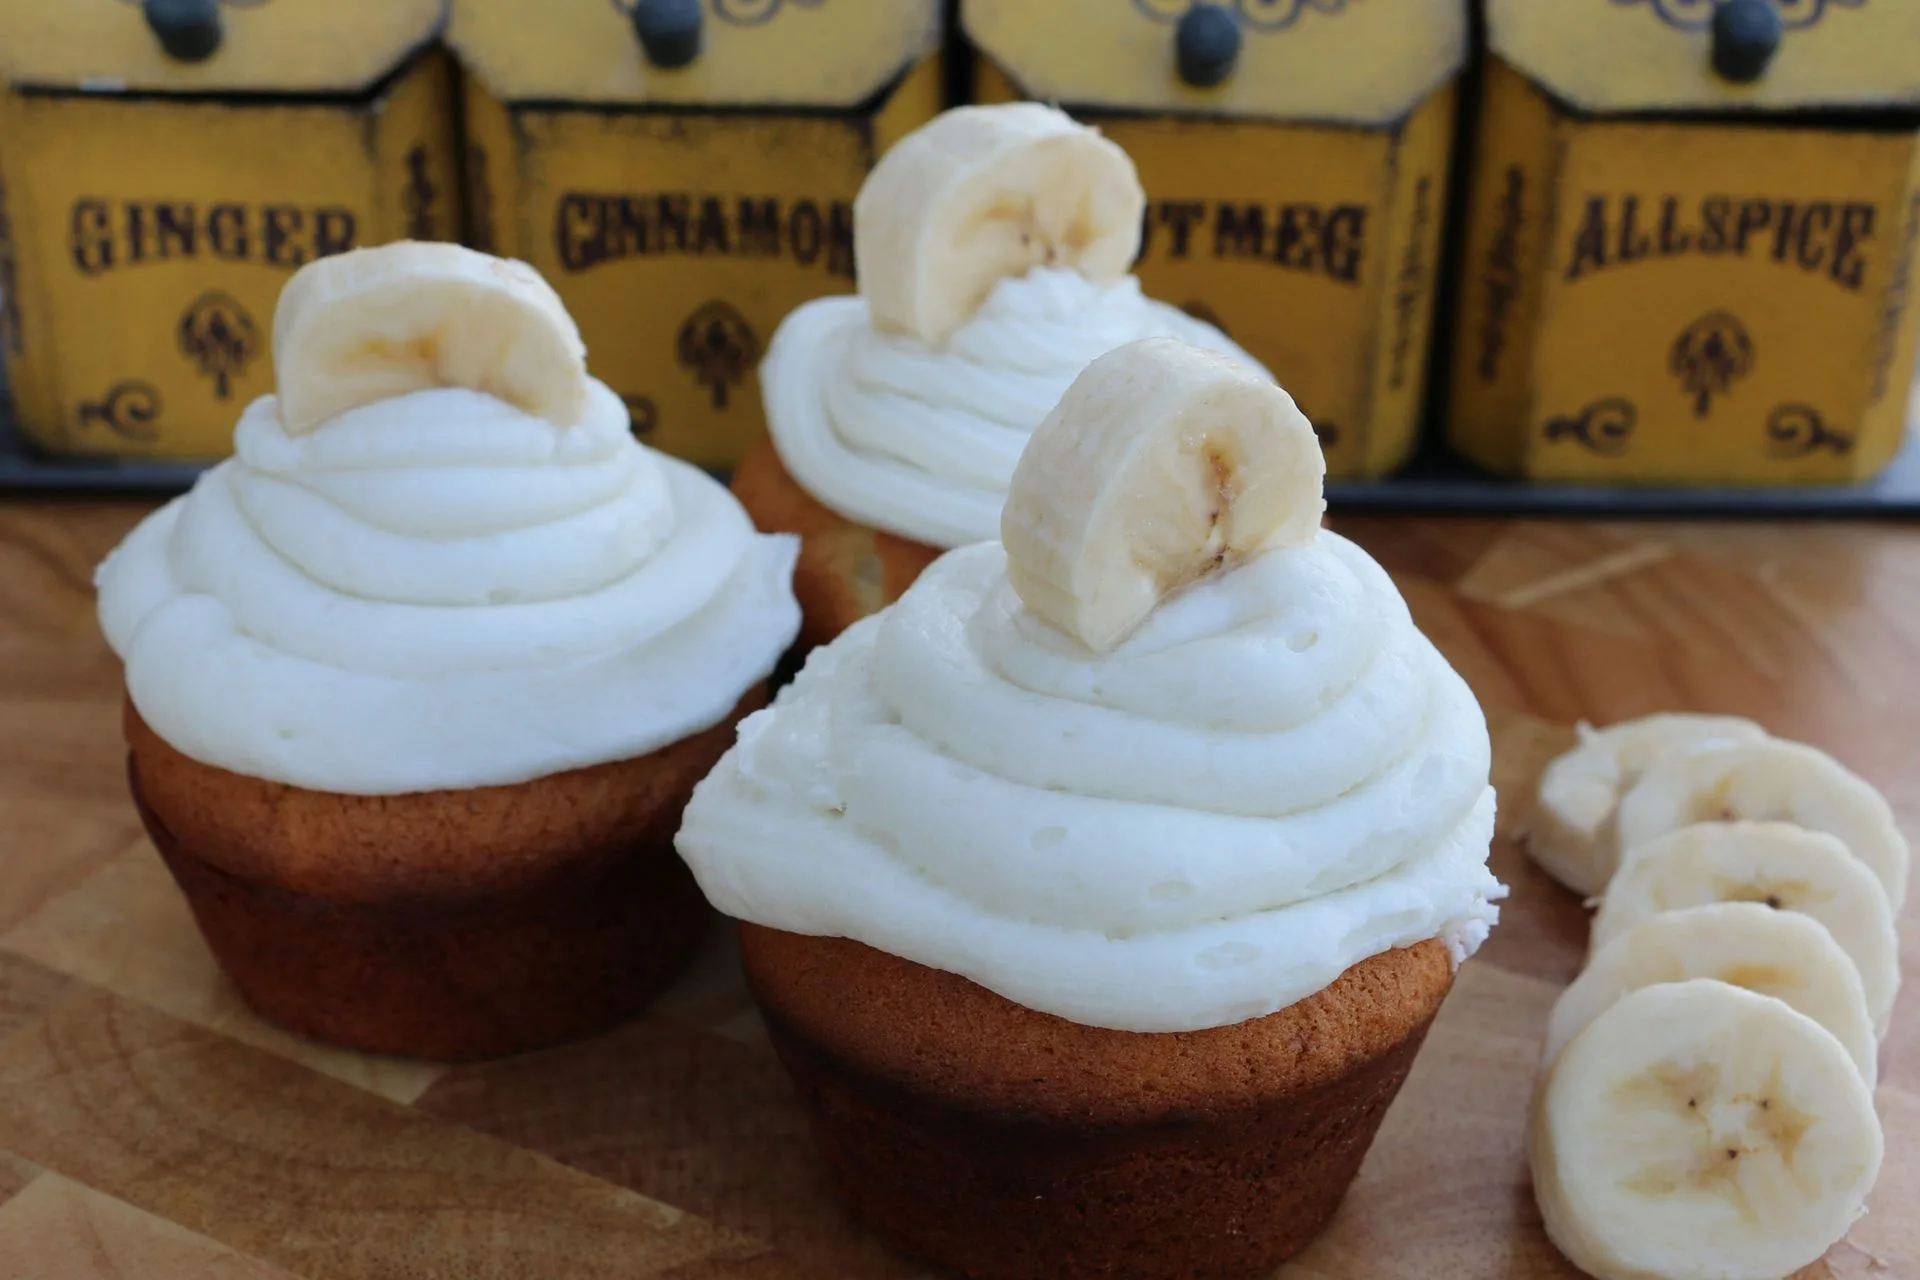
Gluten-Free Banana Bread or Muffin Mix
- Large mixing bowl (glass or stainless steel)
- Wire whisk for blending dry ingredients
- Silicone spatula for folding and scraping
- Pastry blender or fork for cutting in fats
Step-by-Step Hand Mixing Techniques
Start by reading the instructions on your gluten-free mix carefully. Most mixes will tell you to combine the dry mix with wet ingredients like eggs, oil, or water. In a large bowl, whisk the dry mix to break up any lumps. This is especially important for mixes like our Gluten-Free Sourdough Bread or Rolls REFILL, which may have a denser texture.
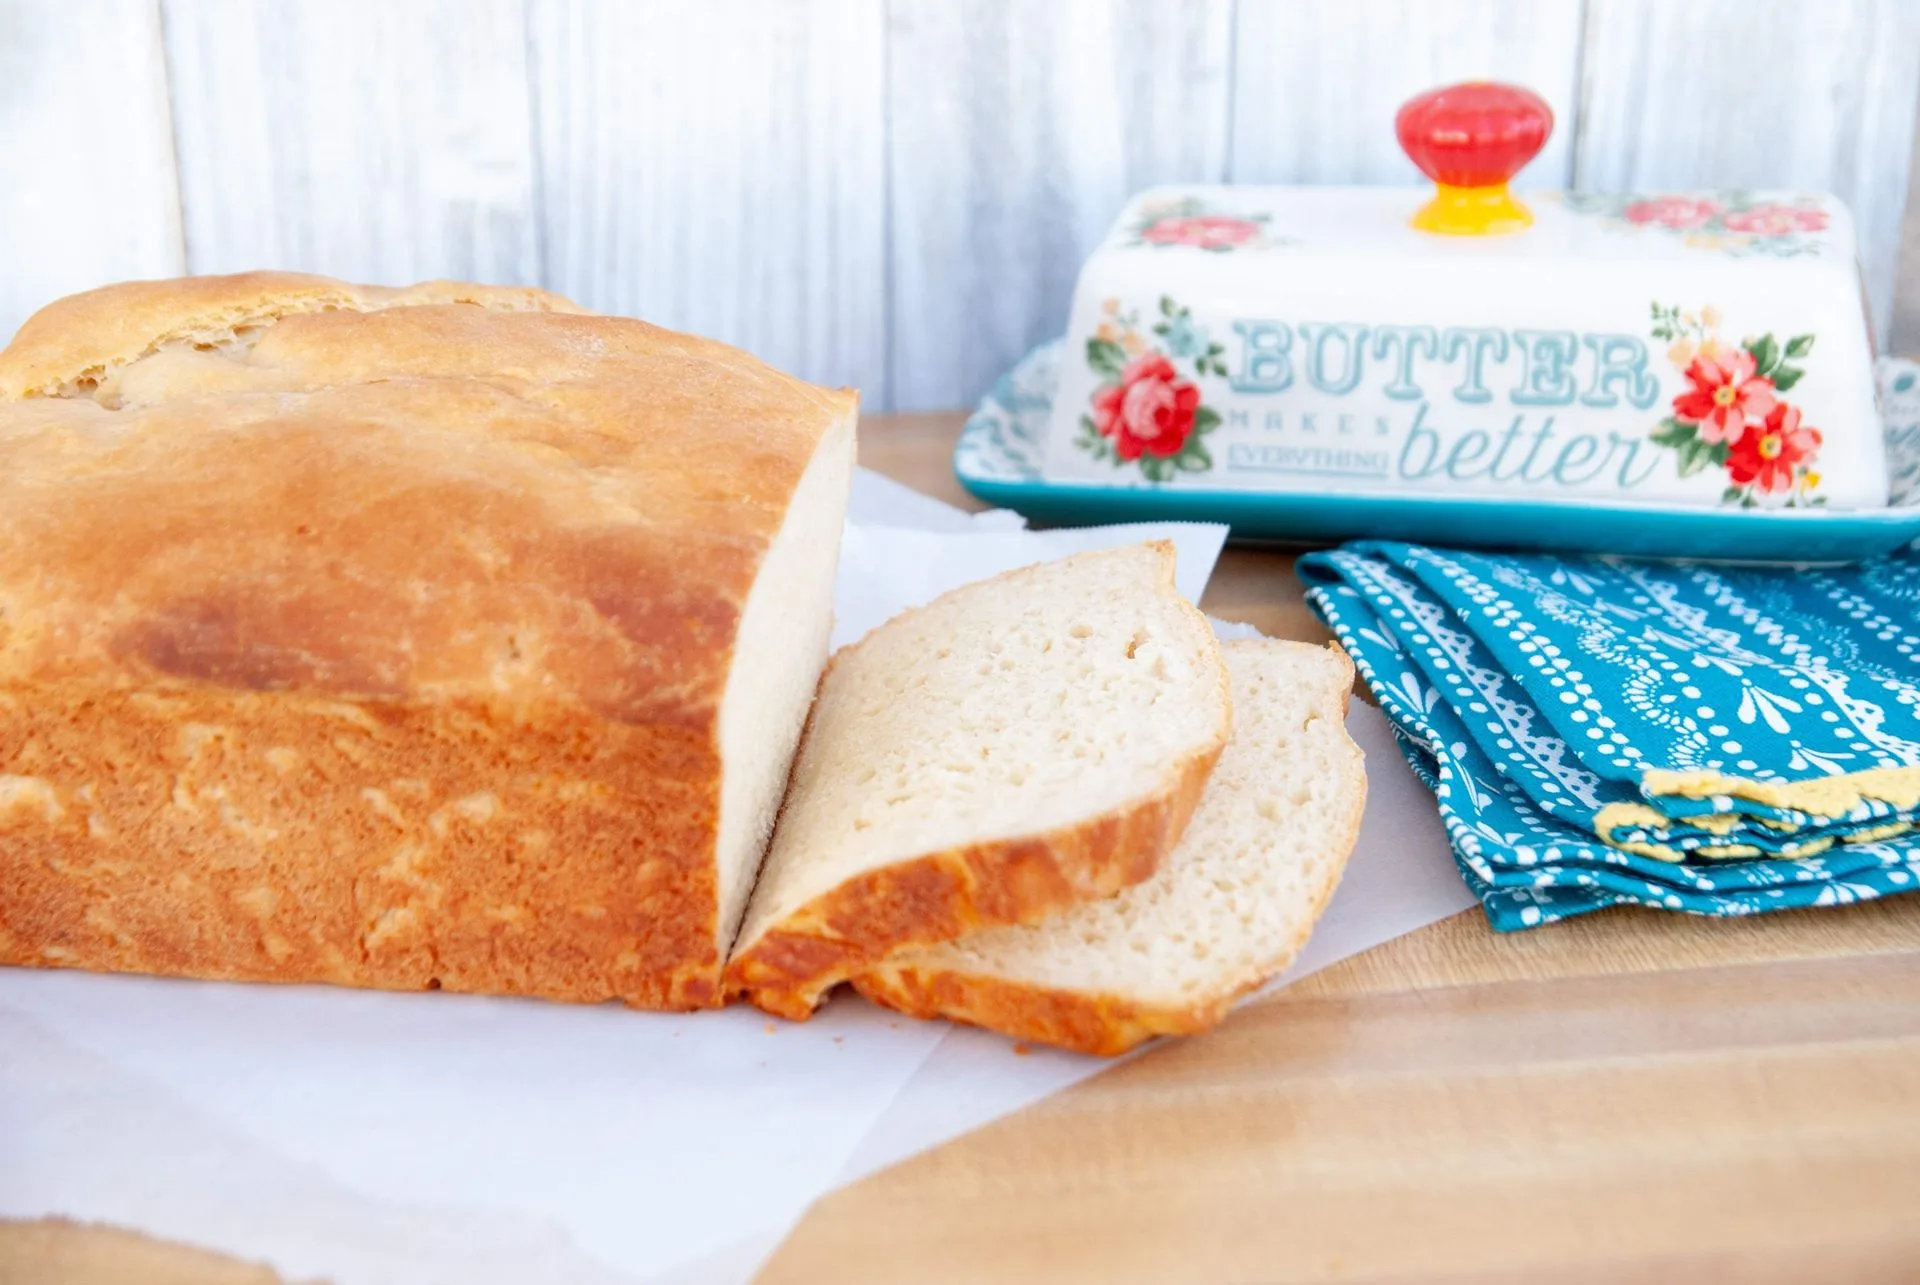
Gluten-Free Sourdough Bread or Rolls REFILL
Next, create a well in the center of the dry ingredients and add the wet ingredients. Using a spatula or wooden spoon, stir in a circular motion from the center outward. Continue until the batter is just combined – it's okay if there are a few small lumps. For thicker batters, like those for bread or muffins, you may need to use a bit more elbow grease. Let the batter rest for a few minutes to allow the flours to hydrate, which improves the texture.
- Always whisk dry ingredients first to remove lumps.
- Add wet ingredients gradually and mix gently.
- Let the batter rest for 5-10 minutes before baking.
Tips for Specific Gluten-Free Mixes
Different mixes require slightly different techniques. For pancakes and waffles, a whisk is perfect for creating a smooth batter without overmixing. Our Gluten-Free Pancake & Waffle Mix is a great choice – just add water and mix until smooth. For scones, you'll want to use a pastry blender to cut in cold butter, then gently fold in the wet ingredients. The Gluten-Free Scrumptious Sweet Scone & Mild Chili Seasoning Combo Mix is a fun option that combines sweet and savory flavors.
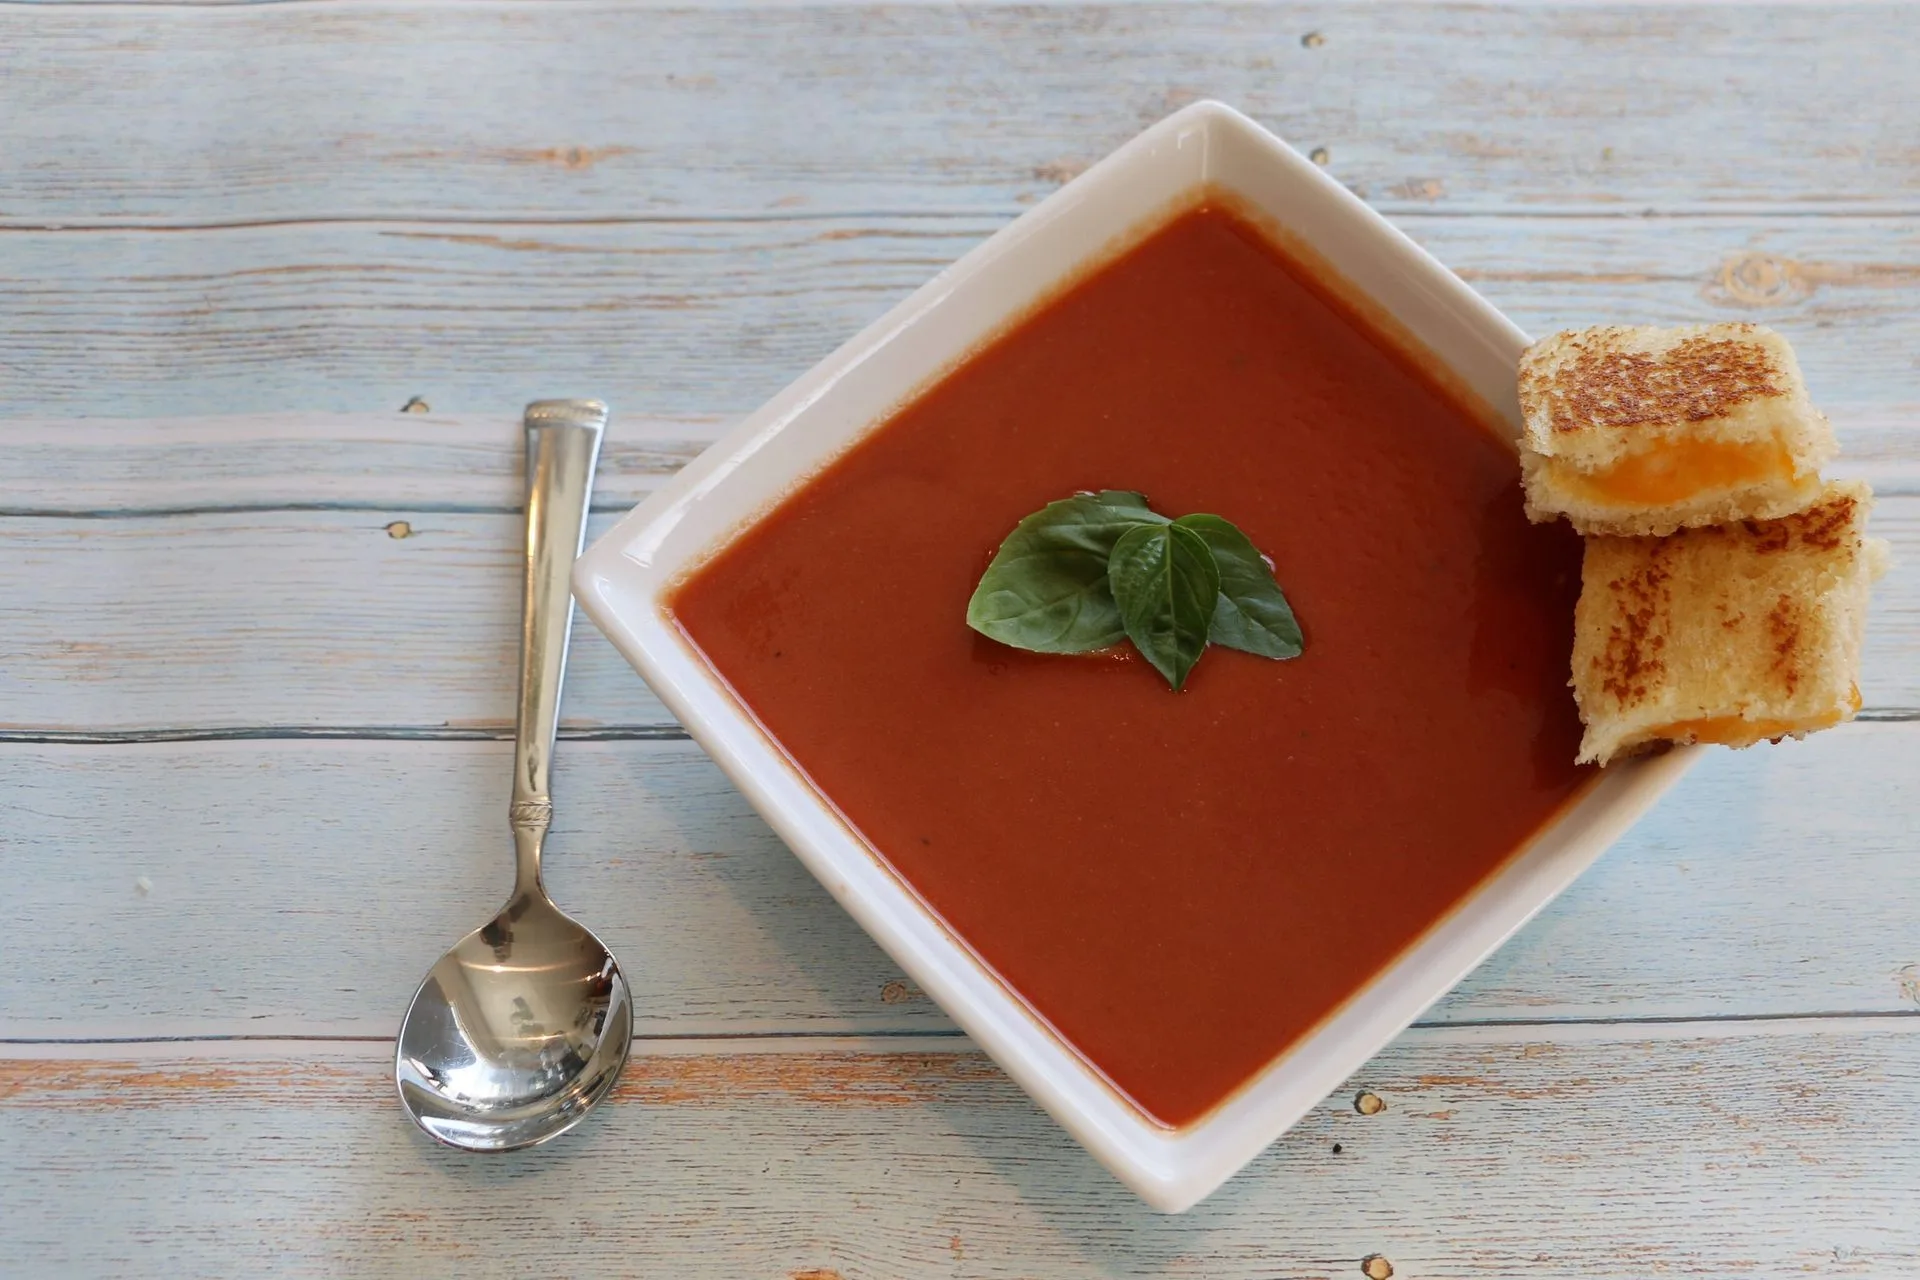
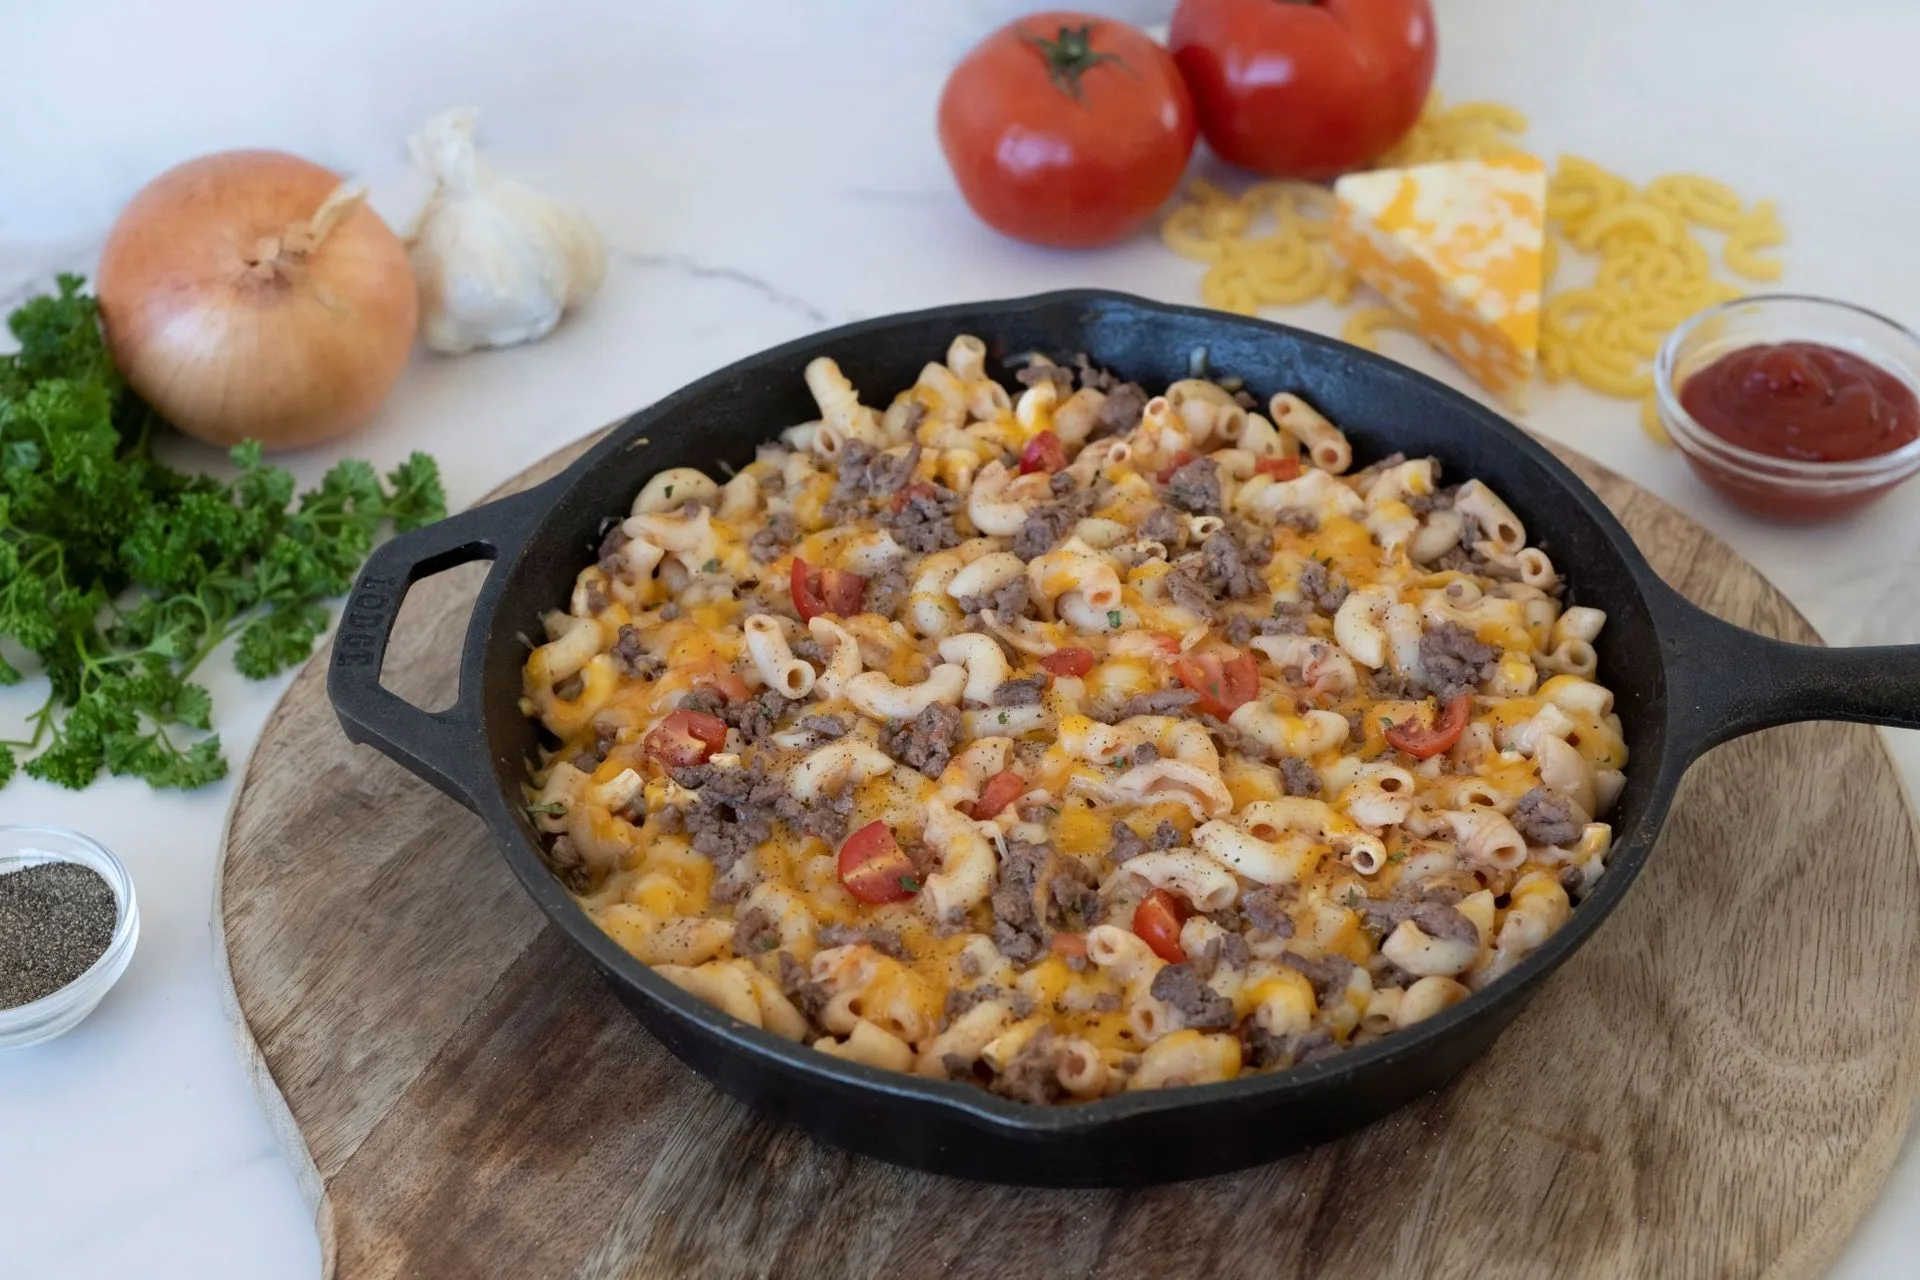
For skillet meals like our NEW! Gluten-Free All American Cheeseburger Skillet Meal, you don't need to mix a batter at all – just stir the ingredients together in a skillet. This is a perfect example of how hand mixing can be as simple as using a spoon to combine everything. Similarly, soup mixes like the Gluten-Free Cream of Tomato Soup Mix only require whisking with water over heat.
- Pancake and waffle mixes: whisk until smooth.
- Scone mixes: use a pastry blender for cold butter.
- Skillet meals: simply stir with a spoon.
Troubleshooting Common Hand Mixing Issues
If your gluten-free batter seems too thick, don't panic. You can add a little extra liquid, a tablespoon at a time, until it reaches the right consistency. Conversely, if it's too thin, add a bit more dry mix. Remember that gluten-free flours absorb liquid differently, so adjustments are normal.
Lumps can be a problem, but they're usually just pockets of dry mix. Use a whisk to break them up, or let the batter sit for a few minutes before stirring again. If you're making bread and the dough is too sticky to handle, lightly flour your hands with some of the dry mix or a little extra flour blend. Our Mom's Best Gluten-Free Flour Blend 2lb (WS) is perfect for dusting surfaces and adjusting dough consistency.
- Adjust liquid or dry mix as needed.
- Let batter rest to dissolve lumps.
- Use extra flour blend for sticky dough.
Mixing gluten-free mixes by hand is not only possible but often yields better results. With the right tools and techniques, you can enjoy fresh, homemade gluten-free treats without a stand mixer. Start with our Gluten-Free Pancake & Waffle Mix for a simple, delicious breakfast, and explore our other mixes for more hand-mixing adventures. Happy baking!