Quick Answer
Make a flaky pie crust by keeping everything cold, cutting cold fat into flour only until you see pea-sized pieces, adding just enough ice water for the dough to hold together, and chilling it before rolling. Handle the dough as little as possible, and you will get a tender, flaky crust instead of a tough one.
A homemade pie crust has a reputation for being fussy, but the method is simple once you know the two things that matter most: temperature and restraint. Cold fat and cold dough create steam in the oven, and that steam is what separates the layers into flakes.
This guide walks through a beginner pie crust from start to finish, with a checkpoint at each step so you can tell whether you are on track before moving on. You do not need special equipment, though a few basics make the process easier.
What You Need Before You Start
For a single 9-inch crust, gather all-purpose flour, cold unsalted butter, a pinch of salt, and ice water. Many bakers add a small amount of shortening or lard for tenderness, but butter alone works well and tastes better. If you want a richer flavor, whole grain or freshly milled flour can replace part of the all-purpose flour, though the dough will absorb more water and may need an extra teaspoon or two.
You will also want a mixing bowl, a pastry blender or two knives, a fork, plastic wrap, and a rolling pin. A bench scraper helps clean up, and a pie dish that is at least 9 inches wide gives you room to crimp the edges. If you plan to bake often, a sturdy baking sheet underneath the pie dish catches drips and helps the bottom crust brown evenly.
- Chill your butter in the freezer for 15 minutes before cutting it in.
- Measure flour by spooning it into the cup and leveling it, not by scooping.
- Keep a bowl of ice water ready rather than adding water from the tap.
Step-by-Step: Making the Dough
Whisk the flour and salt together in a large bowl. Cut the cold butter into half-inch cubes and toss them in the flour to coat. Use a pastry blender or your fingertips to cut the butter into the flour until the mixture looks like coarse meal with some pieces the size of small peas. Those visible butter pieces are what create flaky layers, so do not keep cutting until the mixture is uniform.
Sprinkle ice water over the mixture one tablespoon at a time, tossing with a fork after each addition. Stop adding water when the dough holds together when you squeeze a handful. It should look shaggy and slightly dry, not wet or sticky. Turn the dough onto a clean surface, gather it into a ball with your hands, then flatten it into a disk, wrap it in plastic, and refrigerate for at least 30 minutes.
- Common mistake: adding too much water at once. Add one tablespoon at a time and toss before adding more.
- Checkpoint: squeeze a small handful. If it crumbles, add one more teaspoon of water; if it sticks to your fingers, you have added too much.
Rolling and Fitting the Crust
Let the chilled dough sit at room temperature for about 10 minutes so it does not crack when you roll it. Lightly flour your work surface and rolling pin, then roll from the center outward, turning the dough a quarter turn after each pass. Roll to about an eighth of an inch thick, or a circle about two inches wider than your pie dish.
To transfer the crust, fold it in half or roll it loosely around the rolling pin, then lay it over the pie dish and unfold. Gently press the dough into the corners without stretching it, because stretched dough shrinks in the oven. Trim the overhang to about one inch, fold it under itself, and crimp the edge. If you are making a single-crust pie, chill the lined dish for 15 minutes before filling or blind baking.
- Common mistake: stretching the dough to fit. Let it relax and press it into the corners instead.
- Checkpoint: the dough should be cool to the touch. If it feels warm or greasy, slide it onto a baking sheet and chill for 10 minutes before continuing.
Blind Baking and Filling
For a no-bake filling, you will need to blind bake the crust. Heat the oven to 425 degrees Fahrenheit, line the chilled crust with parchment paper, and fill it with pie weights or dried beans. Bake for 15 minutes, remove the weights and parchment, then bake another 5 to 10 minutes until the bottom looks dry and lightly golden. For a filled pie, follow your recipe's baking temperature and time, and place the pie dish on a baking sheet to catch bubbling juices.
If your recipe calls for a double crust, roll the second disk the same way, lay it over the filling, and seal the edges by pressing them together with a fork or your fingers. Cut a few vents in the top so steam can escape. A simple egg wash or milk brushed over the top helps the crust brown, but it is optional.
- Common mistake: skipping the chill before baking. Cold dough holds its shape and puffs better.
- Checkpoint: the crimped edge should look even and slightly thick. Thin edges burn before the filling is done.
Troubleshooting Common Pie Crust Problems
If your crust turns out tough, the usual cause is overworking the dough or adding too much water. Next time, stop cutting the fat when you still see pea-sized pieces, and add water sparingly. If the crust shrinks away from the edges, you probably stretched it when fitting it into the dish. Press it in gently and chill before baking.
If the bottom is soggy, blind bake a little longer or brush the crust with a thin layer of beaten egg white before adding a wet filling. If the edges brown too fast, cover them with strips of foil or a pie shield. These small adjustments make a noticeable difference, and each pie you make will teach you how the dough should feel.
- Keep a written note of how much water you used so you can repeat a good batch.
- A kitchen scale makes flour measurement more consistent than cups.
Pie Crust Steps at a Glance
- Chill everything: Freeze the butter for 15 minutes and use ice water. Warm fat blends into the flour and costs you flaky layers. Checkpoint: the butter should be firm, not soft, when it hits the flour.
- Cut the fat in partway: Stop when the mixture looks like coarse meal with pea-sized butter pieces. Uniform crumbs mean you went too far. Checkpoint: visible butter pieces are a good sign, not a mistake.
- Add water one tablespoon at a time: Toss with a fork after each addition and stop when a squeezed handful holds together. The dough should look shaggy. Checkpoint: if it is sticky, you have added too much water.
- Chill the dough: Flatten into a disk, wrap, and refrigerate for at least 30 minutes before rolling. This relaxes the gluten and firms the fat. Checkpoint: cold dough rolls without cracking or sticking.
- Roll and fit without stretching: Roll from the center out, turning the dough often, then lift it into the dish and press it into the corners gently. Checkpoint: the crust should lie flat and not pull back when you press it.
- Chill again before baking: Rest the lined dish for 15 minutes in the refrigerator, then blind bake or fill according to your recipe. Checkpoint: the crimped edge holds its shape going into the oven.
Bakery Help When You Want Pie Without the Dough
- Smores Pie 9'': Smores Pie 9'' is a dessert pie featuring dark chocolate cremeux, toasted meringue, and a whole grain graham cracker crust, sized at 9 inches. If you want to see how a whole grain crust behaves in a finished pie, this is a useful reference point, and it is a ready-made option for holidays when you would rather not roll dough.
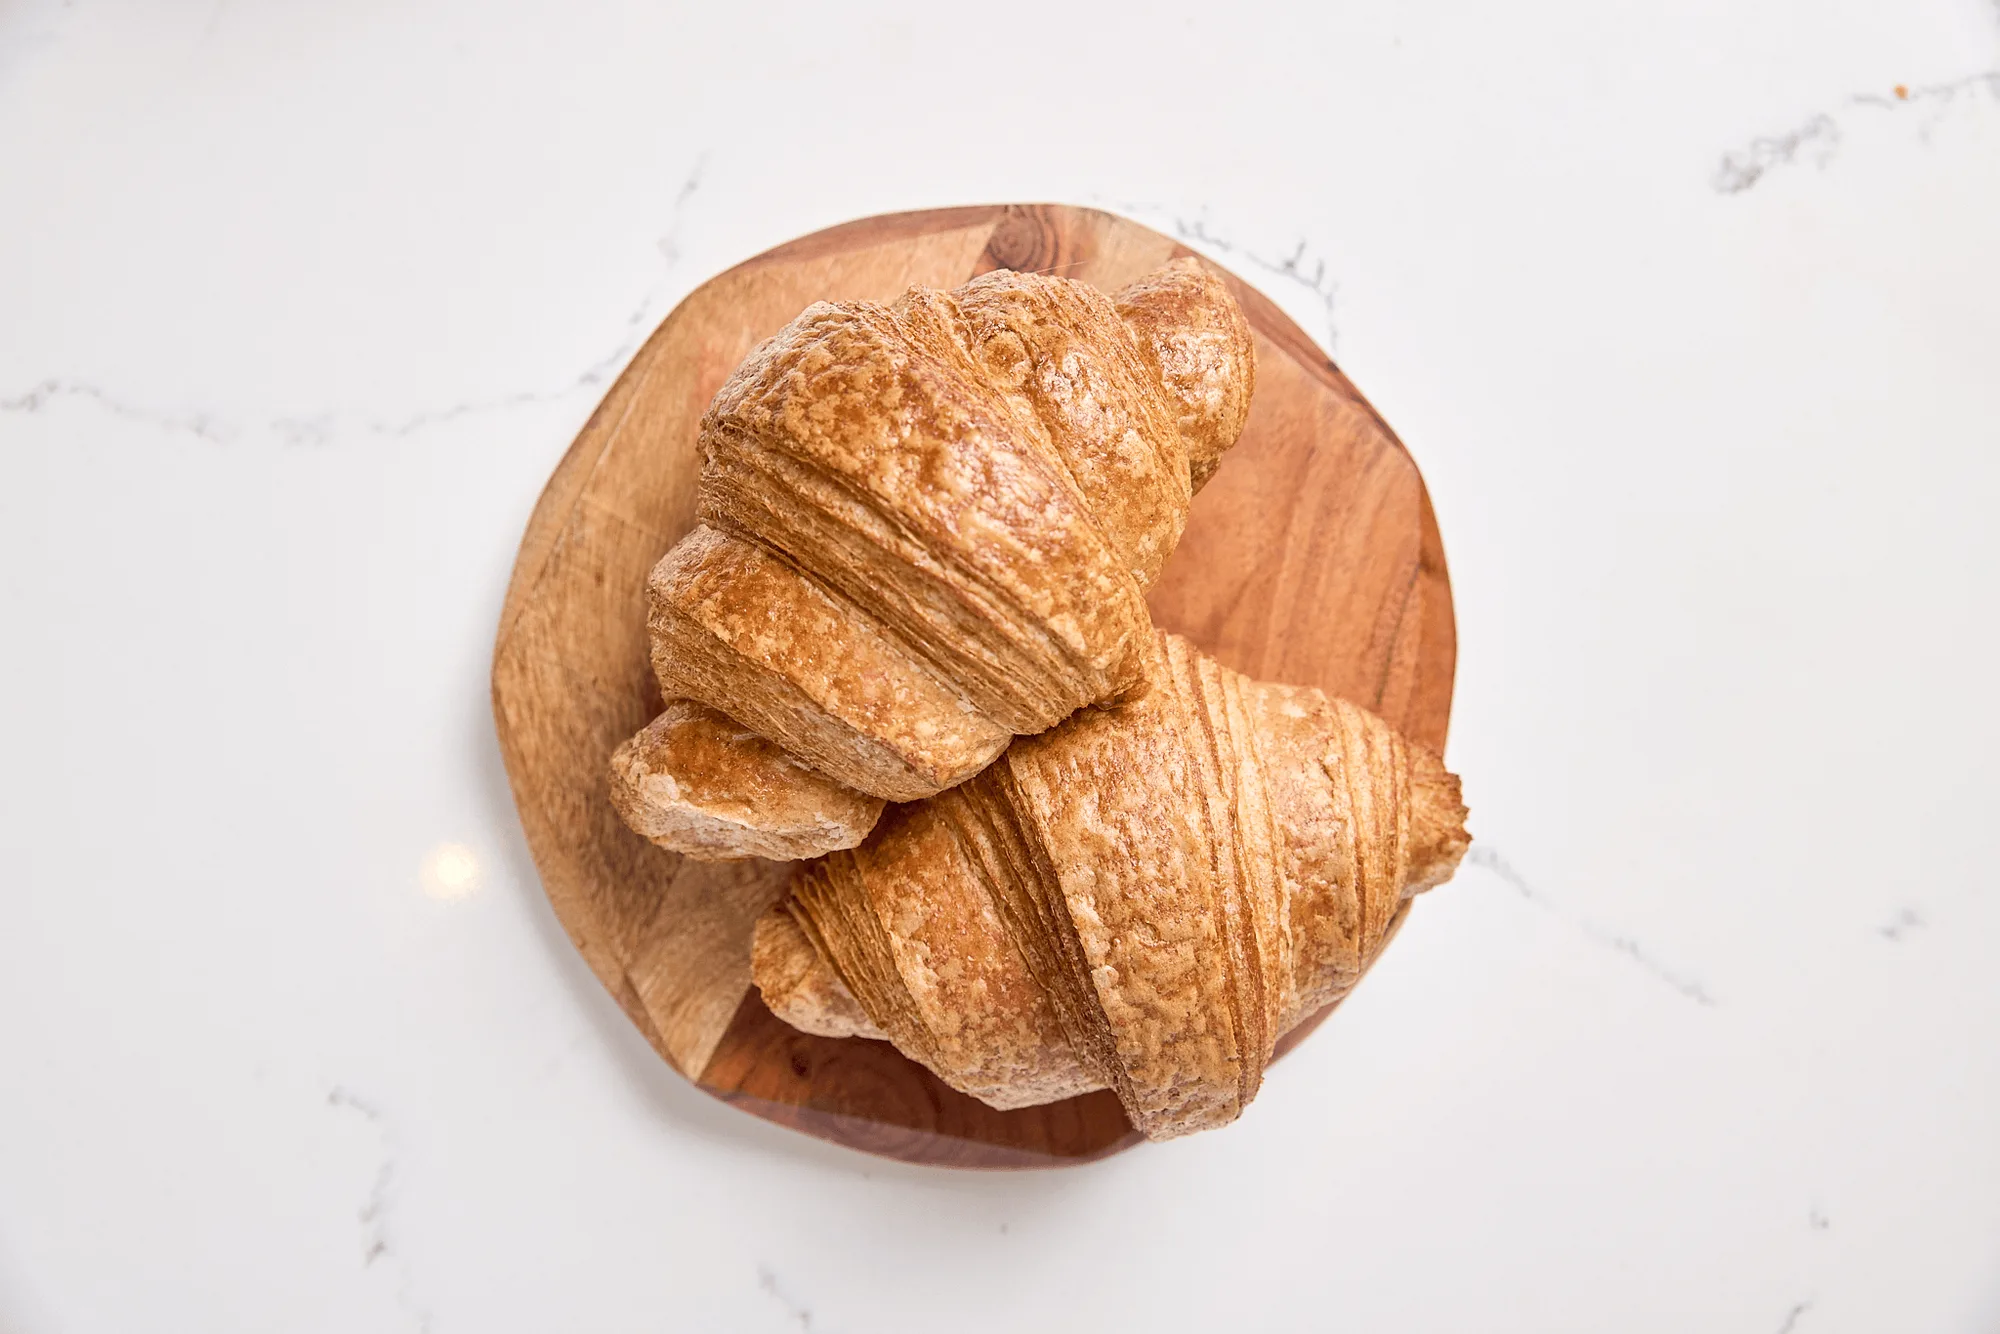
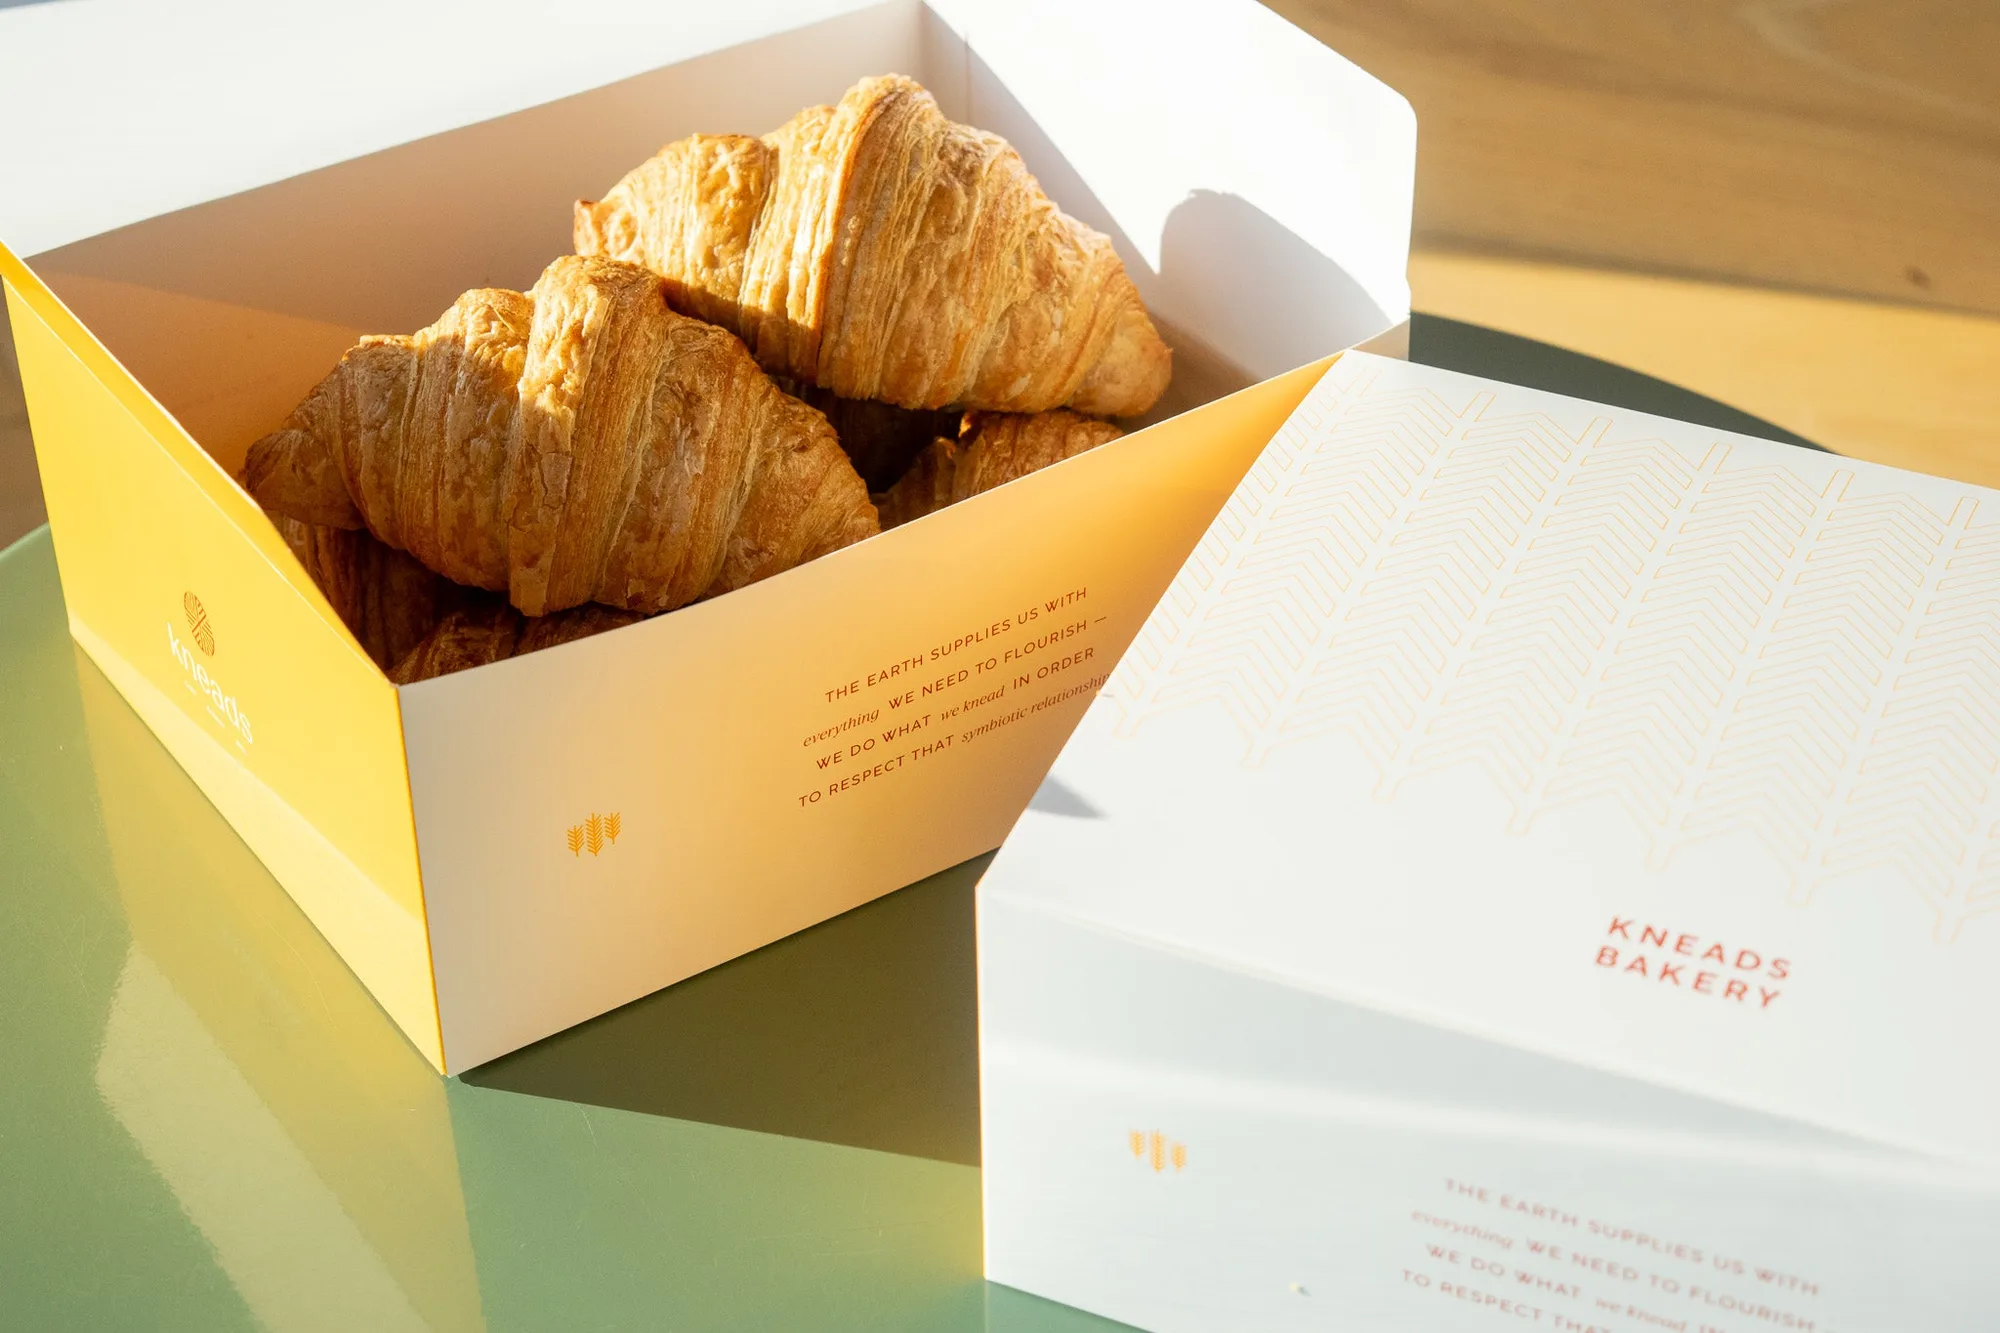
- croissant-box-df16b625fc0788ba1ba42d83-1645805">Croissant Box: The Croissant Box brings together a dozen freshly milled croissants in one convenient box and is part of the Pastry Catering range. When you are practicing pie crust for a gathering, a box of croissants covers the breakfast or snack table so you are not baking everything from scratch.
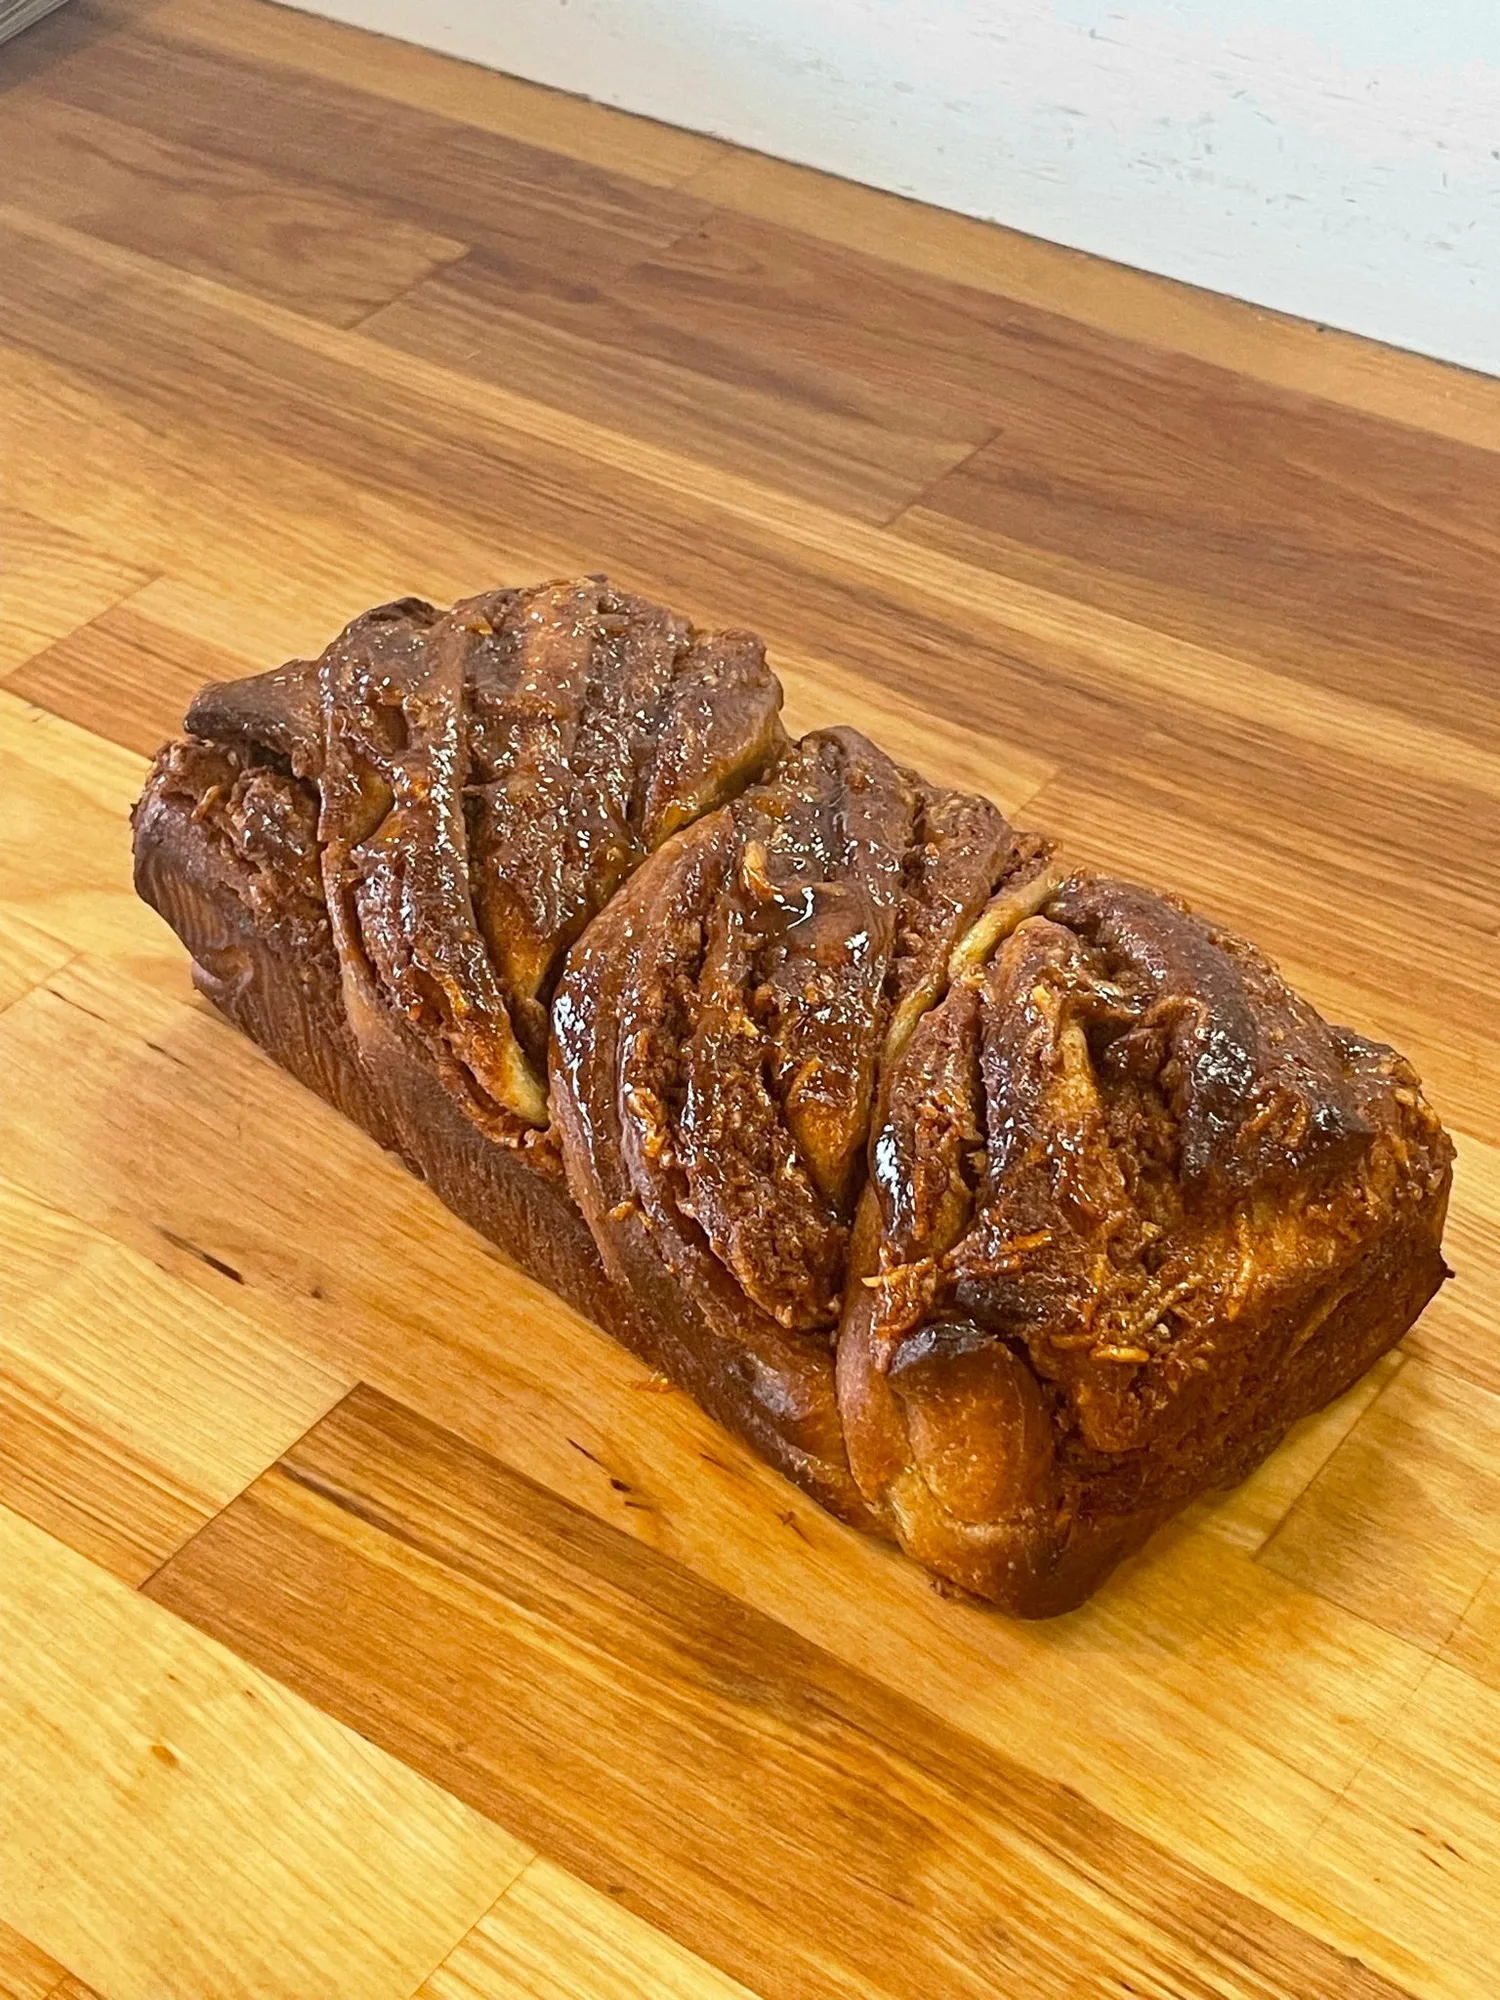
- Cinnamon Babka: Cinnamon Babka is a braided brioche-style bread made with Saigon cinnamon, listed under Bread & Pastry Dough. It is a good reminder that laminated and enriched doughs like brioche and pie crust both depend on cold fat and gentle handling, so the skills transfer.
A flaky pie crust comes down to cold ingredients, minimal handling, and a little patience while the dough chills. Follow the steps above, note what you did, and you will have a reliable homemade crust you can use for sweet and savory pies alike.