Quick answer
Make a simple ribbon garland by cutting ribbon into 6- to 8-inch strips, folding each strip in half, and looping it onto a length of twine or jute with a lark's head knot. Work in small sections, slide each knot snug against the last, and leave a few inches of bare twine at both ends for hanging. The whole project takes about 30 to 45 minutes for a 6-foot garland and uses any ribbon you already have on hand.
A ribbon garland is one of the few handmade decorations that looks intentional in every season. Swap warm reds and golds for winter, pastels for spring, or black and orange for Halloween, and the same basic technique carries you through the whole year. Because you tie ribbon onto a cord rather than sewing or gluing, you can also undo it and reuse the ribbon later.
This tutorial walks through the full process in order, from choosing ribbon to hanging the finished garland. Along the way, each step calls out the mistake that most often ruins a first attempt, so you can spot it before it happens. If you keep a small craft stash, you likely already own most of what you need.
What you need before you start
You need three things: ribbon, a base cord, and scissors. For a 6-foot garland, plan on roughly 8 to 10 yards of ribbon total if you want a full, dense look, or 4 to 5 yards for a sparse, airy garland. Mix widths, textures, and patterns so the eye has something to travel across. A base cord of jute twine, cotton string, or narrow grosgrain ribbon works well because knots grip it without sliding.
Ribbon choice matters more than technique. Satin and grosgrain hold a crisp loop and resist fraying better than sheer organza, which can slip out of knots and tear at the cut edge. If you are using a seasonal print, cut a few test strips first and check how the pattern reads once folded. A large motif can disappear inside a small loop.
- Cut ribbon on the diagonal to reduce fraying, or seal the ends with a quick pass of a lighter flame held a few inches away.
- If your ribbon is wire-edged, expect a stiffer, more structured garland; unwired ribbon gives a softer drape.
Cut the ribbon strips
Cut ribbon into strips about 6 to 8 inches long. That length gives you a finished loop of roughly 3 to 4 inches once folded and knotted, which reads clearly from across a room. Shorter strips create a tight, busy texture; longer strips create a loose, romantic swag. Keep your strips in a single pile and cut them all before you start tying, so you can settle into a rhythm.
The common mistake here is cutting strips one at a time as you tie. It feels efficient, but it breaks your momentum and makes it harder to keep the garland's density even. Cut everything first, then tie. If you are using multiple ribbons, sort the strips into separate piles by color or pattern so you can pull from each pile in a repeating order.
- A rotary cutter and cutting mat speed this up, but ordinary fabric scissors work fine.
- Aim for 60 to 80 strips for a 6-foot garland, depending on how full you want it.
Tie the lark's head knots
Fold one ribbon strip in half to make a loop. Lay the loop over your base cord, then pull the two loose ends down and through the loop. Pull gently until the knot sits snug against the cord. Slide it along the cord to position it, then tie the next strip the same way, pushing it up against the previous knot. Repeat until the cord is covered or you reach your planned length.
The mistake to watch for is pulling the knot so tight that the ribbon crumples or so loose that it slides freely. You want the knot firm enough to stay put but relaxed enough that the loop keeps its shape. Alternate the direction you face each loop if you want a fuller, more dimensional garland, or keep them all facing the same way for a tidy, uniform look.
- Work in sections of about 12 inches, then check the density before continuing.
- If a knot slips, switch to a rougher base cord like jute rather than smooth satin ribbon.
Finish the ends and hang it
Leave 3 to 4 inches of bare cord at each end. Tie a small loop in each end for hanging, or wrap the bare cord around a nail, hook, or command strip and secure it with a knot. Before you hang the garland, lay it flat and run your hand along the length to check for gaps or clumps. Adjust individual knots by sliding them along the cord until the spacing looks even.
The most common finishing mistake is hanging the garland before checking its length against the space. Measure your mantel, doorway, or stair rail first, and make the garland slightly longer than you think you need. It is easy to slide knots tighter to shorten a garland; it is much harder to add length once the ends are tied off.
- For a doorway, drape the garland in a soft swag rather than pulling it taut.
- Store the finished garland loosely coiled in a box or bag so the ribbon loops do not crush.
Seasonal garland ideas to rotate through the year
Once you know the basic technique, seasonal garland ideas come down to color and accent. For winter, use deep reds, forest greens, and metallics, and tuck in a few small ornaments or a sprig of faux greenery between knots. For spring, try pastel ribbons with a few small paper flowers. For Halloween, black and orange ribbon with a small seasonal sticker or charm tied into the garland adds a playful touch without much effort.
You can also use the same method on a smaller scale for a wreath, a gift wrap accent, or a table runner. Keep a dedicated bin of ribbon strips sorted by season so you can rebuild a garland in minutes when the holidays come around. The garland itself is reusable; only the accents need to change.
- Add a small sticker or paper charm to a few loops for a low-effort seasonal accent.
- If you craft with kids, let them choose the ribbon order while you handle the tying.
Ribbon garland steps at a glance
- Gather ribbon, cord, and scissors: Choose 4 to 10 yards of ribbon in mixed widths and patterns, plus jute twine or cotton string for the base. Cut everything before you tie. Checkpoint: if your ribbon is sheer or slippery, switch to grosgrain or satin so the knots hold.
- Cut strips 6 to 8 inches long: Cut all strips first and sort them by color or pattern. Aim for 60 to 80 strips for a 6-foot garland. Mistake to avoid: cutting as you go, which makes the density uneven.
- Tie lark's head knots along the cord: Fold each strip in half, loop it over the cord, and pull the ends through. Slide each knot snug against the previous one. Checkpoint: knots should hold their place but not crush the ribbon.
- Leave bare cord at both ends: Keep 3 to 4 inches of uncovered cord at each end, then tie a hanging loop or wrap the cord around a hook. Mistake to avoid: hanging before measuring, which leaves you short.
- Fluff, adjust, and hang: Lay the garland flat, slide knots to even out spacing, then drape it on a mantel, doorway, or stair rail. Next step: store it loosely coiled so you can reuse it next season.
Small extras that work well with a ribbon garland
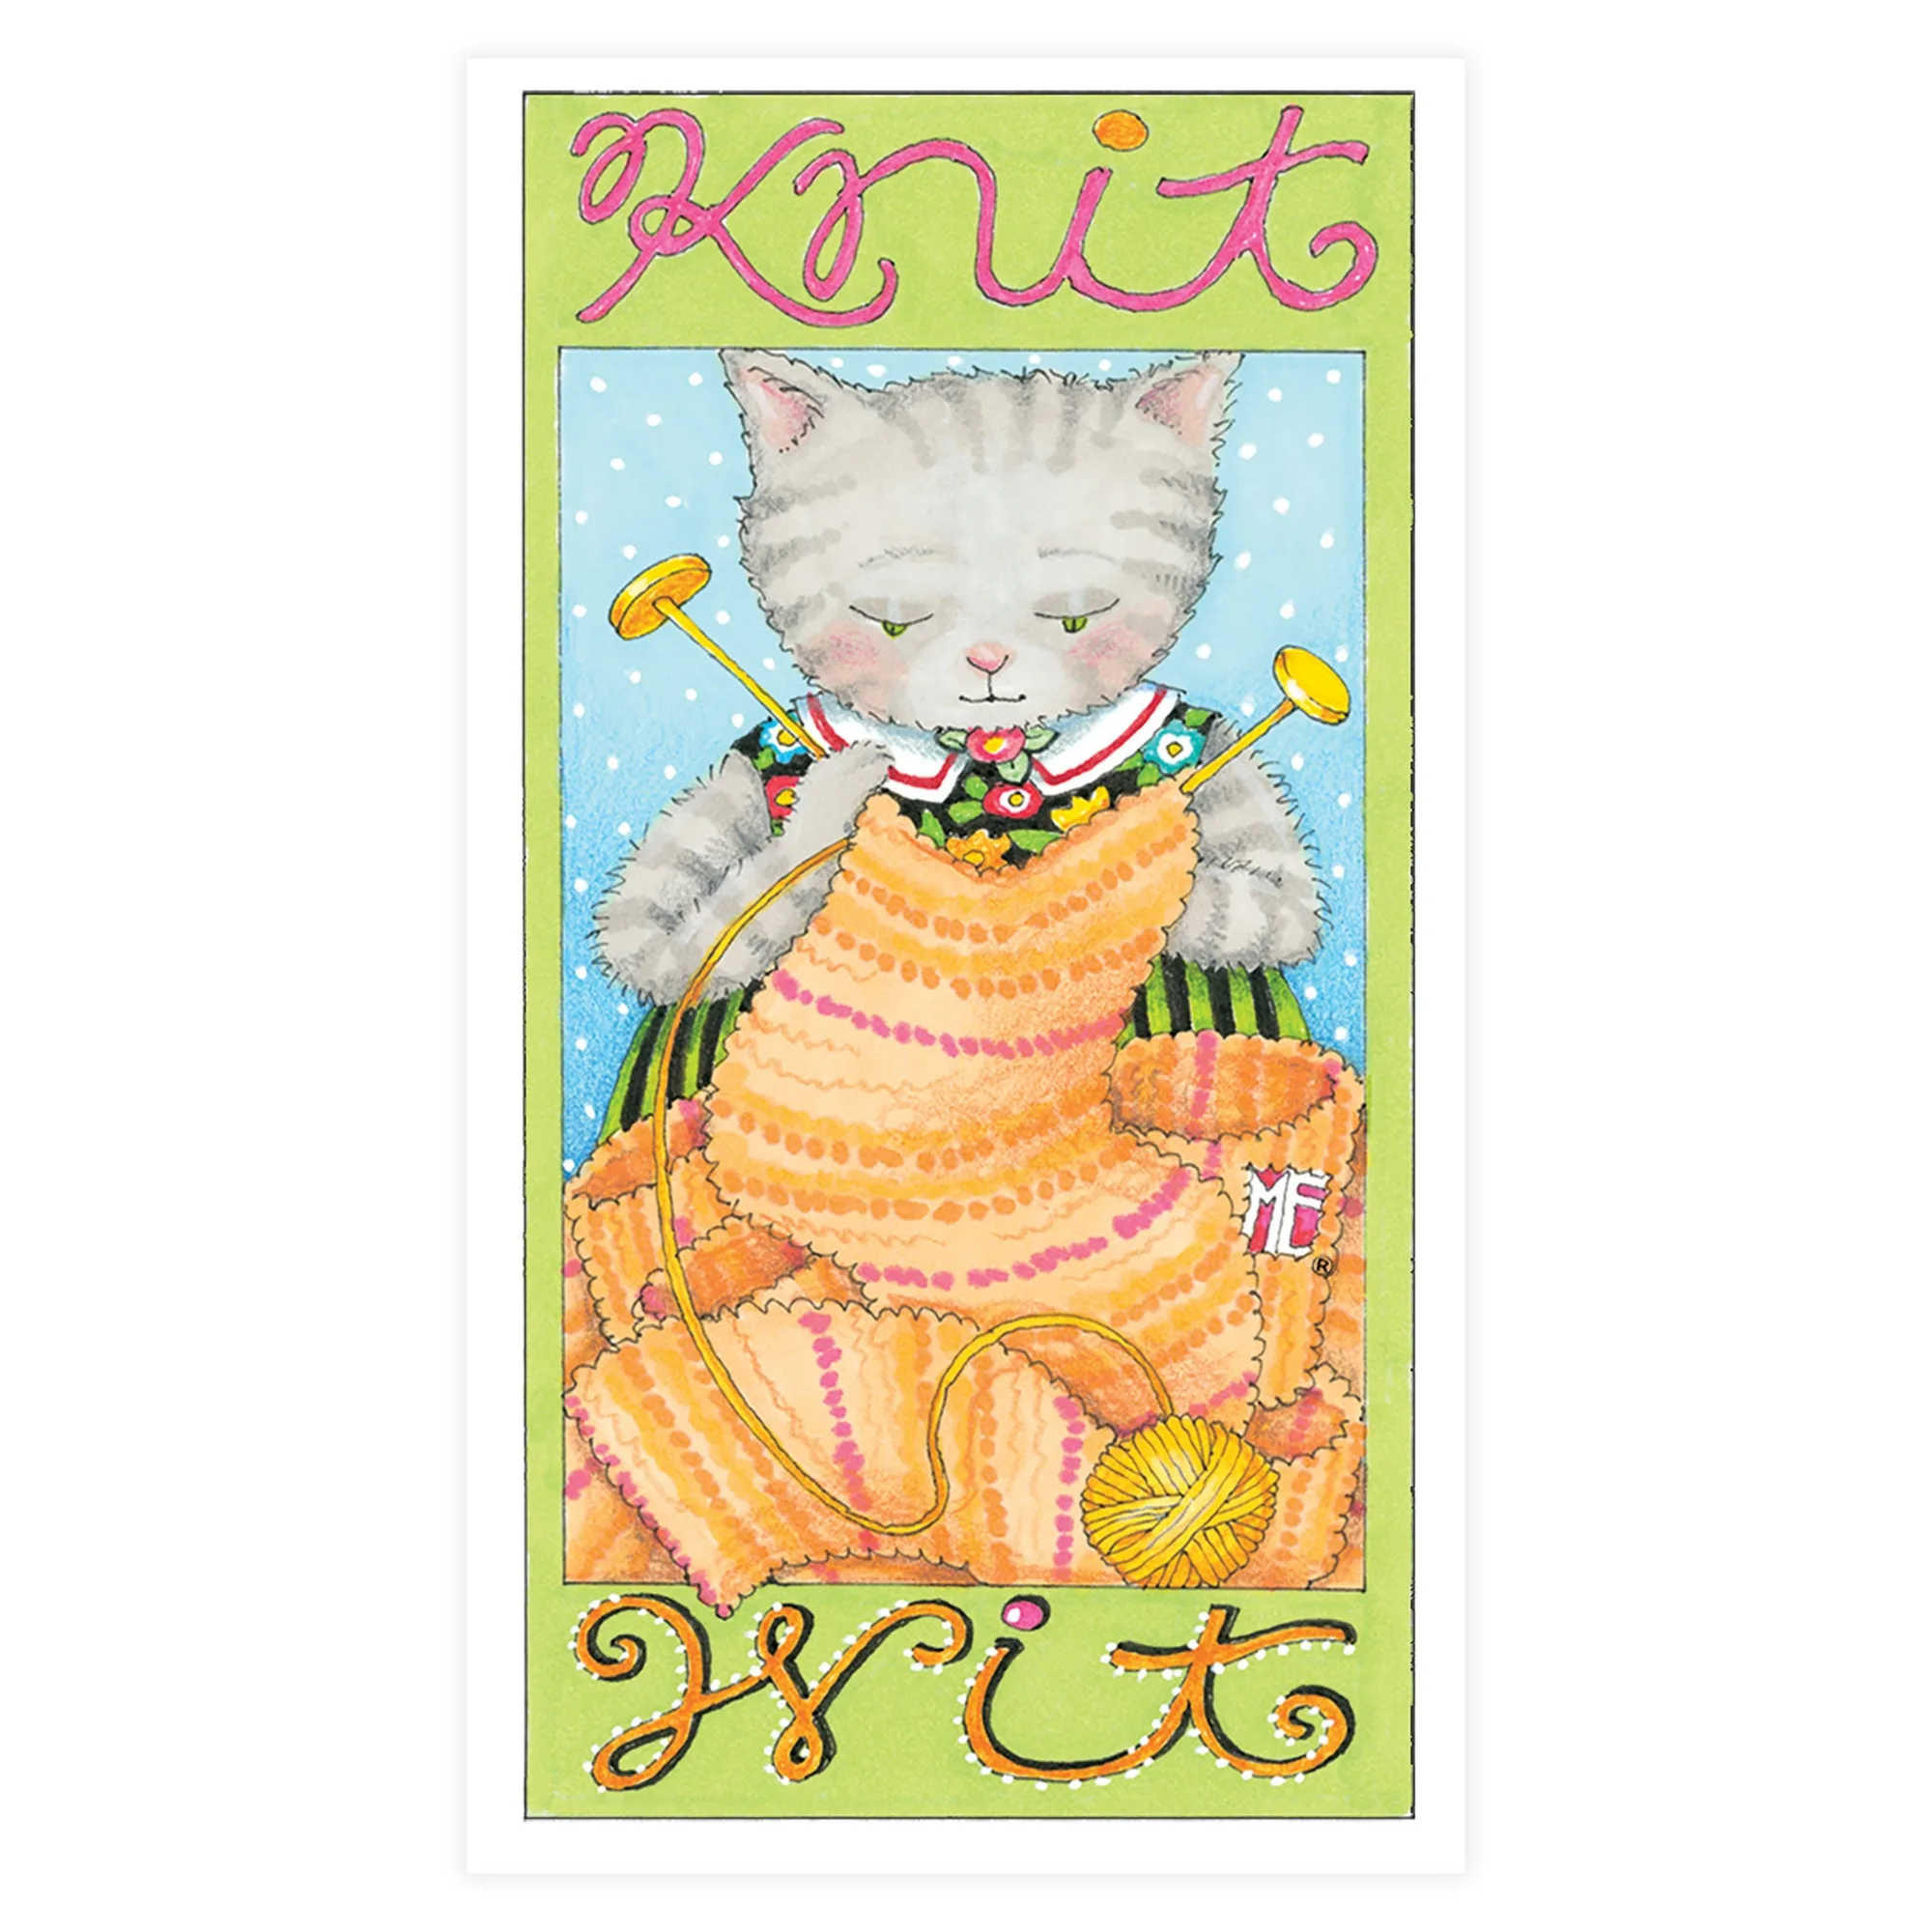
- Knit Wit Sticker: Measures approximately 2.25" x 4", has a permanent all-purpose adhesive back, and an ultra gloss finish. A sticker this size is easy to tuck into a garland loop or attach to a gift tag, and the gloss finish catches light without competing with the ribbon.
- Mary's Black Cats Sticker Sheet: Comes as 2 sheets of 4" x 8" stickers with 12 stickers per sheet, packaged in a plastic sleeve. The small individual stickers are handy for adding a Halloween accent to a black-and-orange ribbon garland, and the sheet format keeps them organized between seasons.
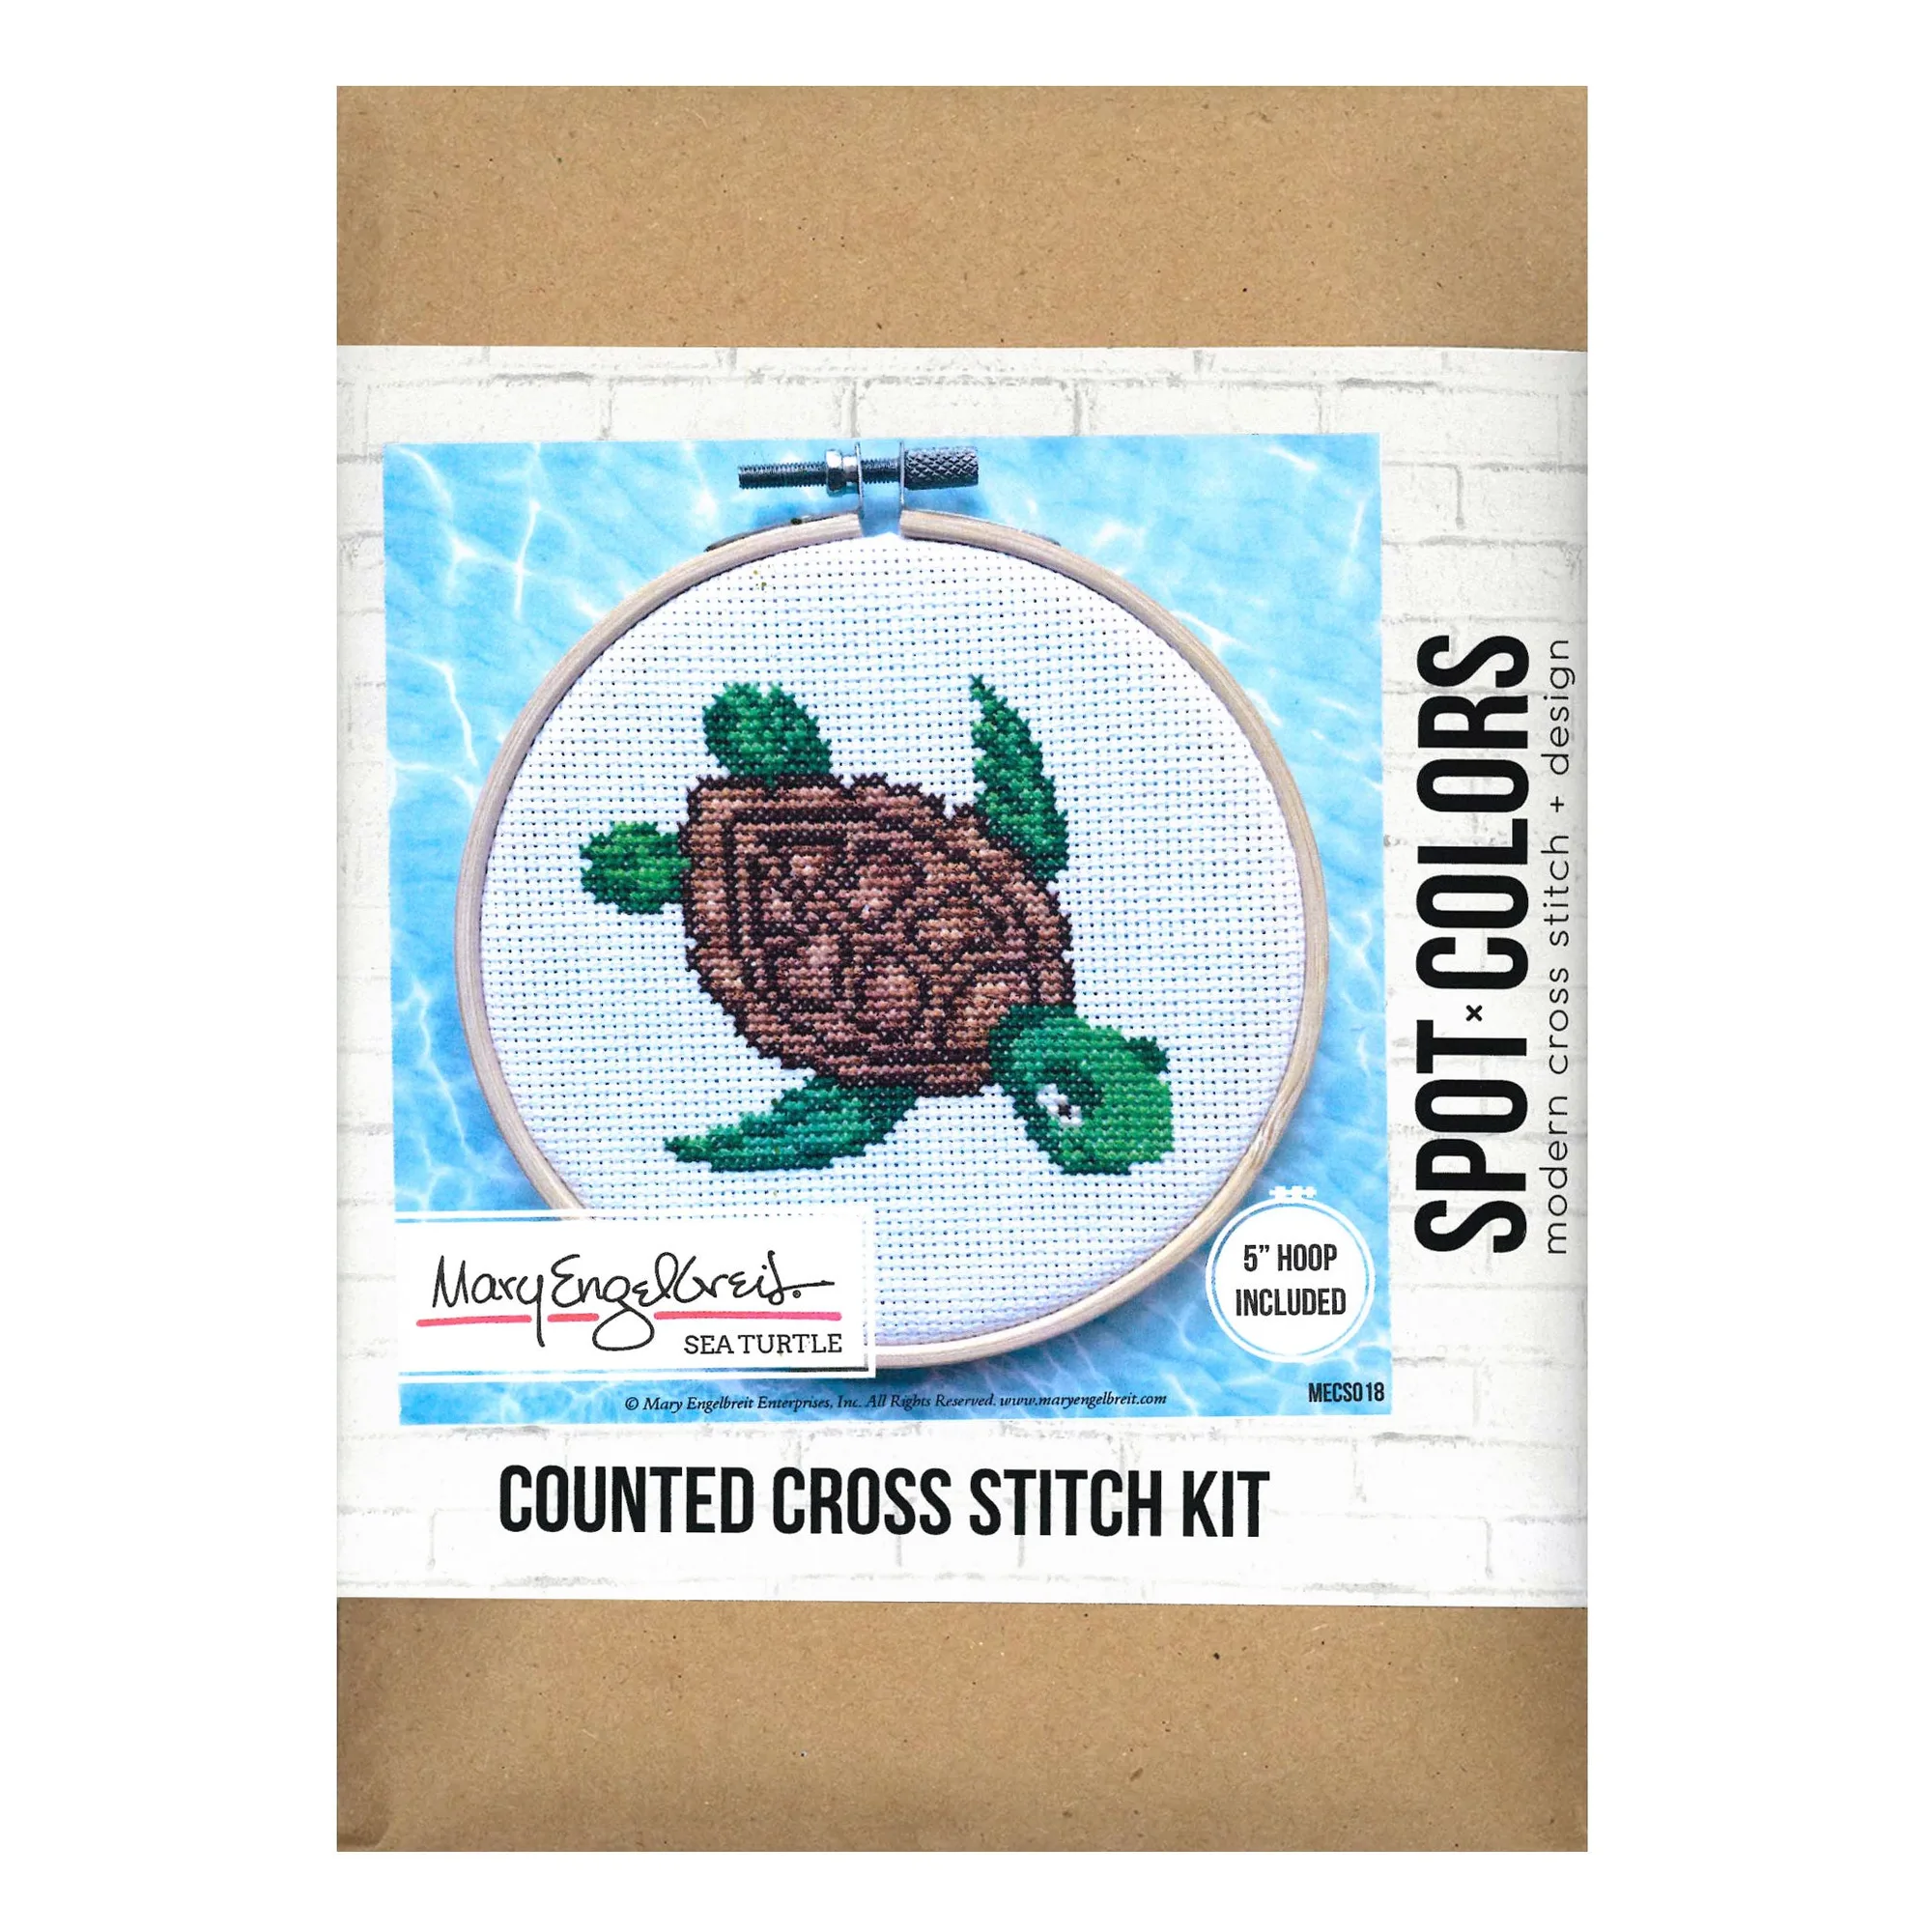
- Sea Turtle Counted Cross Stitch Kit: This beginner-friendly kit comes complete with everything you need to complete a project, just add scissors. If you enjoy making handmade decor, this kit gives you a finished piece you could display near a garland, and the all-in-one format means no extra supply run.
A ribbon garland rewards a little patience and almost no special skill. Cut your strips first, tie consistent knots, and check the length before you hang it. Once the first one is done, you will have a reusable base you can restyle for every season with nothing more than a change of ribbon.