Quick answer
To make a tote bag with a leather handles kit, choose your pattern (Lincoln Tote or Market Tote), gather your fabric and the pre-punched leather handles with rivets, then follow the sewing steps below to attach the handles securely.
Why use a leather handles kit?
A leather handles kit saves you the trouble of cutting and finishing your own straps. The handles come pre-punched with holes and include matching rivets, so you get a professional look with less effort. This is especially helpful if you're new to bag making or want consistent results across multiple totes.
Lincoln Tote vs Market Tote: which kit to choose
Both kits use 100% genuine leather handles with English Point ends and pre-punched holes. The Lincoln Tote kit includes longer handles (25 inches) and eight rivets with 5/16-inch posts, plus options for rivet, handle, and zipper colors. The Market Tote kit has slightly different dimensions and offers handle and rivet color options but no zipper choice. If your bag fabric is very thick, you may need longer rivets than the ones included.
Step-by-step: sewing your tote bag with leather handles
- Prepare your fabric and pattern: Cut your bag pieces according to the Lincoln Tote or Market Tote pattern instructions. Press all seams before assembly. Use a sturdy woven fabric like canvas or denim to support the weight of the leather handles. Check that your fabric isn't too thick for the 5/16-inch rivet posts included in the kit.
- Mark handle placement on the bag: Using the pattern as a guide, mark the position for each handle on the right side of the bag front and back. Make sure the marks are symmetrical and align with the pre-punched holes on the leather handles. Use a fabric marker or chalk; pins can leave permanent holes in leather.
- Attach the handles with rivets: Place a leather handle over the marked position. Insert a rivet post through the handle hole and the bag fabric from the outside. From the inside, place the rivet cap over the post and hammer firmly with a rivet setting tool or a small hammer. Repeat for all eight rivets. Work on a hard, flat surface and test one rivet on a scrap piece first to ensure a secure set.
- Assemble the bag body: With the handles attached, sew the side seams and bottom of the bag. Finish the raw edges with a zigzag stitch or serger. If your pattern includes a lining, insert it now and topstitch the top edge. Be careful not to catch the leather handles in the side seams; pin them out of the way.
- Final press and inspection: Press all seams flat. Check that each rivet is fully seated and the handles are securely attached. Give the bag a gentle tug to confirm everything holds before use. If a rivet feels loose, replace it with a longer post (available at hardware stores) for thicker fabric layers.
Products used in this guide
-
Lincoln Tote Leather Handles & Hardware Kit: The Lincoln Tote Leather Handles & Hardware Kit includes 100% genuine leather handles cut 25 inches long with English Point ends, pre-punched with four holes each, plus eight rivets with 5/16-inch posts. You can make multiple Lincoln Totes using the same pattern and video, and the pre-punched holes ensure even handle placement every time.
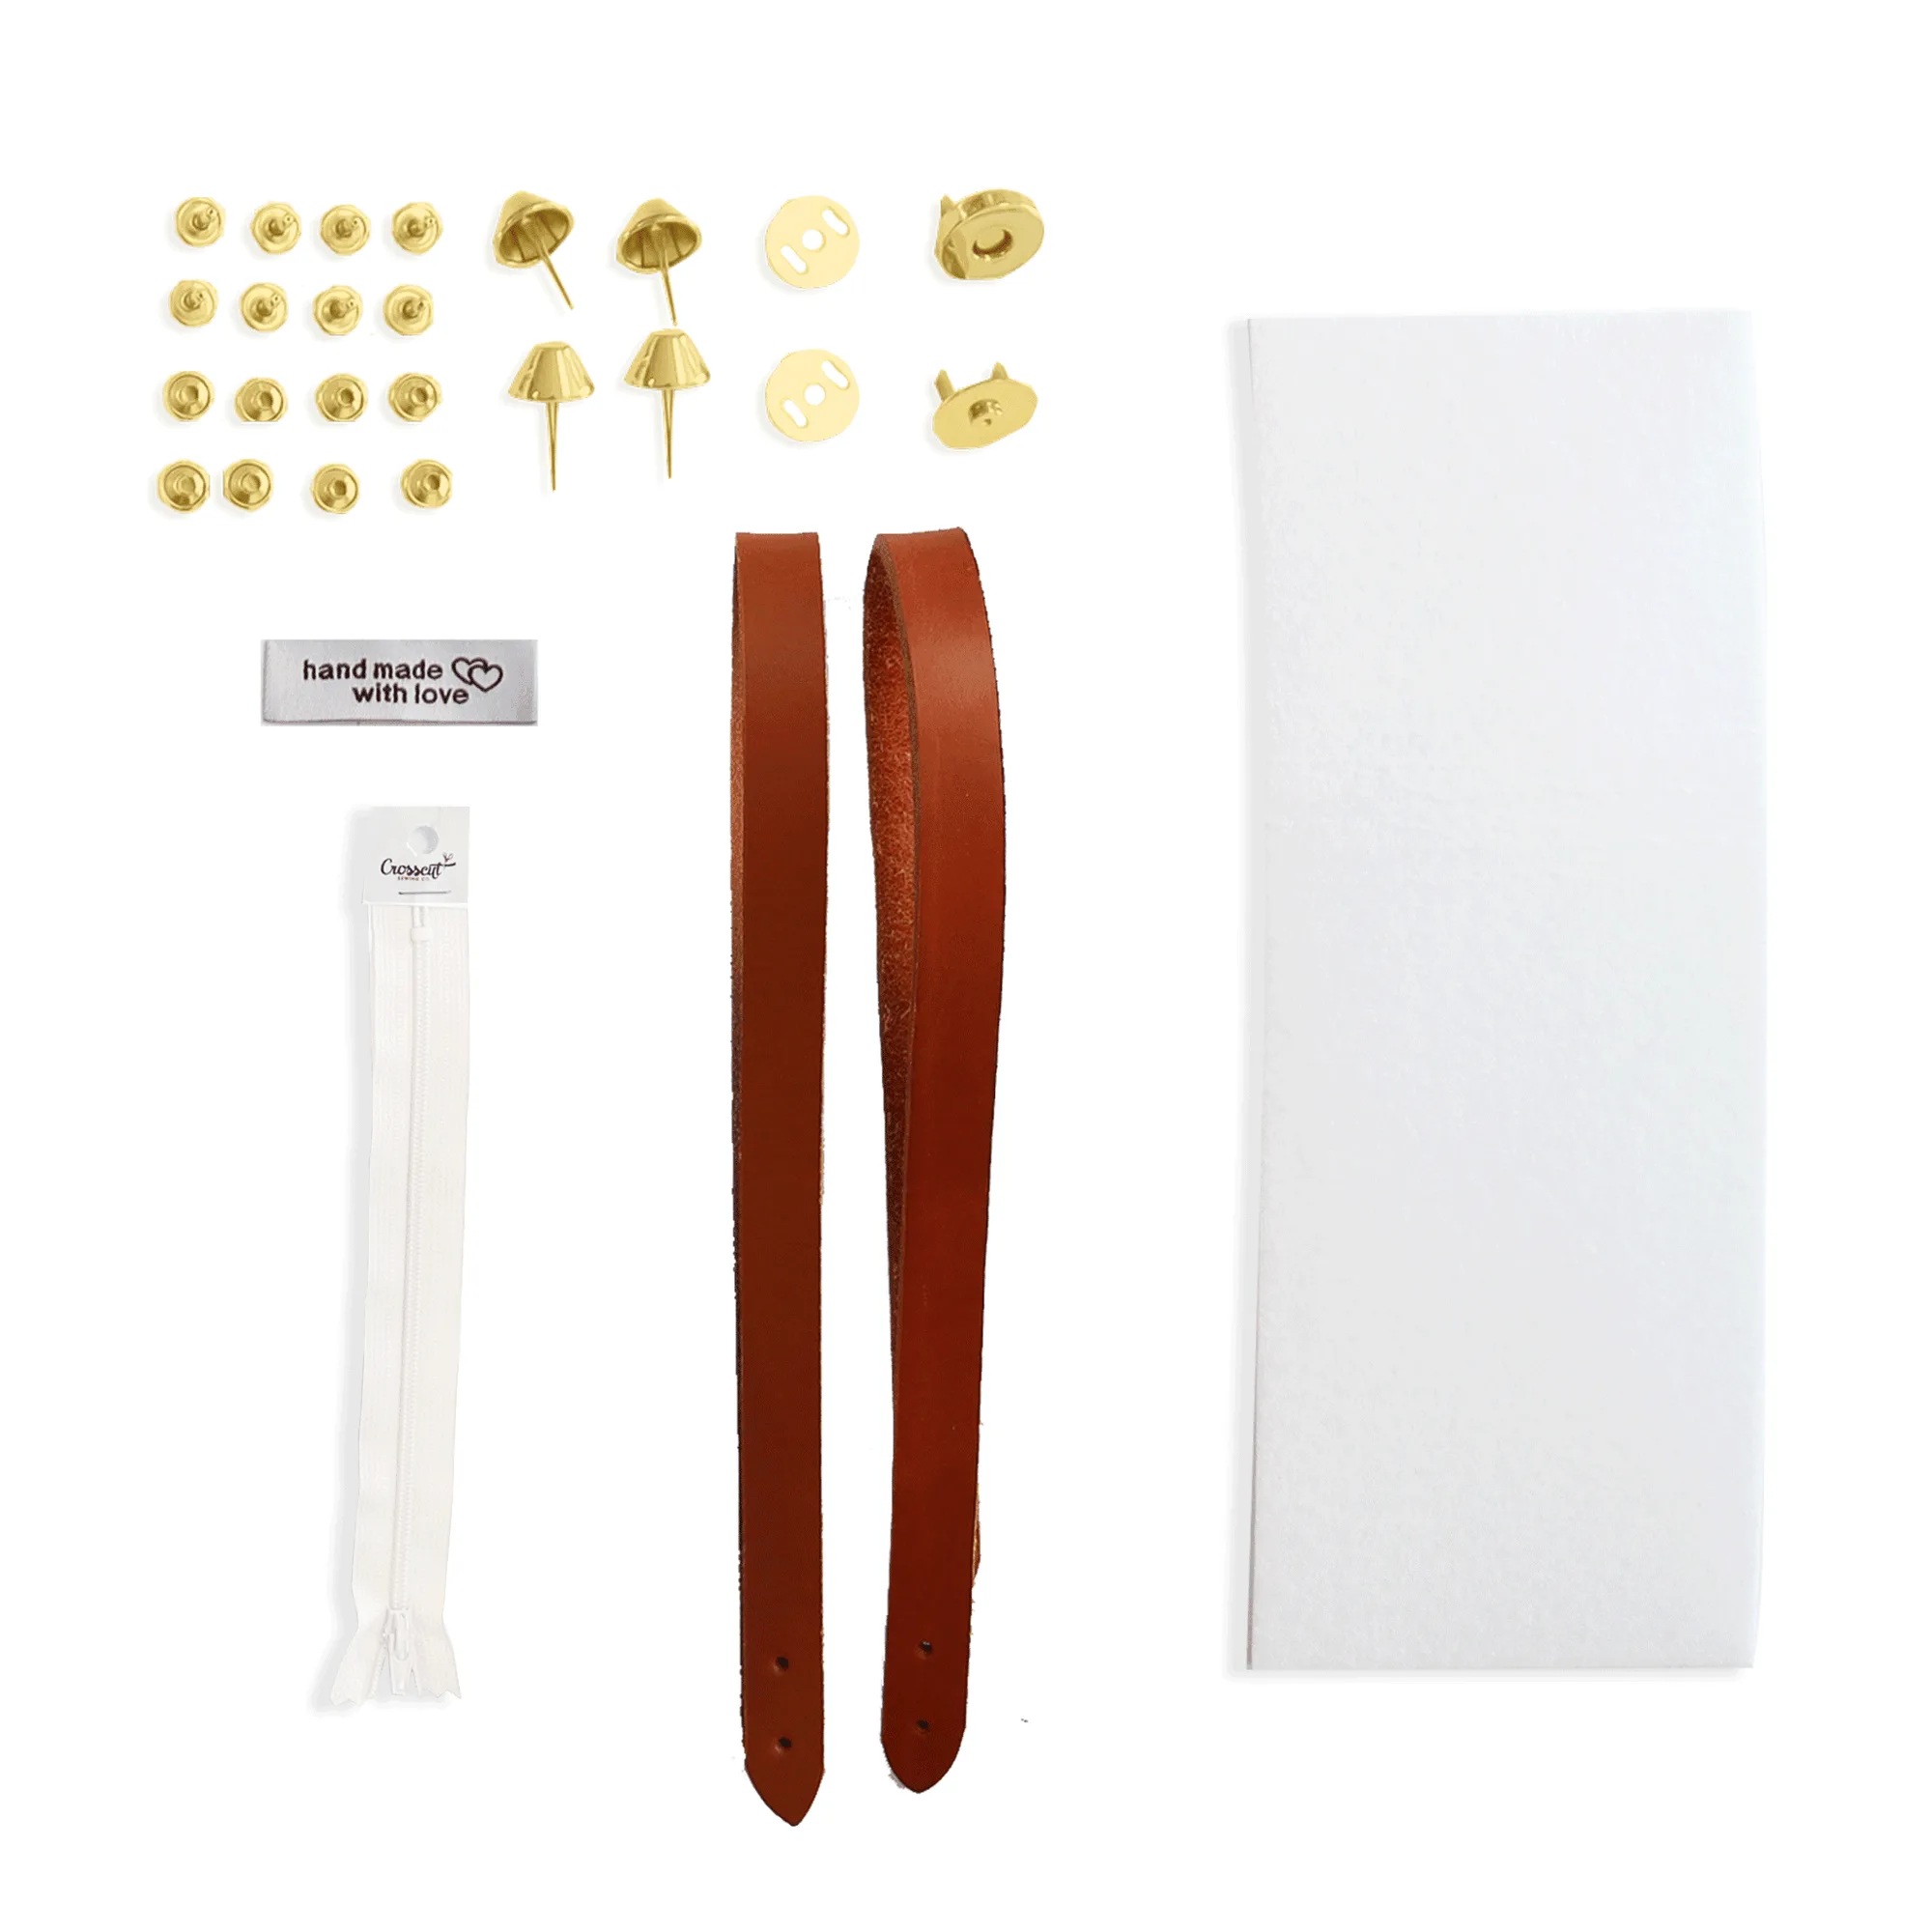
Lincoln Tote Leather Handles & Hardware Kit
-
Market Tote Leather Handles & Hardware Kit: The Market Tote Leather Handles & Hardware Kit includes 100% genuine leather handles with English Point ends, pre-punched with four holes each, plus eight rivets with 5/16-inch posts. This kit is ideal if you already have the Market Tote Pattern & Video and want to make additional totes with consistent, professional-looking handles.
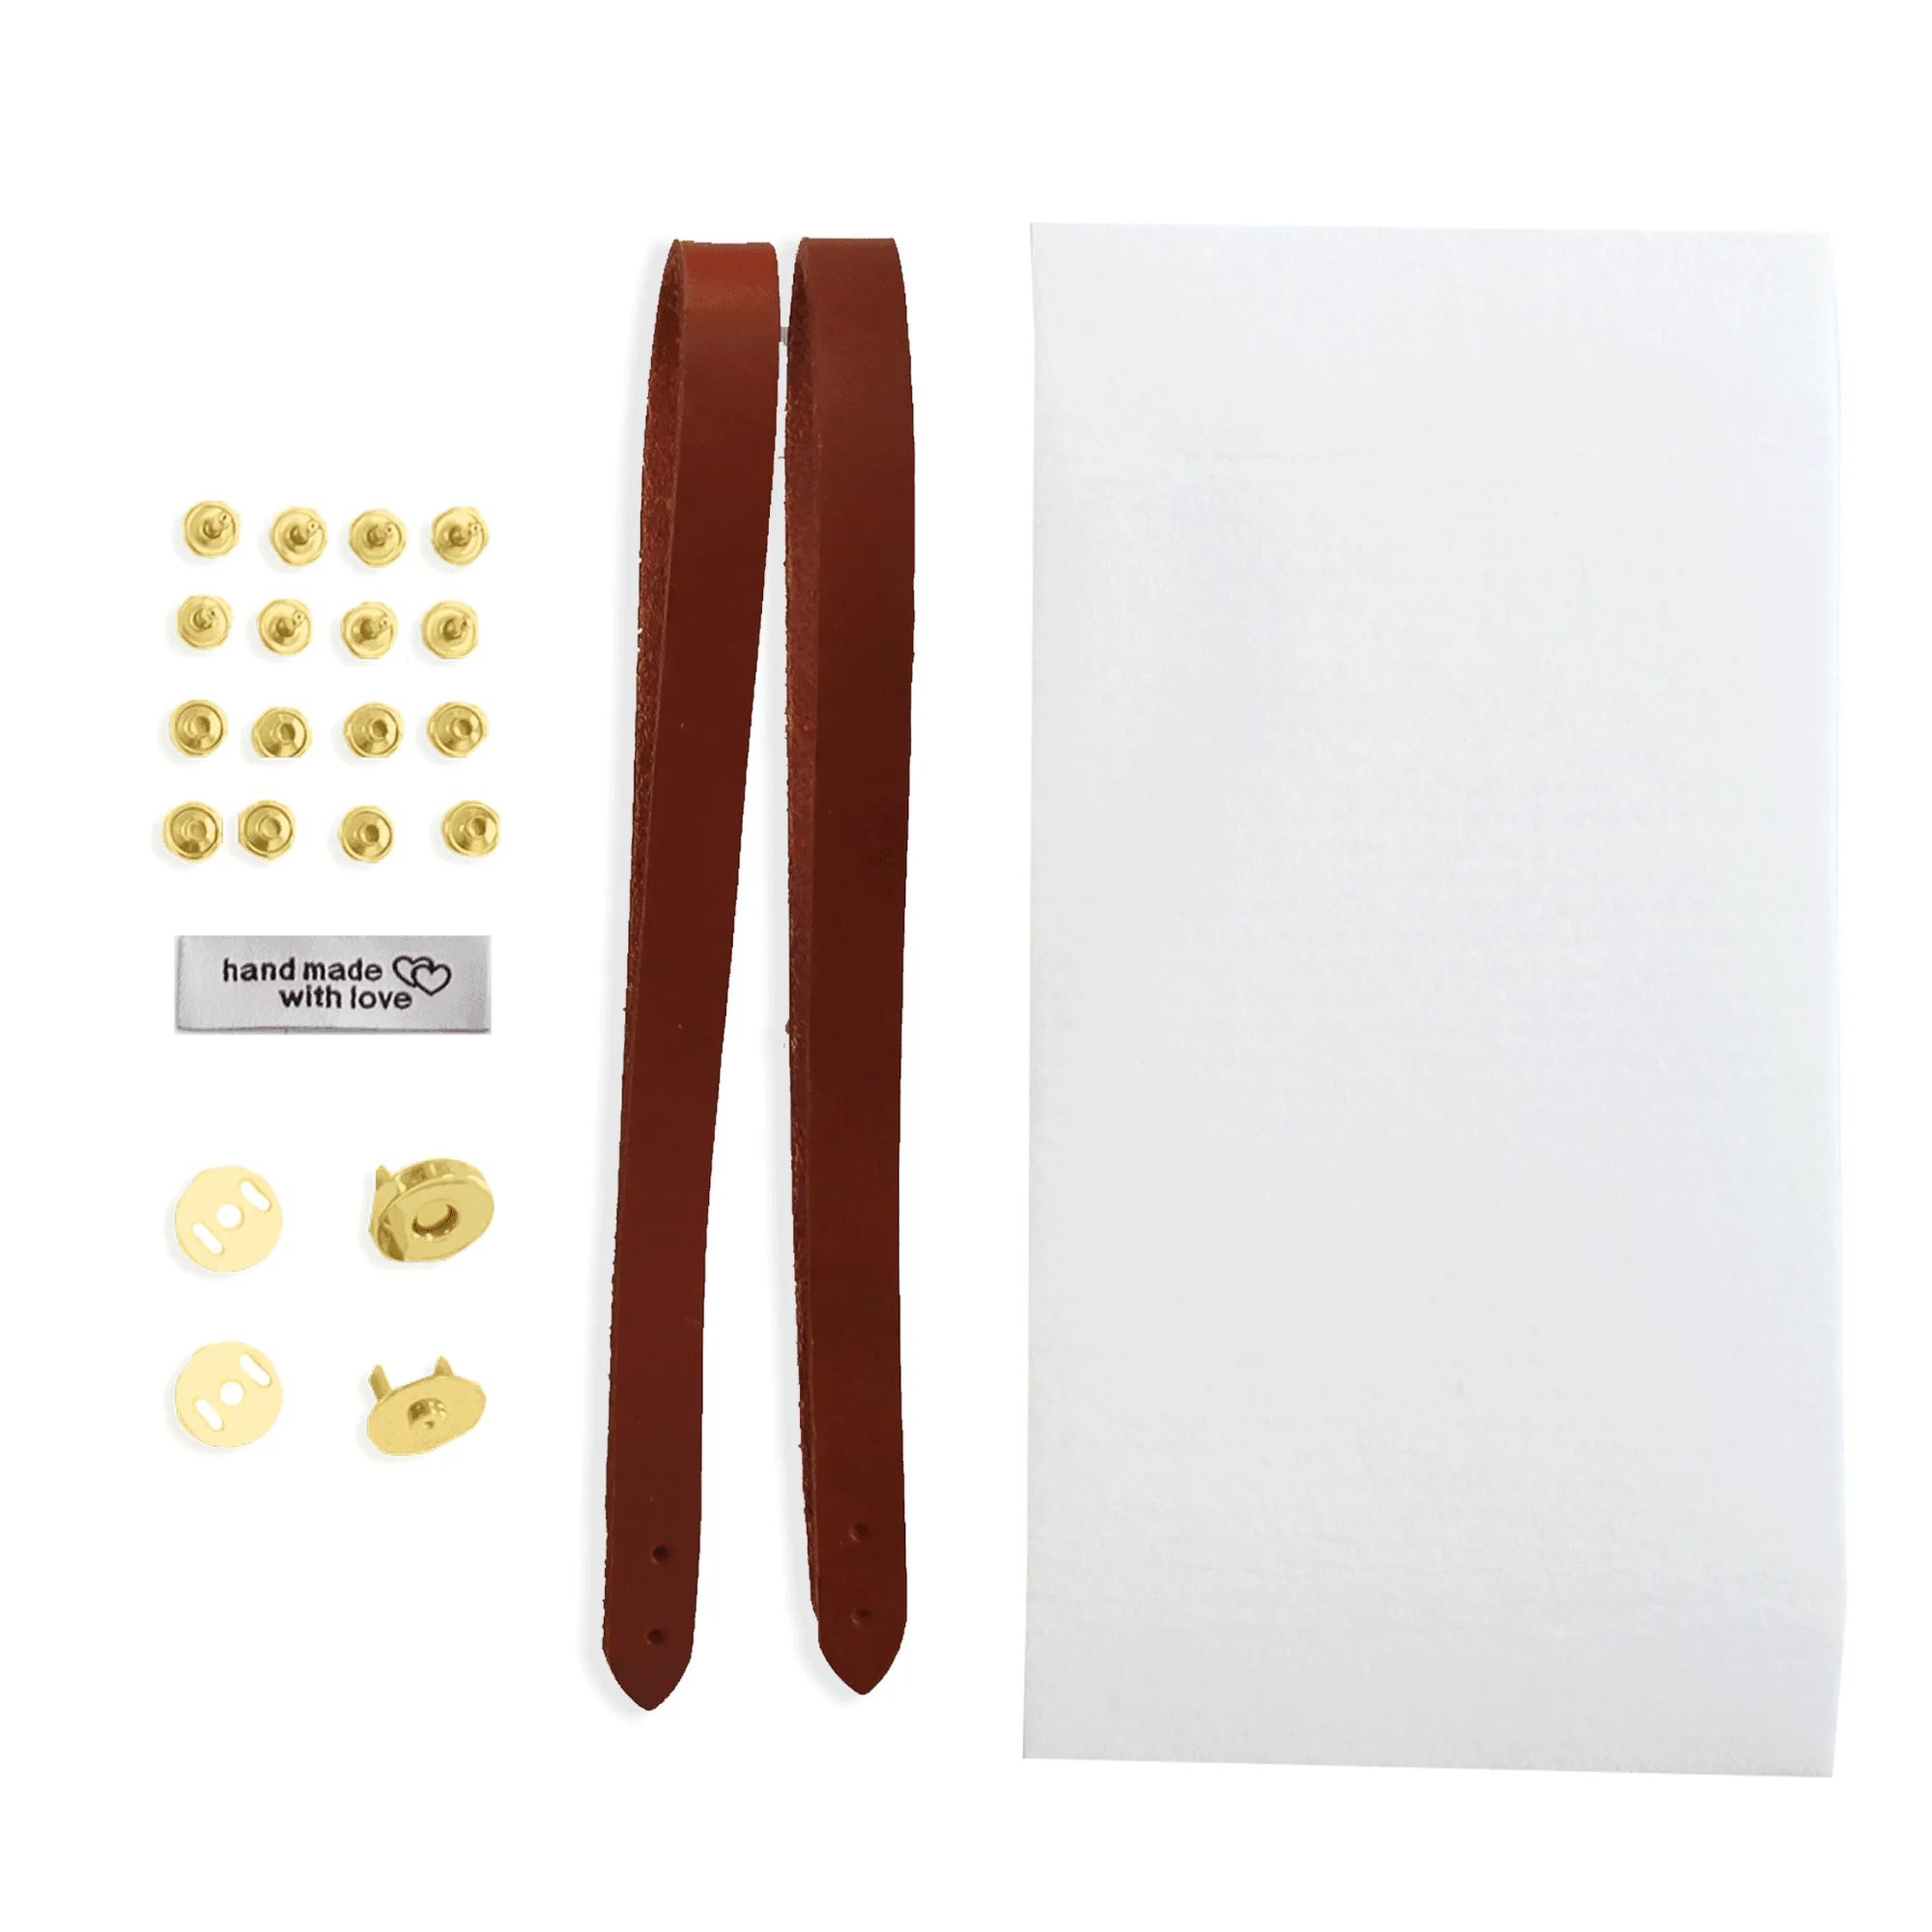
Market Tote Leather Handles & Hardware Kit