Playing cards are more than just tools for games; they are works of art. Whether you collect limited edition decks or cherish a vintage set, displaying your cards can transform them into stunning decor. But buying a pre-made display case can be expensive, and often it doesn't fit your space or style. That's where DIY projects come in. In this guide, we'll explore creative and practical ways to make your own playing card display, from simple frames to elaborate shadow boxes.
Before you start, think about what you want to display. Are you showcasing a single card, a full deck, or a series of uncut sheets? Each requires a different approach. For single cards, a simple frame works. For a deck, you might need a custom holder. And for uncut sheets, you'll need a larger frame or a dedicated display. We'll cover all these options, plus tips on materials, lighting, and protection.
Choosing the Right Display for Your Cards
The first step in any DIY display project is deciding what to showcase. If you have a favorite card from a deck like the Eye of the Ocean series, you might want to frame it individually. For a full deck, consider a display that shows the back design and the face of the top card. If you're lucky enough to own an uncut sheet, you'll need a large frame that can accommodate its size.
Think about the room where the display will live. A bright, sunlit room might cause fading, so use UV-protective glass or acrylic. Also, consider the humidity; keeping cards in a dry environment prevents warping. For a cohesive look, match the frame style to your decor—modern, rustic, or minimalist.
- For single cards: use a small shadow box or a floating frame.
- For a deck: create a custom stand using acrylic or wood.
- For uncut sheets: use a large poster frame with UV glass.
Materials You'll Need for Your DIY Display
Most DIY displays require basic materials you might already have: a frame, backing board, adhesive, and a cutting tool. For a shadow box, you'll need a deep frame, foam board, and pins or clips. For a floating frame, you just need two pieces of glass or acrylic. If you're building a deck stand, consider using wood or acrylic sheets, plus a saw or laser cutter if you have access to one.
Adhesive is crucial—use acid-free tape or mounting squares to avoid damaging your cards. For a non-permanent option, use clear plastic sleeves or magnetic holders. These protect the cards while allowing you to swap them out easily. If you're displaying a collectible deck like Black Requiem | Counterspell, you'll want to keep it in pristine condition, so choose reversible mounting methods.
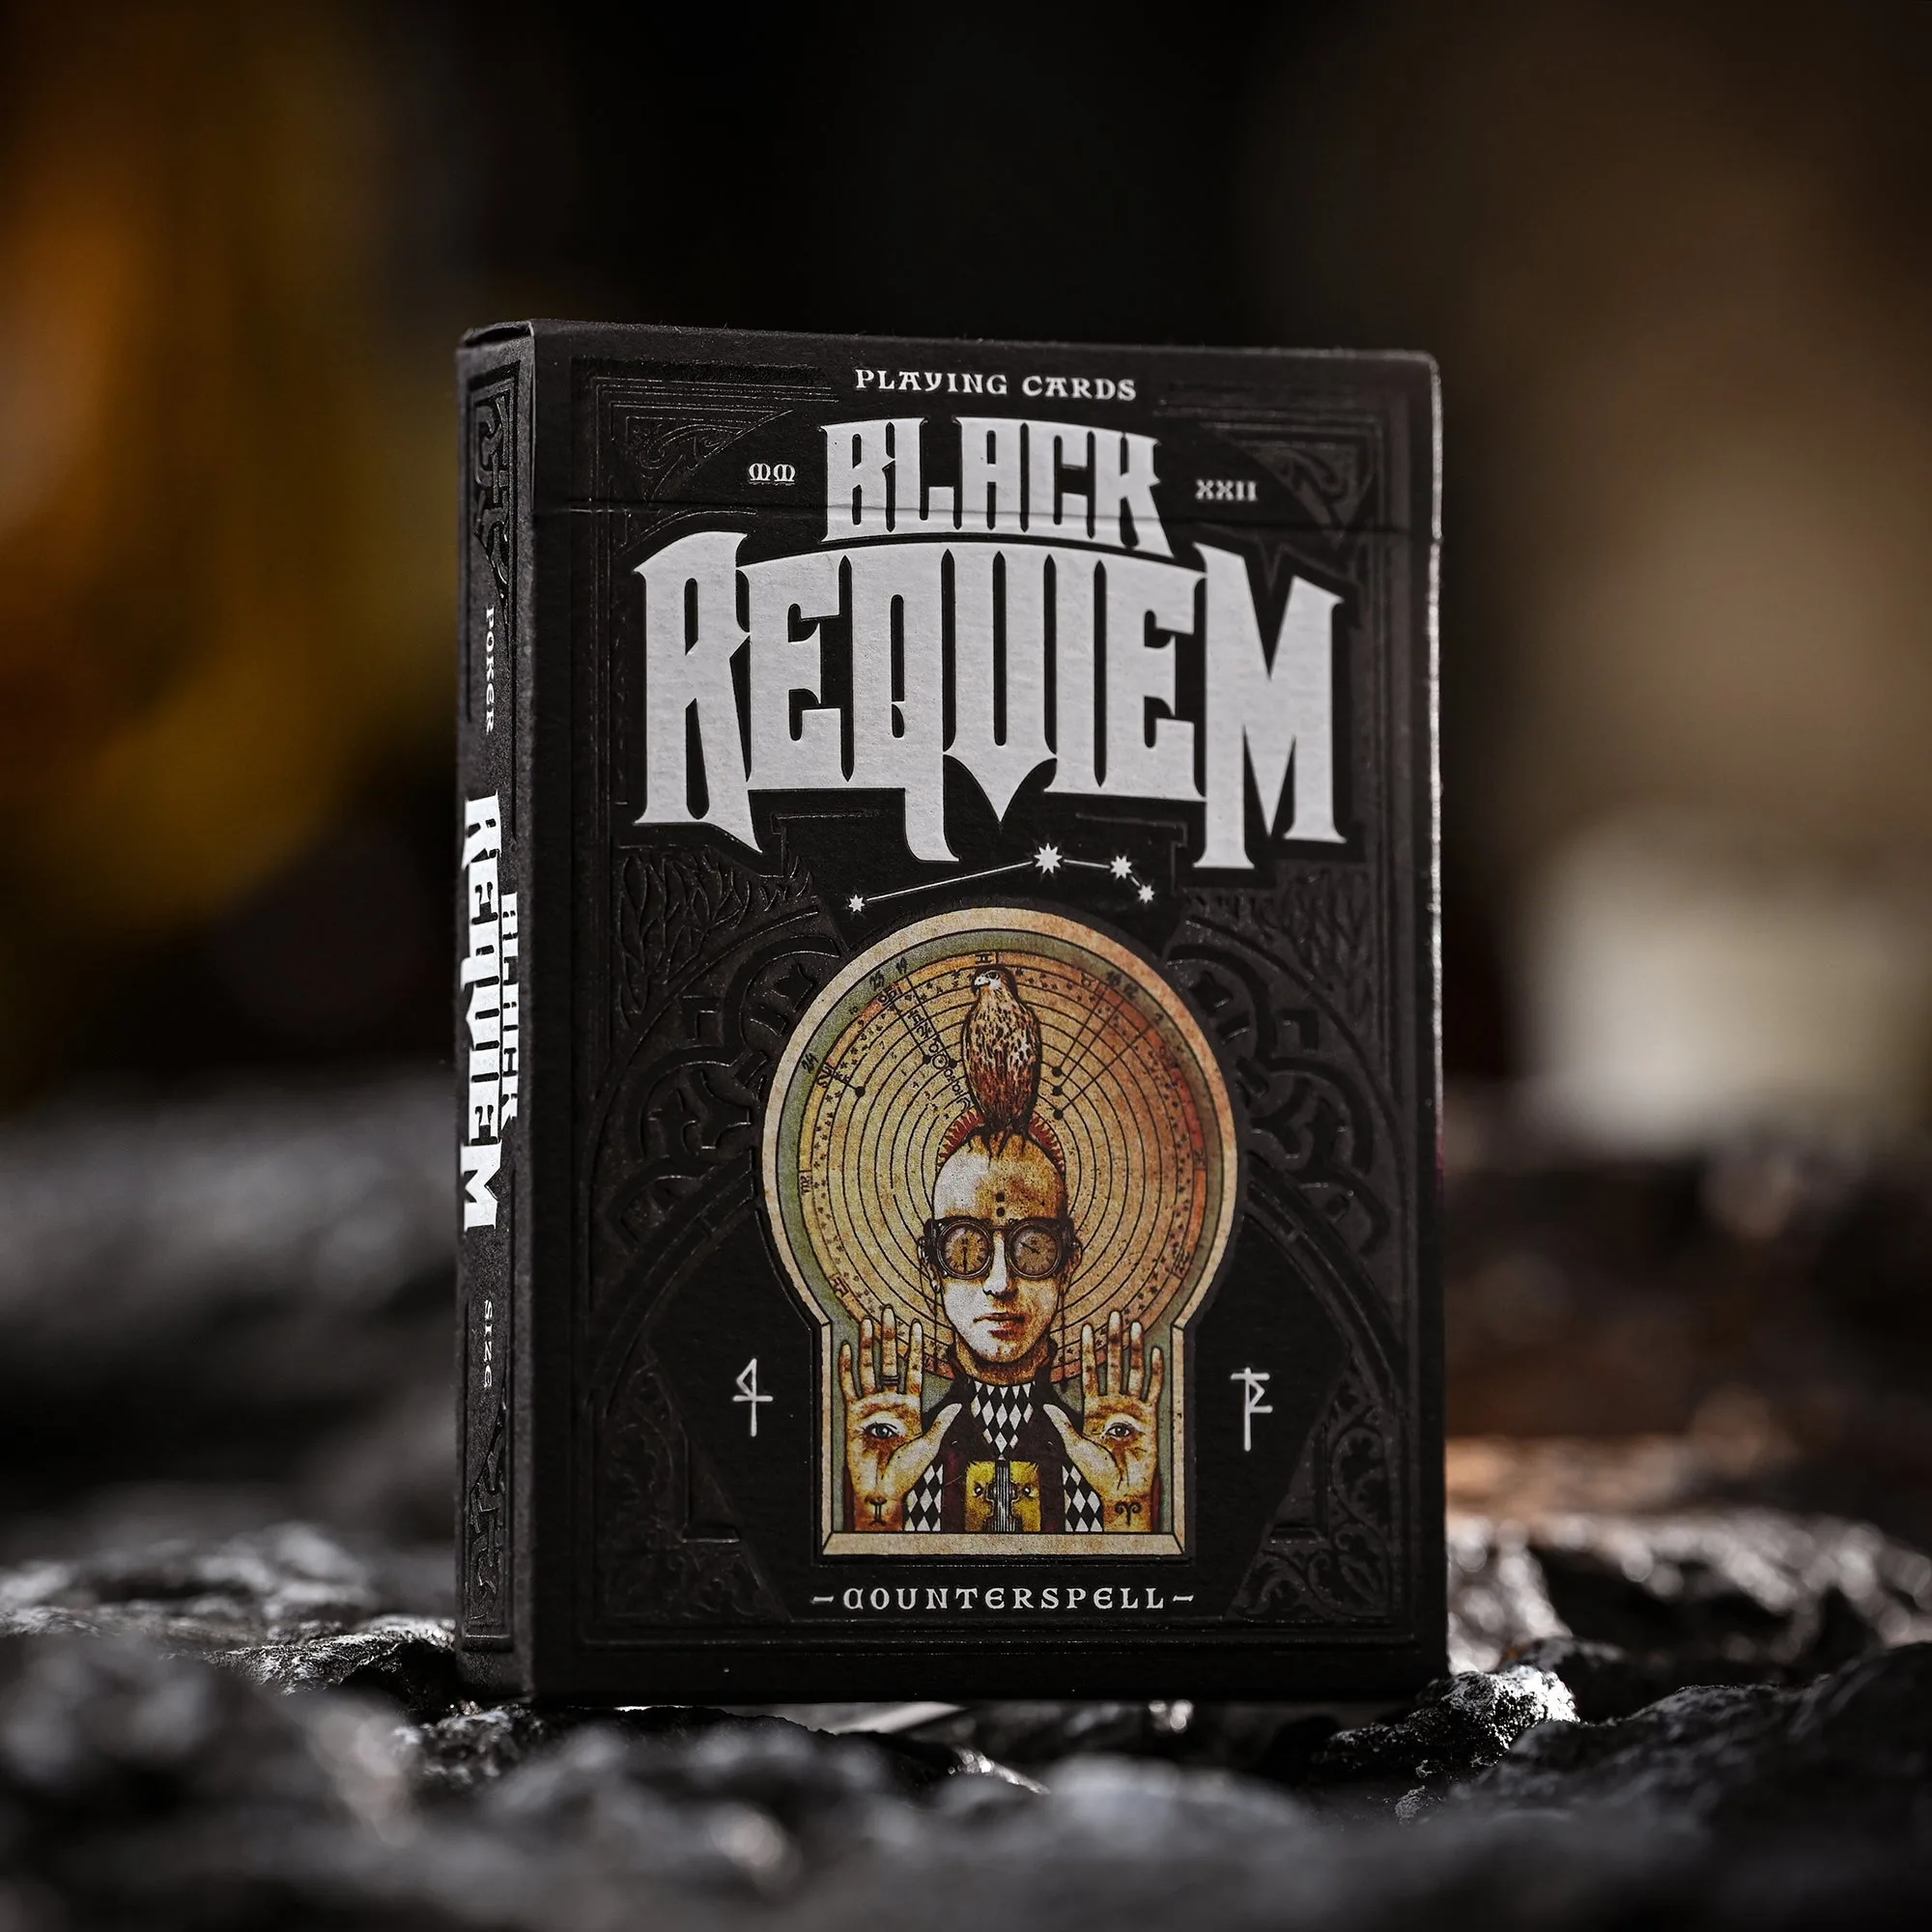
Black Requiem | Counterspell
- Acid-free tape or mounting squares to prevent damage.
- UV-protective glass or acrylic to prevent fading.
- Clear plastic sleeves for easy swapping.
Step-by-Step: Creating a Shadow Box Display
A shadow box is perfect for displaying a single card or a small set. Start by selecting a deep frame—at least 1.5 inches deep. Remove the backing and replace it with a piece of foam board cut to size. Cover the foam board with a fabric or paper of your choice for a backdrop. Then, arrange your cards on the foam board and secure them with pins or small clips. For a floating effect, use small adhesive foam dots to lift the cards off the backing.
Once your cards are in place, reassemble the frame. Use UV-protective glass if possible. Hang the shadow box at eye level for the best viewing. This project is great for showcasing a single masterpiece card from a series like The Eye of the Ocean - Puzzle Master Bundle, which includes a puzzle and cards that can be displayed together.
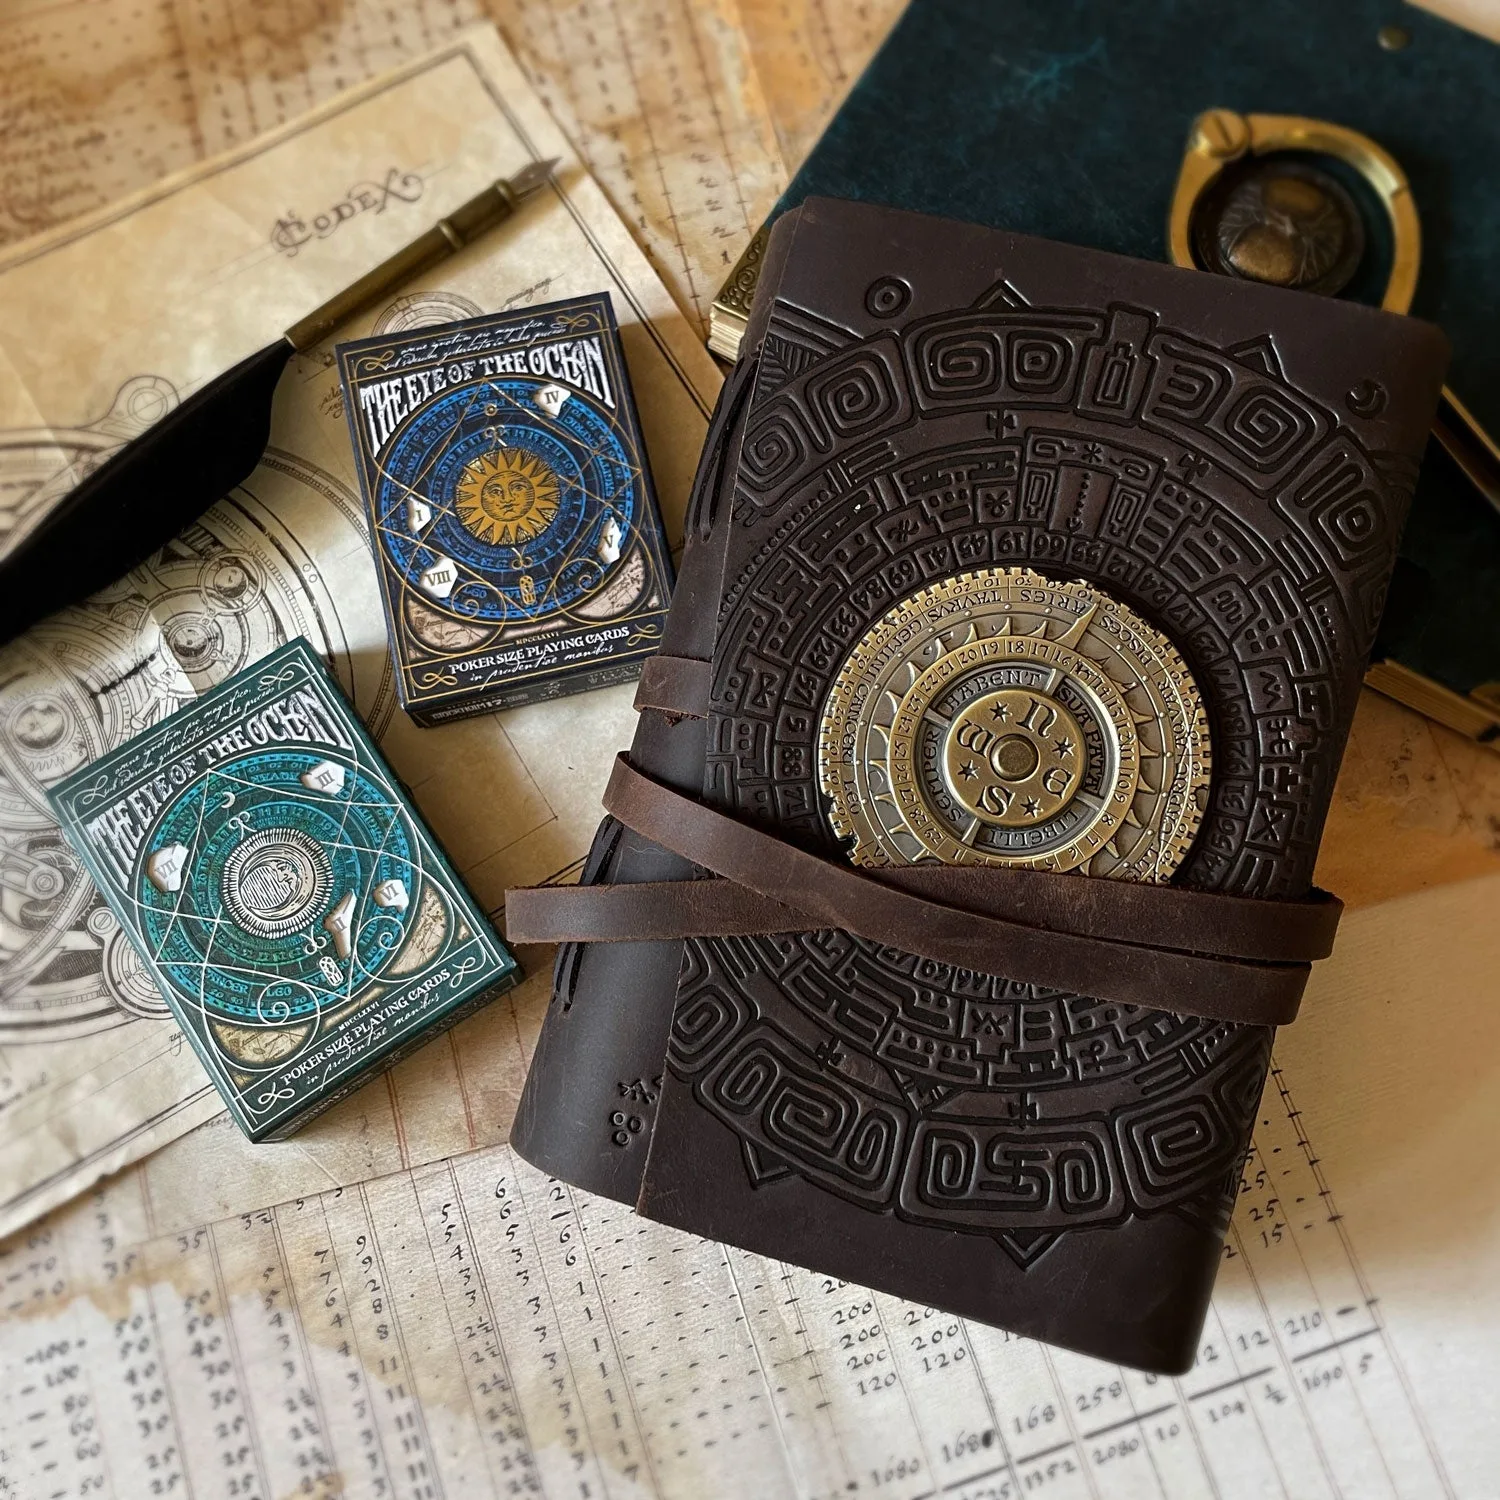
The Eye of the Ocean - Puzzle Master Bundle
- Use a deep frame for a 3D effect.
- Arrange cards in a grid or overlapping pattern.
- Consider adding a small LED light inside the shadow box.
DIY Floating Frame for Uncut Sheets
Uncut sheets are large and impressive, but they need a sturdy display. A floating frame—two sheets of glass or acrylic held together by clips—is a sleek, modern option. You'll need two pieces of acrylic cut to the size of your sheet, plus clips to hold them together. Place the sheet between the acrylic and secure the clips. Then, mount the frame on the wall using heavy-duty picture hanging hardware.
This method allows the sheet to be seen from both sides, which is great if the back has artwork too. Ensure the acrylic is UV-protective to prevent fading. If you have a signed sheet like the Malakim Uncut Tuckbox Sheet with signature - The Eye of the Ocean (Vol2), a floating frame will let you appreciate the signature up close. Just be careful when handling the sheet—wear cotton gloves to avoid fingerprints.
- Use acrylic instead of glass for safety and weight.
- Add a mat border to prevent the sheet from touching the acrylic.
- Hang with two wall anchors for stability.
Creative Ideas: Deck Stands and Wall Art
If you want to display a deck in its tuck box, a simple stand can be made from a piece of wood or acrylic. Cut a slot at an angle to hold the deck upright. You can also create a wall-mounted display by attaching a small shelf to the wall and placing the deck on it. For a more artistic approach, frame a fan of cards in a shadow box, or create a collage of cards from different decks.
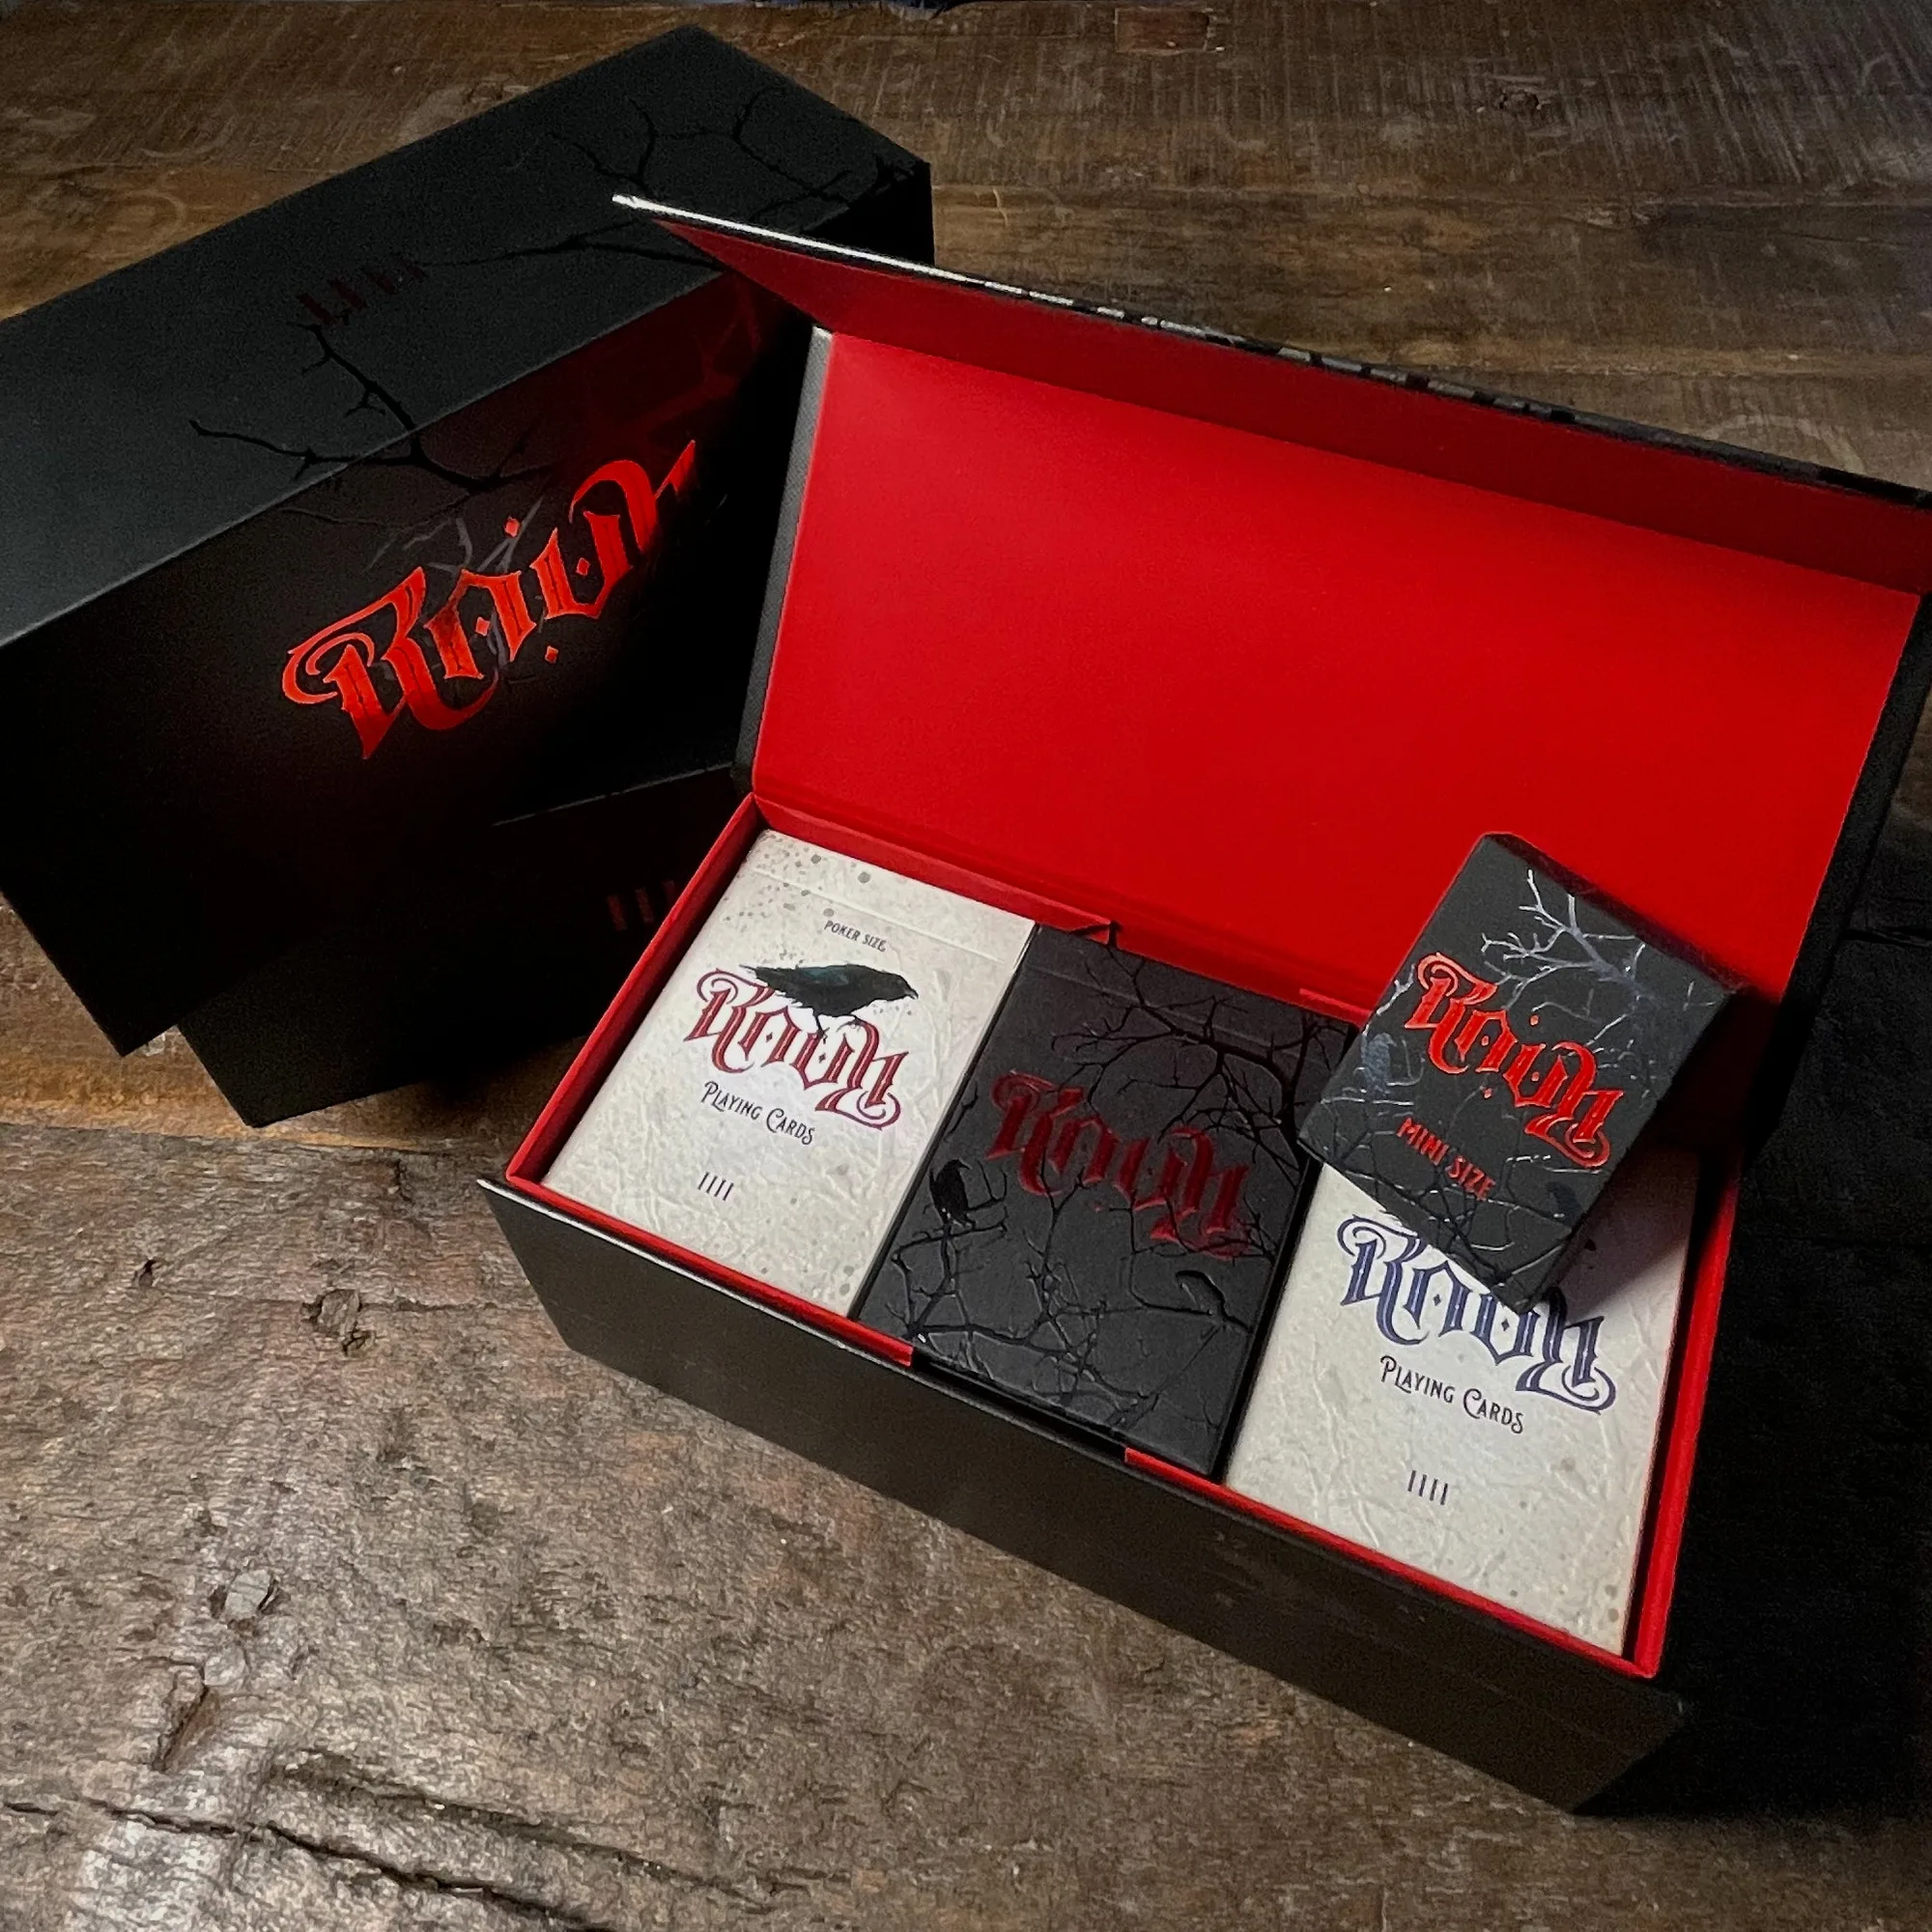
Another idea is to use a deck as a bookend or paperweight. For example, the RAVN IIII Custom Brick Box (empty) can be used to store and display a brick of decks. You can also repurpose a picture frame to create a magnetic board where you can pin cards. The possibilities are endless—let your creativity run wild.
- Make a stand from a wooden block with a slot.
- Use a shadow box to create a fan display.
- Repurpose a frame into a magnetic board.
DIY playing card displays are a fun and rewarding way to showcase your collection. Whether you choose a shadow box, a floating frame, or a creative stand, the key is to protect your cards while making them look great. Start with a simple project and gradually expand your display as your collection grows. For more inspiration, check out our selection of playing cards and accessories to find the perfect pieces to display.