Quick answer
Mount your bike light on the handlebar or bar mount so the beam points slightly downward and straight ahead, then tighten it enough that the light cannot twist by hand. For night riding, use a steady white front light and a red rear light, and check the mount before every ride. A secure bike light installation takes about five minutes and prevents mid-ride slips.
Choose the right mount for your bar and light
Most handlebar mounts use a clamp or bracket that wraps around the bar. Check your handlebar diameter before buying: standard bars are often 31.8 mm or 25.4 mm, while some flat bars and riser bars vary. If your light uses a separate bar mount, make sure the mount's clamp size matches your bar. A loose clamp will let the light rotate over bumps, so match the size rather than forcing it.
For quick transfers between bikes, consider a bar mount that stays on the handlebar and lets you slide the light off. This is handy if you ride more than one bike. If you use a light with a built-in clamp, you may need a shim to fit smaller bars. Never overtighten a plastic clamp, as it can crack.
Position the light for visibility without blinding others
Aim the front light so the brightest part of the beam hits the road about 10 to 15 feet ahead. If the light points too high, it will dazzle oncoming traffic and reflect back at you; too low, and you lose distant visibility. For a bar mount, position the light on the center or slightly toward the traffic side of the handlebar. Keep it clear of brake and shift cables so they do not rub or pull.
Rear lights should be mounted on the seatpost, rear rack, or helmet, facing straight back. A rear light that points down or sideways is less visible. If you use a bar mount for a rear light, make sure it does not interfere with your leg motion or a saddle bag.
Secure the mount and check it before every ride
Tighten the mount's bolt or quick-release until the light body cannot be twisted by hand, but do not crush the handlebar. Give the light a firm wiggle test: if it moves, tighten a quarter turn and test again. A strip of rubber or a shim can add grip on smooth bars. After mounting, bounce the bike gently on the ground to settle the clamp, then recheck.
For night riding, carry a spare mount or a backup light in case a clamp loosens or breaks. Check the mount after rough roads or if you park the bike in a crowd. A secure bike light installation is one you verify at the start of every ride, not just once.
Step-by-step: mount your bike light and bar mount
- 1. Gather your tools and check the bar diameter: You will need the mount, any shims, and the correct hex key. Measure your handlebar diameter or check the stem for a size marking. Common mistake: assuming all bars are the same size and forcing a clamp that is too small. Checkpoint: the clamp should sit flush around the bar without gaps.
- 2. Install the bar mount on the handlebar: Open the clamp and place it on the bar, positioning it inboard of the grips and clear of cables. Thread the bolt or close the quick-release by hand first, then tighten with a hex key until snug. Common mistake: overtightening and crushing a carbon bar or stripping plastic threads. Checkpoint: the mount should not slide or rotate when you push it firmly.
- 3. Attach the light to the mount: Slide or click the light into the mount according to its design. If your light uses a separate bar mount, align the tabs and push until it locks. Common mistake: not fully engaging the lock, so the light pops off on the first bump. Checkpoint: tug gently on the light; it should stay put.
- 4. Aim the beam and adjust angle: Turn the light on and aim it at a wall or down the road. The top of the beam should be below eye level for oncoming traffic. For a bar mount, adjust the angle so the hotspot hits the road 10–15 feet ahead. Common mistake: aiming too high and blinding others or too low and losing distance. Checkpoint: stand 10 feet in front of the bike; you should not see the LED directly.
- 5. Do a final wiggle and bounce test: Grip the light and try to twist it side to side. Then lift the front wheel a few inches and drop it gently. Re-tighten if anything shifts. Common mistake: skipping this test and discovering a loose mount mid-ride. Checkpoint: the light stays aimed after the bounce test.
Product facts
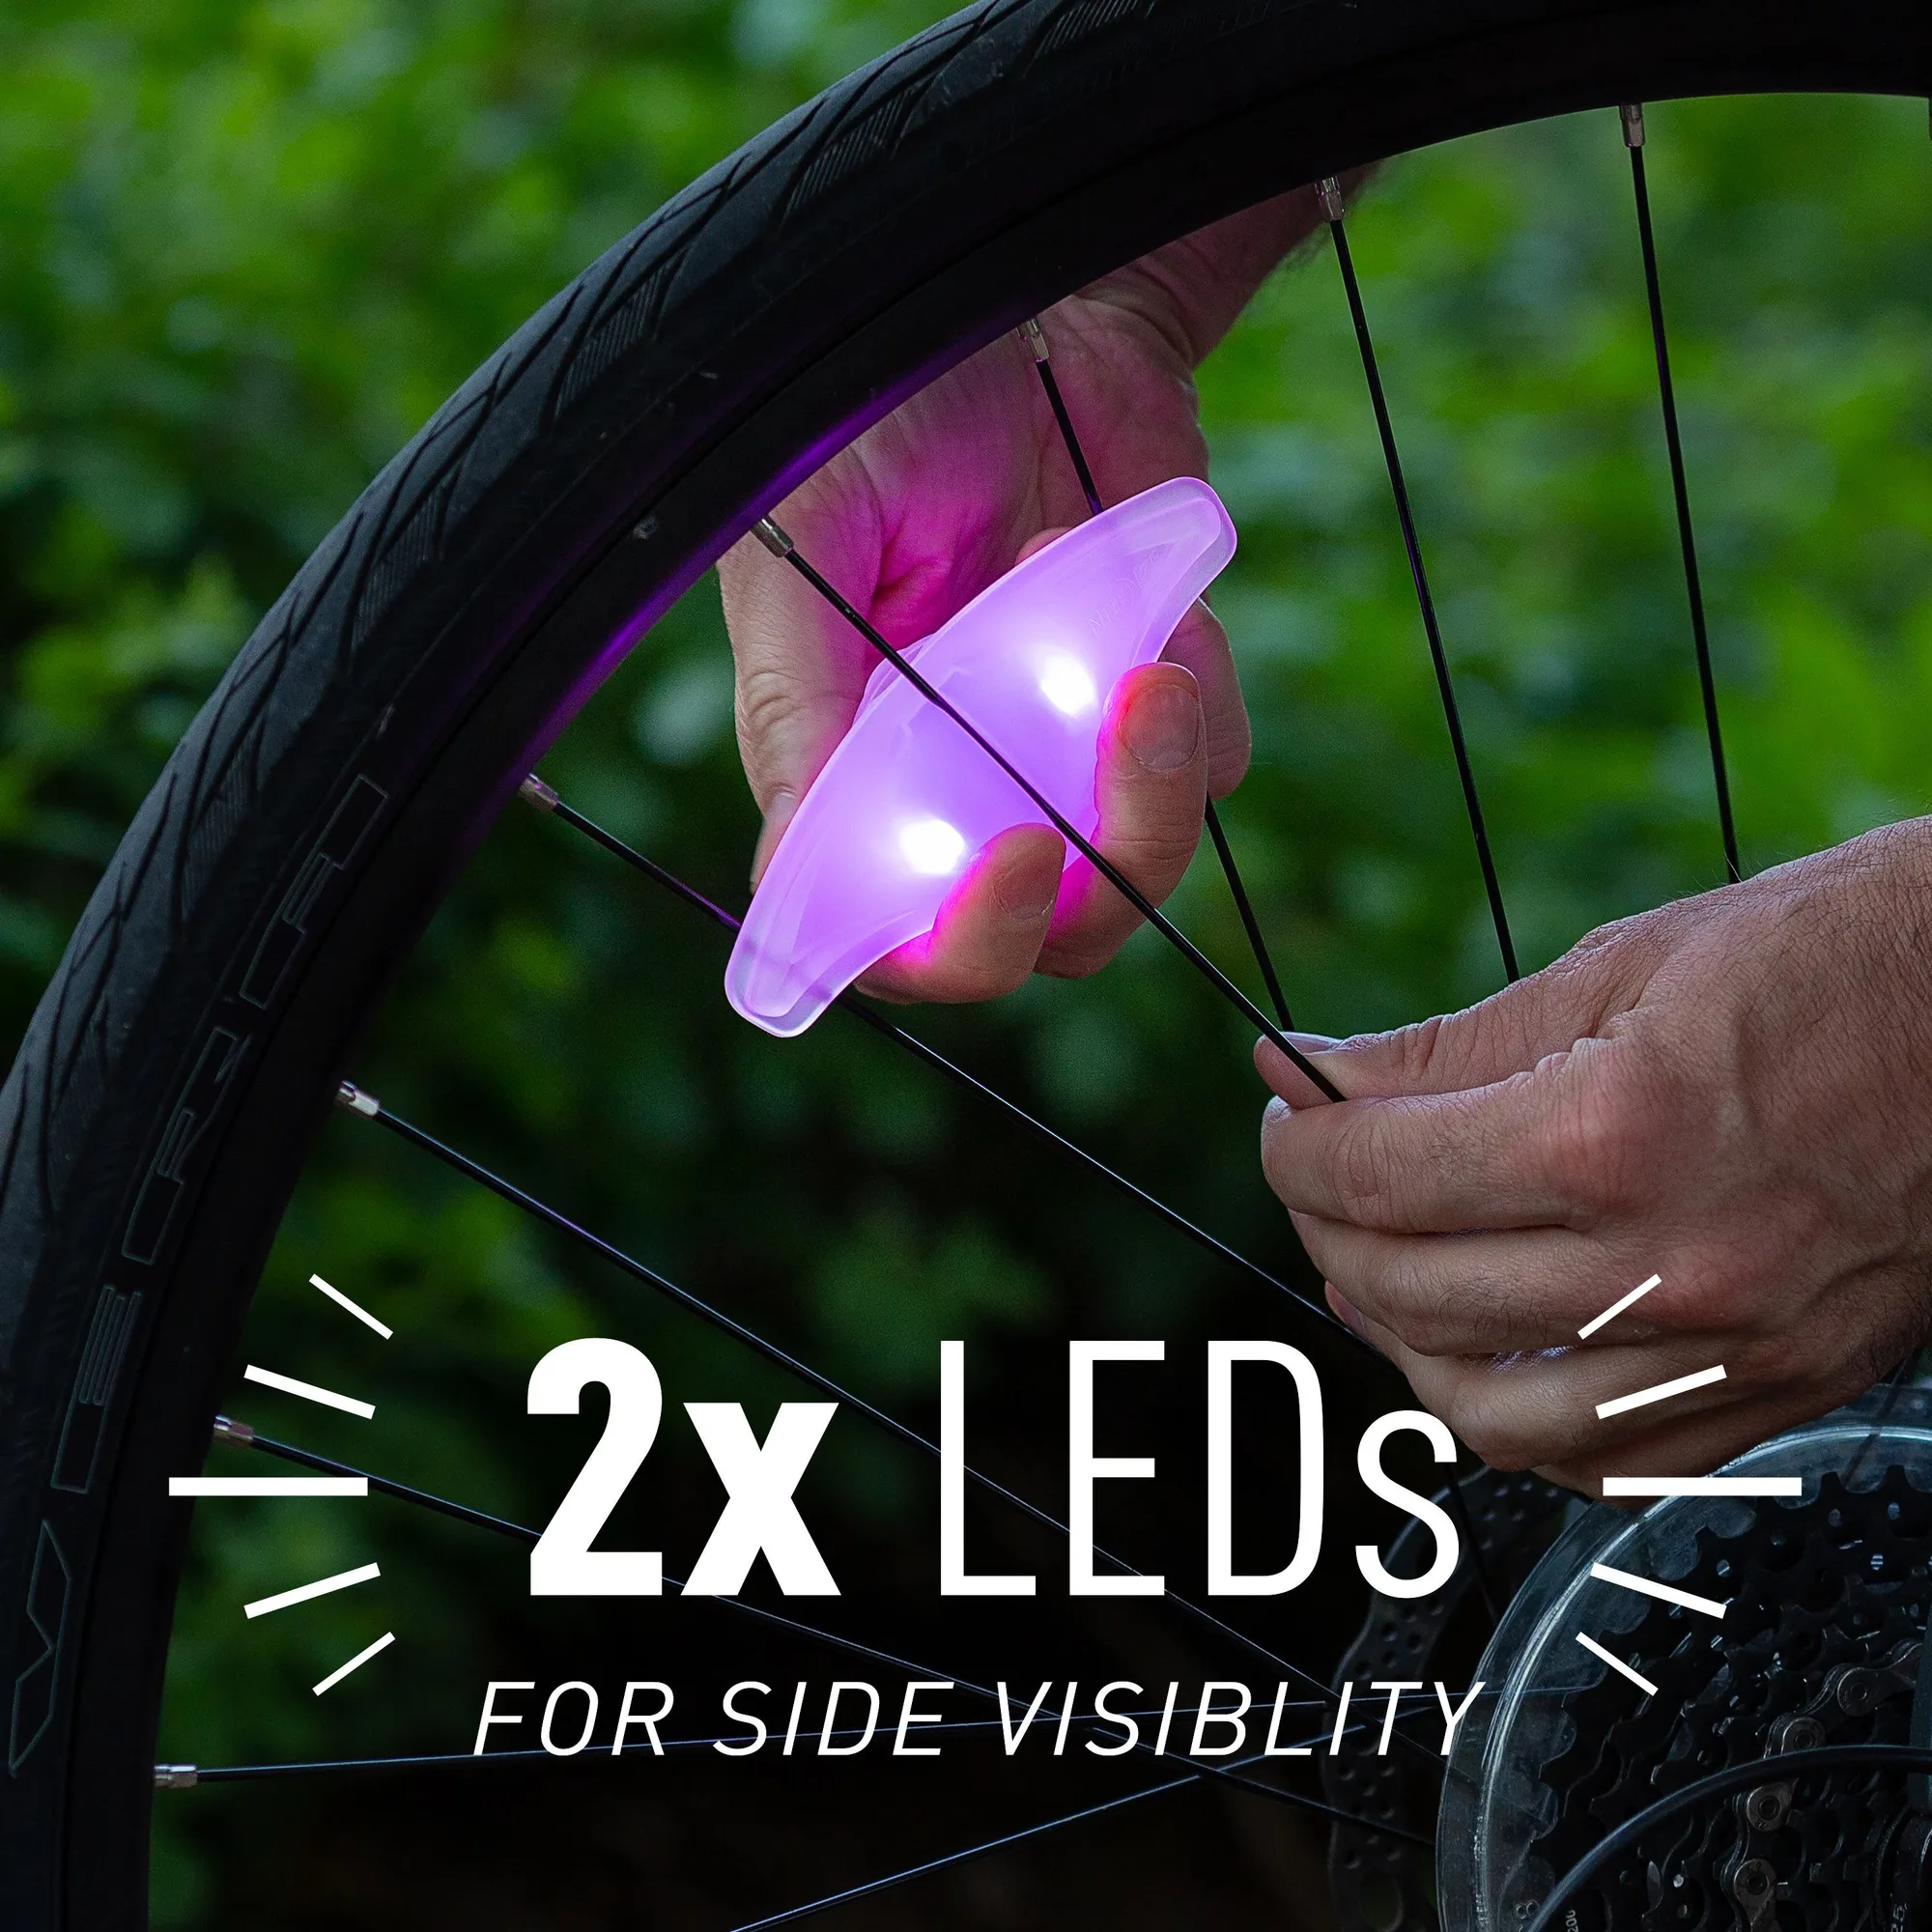
- SpokeLit® Rechargeable Wheel Light - Disc-O Select™: SpokeLit® Rechargeable Wheel Light - Disc-O SelectTM is a push-button activated light that attaches securely to most bike spokes and is weather resistant. Adds side visibility for night riding without using handlebar space, and its rechargeable design means no disposable batteries.
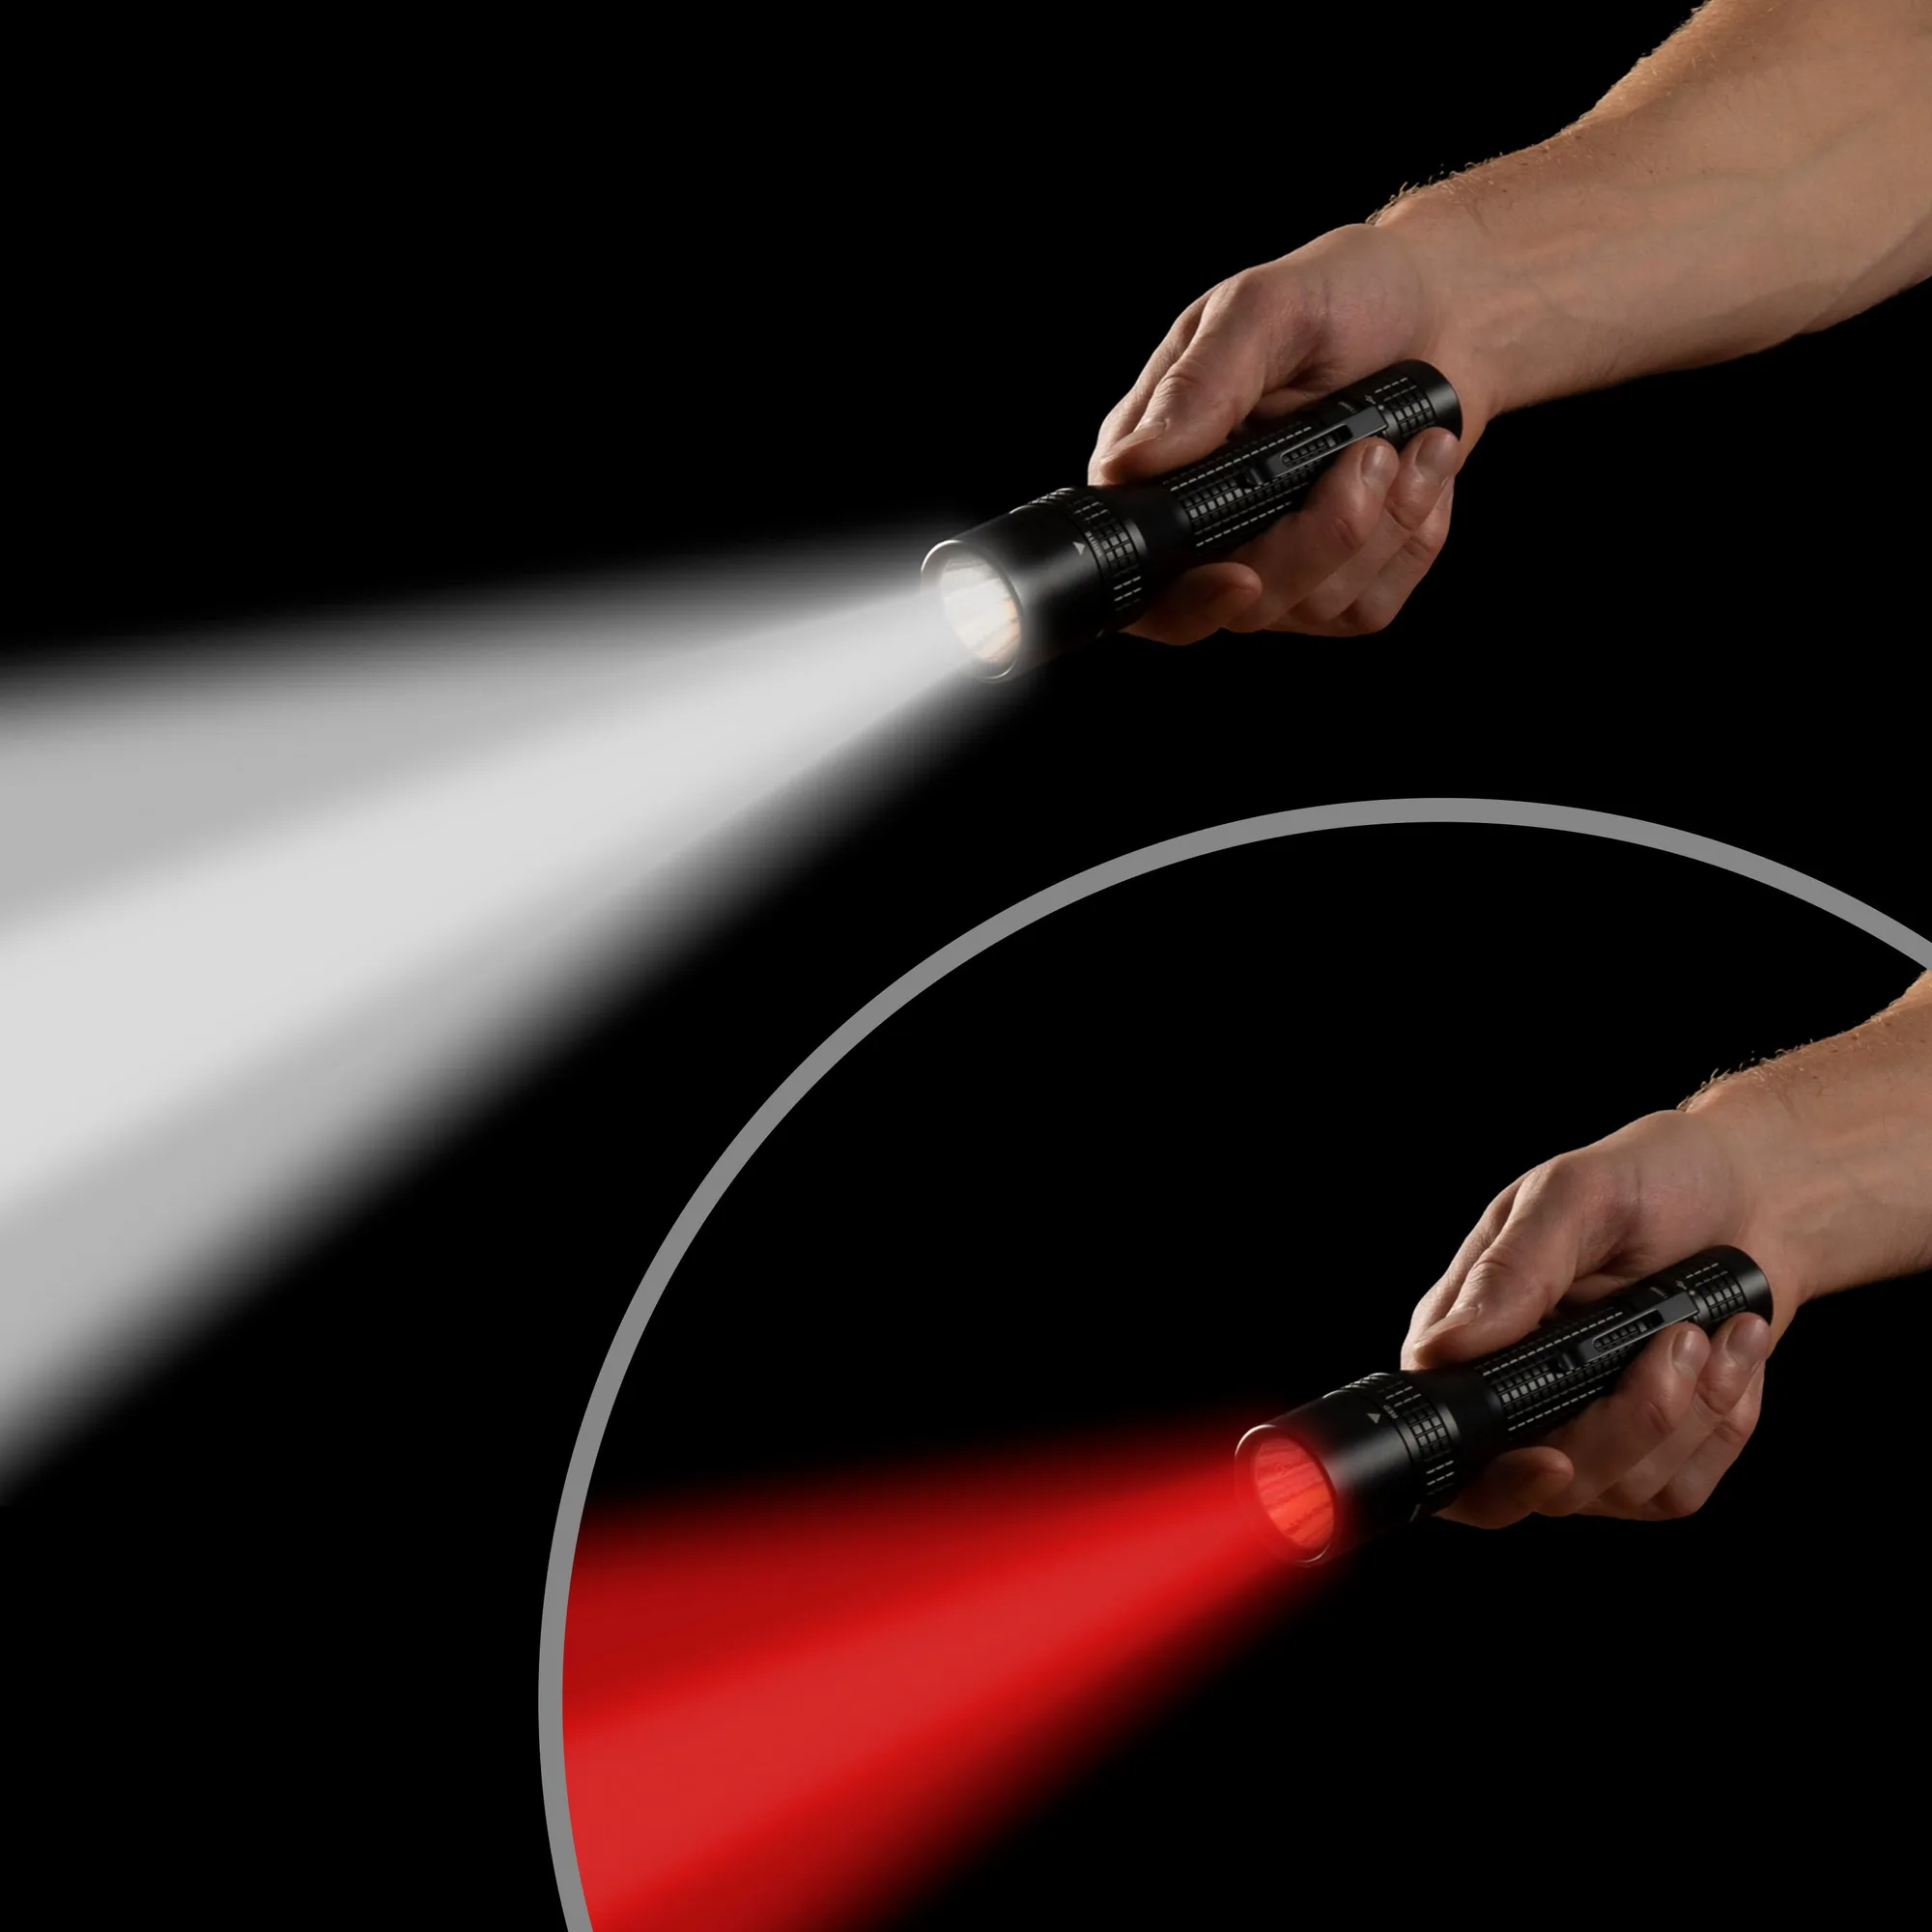
- INOVA® T8R® PowerSwitch™ Rechargeable Dual Color Flashlight: INOVA® T8R® PowerSwitchTM Rechargeable Dual Color Flashlight offers a 762 lumen white beam and a red beam that preserves night vision, with five modes and a machined aluminum body. Can serve as a powerful handlebar-mounted front light for night riding, with a red mode for preserving night vision when stopped or in camp.