Quick answer
Sort your thread by project first, then by color family, and only then load it into an acrylic fiber organizer. Keep full skeins intact instead of winding them down, label each hole or group by project, and store the organizer flat so the acrylic never takes direct heat. The sorting step is what keeps the system working; the organizer only holds the order you already created.
Most thread messes are not caused by too little storage. They happen because fiber gets organized before it gets sorted, so every new skein lands wherever there is an empty hole. A short sorting pass before you touch the organizer prevents that.
This process works whether you keep a dozen skeins or a full stash, and it is built around full-skein storage rather than winding thread down into smaller bundles. Set aside about an hour for the first pass, then ten minutes per new project after that.
Start by sorting, not storing
Pull every loose skein, partial skein, and orphaned thread out of bags, tins, and project pouches and put it all in one pile. Sort into three rough groups: active project fiber, fiber you have bought for a specific future canvas, and unassigned fiber with no project attached. That third pile is usually the biggest and the one that causes the most clutter, because it has no home and no deadline.
Once the three groups are separated, break the active project group down by canvas. A single project should never share storage space with another project if you can avoid it, because the moment two projects sit in the same organizer you start second-guessing which thread belongs where.
Common mistake: sorting by color across your whole stash. Color sorting looks tidy in photos but breaks down the moment you start a new canvas, since you have to pull individual threads back out of a rainbow arrangement.
- Checkpoint: if you cannot name the project a skein belongs to, it goes in the unassigned pile, not the active pile.
Decide what stays a full skein
Winding thread down into smaller bundles saves space but costs you time and creates tangles at the cut end. For needlepoint, most stitchers are better off keeping full skeins whole and letting the organizer hold them at full length, so a project never runs short mid-stitch and you always know exactly how much fiber you started with.
This is where hole size matters more than hole count. An organizer with fewer but larger holes handles bulky fibers and full skeins without compressing them, while an organizer with many small holes forces you to split skeins you did not want to split. Look at the largest fiber you actually stitch with, not the average one.
If you do keep partial skeins, keep them separate from full ones so you do not accidentally start a project with a half skein and run out two inches from the end.
- Common mistake: buying storage based on how many holes it has rather than how wide the holes are.
Load the organizer in a repeatable order
Pick one ordering rule and never change it mid-project: left to right by stitch order, or top to bottom by color family. Whichever you choose, the point is that your hand learns the layout, so you stop hunting and start reaching. Load the fiber you will stitch first into the position you naturally reach for, usually the top-left or the front row.
Leave one or two holes empty as working space. A completely full organizer has nowhere to put a thread you pull mid-stitch, so it ends up on the table, which is how tangles begin. The empty slots also let you add a color you forgot without reorganizing everything.
Acrylic is a good material here because it does not snag the way unfinished wood or rough plastic can, and it wipes clean if you set it down near a drink or a pet.
- Checkpoint: after loading, close your eyes and reach for one color. If you find it in under three seconds, your order is working.
Label by project, not just by color
Color labels help you find a thread; project labels help you put it back. Write the project name or canvas reference on a small tag or sticker and attach it to the organizer itself, not to an individual skein, so the whole set stays identified even when a skein is in your hand. If you rotate organizers between projects, this is the only thing standing between you and a mixed-up stash.
For thread you have not assigned to a canvas yet, label by fiber type and count instead. That way, when a new canvas calls for a specific weight, you can pull the right group without unwinding anything to check.
Common mistake: labeling only the first skein in a group and assuming the rest are obvious. They are obvious for about two weeks.
- Keep a photo of each loaded organizer on your phone; it makes restocking after a project far faster.
Store it so the system survives daily use
Store organizers flat or standing upright in a drawer or bin where they are not stacked under heavy supplies. Acrylic is durable but it is not immune to heat, so keep it out of a hot car, off a radiator, and away from direct sun on a windowsill. A cool, dry drawer is ideal.
Keep the organizer near where you actually stitch, not in a closet across the house. Storage that requires a walk is storage you will stop using by week three. If you stitch in more than one room, keep one organizer per active project rather than hauling a single one back and forth.
Do a five-minute reset when a project finishes: return leftover full skeins to the unassigned group, retire the partials, and clear the project label. That single habit is what keeps the whole system from slowly reverting to a pile.
- Common mistake: storing acrylic organizers in a hot attic or garage, where heat can warp them over time.
The seven-step thread organizing routine
- 1. Empty everything into one pile: Pull thread from bags, tins, project pouches, and drawers so you can see the true size of the stash before deciding on storage. Checkpoint: if you skipped this and started loading an organizer, stop and empty it back out.
- 2. Split into active, assigned, and unassigned: Active means a project in progress. Assigned means bought for a specific canvas. Everything else is unassigned and gets stored by fiber type. Mistake to avoid: letting unassigned fiber sit in the active pile, where it will never get used.
- 3. Keep full skeins whole: Choose an organizer with holes wide enough for your bulkiest fiber so you never have to wind a full skein down just to make it fit. Checkpoint: test your widest fiber in one hole before loading the rest.
- 4. Load one project per organizer: Order left to right by stitch order or top to bottom by color family, and leave one or two empty holes as working space. Mistake to avoid: filling every hole, which pushes pulled thread onto the table.
- 5. Label the organizer, not the skein: Put the project name or canvas reference on the organizer so the set stays identified even when a single skein is in your hand. Checkpoint: a photo of each loaded organizer makes restocking much faster.
- 6. Store flat, cool, and within reach: Keep organizers flat or upright in a drawer near where you stitch, away from heat and direct sun. Mistake to avoid: attic or garage storage, where heat can warp acrylic over time.
- 7. Reset after every finished project: Return full leftovers to the unassigned group, retire partials, and clear the project label before starting the next canvas. Next step: reload the same organizer for your next project rather than buying more storage.
Products that fit this method
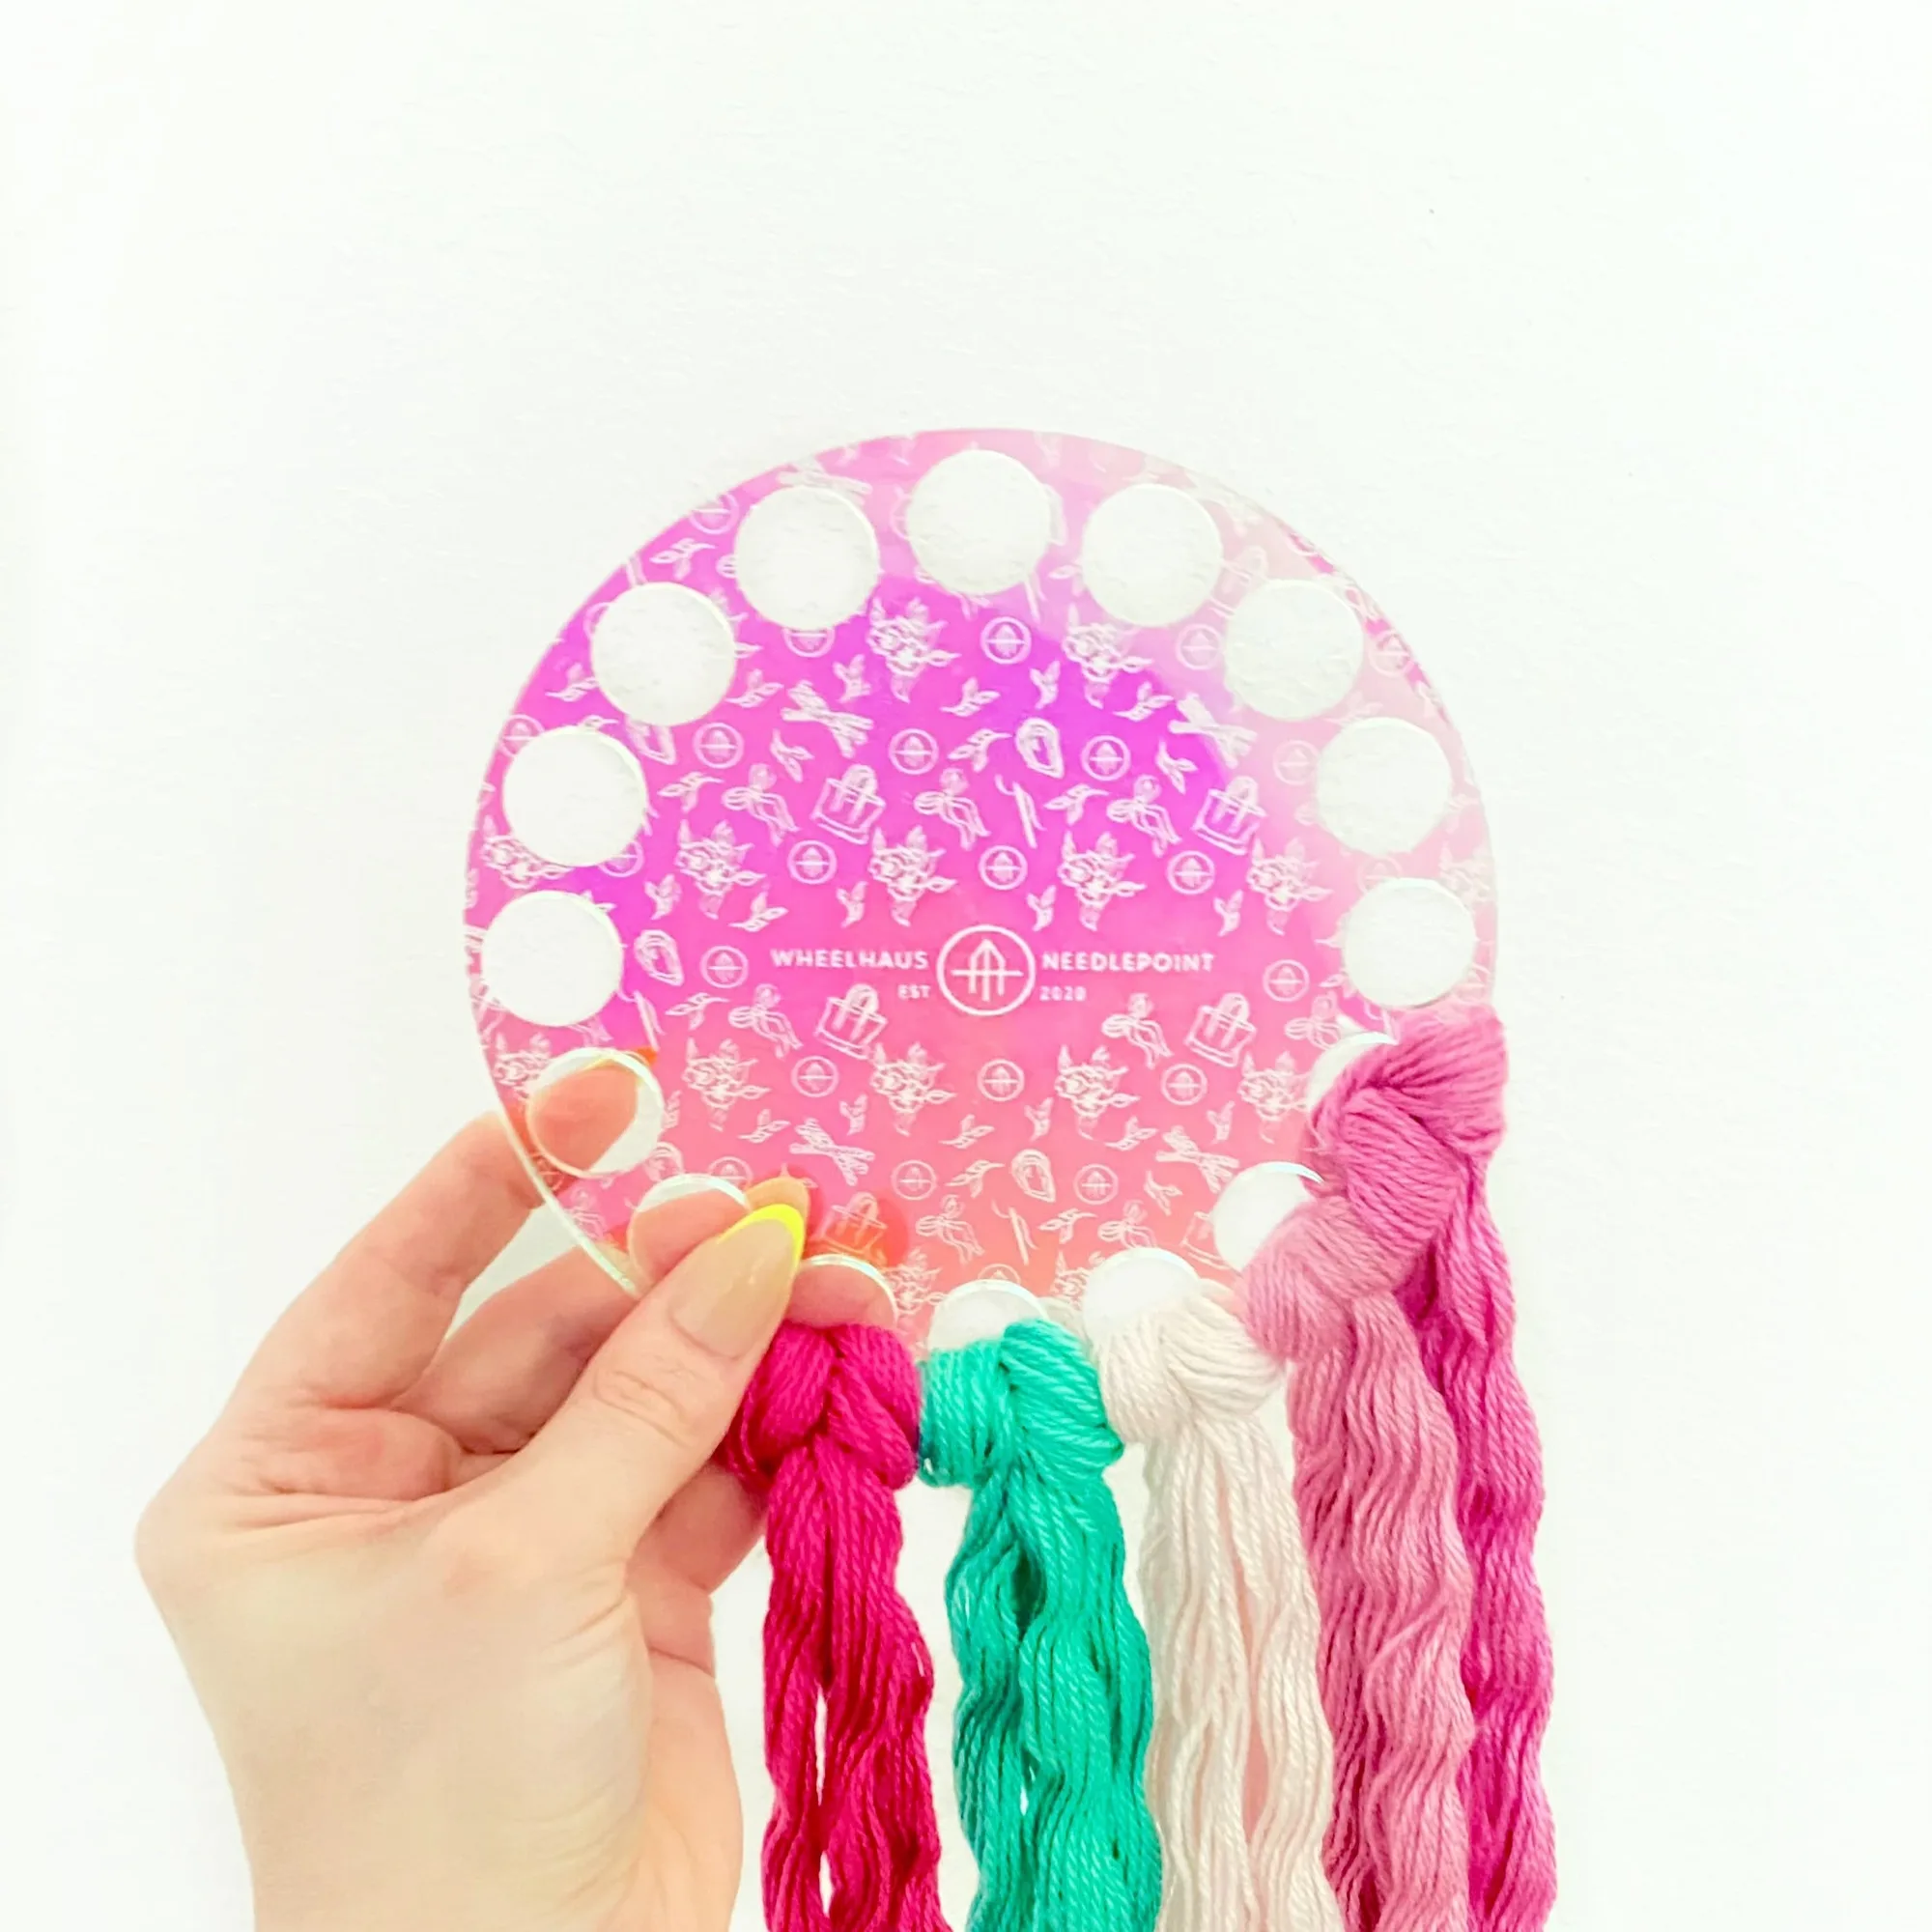
- Our Story Print Holographic Acrylic Fiber Organizer: Made of durable, non-snagging holographic acrylic with 16 larger holes designed to hold even bulky fibers, and built to keep full skeins rather than half skeins. The larger holes mean you do not have to wind full skeins down before storing them, which is exactly what the sorting and loading steps above assume. The non-snagging surface also matters if you pull thread in and out often.
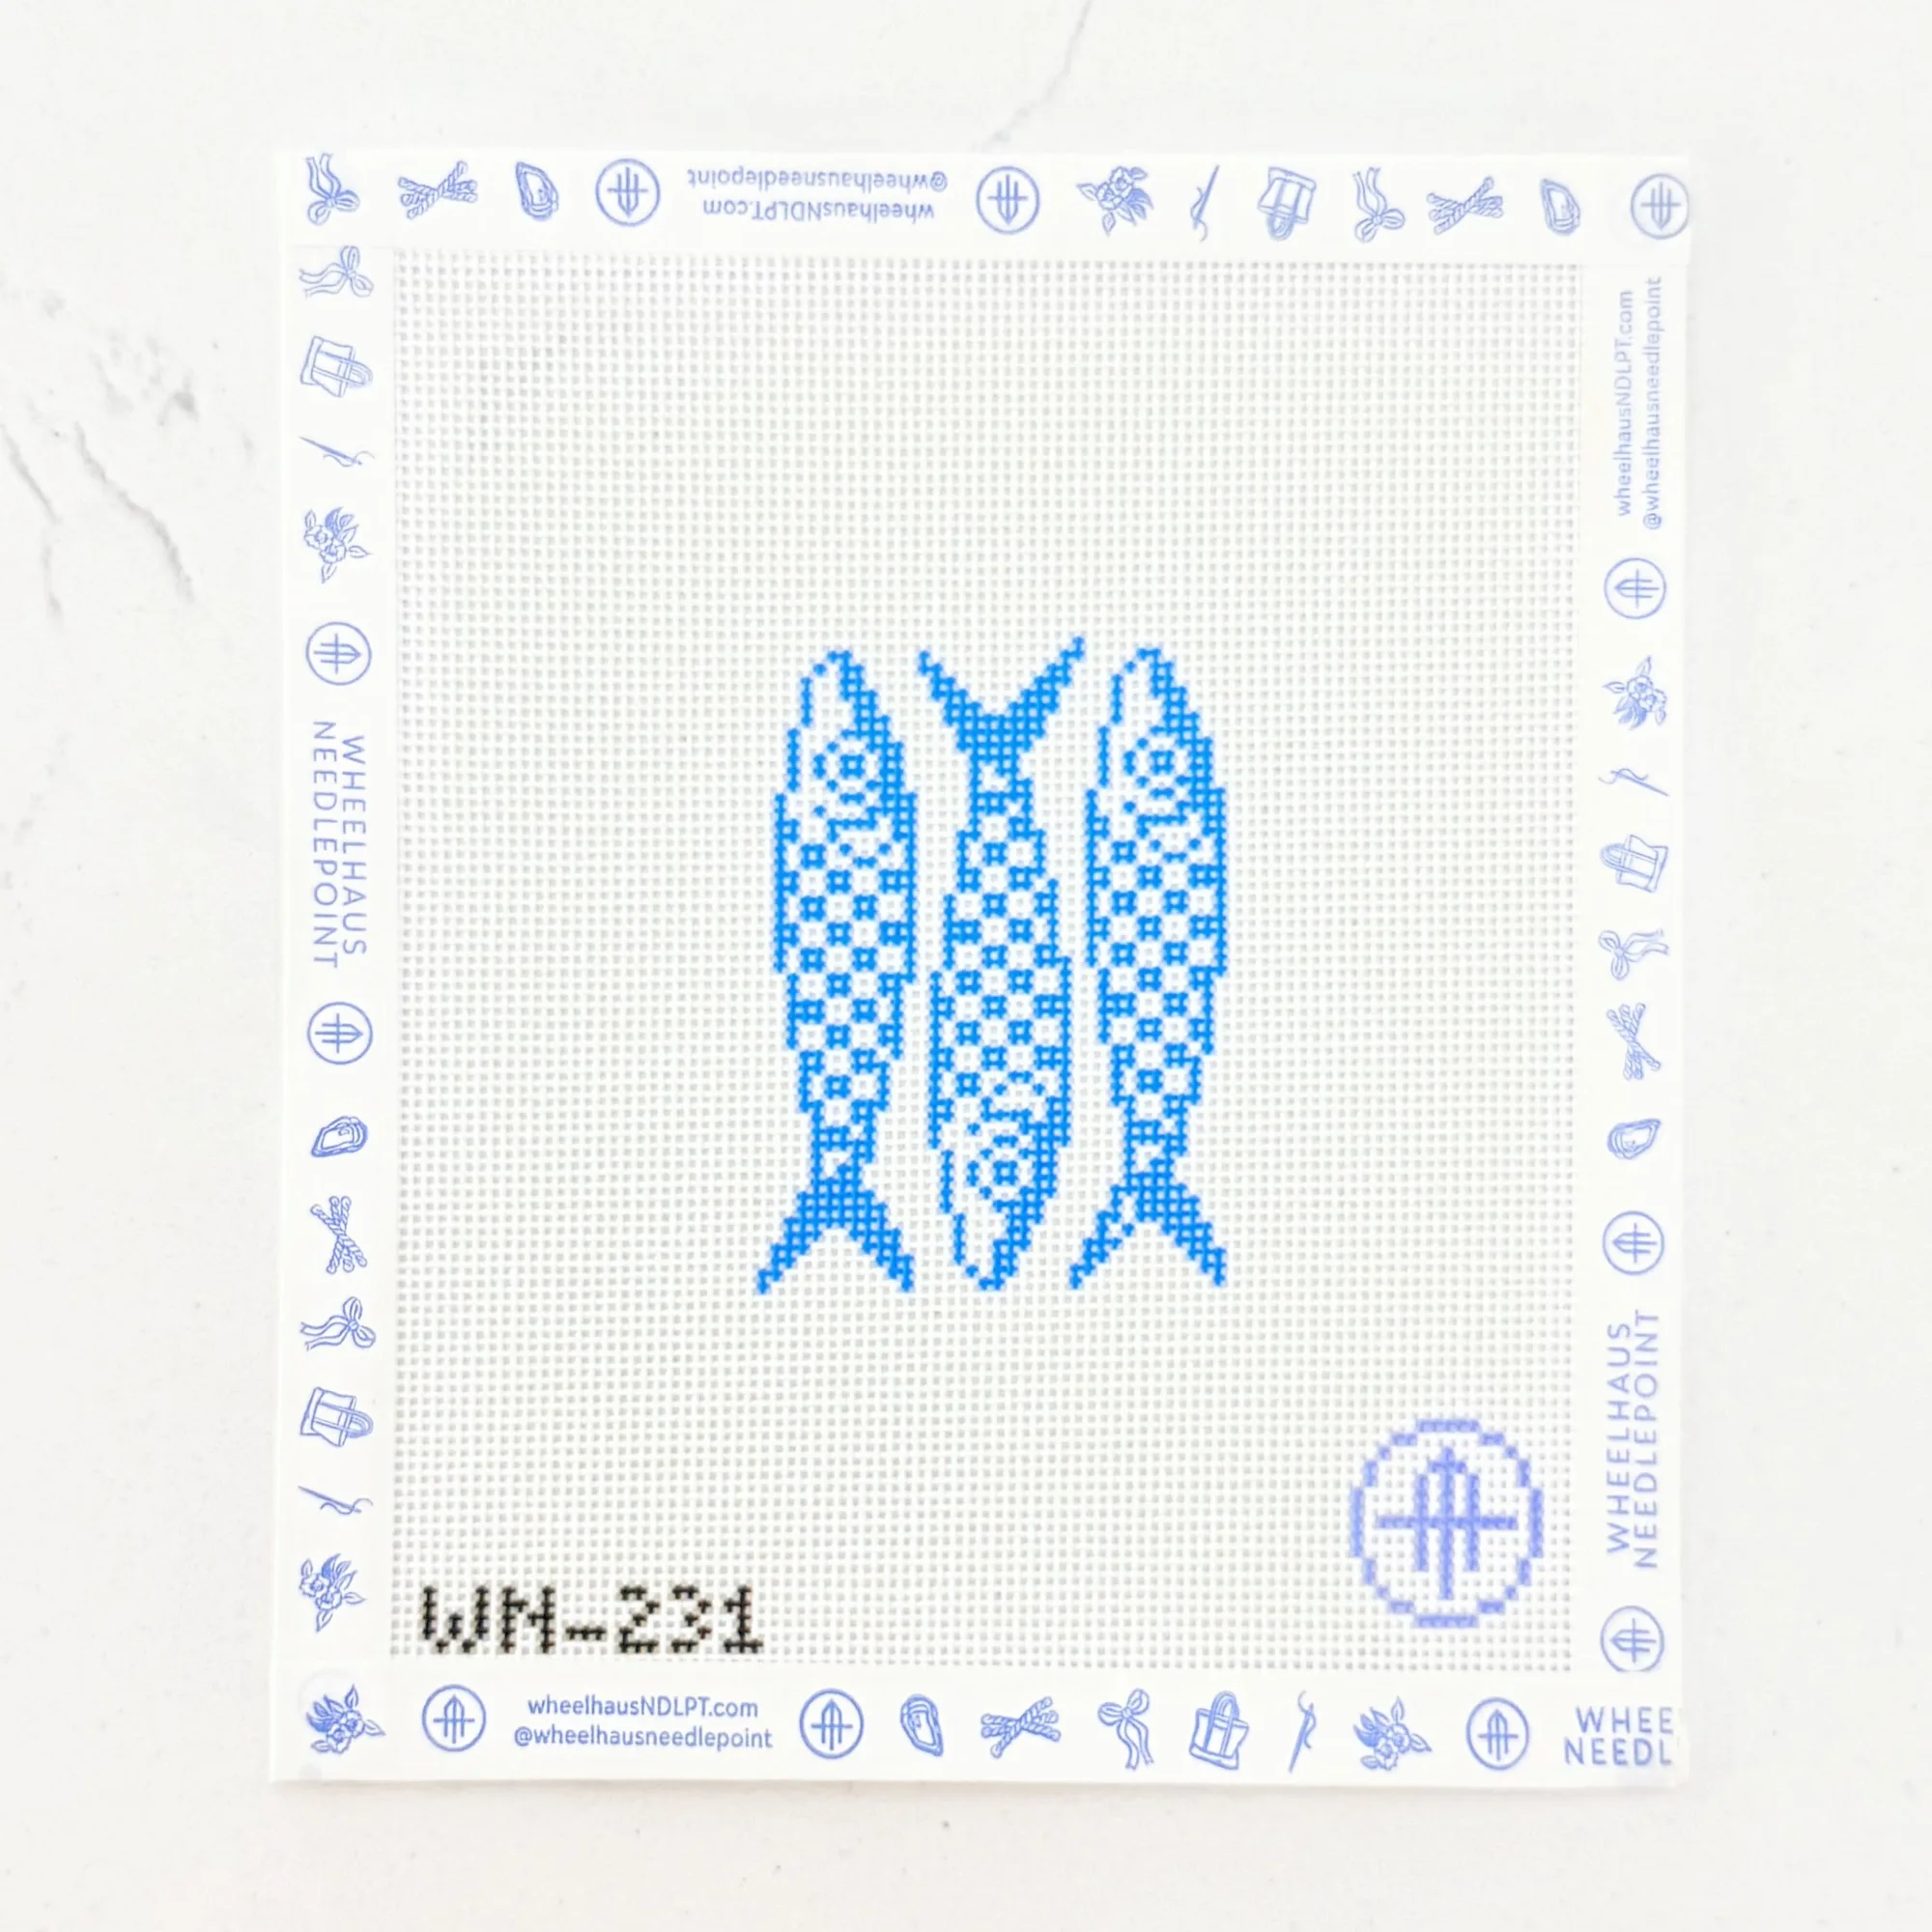
- Euro Summer Mini - Checkered Sardines: An 18 mesh, stitch-painted mini canvas measuring 2.5 x 3, supplied with one of seven stitch pamphlets, a WIP project card, and a reusable PVC protective project baggy. Canvas does not come finished or stitched, and threads are not included. A small canvas like this is a good first project for testing your organizer layout, since it uses a limited thread range and comes with its own project card and baggy for keeping the work-in-progress contained.
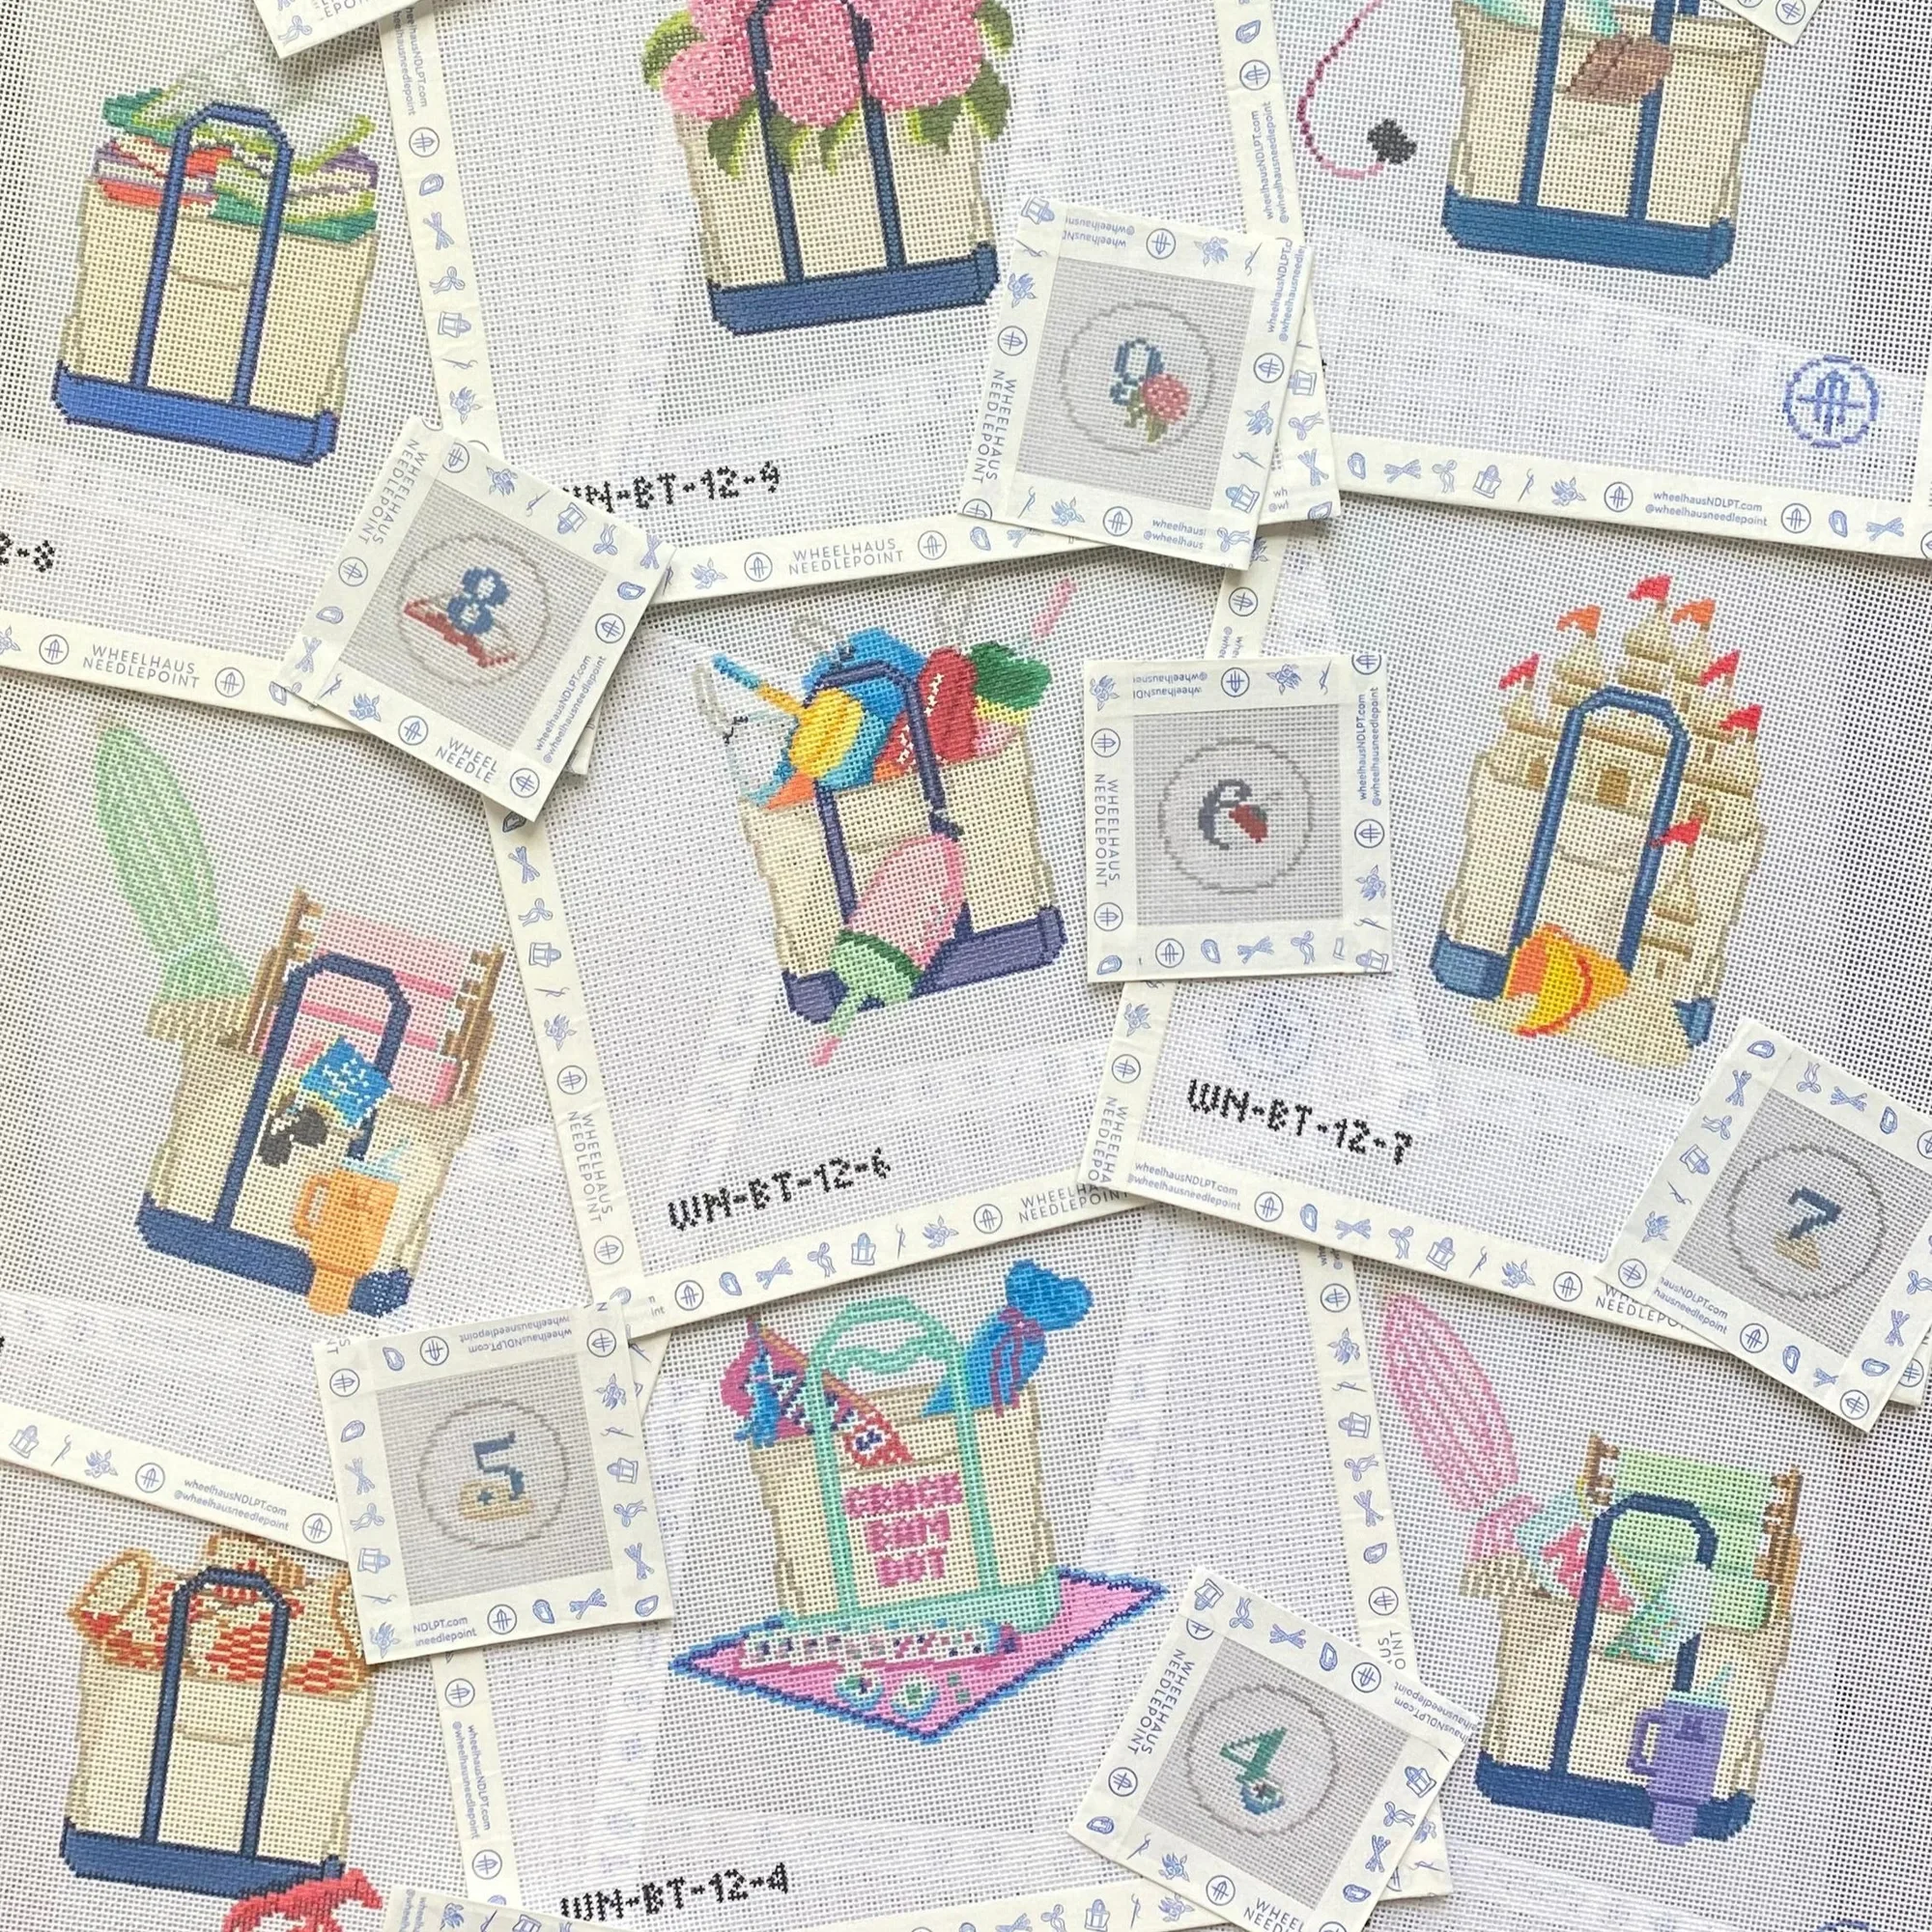
- 12 Days of Tote Series: An 18 mesh, stitch-painted series with 12 number tags designed for the days, and a how-to-buy structure where you pick which design is your Day 1 and Day 5. Threads are not included unless purchased. The included number tags are a ready-made labeling system, which pairs naturally with labeling organizers by project rather than by color alone.
Sort first, keep full skeins whole, label by project, and reset after each finish. Do those four things and an acrylic fiber organizer stops being a container and starts being a system you actually maintain.