Quick answer
Organize negatives and slides by first sorting them chronologically or by project, then placing each strip or slide into archival-safe storage pages, and finally filing the pages in a binder or box in a cool, dry environment.
Why use dedicated storage pages
Negatives and slides are sensitive to dust, scratches, and chemical damage from poor materials. Regular paper or plastic sleeves may contain acids or PVC that can cause fading or sticking over time. Archival-grade pages, like those from Kenro, are made from acid-free polypropylene or acetate to prevent these issues.
A common mistake is using pages that are too tight or too loose. Pages designed for specific film formats (e.g., 35mm strips or medium format) ensure a snug fit that reduces movement and creasing.
Choosing between clear and paper-backed pages
Clear faced pages let you view the negative or slide without removing it, which is convenient for quick scans. However, they offer less protection against light exposure over time. Paper-backed pages provide a matte back that blocks light and reduces glare, but you must remove the negative to see it clearly.
For long-term archival storage, paper-backed pages are often preferred because they minimize light exposure. For active use or display, clear pages are more practical.
Step-by-step organization process
- 1. Sort your negatives and slides: Group them by date, project, or subject. Use a clean, flat surface and handle film by the edges to avoid fingerprints. A common mistake is mixing formats (e.g., 35mm and 120) in the same binder, which makes later retrieval confusing. Label each group with a temporary sticky note before moving to the next step.
- 2. Select the right storage pages: Choose pages that match your film type: 35mm strips, medium format, or slides. Kenro offers Negative File Pages in different sizes and materials. Ensure the pages are archival-safe—acid-free and PVC-free. A common mistake is reusing old pages that may have yellowed or become brittle. Check the page material: acetate for clarity, paper for light protection.
- 3. Insert each strip or slide carefully: Slide the film into the pocket from the top or side, depending on the page design. Avoid forcing it; if it sticks, the page may be too small. For slides, insert them face-up so the image is visible. A common mistake is overfilling a page, which can bend the film. Leave a little space at the top of each pocket to allow for expansion.
- 4. Label each page: Use a soft pencil or archival marker on the page’s label area—never write directly on the film. Include the date range, subject, and any notes. A common mistake is using permanent markers that can bleed through or damage the page over time. Test the marker on a scrap page first to ensure it doesn’t smudge.
- 5. File pages in a binder or box: Place filled pages in a three-ring binder or archival storage box. Store the binder upright on a shelf away from direct sunlight, heat, and humidity. A common mistake is stacking binders flat, which can put pressure on the pages and cause curling. Ideal storage conditions: 65-70°F (18-21°C) and 30-40% relative humidity.
Products that make it easier
-
White Photo Storage Pages for 4 Photos 6x4" (Pack of 10): White Photo Storage Pages hold eight 6x4” prints per sheet, four on each side, made from archival-grade 3-ply polypropylene with a white center layer. These pages are ideal for storing prints alongside negatives, keeping your entire photo collection in one binder without mixing materials.
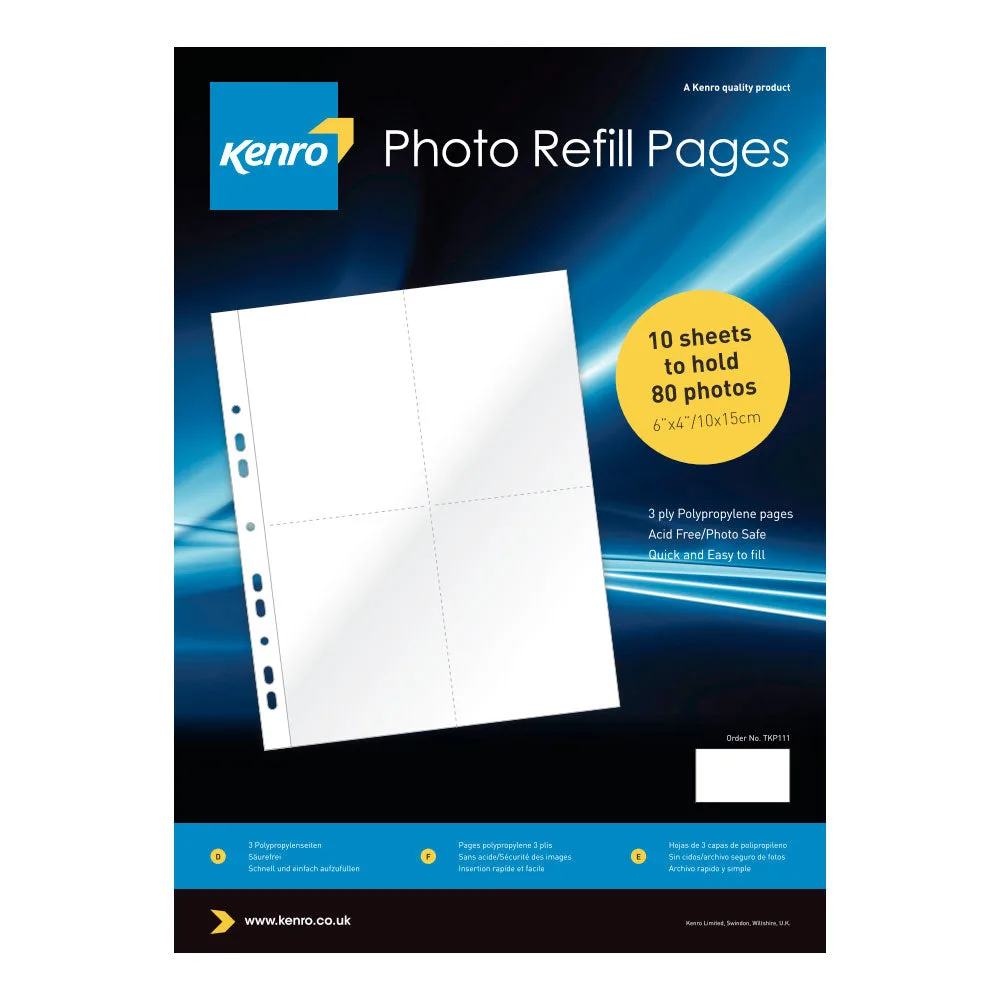
White Photo Storage Pages for 4 Photos 6x4" (Pack of 10)
-
Negative File Pages: Negative File Pages are available in transparent acetate or translucent paper, both acid-free and archival-safe, with side-loading strips for full-frame negatives. Side-loading strips prevent negatives from falling out and reduce handling, which minimizes fingerprints and scratches during storage.
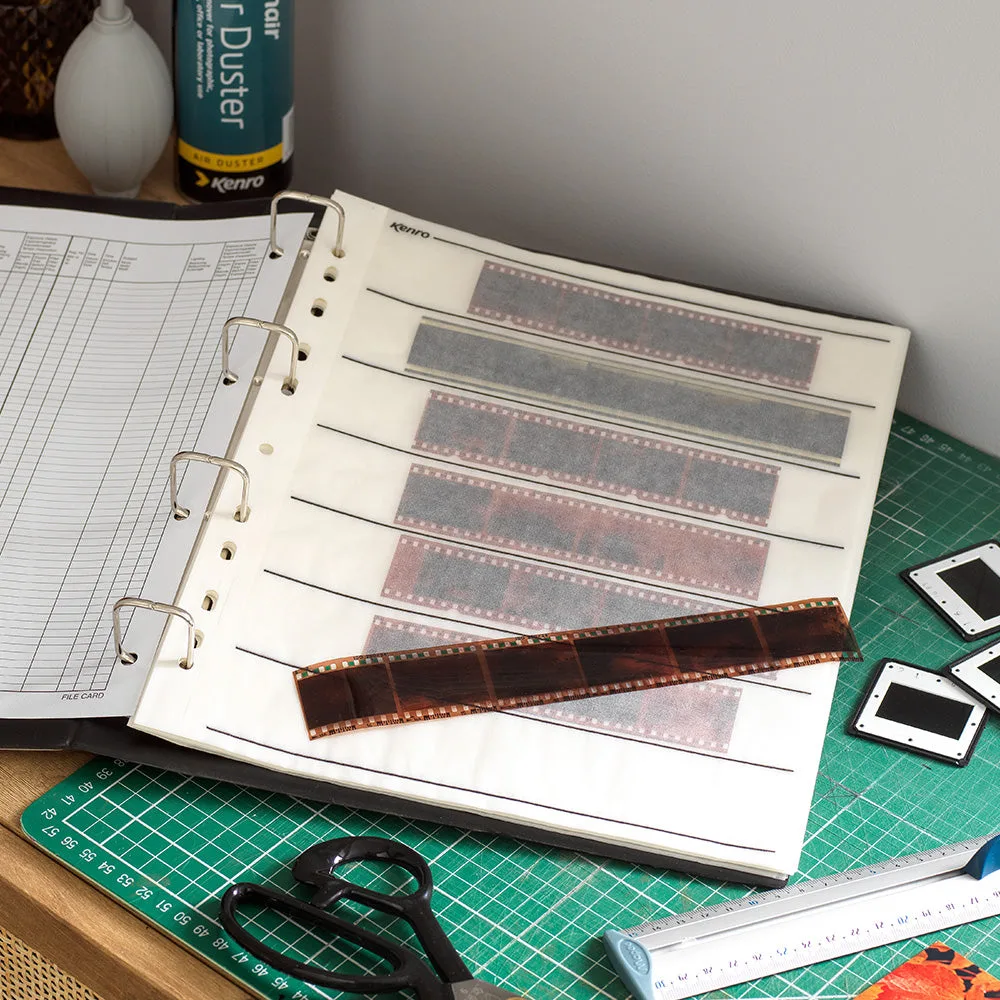
Negative File Pages
-
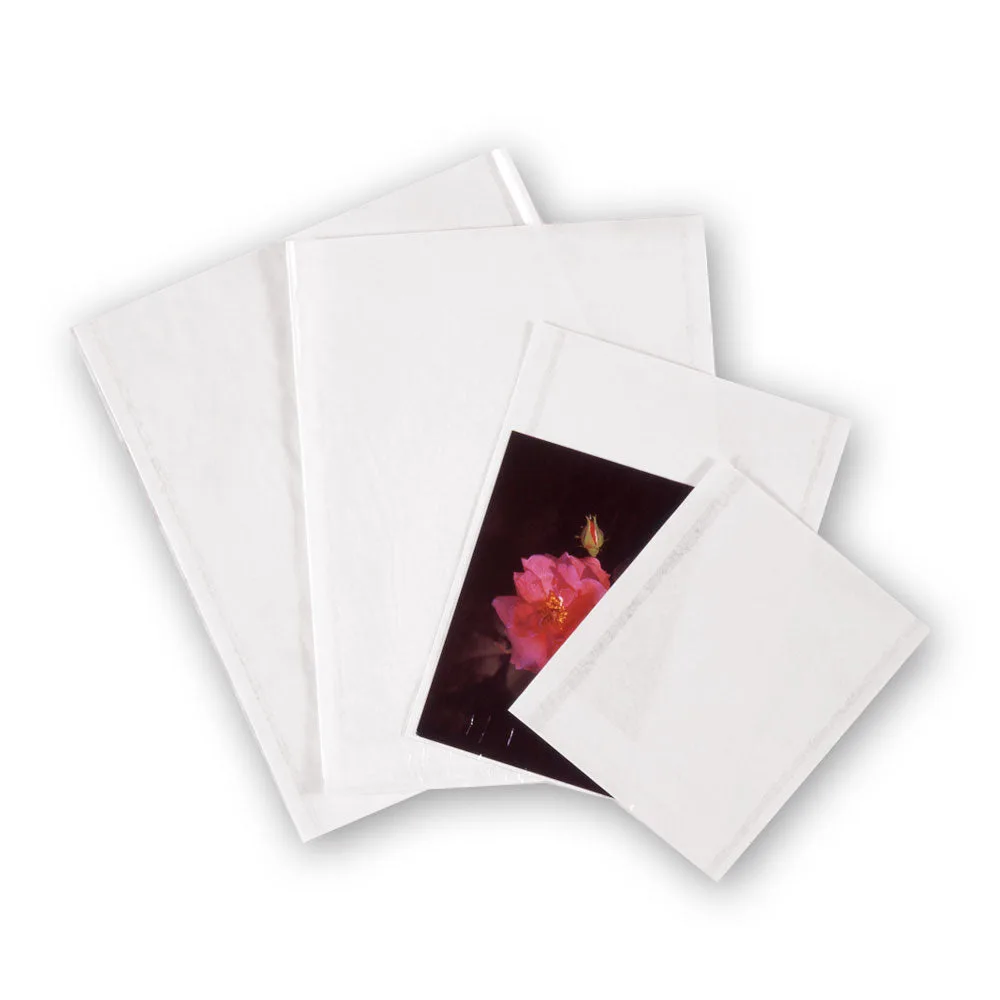
Clear Faced Bags: Clear Faced Bags have a crystal-clear front and translucent paper back, protecting prints and negatives from scratches and dust while allowing quick identification. They are a versatile option for storing individual negatives or small prints, especially when you need to label or sort items without opening each sleeve.