Quick answer
Use the Kreg Woodworking Kit – Sports Equipment Storage to build a sturdy, custom rack that keeps bats, balls, helmets, and more off the floor and easy to grab.
Why this kit works for sports gear
The kit comes with pre-cut ¾" plywood pieces and detailed instructions, so you skip the measuring and cutting. Pocket-hole joints, made with your own pocket-hole jig, give the rack rock-solid strength—important when it holds heavy gear like hockey sticks or skateboards.
Because the wood is pre-cut, assembly time is shorter than starting from scratch. The trade-off is that the design is fixed; you cannot change the shelf spacing or overall dimensions after the pieces arrive.
Step-by-step assembly guide
- 1. Prepare your workspace and tools: Clear a flat area large enough to lay out the pre-cut plywood pieces. Gather your pocket-hole jig, drill, clamps, and the included hardware. Check that all pieces match the parts list in the instructions. A common mistake is starting without verifying all pieces are present—this can halt assembly mid-step.
- 2. Assemble the side frames: Using your pocket-hole jig, drill pocket holes into the side pieces as indicated in the manual. Apply glue to the joints, then clamp and drive screws to connect the vertical supports to the horizontal rails. Ensure the frame is square before moving on. Skipping the glue can weaken the joints over time, especially with heavy gear.
- 3. Attach the shelves and back panel: Position the shelves at the marked heights and secure them with pocket-hole screws. Then attach the back panel using the provided fasteners; this adds rigidity and prevents the rack from racking. If the back panel isn't flush, the rack may wobble—check alignment before driving all screws.
- 4. Mount the rack to the wall (optional but recommended): Use the pre-drilled holes or add your own wall brackets to secure the rack to studs. This step is critical if the rack will hold heavy items like baseball bats or lacrosse sticks, as the rack can tip forward when loaded. Never rely on drywall anchors alone for heavy gear—always anchor into studs for safety.
- 5. Organize your gear and enjoy: Once the rack is mounted, arrange sports equipment by frequency of use. Place frequently used items at eye level and heavier items on lower shelves. Use hooks or bins for smaller accessories like balls or gloves. Overloading one shelf can cause sagging—distribute weight evenly across the rack.
Product details
-
Woodworking Kit - Sports Equipment Storage: Premium kit includes pre-cut plywood pieces for sports storage with detailed assembly instructions. You don't need to measure or cut wood, which reduces errors and saves time, making this project accessible even if you're new to woodworking.
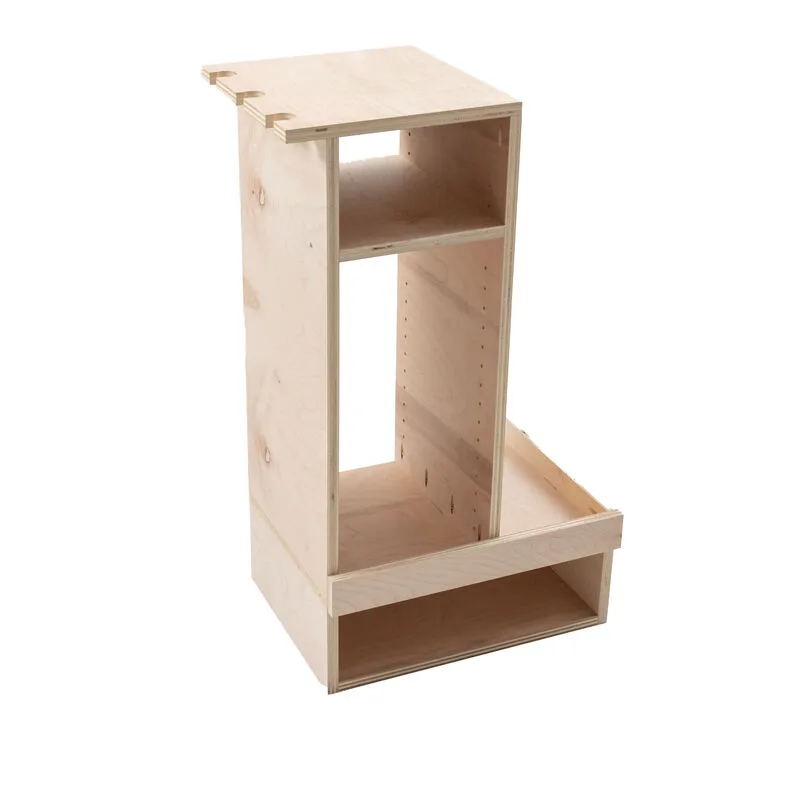
Woodworking Kit - Sports Equipment Storage