Quick answer
Pack a 3L bucket bag by laying a flat base first, standing tall items upright around the wall, and keeping the center open for quick-grab items. Limit yourself to one flat pouch, one upright bottle, and two loose essentials. If it does not close without force, remove the bulkiest item rather than rearranging everything.
A 3L bucket bag is small enough to carry all day but large enough to become a black hole if you pack it without a plan. The trick is to treat the round shape as an advantage: a flat base, upright walls, and an open center.
This guide walks through an ordered packing process you can repeat in under two minutes. Each step includes a checkpoint so you can catch the most common mistake before it makes the bag uncomfortable or hard to use.
Start with a flat, stable base
Before anything goes in, open the bag and press the bottom flat. A bucket bag stands or slumps based on its base, so a flat base keeps the bag from tipping when you set it down. Place your largest flat item, such as a slim notebook, folded tote, or flat pouch, directly on the bottom. This creates a floor for everything else and stops small items from sliding into corners.
The common mistake here is dropping loose keys, coins, or lip balm in first. They migrate under the flat items and become hard to find. If you carry small loose items, corral them in a pouch before they go in.
- Checkpoint: the bag should sit upright on its own before you add the next layer.
Stand tall items around the wall
Place upright items, such as a water bottle, umbrella, or sunglasses case, against the inside wall rather than in the center. The wall supports them, and the center stays open for your hand. If your bag has a water bottle pocket, use it first; that frees interior space and keeps the bottle from tipping onto your phone.
A common mistake is putting a tall bottle in the middle. It rolls, pushes other items around, and forces you to dig past it every time. Keep the tallest item against the wall and slightly off-center so the bag still folds naturally.
- Checkpoint: shake the bag gently. Tall items should stay upright, not fall across the opening.
Keep the center open for quick-grab items
The center of a bucket bag is prime real estate. Put your phone, transit card, or keys in a small pouch or slip pocket that sits in the middle, on top of the flat base. This is the area your hand reaches first, so it should hold only what you need most often. Everything else is secondary.
The mistake is filling the center with soft, bulky items like a scarf or extra layer. They expand, block your hand, and turn a quick grab into a full unpack. If you need a layer, fold it flat and lay it against the wall instead.
- Checkpoint: you should be able to touch your phone or keys without removing anything else.
Add one soft layer only if it lies flat
A light layer, such as a long-sleeve waffle tee or thin fleece, can go in a 3L bag if it is folded flat and placed against the wall. Roll or fold it to roughly the width of the bag so it does not bunch. Soft items are best used as padding around hard items, not as a top layer you have to dig through.
The common mistake is stuffing a bulky jacket into a small bag. If the layer does not fold to about the size of a paperback, it does not belong in a 3L bucket bag. Wear it or carry it separately.
- Checkpoint: the bag should still close without stretching the fabric or straining the closure.
Close, test, and adjust once
Close the bag and carry it for a minute. Check that the strap sits comfortably, the base stays flat, and nothing pokes you. If the bag feels heavy on one side, move the heaviest item to the center-bottom. If it will not close, remove the least-used item instead of reshuffling everything.
The mistake is adjusting repeatedly without removing anything. A 3L bag has a hard limit. One removal usually solves the problem faster than three rearrangements.
- Checkpoint: if you had to force the closure, the bag is overpacked.
The 3L bucket bag packing sequence
- Flatten the base: Press the bottom flat and lay your largest flat item, such as a slim notebook or flat pouch, on the bottom. Checkpoint: the bag stands upright on its own.
- Wall the tall items: Stand your water bottle, umbrella, or sunglasses case against the inside wall, not in the center. Checkpoint: a gentle shake does not knock them over.
- Protect the center: Put your phone, keys, or transit card in a small pouch in the middle, on top of the flat base. Checkpoint: you can reach them without unpacking.
- Add one flat layer: Fold a light layer flat against the wall only if it folds to about paperback size. Checkpoint: the bag still closes without force.
- Close and carry: Close the bag, carry it for a minute, and move the heaviest item to the center-bottom if it feels lopsided. If it will not close, remove one item instead of rearranging.
Small bags that fit this packing method
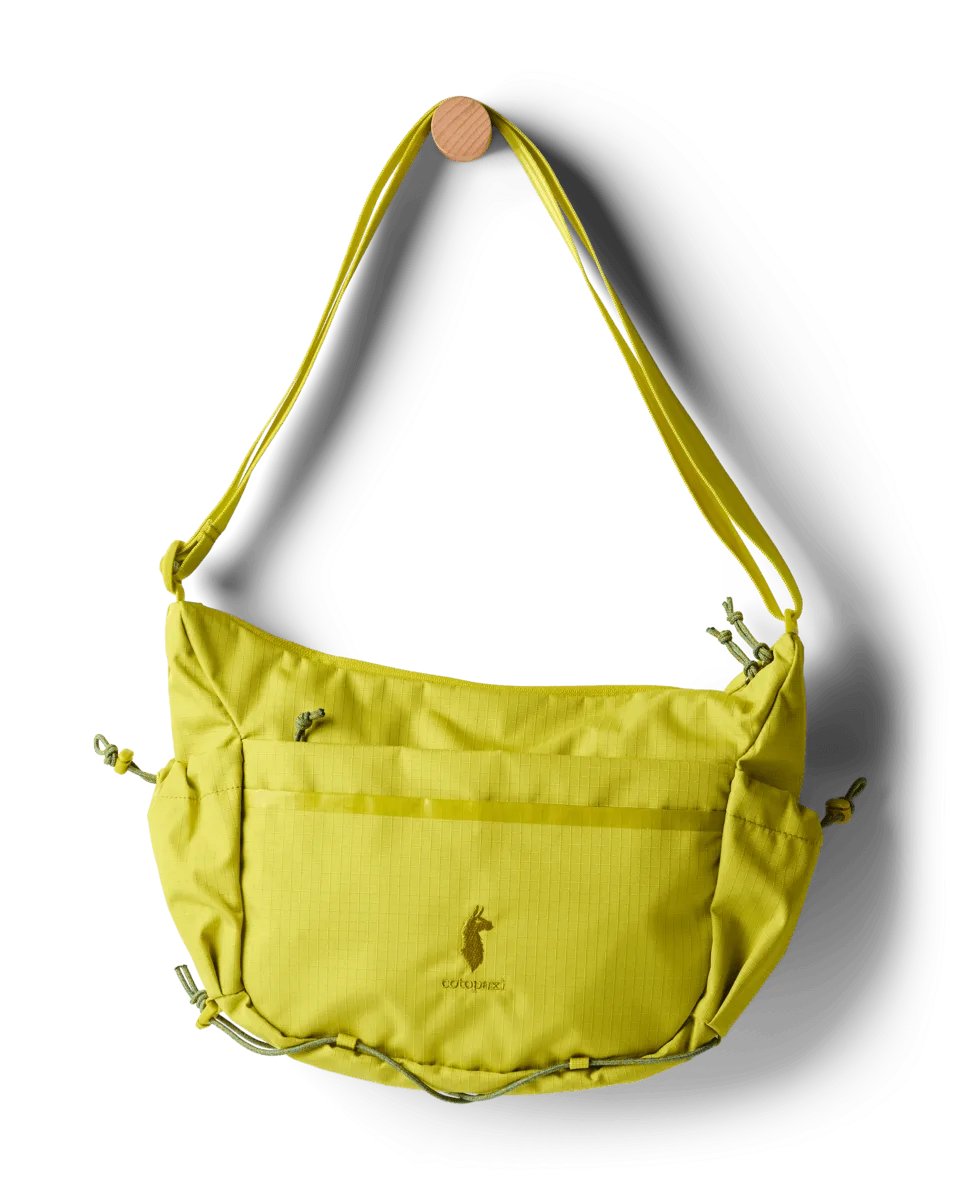
- Viaje 9L Shoulder Bag: It has water bottle pockets, a bungee on the bottom for extra layers, an internal divider, and organizer pockets for a phone, film camera, and a snack. If your daily essentials have outgrown a 3L bucket bag, this layout gives you dedicated spots for the same items plus a layer, so you are not digging through one open compartment.
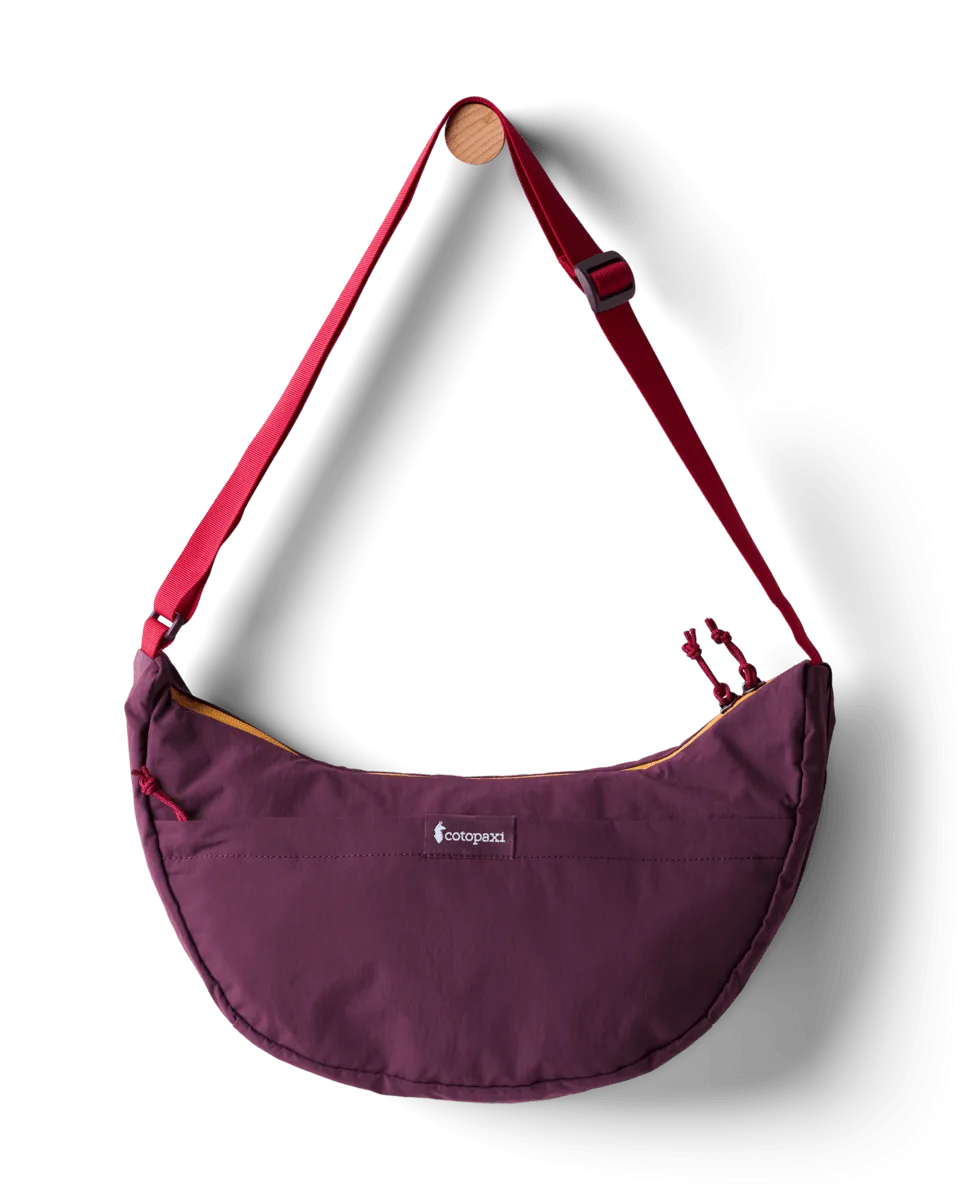
- Empacable 6L Crescent Bag: It is a 6L crescent-shaped bag available in multiple colors. The crescent shape hugs the body and sits between a 3L bucket bag and a larger shoulder bag, which works well if you want a little more room without a full-size pack.
A 3L bucket bag works best when you pack it in layers: flat base, upright walls, open center, and one soft layer at most. Run the sequence once, remove anything that does not fit without force, and you have a daily essentials bag that stays organized all day.