Quick answer
Pack your heaviest, least wrinkle-prone items flat on the bottom, then stack packing cubes upright like books, place shoes in the side compartments, and keep your wallet, passport, and charger in the front pocket. For a 3-day trip, that means roughly three outfits, one pair of shoes, and one toiletry kit. Weigh the packed bag before you leave; if it feels unbalanced, redistribute before you zip.
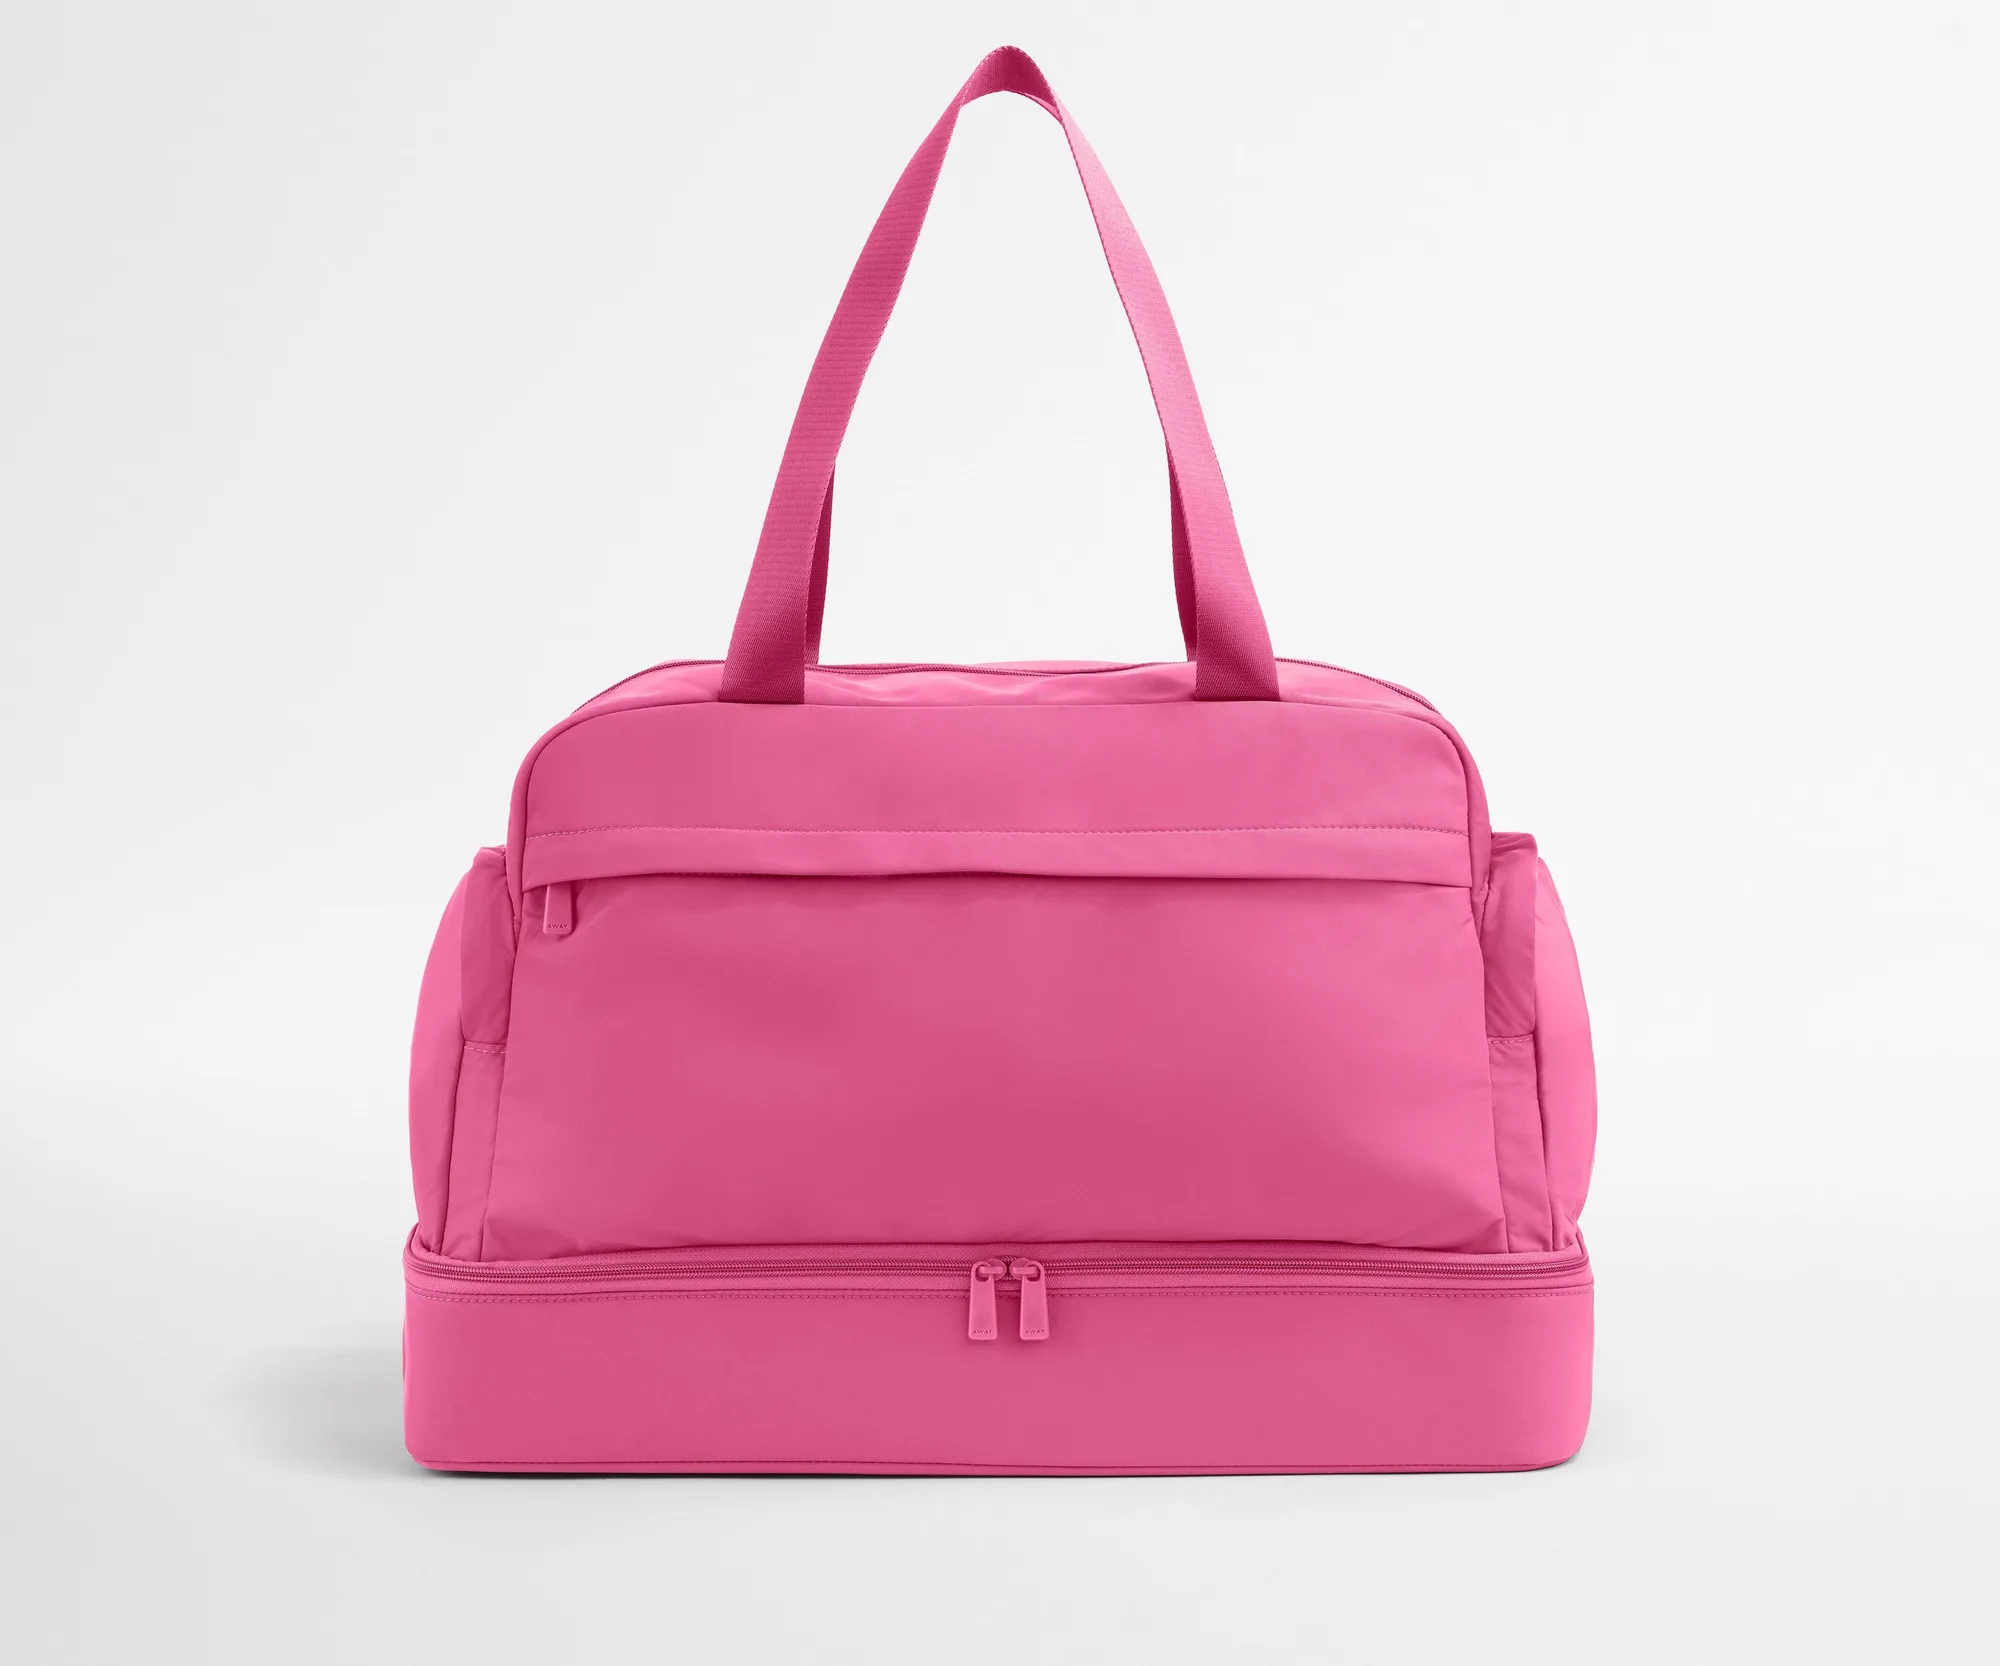
A featherlight weekender is easy to carry but unforgiving if you pack it like a suitcase. The bag's soft structure means weight shifts as you walk, so the goal isn't just fitting everything in — it's keeping the load stable and accessible. The method below works for any soft-sided duffel, including the Transit Canvas Weekender, which has a spacious main compartment, two side compartments for shoes, and a front pocket for easy-access items.
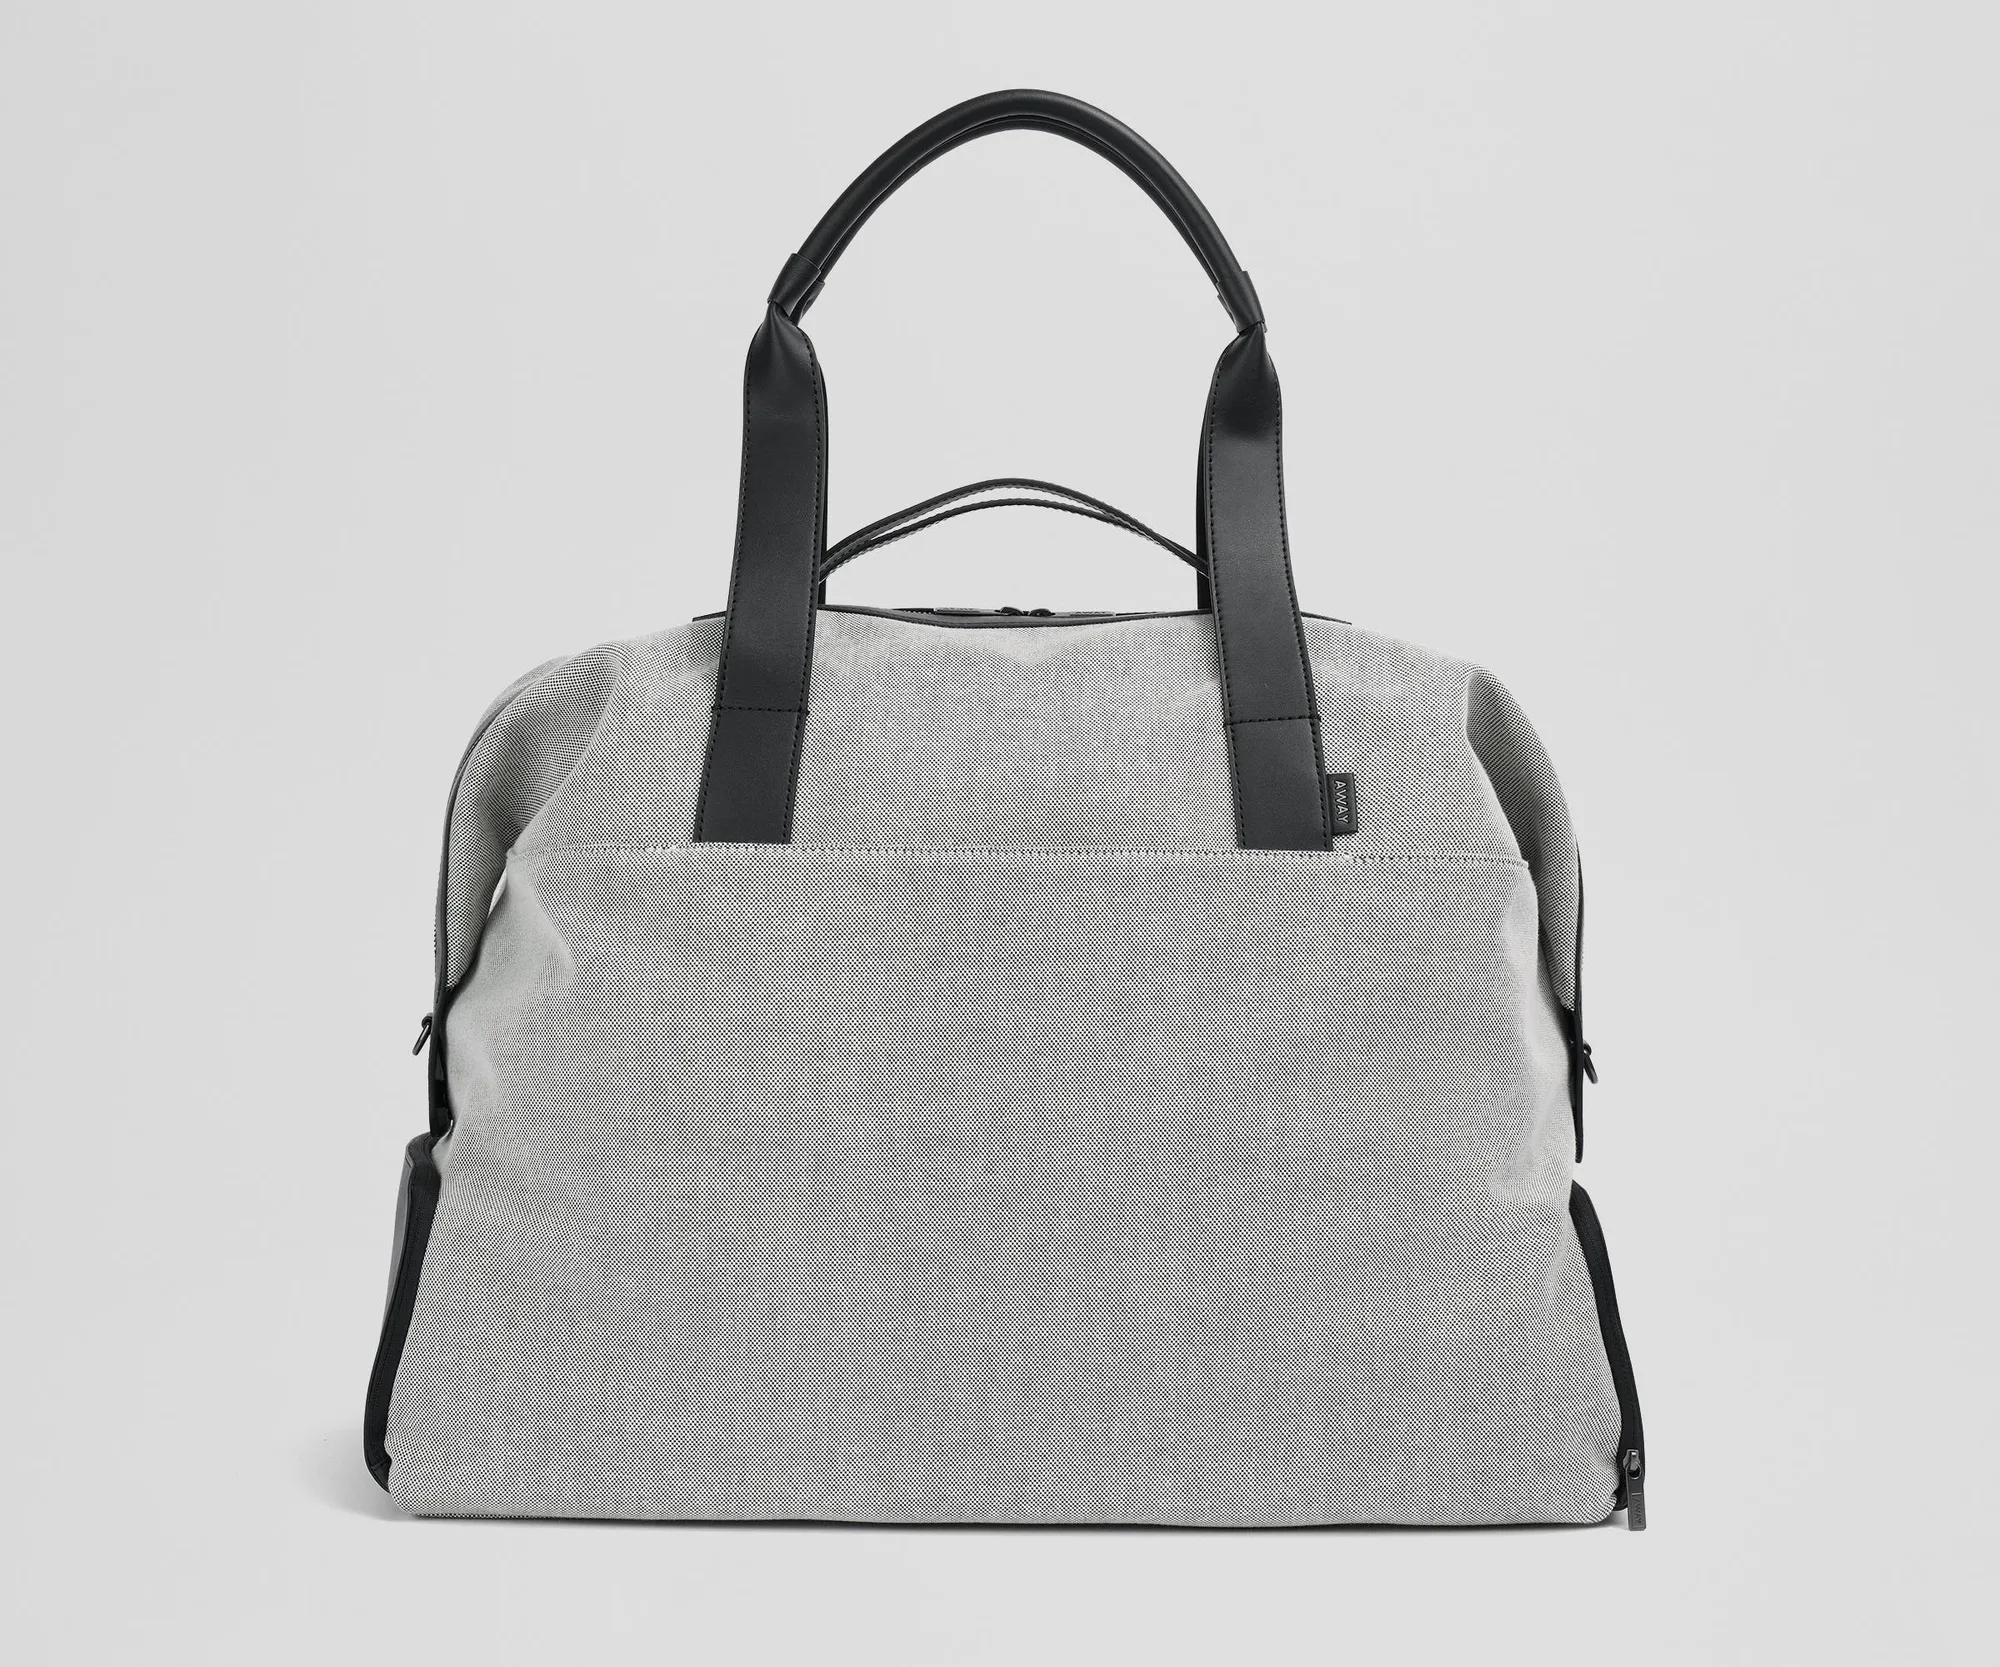
Transit Canvas Weekender
I'll walk through seven steps, from laying out your 3-day trip packing list to a final checkpoint before you leave. Each step includes the mistake I see most often, so you can avoid re-packing at the airport or digging for your passport at the gate.
Step 1: Lay out a 3-day trip packing list before you touch the bag
Start by laying everything on a bed or floor. For three days, aim for three tops, two bottoms, one layering piece, three sets of underwear and socks, one sleepwear set, and one toiletry kit. Add your laptop, charger, and any trip-specific gear. Seeing the full pile prevents the classic mistake of packing too many 'just in case' items that never leave the bag.
A common error is packing directly into the bag, which hides how much you're actually bringing. Lay everything out first, then cut one item you're unsure about. If you're using the Transit Canvas Weekender, its main compartment and dedicated laptop space give you a clear target: fill the main compartment with clothing and keep the laptop in its own slot.
- Checkpoint: If your pile covers more than half a bed, remove one bottom and one top before packing.
Step 2: Group small items into packing cubes
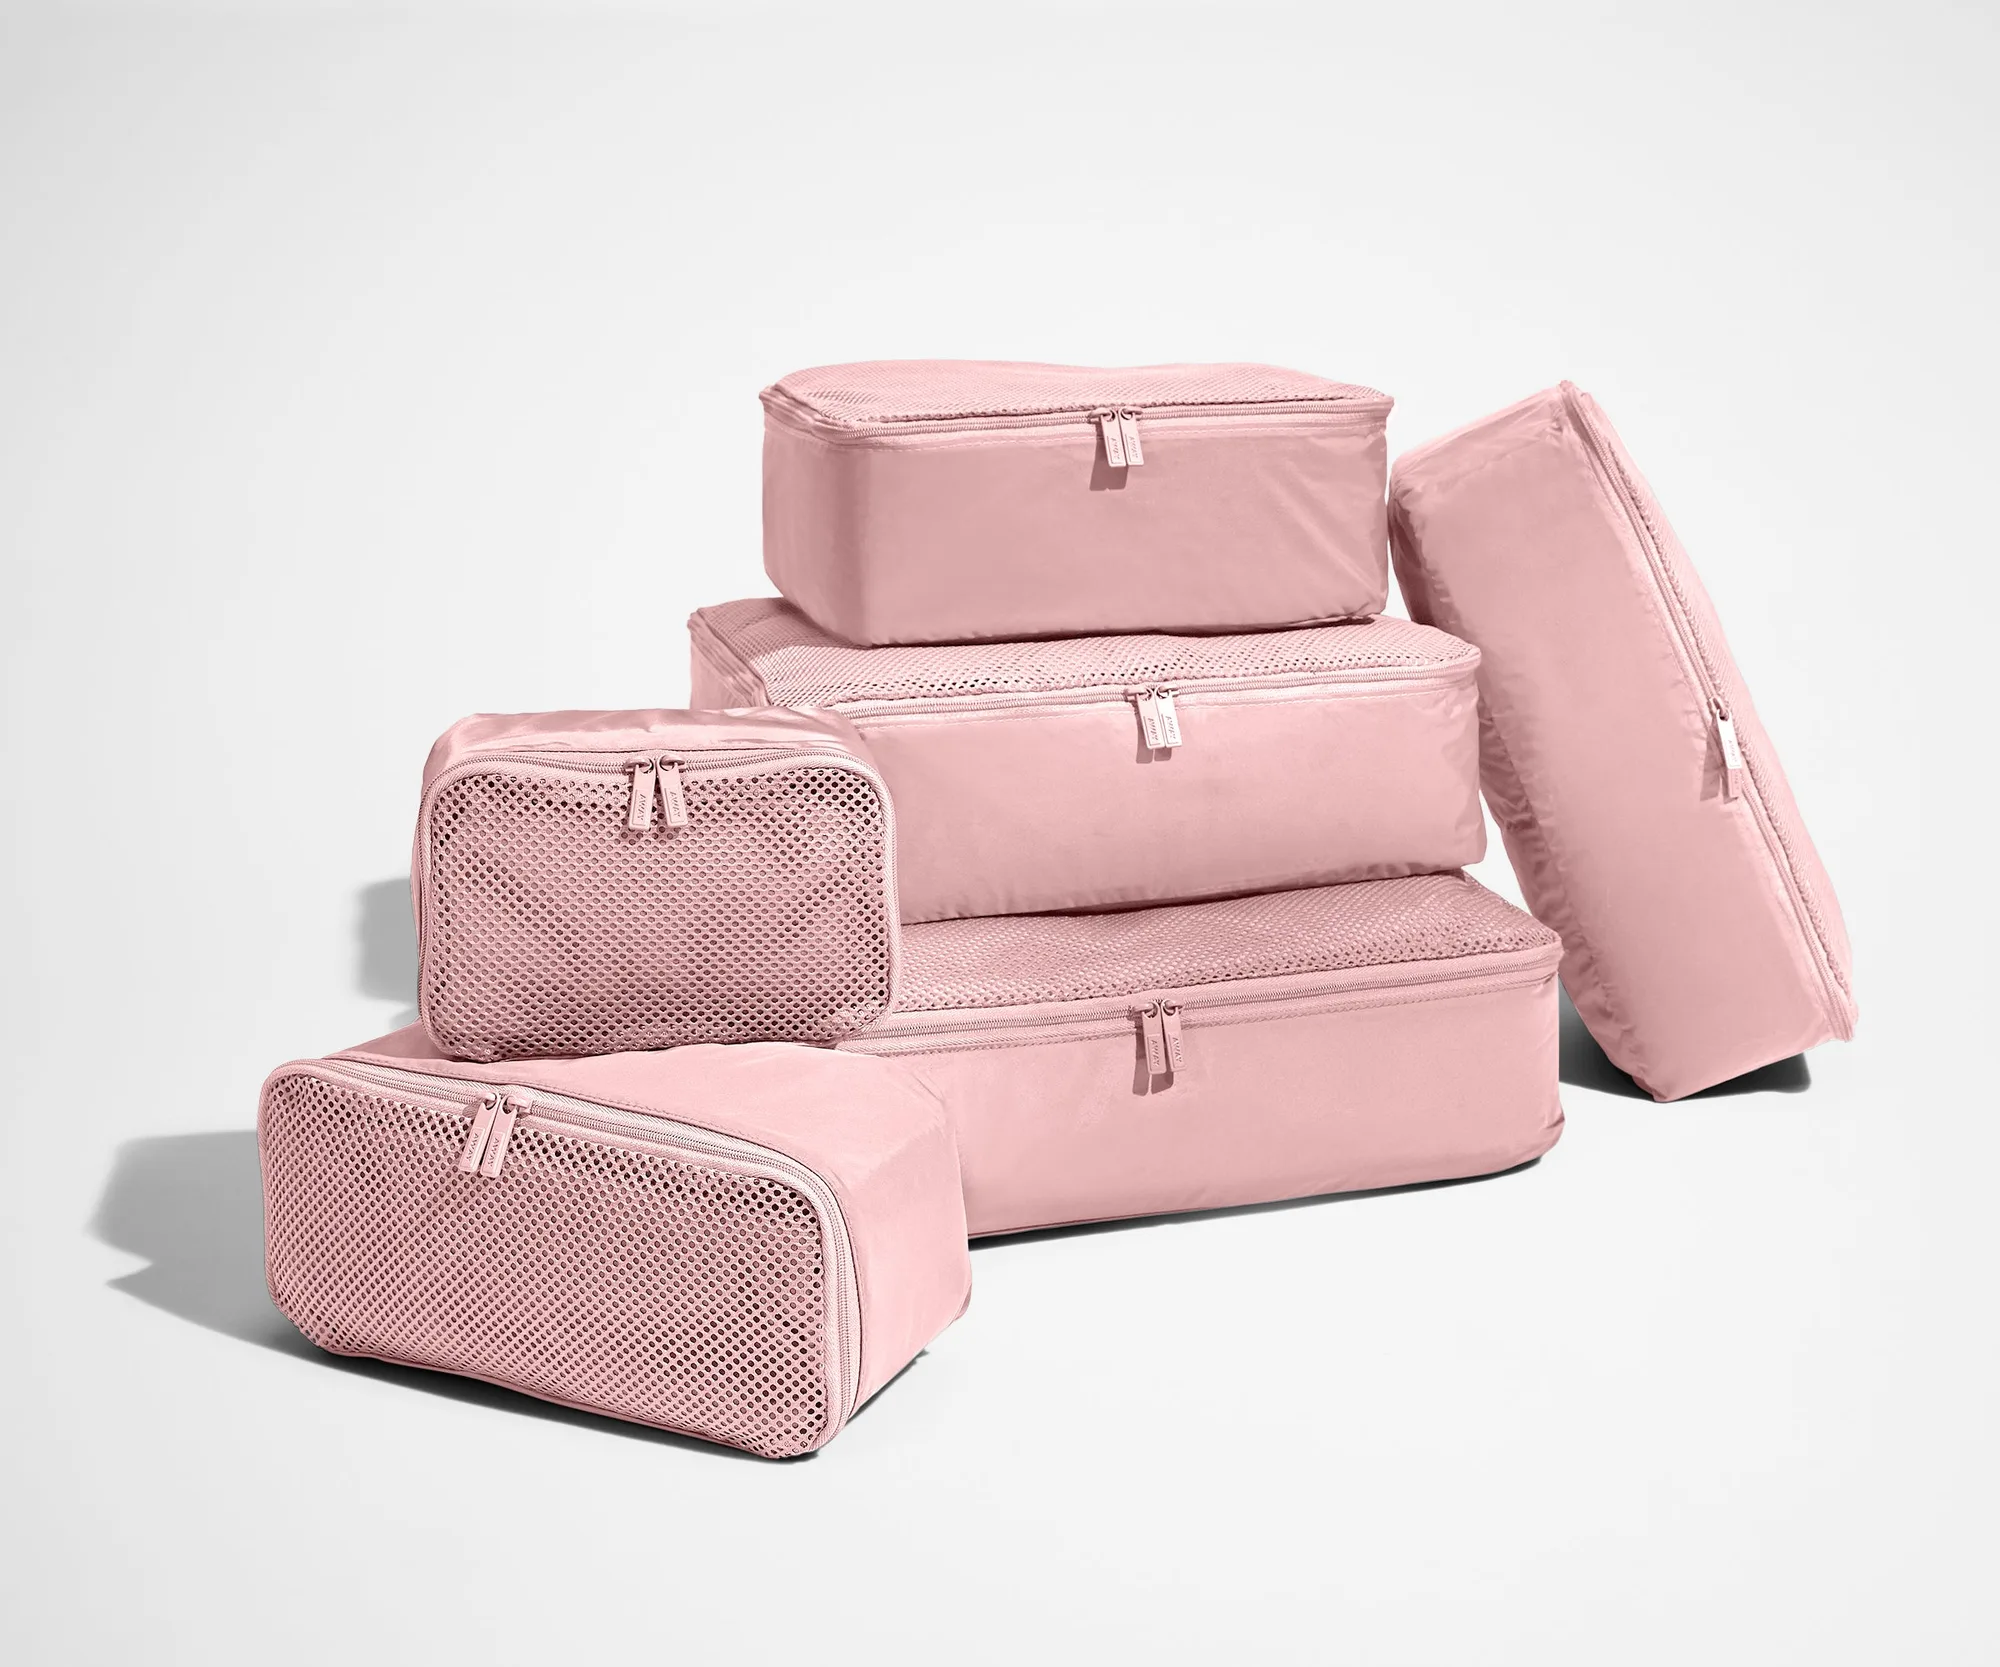
Packing cubes turn loose clothing into stable blocks that won't collapse when you set the bag down. The Insider Packing Cubes (Set of 6) includes multiple sizes, so you can assign one cube to tops, one to bottoms, and one to small accessories. Roll or fold clothes to fit the cube's shape, then compress by zipping. This is the single biggest upgrade for weekender bag packing because it keeps everything visible and contained.
The mistake here is overstuffing one cube until it bulges. A cube that's too full won't stack flat and creates a lumpy bag. Leave a little slack in each cube so it can conform to the bag's interior.
- Checkpoint: Each packed cube should sit flat on the table without rocking.
Step 3: Place the heaviest items flat on the bottom
Put your heaviest, flattest items — jeans, a sweater, or a laptop sleeve — directly on the bottom of the main compartment. This lowers the bag's center of gravity so it doesn't tip when you set it down. If you're carrying a laptop, use the dedicated laptop space if your bag has one; the Transit Canvas Weekender includes that feature, which keeps the weight centered instead of sliding around.
Avoid the common mistake of putting shoes or a toiletry kit at the bottom. They create pressure points that wrinkle clothes above them and make the bag bottom-heavy in the wrong way — concentrated instead of spread out.
- Checkpoint: Press down on the bottom layer; it should feel even, not lumpy.
Step 4: Stack packing cubes upright like books
Instead of laying cubes flat and stacking them, stand them upright side by side. This lets you see every cube's edge when you open the bag, so you can pull one out without unpacking everything. It also fills the main compartment more efficiently. For a 3-day trip, three or four upright cubes usually fill a weekender's main space.
The mistake is leaving gaps between cubes. Gaps let cubes slide and shift during travel. Fill small gaps with soft items like a scarf or an extra shirt, or use a smaller cube to wedge them in place.
- Checkpoint: Close the bag and lift it; if you hear sliding, add a filler item or tighten the cubes.
Step 5: Use side compartments for shoes and dirty items
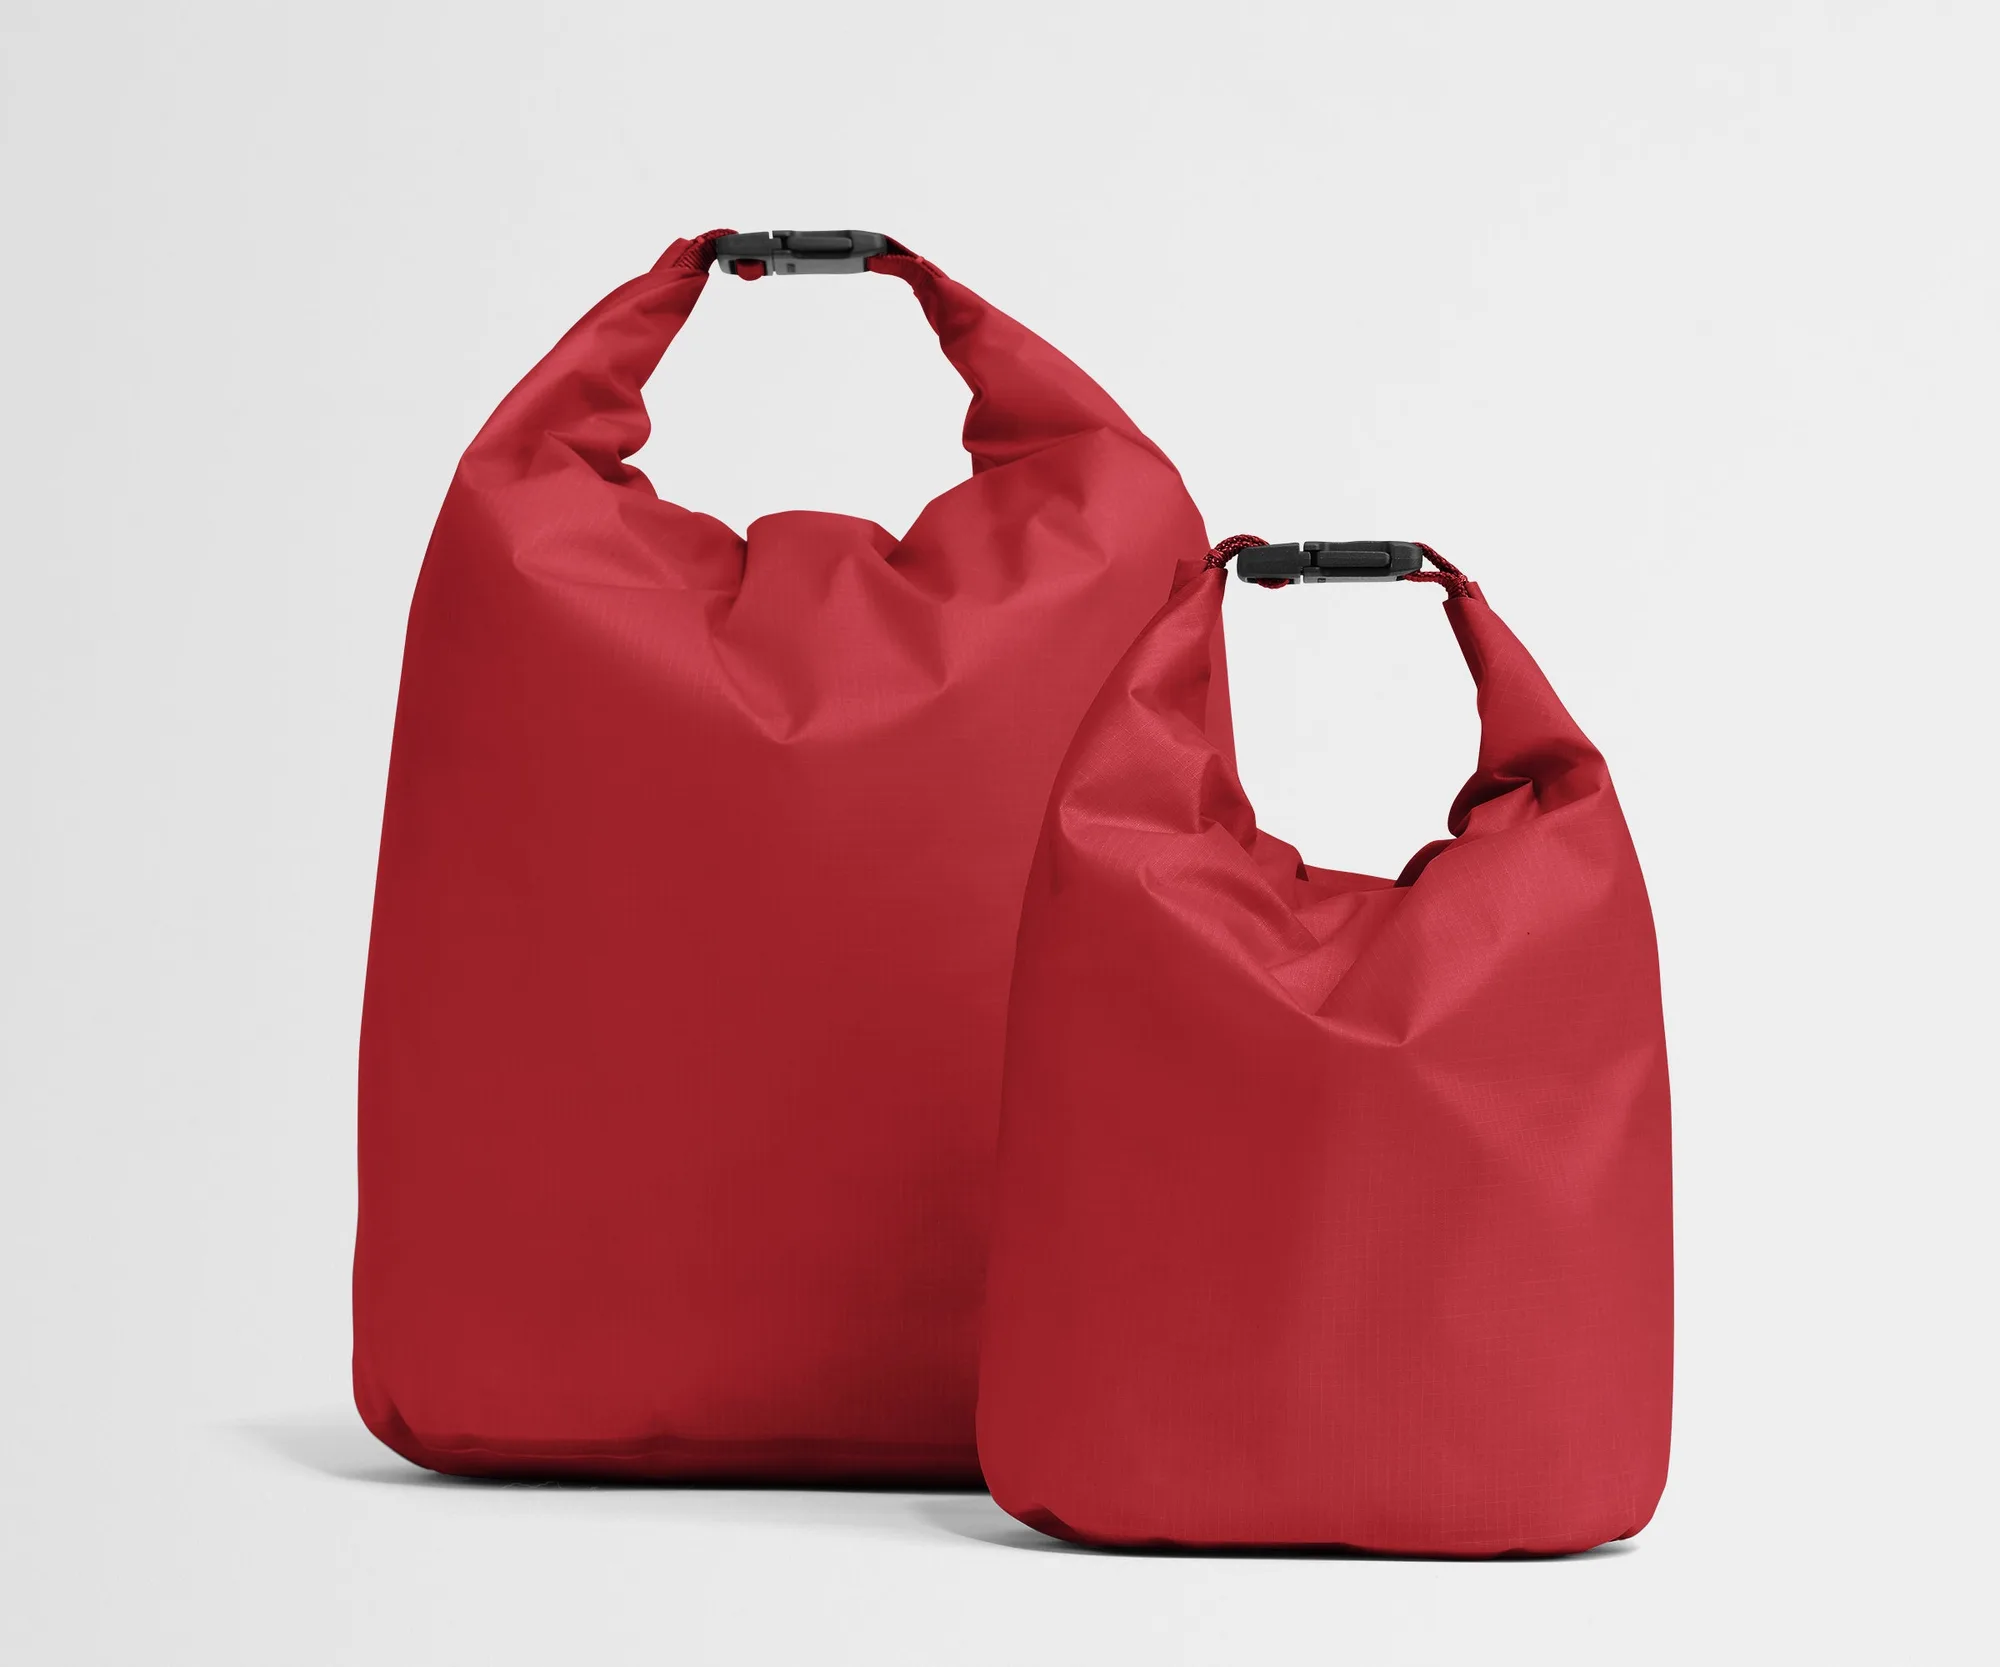
If your weekender has side compartments, use them for shoes, sandals, or a dirty-laundry bag. The Transit Canvas Weekender has two side compartments designed for shoes, which keeps them away from clean clothes and prevents dirt from spreading. If you're carrying wet items, the Dry Bag Duo is a water-resistant set of two bags made from durable ripstop — useful for separating a damp swimsuit or gym clothes from the rest of your load.
A frequent error is forcing shoes into the main compartment when side pockets exist. That wastes the bag's organization and makes the main space harder to pack. If your bag lacks side compartments, put shoes in a dedicated cube or bag at one end.
- Checkpoint: Shake the bag gently; shoes should not rattle against each other.
Step 6: Keep essentials in the front pocket
Your wallet, passport, phone, and charger belong in the front pocket or an exterior pocket you can reach without opening the main compartment. The Transit Canvas Weekender has a front pocket for easy-access items like your wallet and passport. This isn't just convenience — it keeps you from unzipping the whole bag at security or a ticket counter.
The mistake is treating the front pocket as overflow storage. Once you put a book or a pair of jeans there, it bulges and becomes hard to open. Keep it limited to flat, essential items.
- Checkpoint: With the bag closed, you should be able to reach your passport and phone in under five seconds.
Step 7: Do a final weight and balance check
Before you leave, lift the packed bag by its handles and hold it at your side. It should hang roughly level, not tilt forward or backward. If it tilts, move a heavy cube from the high side to the low side. Then zip all compartments and adjust the strap so the bag sits close to your body. A balanced bag feels lighter and reduces shoulder strain.
The most common mistake is skipping this check and discovering the imbalance after a long walk. Two minutes now saves a sore shoulder later. If you're checking the bag on a flight, this is also your last chance to move batteries or valuables into your personal item.
- Checkpoint: Walk ten steps with the bag; if it swings or digs into your side, readjust the strap and redistribute weight.
Your 7-step packing sequence
- Lay out and edit your 3-day list: Lay everything flat, then remove one top and one bottom if the pile looks too big. Checkpoint: your pile should fit in one layer on half a bed.
- Cube your clothes: Roll or fold tops, bottoms, and small items into separate packing cubes, leaving a little slack in each. Checkpoint: each cube sits flat without bulging.
- Heavy items on the bottom: Place jeans, sweaters, or a laptop sleeve flat on the bottom of the main compartment. Checkpoint: the bottom layer feels even, not lumpy.
- Stack cubes upright: Stand cubes side by side like books and fill gaps with soft items. Checkpoint: lift the bag — no sliding sounds.
- Shoes and dirty items in side compartments: Use side compartments or a dedicated bag for shoes and damp items. Checkpoint: shoes stay put when you shake the bag.
- Essentials in the front pocket: Keep wallet, passport, phone, and charger in the front pocket only. Checkpoint: you can reach your passport in under five seconds.
- Final balance check: Lift the bag by its handles; it should hang level. Redistribute weight if it tilts. Checkpoint: walk ten steps — the bag should not swing or dig into your side.
Products that make this method easier
- Transit Canvas Weekender: Spacious main compartment, two side compartments for shoes, and a front pocket for easy-access items like your wallet and passport; also has dedicated space for your laptop and toiletries. The side shoe compartments and front pocket directly support steps 5 and 6, so you can separate dirty shoes from clean clothes and reach essentials without opening the main bag.
- Insider Packing Cubes (Set of 6): Set of six packing cubes in multiple sizes. Multiple cube sizes let you group tops, bottoms, and small accessories, which makes the upright stacking in step 4 possible and keeps the bag organized for the whole trip.
- Dry Bag Duo: Set of two water-resistant bags made from durable ripstop; splash-resistant and sun-ready. Useful for isolating damp swimwear, gym clothes, or toiletries so moisture doesn't reach the rest of your packed items.
Packing a featherlight weekender for a 3-day trip comes down to sequence: edit your list, cube your clothes, stack upright, and use side compartments for shoes. Run the final balance check before you leave, and the bag will carry as comfortably as it looks.