Quick answer
Pack your frame bag with heavier items low and centered, lighter gear toward the top, and frequently used items near the front or rear for easy access. Use small pouches or stuff sacks to keep contents from shifting and to avoid bulging that rubs your legs.
Why Frame Bag Packing Matters
A frame bag sits in the main triangle of your bike, so how you pack it directly affects your bike's handling and your pedaling comfort. Poorly packed bags can sway, rub your knees, or make the bike feel unbalanced. The goal is to keep the center of gravity low and the bag profile slim.
Start by choosing a bag that fits your frame snugly without sagging. Then, organize your gear into three categories: heavy/dense (tools, food cans), medium (spare clothes, sleeping bag), and light/frequently used (snacks, phone, map). This system prevents the bag from becoming a bulky mess.
Essential Gear for Your Frame Bag
For most bikepacking trips, your frame bag will carry repair tools, spare parts, food, and a few personal items. A minimalist tool roll or small saddle bag can handle the heavy metal items, leaving the frame bag for softer, bulkier gear.
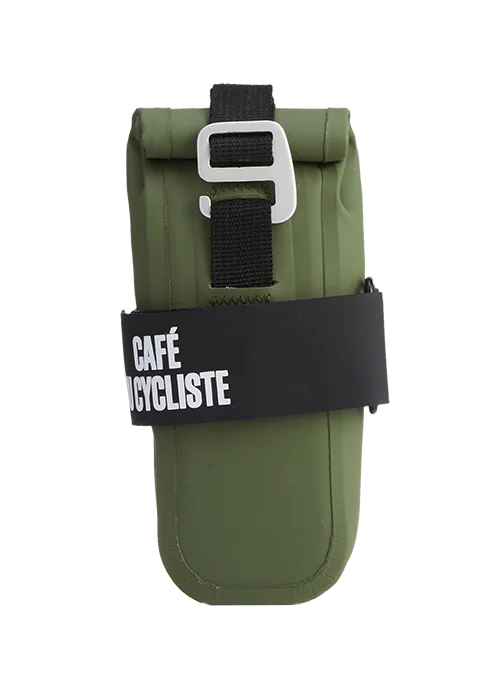
A compact saddle bag like the Sacoche à Outils de Selle (product ID 762332) is ideal for carrying a spare tube, tire levers, multi-tool, and CO2 cartridge. It fits neatly under the saddle and keeps those heavy tools out of your frame bag, improving weight distribution.
Step-by-step: How to Pack Your Frame Bag
- Step 1: Load heavy items low and centered: Place dense items like a multitool, spare chain links, or a small pump at the bottom of the bag, close to the bike's frame. This keeps the weight low and centered, minimizing sway. Common mistake: stuffing heavy items high in the bag. Checkpoint: after loading, the bag should not bulge outward toward your legs.
- Step 2: Add medium-weight gear in the middle: Pack spare clothing, a lightweight jacket, or a sleeping bag liner in the middle section. Use a stuff sack to compress them into a uniform shape that won't shift. Common mistake: leaving air gaps. Checkpoint: the bag should feel firm but not overstuffed.
- Step 3: Reserve the top for light, frequent-access items: Keep snacks, a phone, a map, or a small first-aid kit in the top portion of the bag. Use a zippered pouch or a dry bag to keep them organized and easy to grab. Common mistake: burying snacks under heavy gear. Checkpoint: you should be able to reach your snack without stopping.
- Step 4: Secure everything and test for clearance: Close the bag and check that no straps dangle near the drivetrain. Pedal a few strokes to ensure your knees don't hit the bag. Adjust the bag's position if needed. Common mistake: ignoring knee rub. Checkpoint: if your knee touches the bag, repack or reposition it.
Product facts
- Sacoche à Outils de Selle: Sac étanche minimaliste pour vos outils essentiels en déplacement, avec espace pour une chambre à air, des démonte-pneus, un multi-outil et une cartouche de CO2. Le sac s'adapte parfaitement sous la selle, se fixant solidement et confortablement avec une seule sangle velcro durable. By moving heavy tools to this under-saddle bag, you free up space in your frame bag for lighter items like food and clothing, which keeps the bike's center of gravity lower and improves handling.