Quick answer
Pack camping cookware by nesting pieces with soft barriers between them, keeping the heaviest items close to your back, and using a dedicated dry sack or stuff sack to stop rattling and abrasion. Put a cloth or lid between each layer, and never let metal scrape metal.
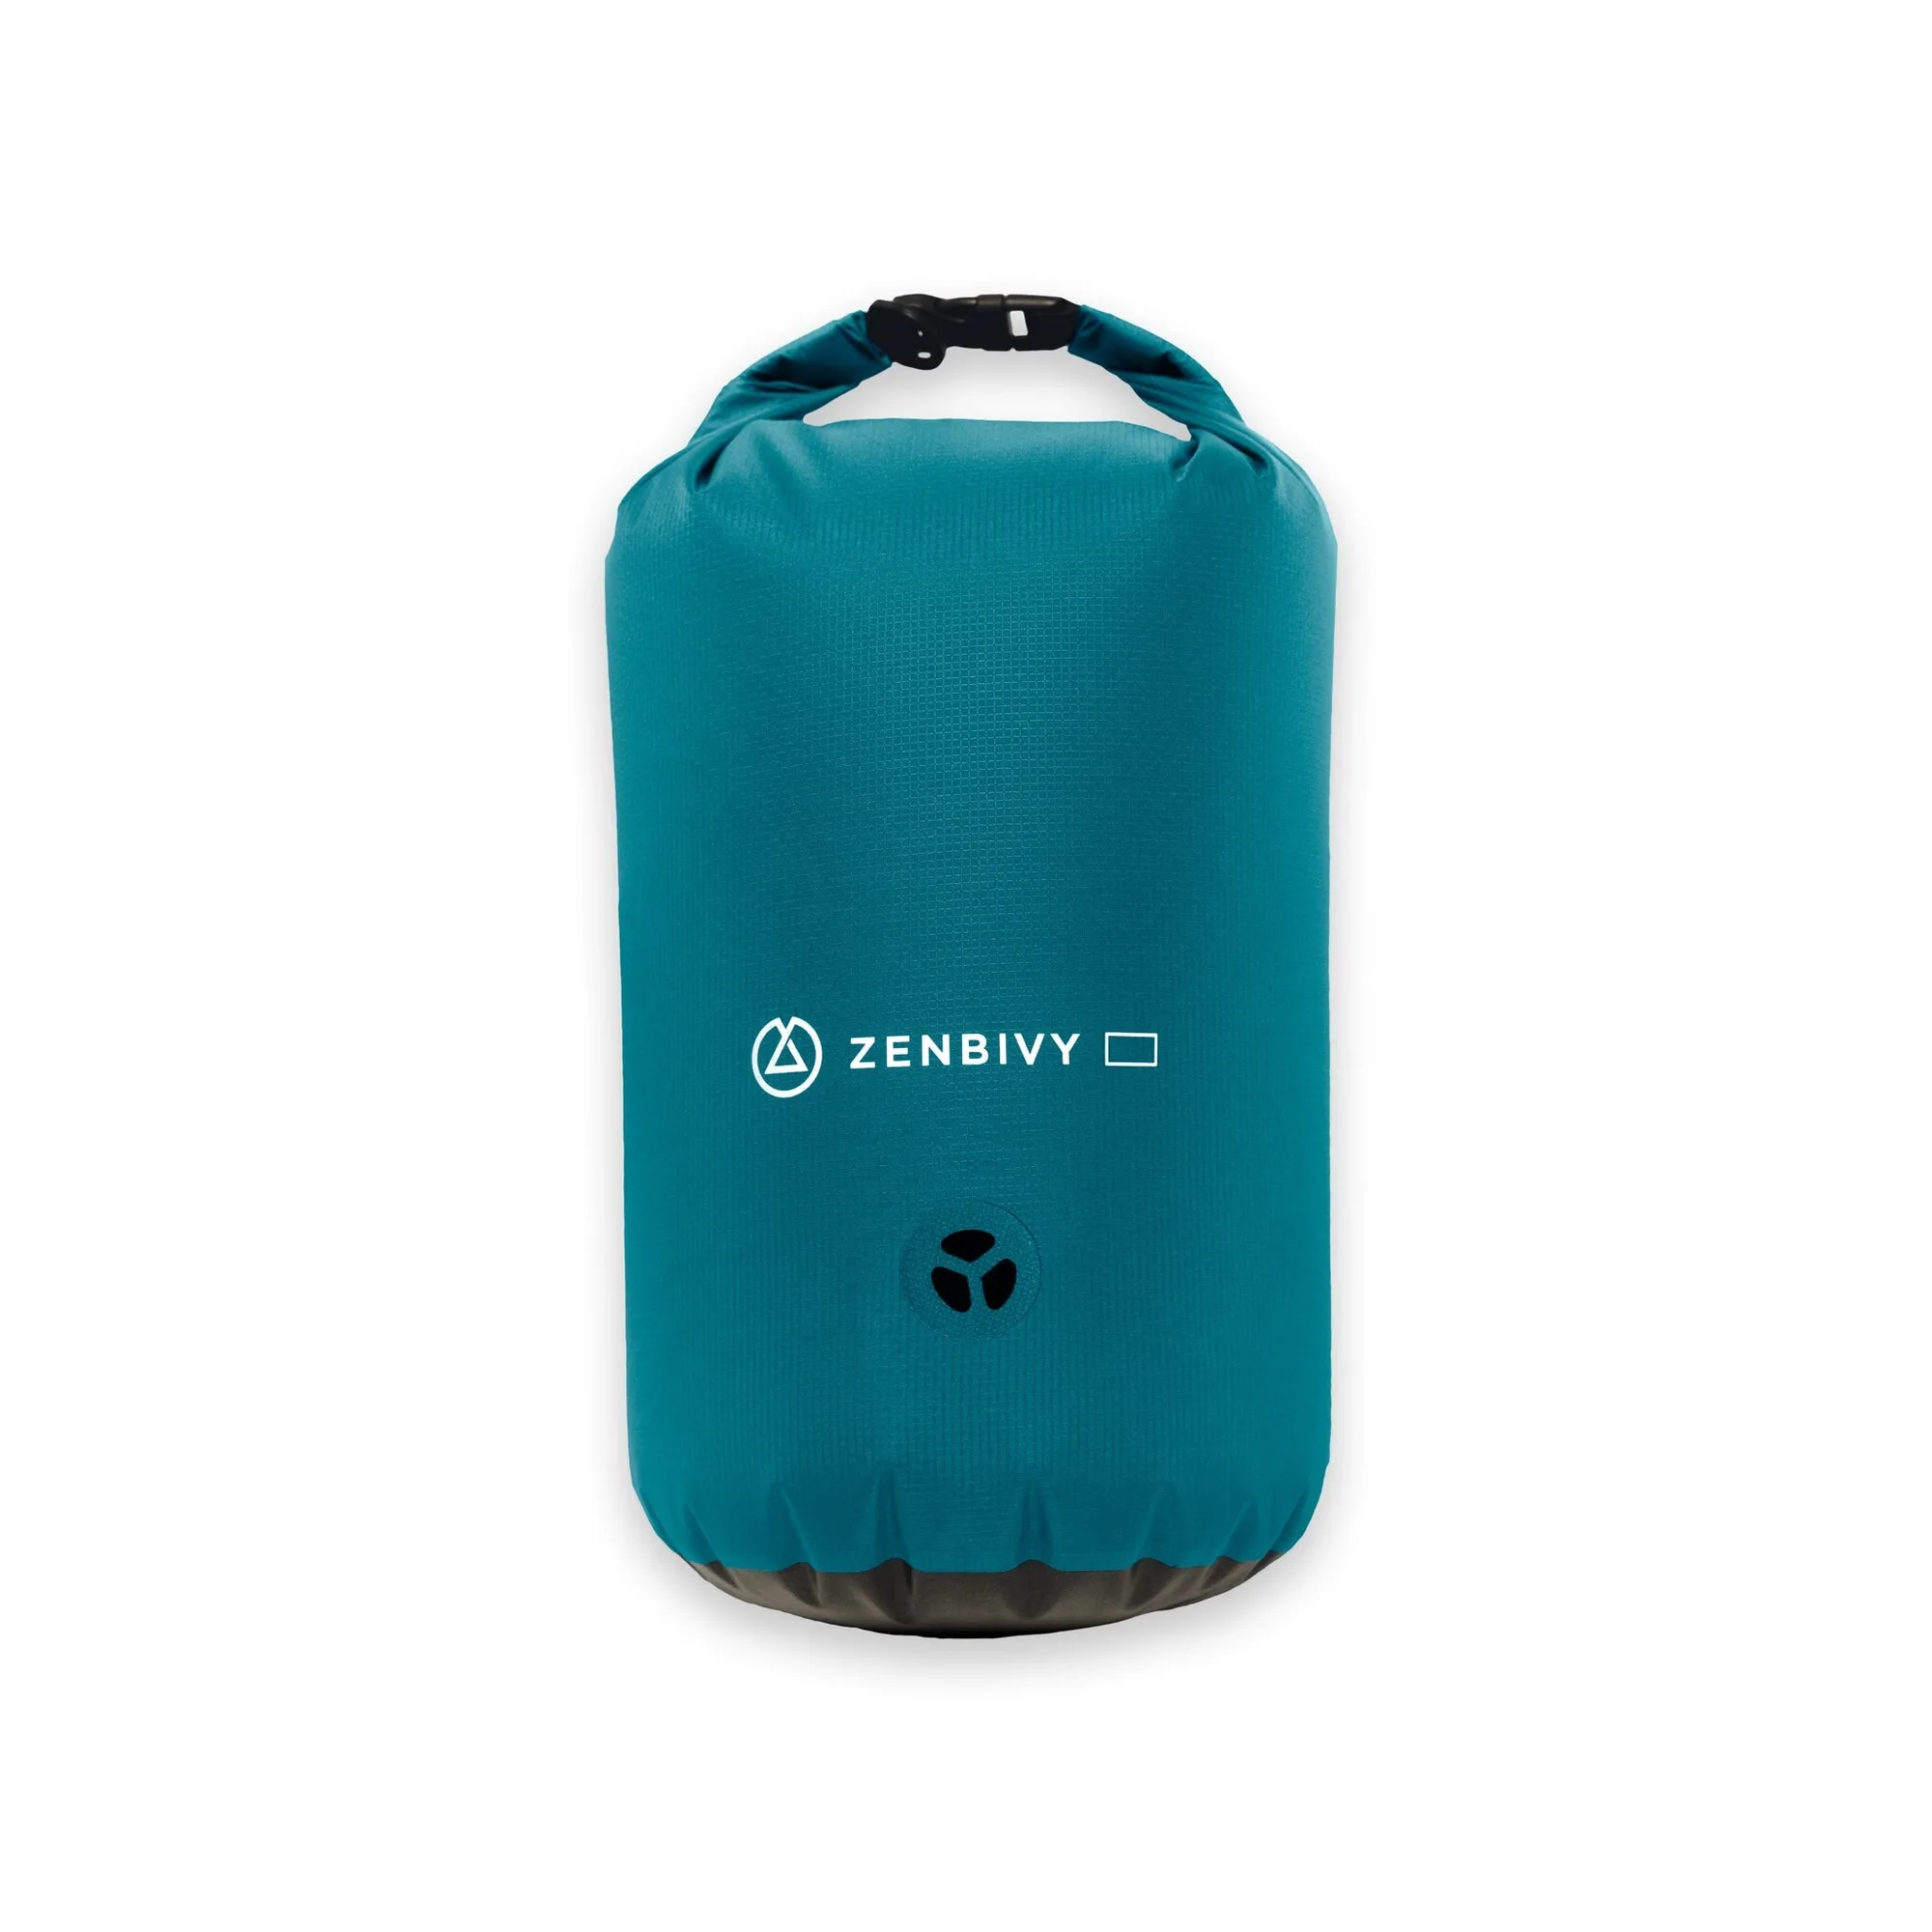
dry sack
You spent good money on a camping pot set, so the last thing you want is a dented pan or a scratched nonstick surface before you even boil water. The fix is not complicated, but it does require a few deliberate moves when you pack camping cookware.
This guide walks through an ordered process you can repeat every trip. Each step includes the mistake that most often ruins cookware or wastes pack space, so you can protect camping pots and pans without adding bulk.
Start with a clean, dry cookware set
Before anything goes into your pack, wipe every pot, pan, and lid until it is clean and completely dry. Food residue and moisture are the two quiet enemies of stored cookware: residue can attract pests and cause odors, while trapped moisture can lead to corrosion on bare metal or a musty smell inside a stuff sack.
This step also gives you a chance to inspect for damage from the last trip. Check handles, rivets, and lid rims for cracks or loose fittings. A wobbly handle that fails over a campfire is worse than a small scratch, so catch it at home.
- Common mistake: packing a damp pot “just this once.” That moisture sits inside a sealed sack for hours and can stain or corrode the surface.
Nest and separate each piece
Nesting saves space, but metal-on-metal contact is what causes scratches and chips. Place a soft barrier between each nested piece: a bandana, a thin cloth, a paper towel, or even a silicone lid. If your set includes a nonstick pan, this barrier is non-negotiable because nonstick coatings scratch easily and cannot be repaired.
Lids are the most common source of rattling and dents. Store them flat against the pan or wrap them in the same cloth. If a lid has a knob or handle, orient it so it does not press into another pot.
- Checkpoint: shake the nested stack gently. If you hear metal clinking, add another barrier before it goes in your pack.
Use a dedicated stuff sack or dry sack
A dedicated bag keeps soot, food residue, and loose lids contained. It also stops a stray pot handle from snagging on your sleeping bag or tent fabric. For backpacking cookware packing, a lightweight stuff sack is usually enough, but a dry sack adds water protection if you expect rain or river crossings.
Choose a size that fits the nested stack snugly without forcing it. Too much empty space lets pieces shift and rub; too little space puts stress on handles and lid rims. If you already carry a pack liner for your sleep gear, a separate small sack for cookware keeps the two systems from tangling.
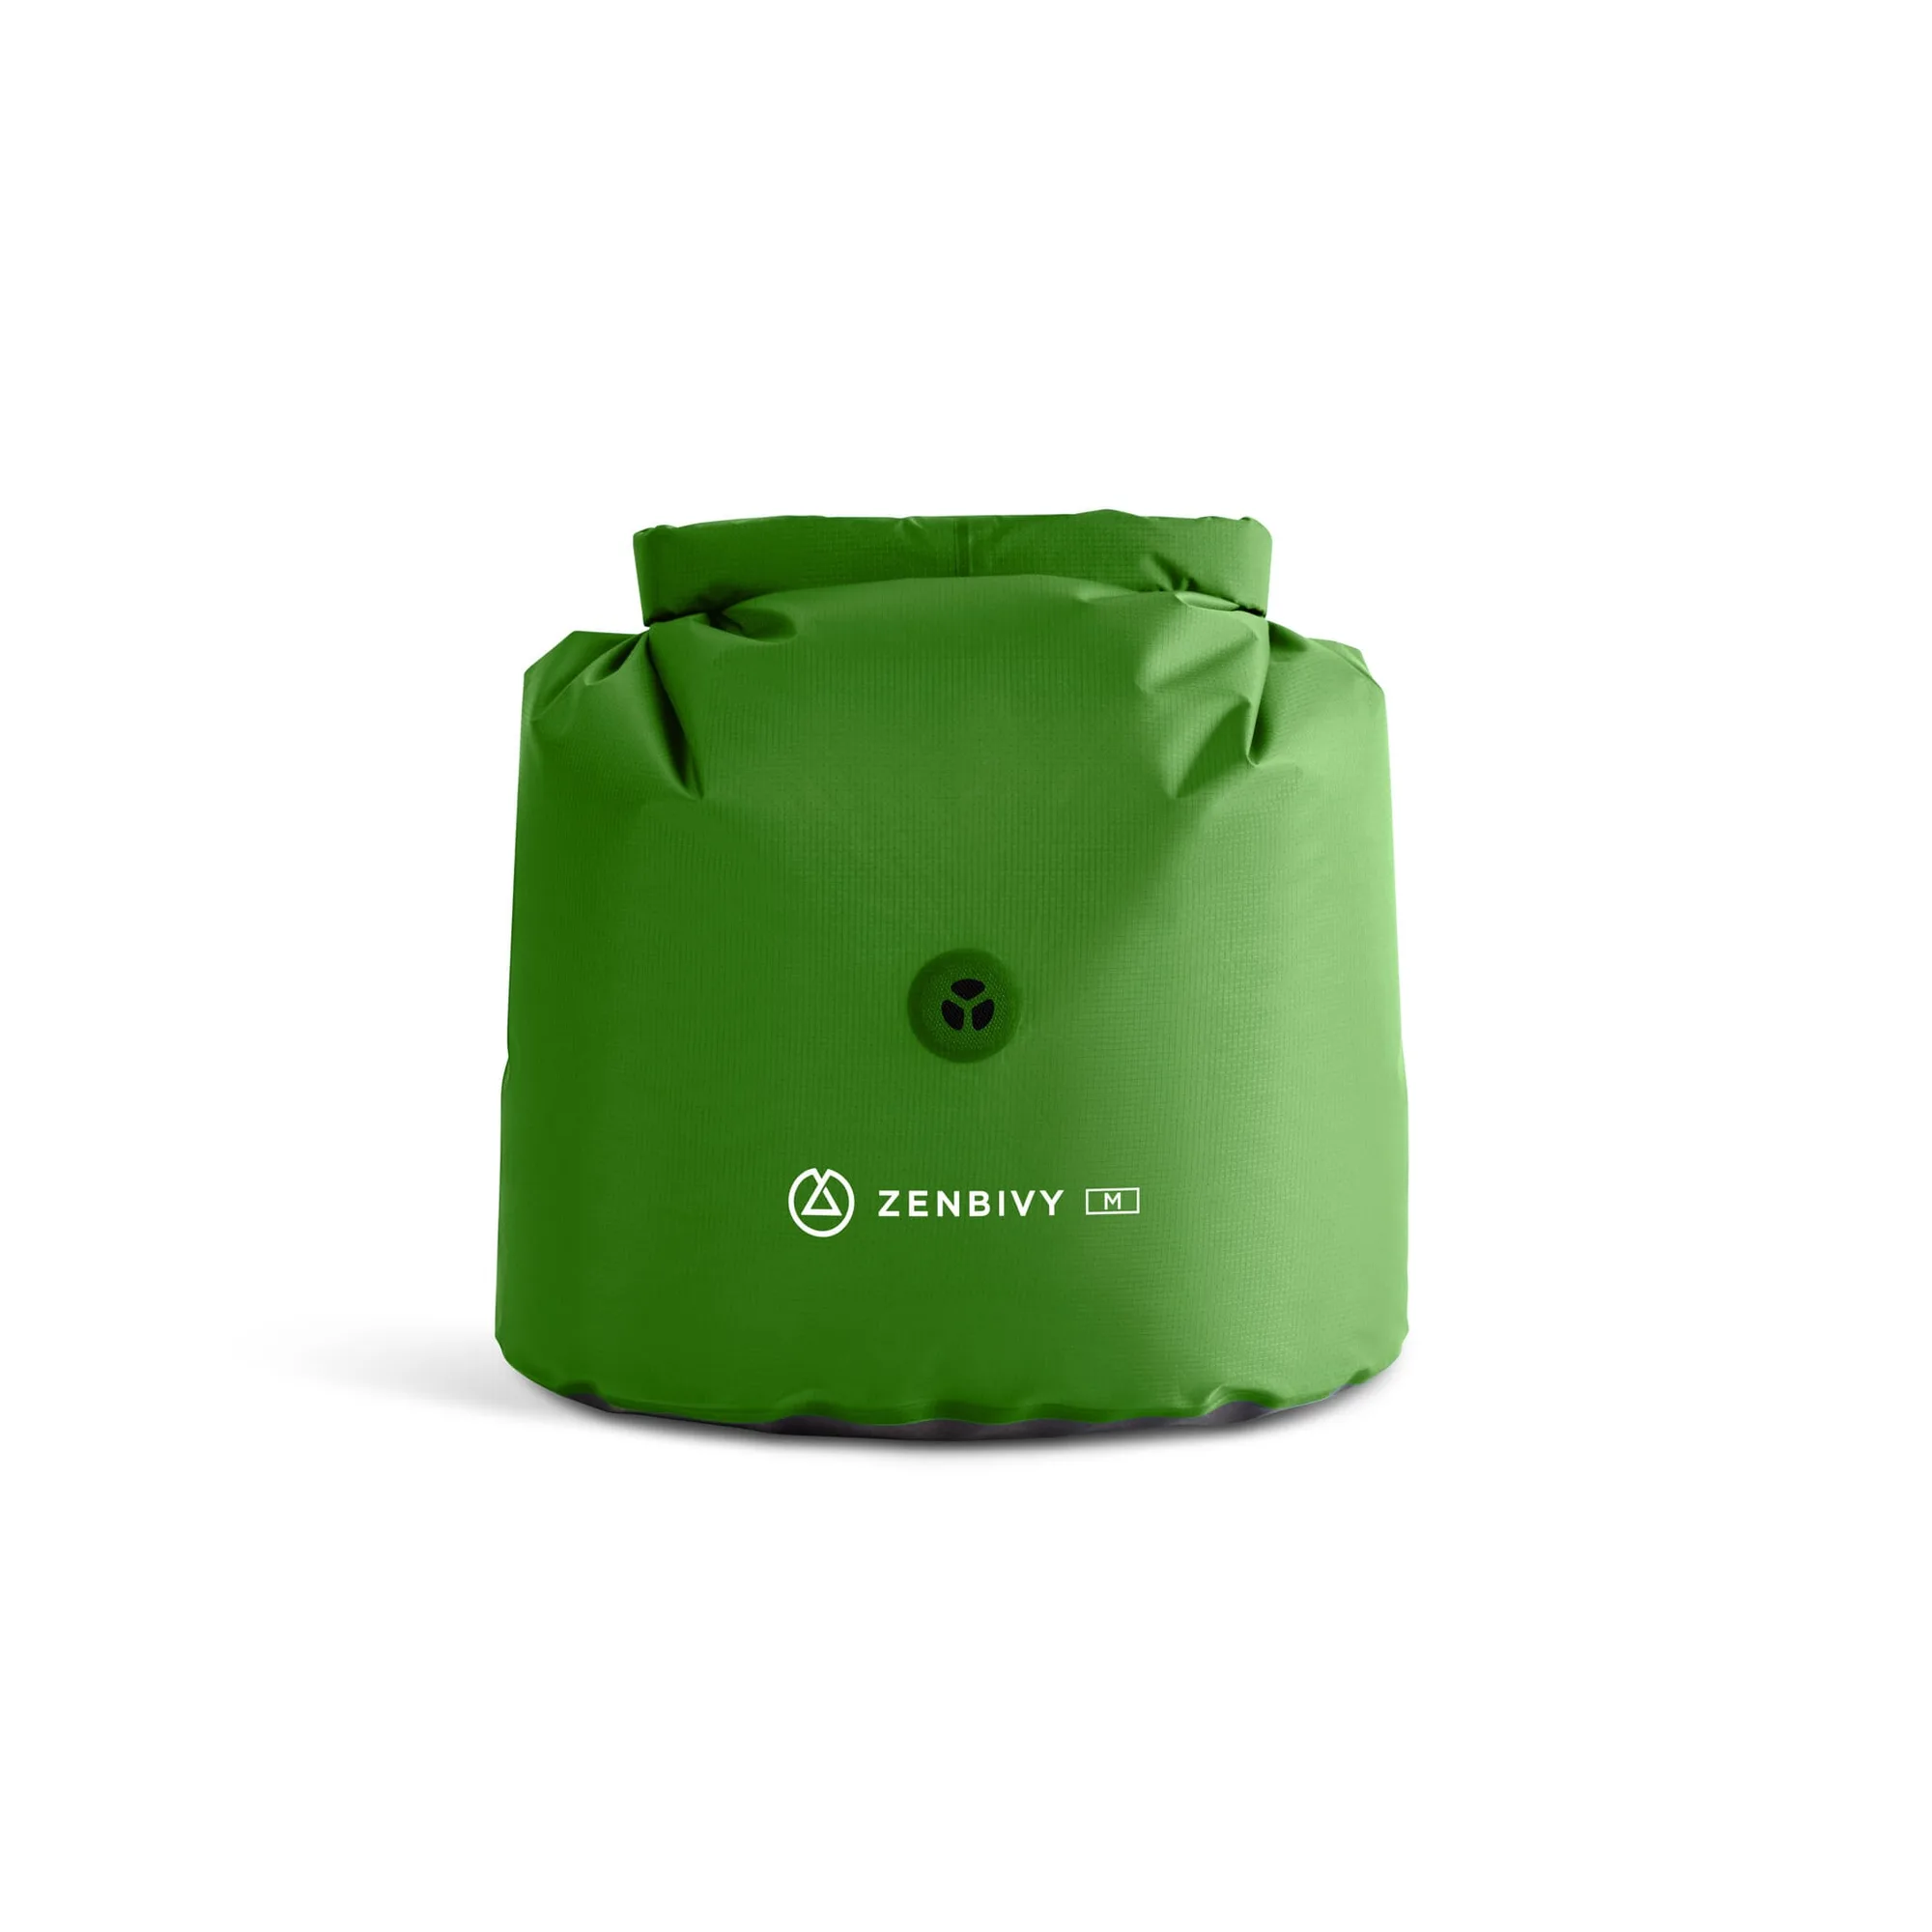
pack liner
- Common mistake: cramming cookware into the same sack as your stove fuel. A fuel leak can coat your pots and make them unsafe for food.
Position the cookware in your pack
Heavy items should ride close to your spine and around shoulder-blade height. That usually means the cookware stack goes in the middle of your pack, not at the very bottom and not in the top lid. Keeping it centered reduces the pendulum effect that makes a loaded pack feel unstable on uneven ground.
If your cookware is bulky, build the rest of your load around it rather than forcing it into a corner. Soft items like a jacket or a quilt can fill gaps and cushion the pot from the outside. Hard items like a bear canister should not press directly against a nonstick surface.
- Checkpoint: put the pack on and walk a few steps. If you feel a hard edge against your back, reposition the cookware.
Handle lids, handles, and loose parts
Detachable handles and folding sporks are easy to lose. Clip them together with a small carabiner or store them inside the nested stack, wrapped so they do not scratch. If your pot set has a bail handle, fold it flat against the pot before packing.
For longer trips, consider a repair kit for metal or plastic parts. A small length of wire or a spare rivet can save a handle, but do not overpack. The goal is to prevent damage, not to rebuild the set on the trail.
- Common mistake: leaving a detachable handle loose in the pack, where it can poke through fabric or get lost at camp.
Adjust for trip length and group size
A solo overnight needs one pot and a lid. A group trip may need two pots, a frying pan, and multiple bowls. As you add pieces, repeat the nesting and barrier process for each layer. Do not assume a bigger set can skip the separation step; more pieces means more contact points and more chances for damage.
If you are packing for a couple or a small group, a double sleep system and a larger cook set can share space efficiently. Just keep the cookware in its own sack so soot and food smells do not transfer to bedding.
- Checkpoint: after packing, lift the cookware sack and listen. Silence means the barriers are working.
Cookware packing steps at a glance
- Clean and dry every piece: Wipe pots, pans, and lids until they are free of food and moisture. Inspect handles and rivets for damage before packing. Checkpoint: no damp spots or sticky residue remain.
- Nest with soft barriers: Place a cloth, bandana, or paper towel between each nested piece. Wrap lids flat so they do not rattle. Common mistake: skipping barriers on nonstick surfaces, which scratch permanently.
- Bag the stack in a dedicated sack: Use a stuff sack or dry sack sized to the nested cookware. Keep fuel and food separate from the cookware sack. Checkpoint: the sack holds the stack snugly with no loose metal sounds.
- Load it mid-pack, close to your spine: Place the cookware sack in the middle of your pack at shoulder-blade height. Fill gaps with soft items like a jacket. Common mistake: putting heavy cookware at the bottom, which makes the pack feel like it is pulling you backward.
- Secure handles and small parts: Clip detachable handles together or store them inside the nested stack. Fold bail handles flat. Checkpoint: nothing dangles outside the sack where it can snag.
- Test the load before you leave: Put the pack on and walk around. Adjust if you feel hard edges against your back or hear rattling. Next step: repeat this process each trip so it becomes automatic.
Gear that helps you pack and protect cookware
- Dry Sack: Zenbivy Dry Sacks feature fully welded seams for a long-lasting watertight seal, a high-speed mechanical valve for instant compression, and durable yet lightweight construction. A watertight sack keeps cookware dry and contains soot or food residue, while the compression valve lets you shrink the bundle so it does not shift in your pack.
- Pack Liner: The Zenbivy Pack Liner is a fully waterproof, easy-to-compress dry sack that holds all your sleep gear in one compact layer at the base of your pack. If you already use a pack liner for sleep gear, adding a separate small dry sack for cookware keeps wet or dirty items away from your quilt and mattress.
Packing camping cookware well is mostly about separation and placement. Clean and dry each piece, nest with soft barriers, bag the stack, and load it mid-pack close to your spine. Do that, and your pots and pans will survive the trip as well as your dinner does.