Quick answer
Pack your cosmetic case by starting with a TSA-compliant liquids plan: keep every liquid, gel, cream, and paste at 3.4 oz or less, fit them into one quart-sized clear bag, and place that bag on top of your packed case for security. Then build the rest of your makeup around a short trip, not your full vanity, and use a structured case with compartments so nothing shifts or leaks.
Packing a cosmetic case for carry-on is less about squeezing in more products and more about making a small kit that survives security, overhead bins, and a hotel bathroom counter. The goal is simple: everything you actually use, nothing you do not, and no surprises at the checkpoint.
This guide walks through the process in order, from choosing the case to the final security-line check. It also covers the TSA makeup rules that apply to liquids and the small packing decisions that keep powders from cracking and creams from leaking.
Start with the TSA liquid rule, not your makeup bag
Before you pack a single product, sort everything into two groups: liquids and non-liquids. TSA treats liquids, gels, creams, pastes, and aerosols as liquids, and each container must be 3.4 oz (100 ml) or less. All of those containers must fit into one clear quart-sized bag, one bag per passenger. Solid makeup like powder, blush, and pencil liners does not count toward that limit. If you wear contact lenses or use prescription creams, those are also liquids for screening purposes, so plan space for them in the same bag.
The most common mistake here is assuming a half-empty 6 oz foundation bottle is fine because there is only a little product left. It is not. The limit applies to the container size, not the amount inside. Decant what you need into a smaller travel bottle, or switch to a solid or stick format for the trip. Check the current TSA guidance before you fly, since rules can change.
- Keep one quart-sized clear bag for all liquids, and make it the last thing you pack so it is easy to pull out.
- If you are traveling internationally, check the destination country's rules as well; some are stricter than the US.
Choose a case that fits your actual kit
A cosmetic case earns its place in your carry-on when it holds its shape, opens flat, and has at least one wipeable compartment. Soft pouches are light, but they let bottles roll and press against each other. A structured case with a flat base and a separate section for brushes or small tools keeps everything visible, which matters when you are repacking in a hotel room at 6 a.m. Look for a case that fits inside your personal item or the top half of your carry-on, not one that only fits when the bag is empty.
Size the case to the trip, not to your collection. A weekend trip usually needs one base product, one concealer, one mascara, one blush, one lip color, and a couple of tools. A two-week trip may justify a second lip color or a small palette, but it rarely justifies the full set. If your case is bulging before you leave, you have already lost the space you were trying to save.
- Test the closed case in your bag before you commit; if it only fits at an angle, it will be in the way the whole trip.
- Pick a case with a light interior so you can see dark products against it.
Pack in layers: heavy and leak-prone first
Load the case from the bottom up. Put the heaviest and most leak-prone items, like foundation, primer, and liquid sunscreen, in the base layer, standing upright if the case allows. Add a small square of tape or a zip-top bag around anything with a pump or a loose cap. Then add powders and compacts in the middle, and finish with brushes, pencils, and small tools on top. This order keeps weight low, protects powders from pressure, and means the items you reach for most are closest to the lid.
The common mistake is packing by category instead of by weight. A case with all the liquids at the top will shift in transit, and a loose cap will find the one powder compact in the bag. If your case has a removable tray or divider, use it for the small items rather than removing it to gain space; that tray is what keeps pencils from scattering.
- Wrap a tissue or cotton pad around powder compacts to absorb shock and catch any loose powder.
- Keep a spare zip-top bag flat in the lid for anything that leaks mid-trip.
Trim the kit with multi-use products
The fastest way to make room is to replace three products with one. A tinted moisturizer with SPF can stand in for foundation and sunscreen. A cream blush can double as a lip color. A brow pencil can work as a soft eyeliner in a pinch. Each swap removes a container, a cap, and a decision from your morning routine. This is not about deprivation; it is about choosing products that do two jobs well instead of three that each do one job.
Be honest about what you never touch on a trip. Most people pack one or two items out of habit and never open them. If you have taken the same unused product on three trips, leave it home this time. The space you free up is better spent on a small stain remover pen or a second hair tie than on a product you will carry for a week and never use.
- Do a dry run at home: pack the case, then use only what is in it for two days before you travel.
- If a product only works with a tool you are not bringing, leave both behind.
Protect the case inside your carry-on
Where the case sits in your bag matters as much as how you pack it. Put it flat against the back panel or in the top compartment, not loose in the middle where a laptop or a pair of shoes can crush it. If your carry-on has a laptop sleeve, do not stack the cosmetic case on top of the laptop; the pressure can crack powders and bend brush handles. A case with a flat profile and a firm base handles this better than a soft pouch, because it distributes weight instead of folding around whatever is next to it.
For the security line, keep the quart-sized liquid bag in an outer pocket of your personal item, not buried inside the cosmetic case. You will need to remove it, and digging through a packed case in line slows everyone down. Once you are through, repack the liquid bag on top of the case so it stays accessible for the return flight.
- Photograph your packed case before you leave; it makes repacking for the return trip much faster.
- If you check a bag on the way home, move the cosmetic case to your carry-on first.
Your carry-on cosmetic case checklist
- Step 1: Sort liquids from solids: Pull every liquid, gel, cream, paste, and aerosol into one group. Check that each container is 3.4 oz (100 ml) or less and that all of them fit in one clear quart-sized bag. If the bag will not close, you are over the limit. Remove or decant before you leave.
- Step 2: Pick the case for the trip: Choose a structured case that opens flat, has a wipeable interior, and fits your carry-on without forcing. Match the case size to the trip length, not to your full collection. A case that only fits when the bag is empty is the wrong case.
- Step 3: Layer heavy items on the bottom: Place foundation, primer, and liquid sunscreen in the base layer, upright. Add powders and compacts in the middle, then brushes and pencils on top. Weight at the bottom keeps the case stable and protects powders from pressure.
- Step 4: Seal anything that can leak: Tape or bag pumps, loose caps, and anything with a thin consistency. Keep a spare zip-top bag flat in the lid for mid-trip surprises. One leaking bottle can ruin a trip's worth of makeup. Seal first, pack second.
- Step 5: Trim with multi-use products: Replace foundation plus sunscreen with a tinted moisturizer with SPF. Use a cream blush as a lip color. Leave behind anything you have not used on your last three trips. Every product you remove is space and a decision you get back.
- Step 6: Position the case in your bag: Place it flat against the back panel or in the top compartment, away from your laptop and shoes. Keep the quart-sized liquid bag in an outer pocket for security. Accessible liquids and a protected case make the security line and the flight easier.
Products that fit this method
- Travel Jewelry Case: Designed to keep earrings, rings, and small watches organized and secured, with a modular design and removable earring and ring panels plus a removable vegan leather pouch. If your cosmetic case is already full, this keeps jewelry separate so chains do not tangle with brushes and small items stay findable.
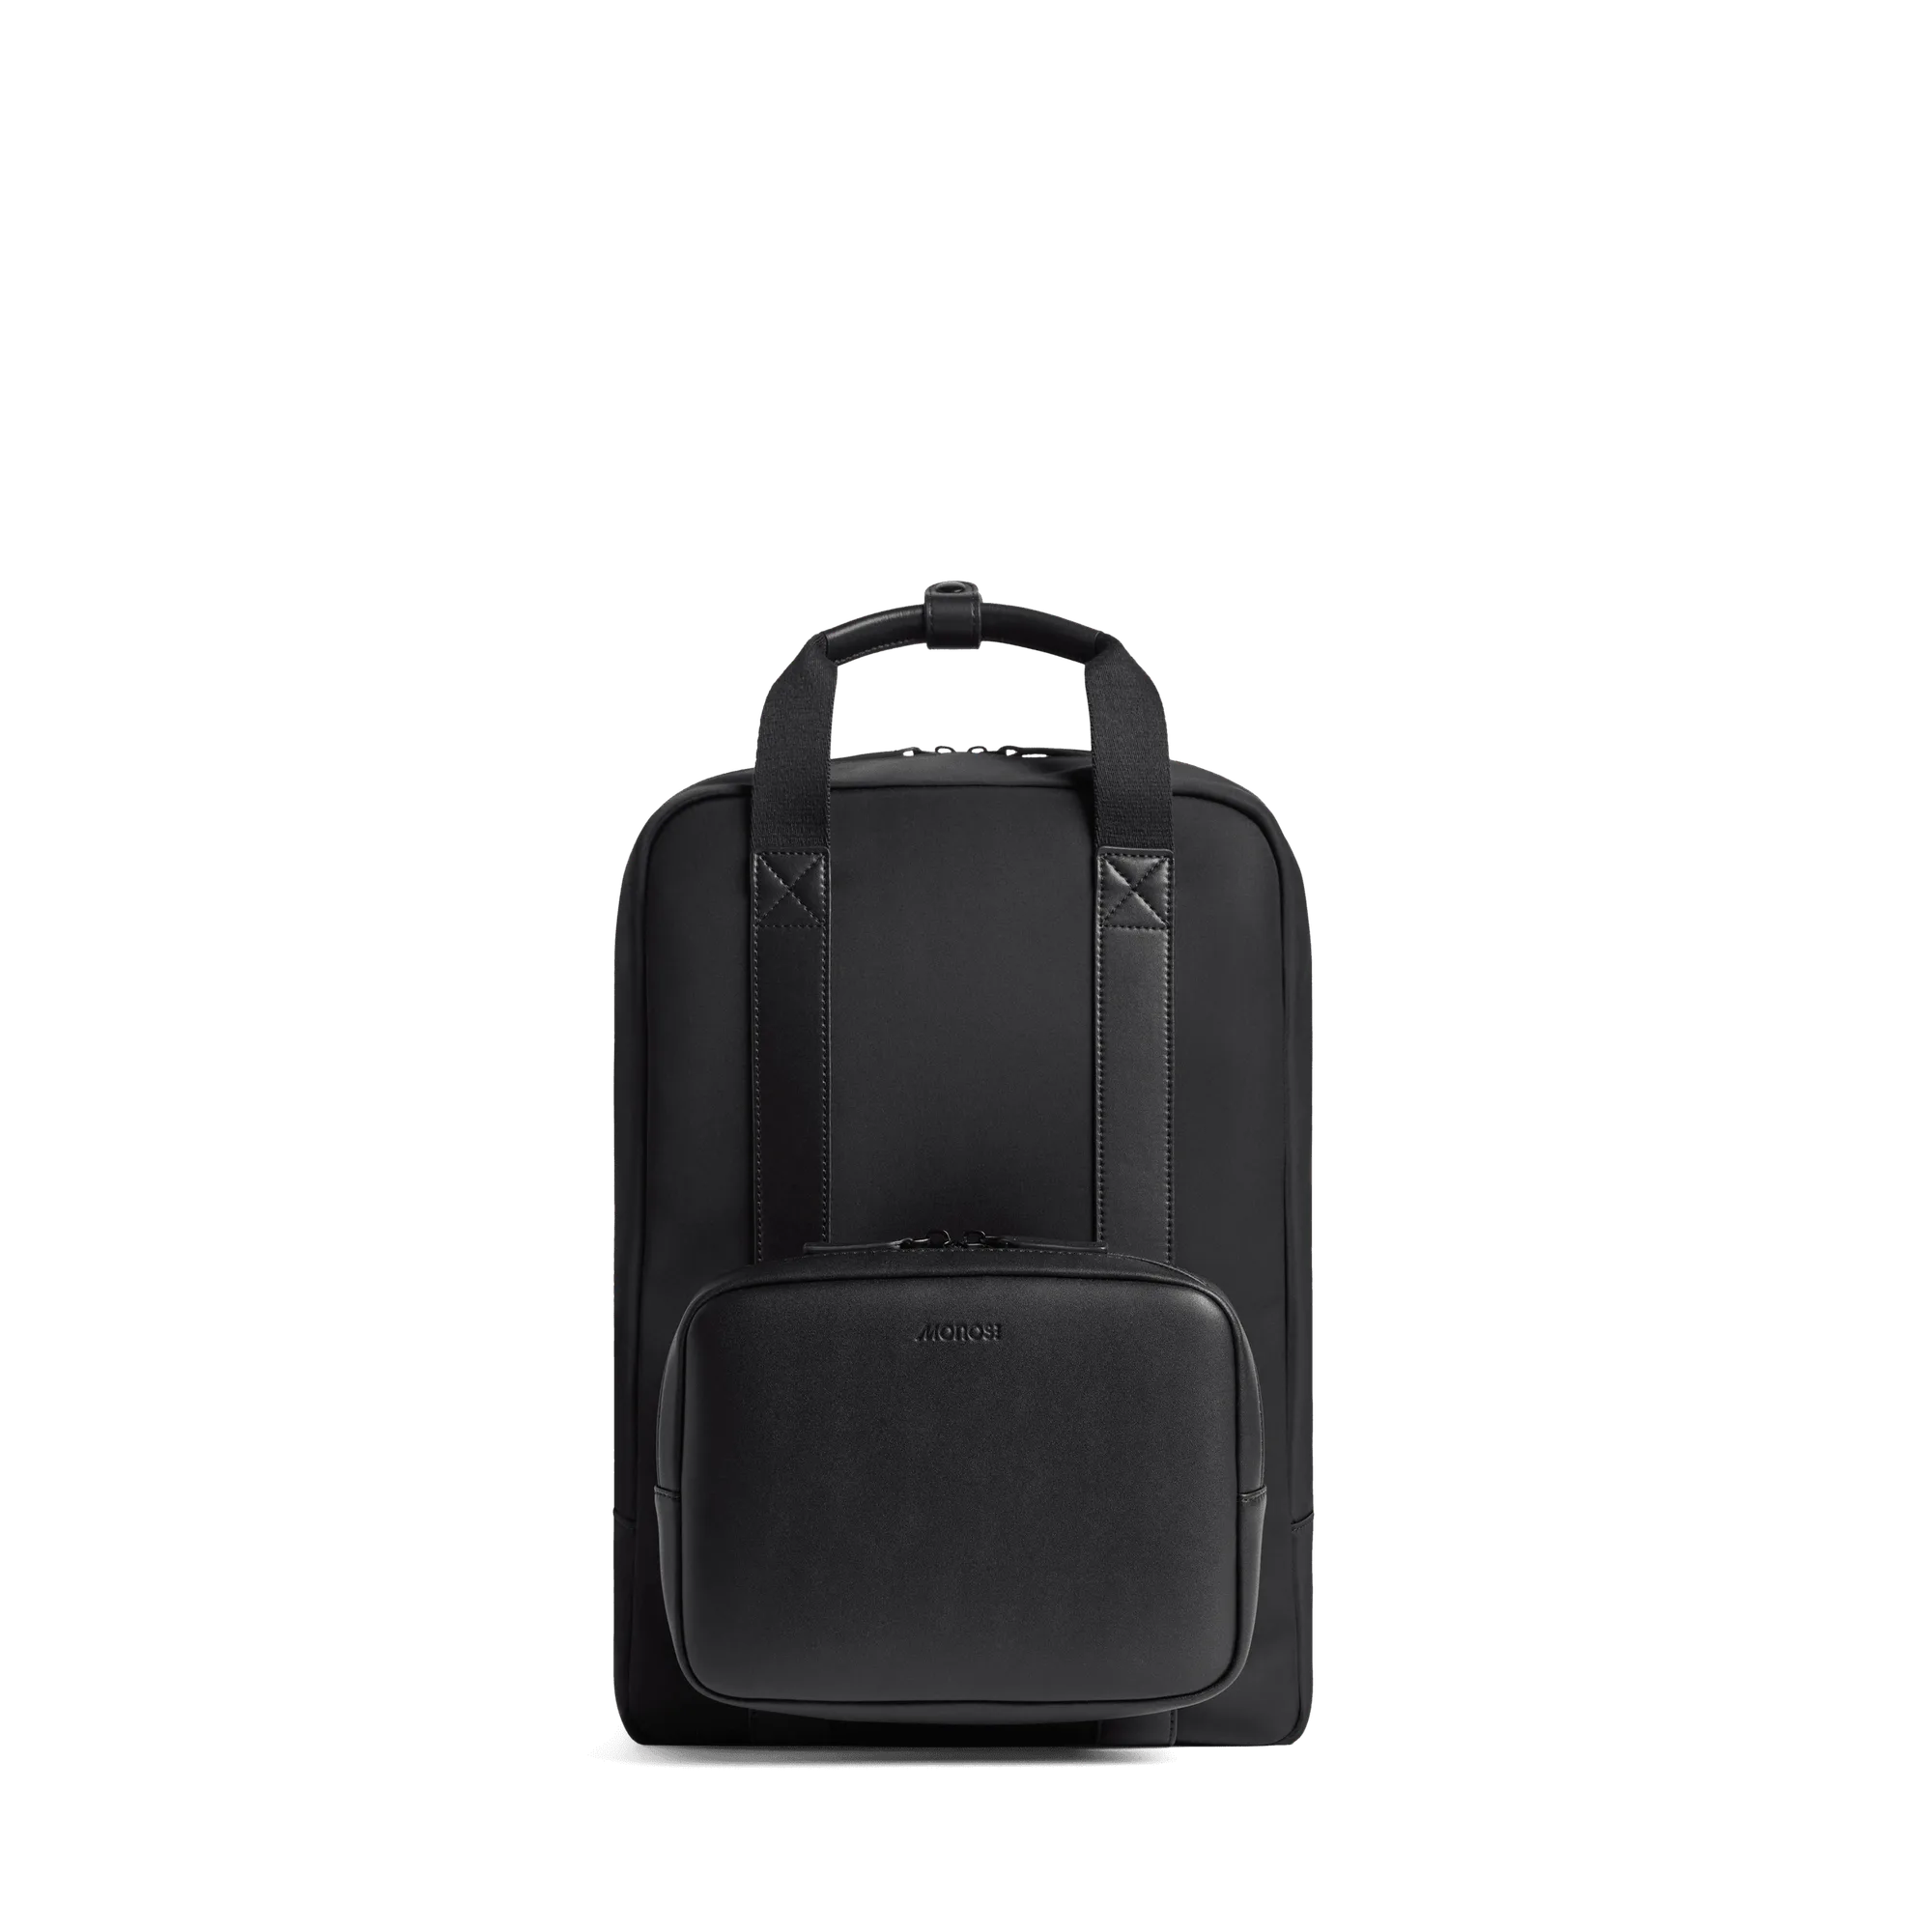
- Metro Backpack: Features a 15-inch laptop compartment and a small hidden back pocket with magnetic snap closure for a phone, passport, wallet, or small valuables. The hidden pocket gives you a dedicated spot for the quart-sized liquid bag or passport, so you are not digging through the main compartment at security.
Packing a cosmetic case for carry-on comes down to a short list, a clear liquids bag, and a case that holds its shape. Sort first, layer by weight, seal anything that can leak, and keep the liquid bag where you can reach it. Do that, and your makeup arrives intact and ready to use.