Quick Answer
Start by cleaning and priming your miniatures, then base coat, layer, wash, and dry brush for depth. Finish with a sealant to protect your work. Practice on spare pieces first, and remember that patience beats perfection.
Painting miniatures can transform your board game experience, making your favorite characters and monsters pop off the board. Whether you're sprucing up the minis from your favorite game or adding a personal touch to a new purchase, this guide will walk you through the essential steps.
You don't need to be an artist to get great results. With a few basic supplies and some patience, you can create miniatures that look professional and add to your game's atmosphere. Let's dive in.
Gather Your Supplies
Before you begin, you'll need a few essentials: miniature paints (acrylics work best), a variety of brushes (fine detail and flat), a primer, a palette, and a sealant. Optional but helpful: a hobby knife, files, and a magnifying lamp.
Invest in quality paints and brushes – they make a noticeable difference. You'll also want a well-lit, ventilated area. If you're new, consider a starter set that includes a few colors and a brush.
- Use a wet palette to keep your paints moist and workable.
Clean and Prepare Your Miniatures
First, wash your miniatures in warm soapy water to remove any mold release agent. This helps paint adhere better. Rinse and let them dry completely.
Check for mold lines and flash (excess plastic) and carefully remove them with a hobby knife or file. Take your time – this step ensures a smooth finish.
- Use a magnifying lamp to spot fine mold lines.
Prime Your Miniatures
Priming is crucial for paint adhesion. Use a spray primer or brush-on primer in a light or dark color, depending on the look you want. Hold the spray can about 12 inches away and apply in short, even bursts.
Allow the primer to dry completely before painting. A smooth, even coat will make your paint layers look better and last longer.
- Prime in a well-ventilated area and avoid humidity.
Base Coat and Layer
Apply a base coat of your chosen color to the main areas. Thin your paints slightly with water to avoid clogging details. Let it dry, then apply additional layers for opacity.
Layering means applying lighter colors on raised areas to create depth. Start with darker shades and gradually build up to lighter ones.
- Thin your paints to the consistency of milk for smooth application.
Add Depth with Washes and Dry Brushing
Washes are thin, dark paints that flow into recesses and create shadows. Apply a wash over the entire miniature or just in crevices, then wipe away excess. This adds instant depth.
Dry brushing involves dipping a brush in paint, wiping most of it off, and lightly brushing raised areas to highlight them. This technique emphasizes edges and textures.
- Use a dry brush with a light touch to avoid streaking.
Seal and Protect Your Work
Once your paint is dry, apply a clear sealant (spray or brush-on) to protect against chipping and wear. Matte sealant reduces shine, while gloss gives a shiny finish. Choose based on your preference.
Allow the sealant to cure fully before handling. Your miniatures are now ready for the table!
- Test the sealant on a spare piece first to ensure compatibility.
Step-by-Step Painting Process
- Prepare: Wash miniatures in soapy water and remove mold lines with a hobby knife. Let dry completely. Checkpoint: Ensure surfaces are smooth and free of debris before priming.
- Prime: Apply a thin, even coat of primer (spray or brush-on) and let dry fully. Avoid thick coats that obscure details; a light mist is better.
- Base Coat: Paint the main areas with a base color, thinning your paint slightly. Apply multiple thin coats for even coverage. Let each coat dry before adding another to prevent smudging.
- Layer and Highlight: Add lighter shades to raised areas to create depth. Use a smaller brush for precision. Don't overdo highlights; subtle transitions look more natural.
- Wash and Dry Brush: Apply a wash to recesses for shadows, then dry brush lighter colors on edges for highlights. Wipe off excess wash to avoid pooling; dry brush with a nearly dry brush.
- Seal: Spray or brush on a clear sealant to protect your paint job. Let cure fully. Test sealant on a spare piece to avoid clouding or stickiness.
Product Spotlight
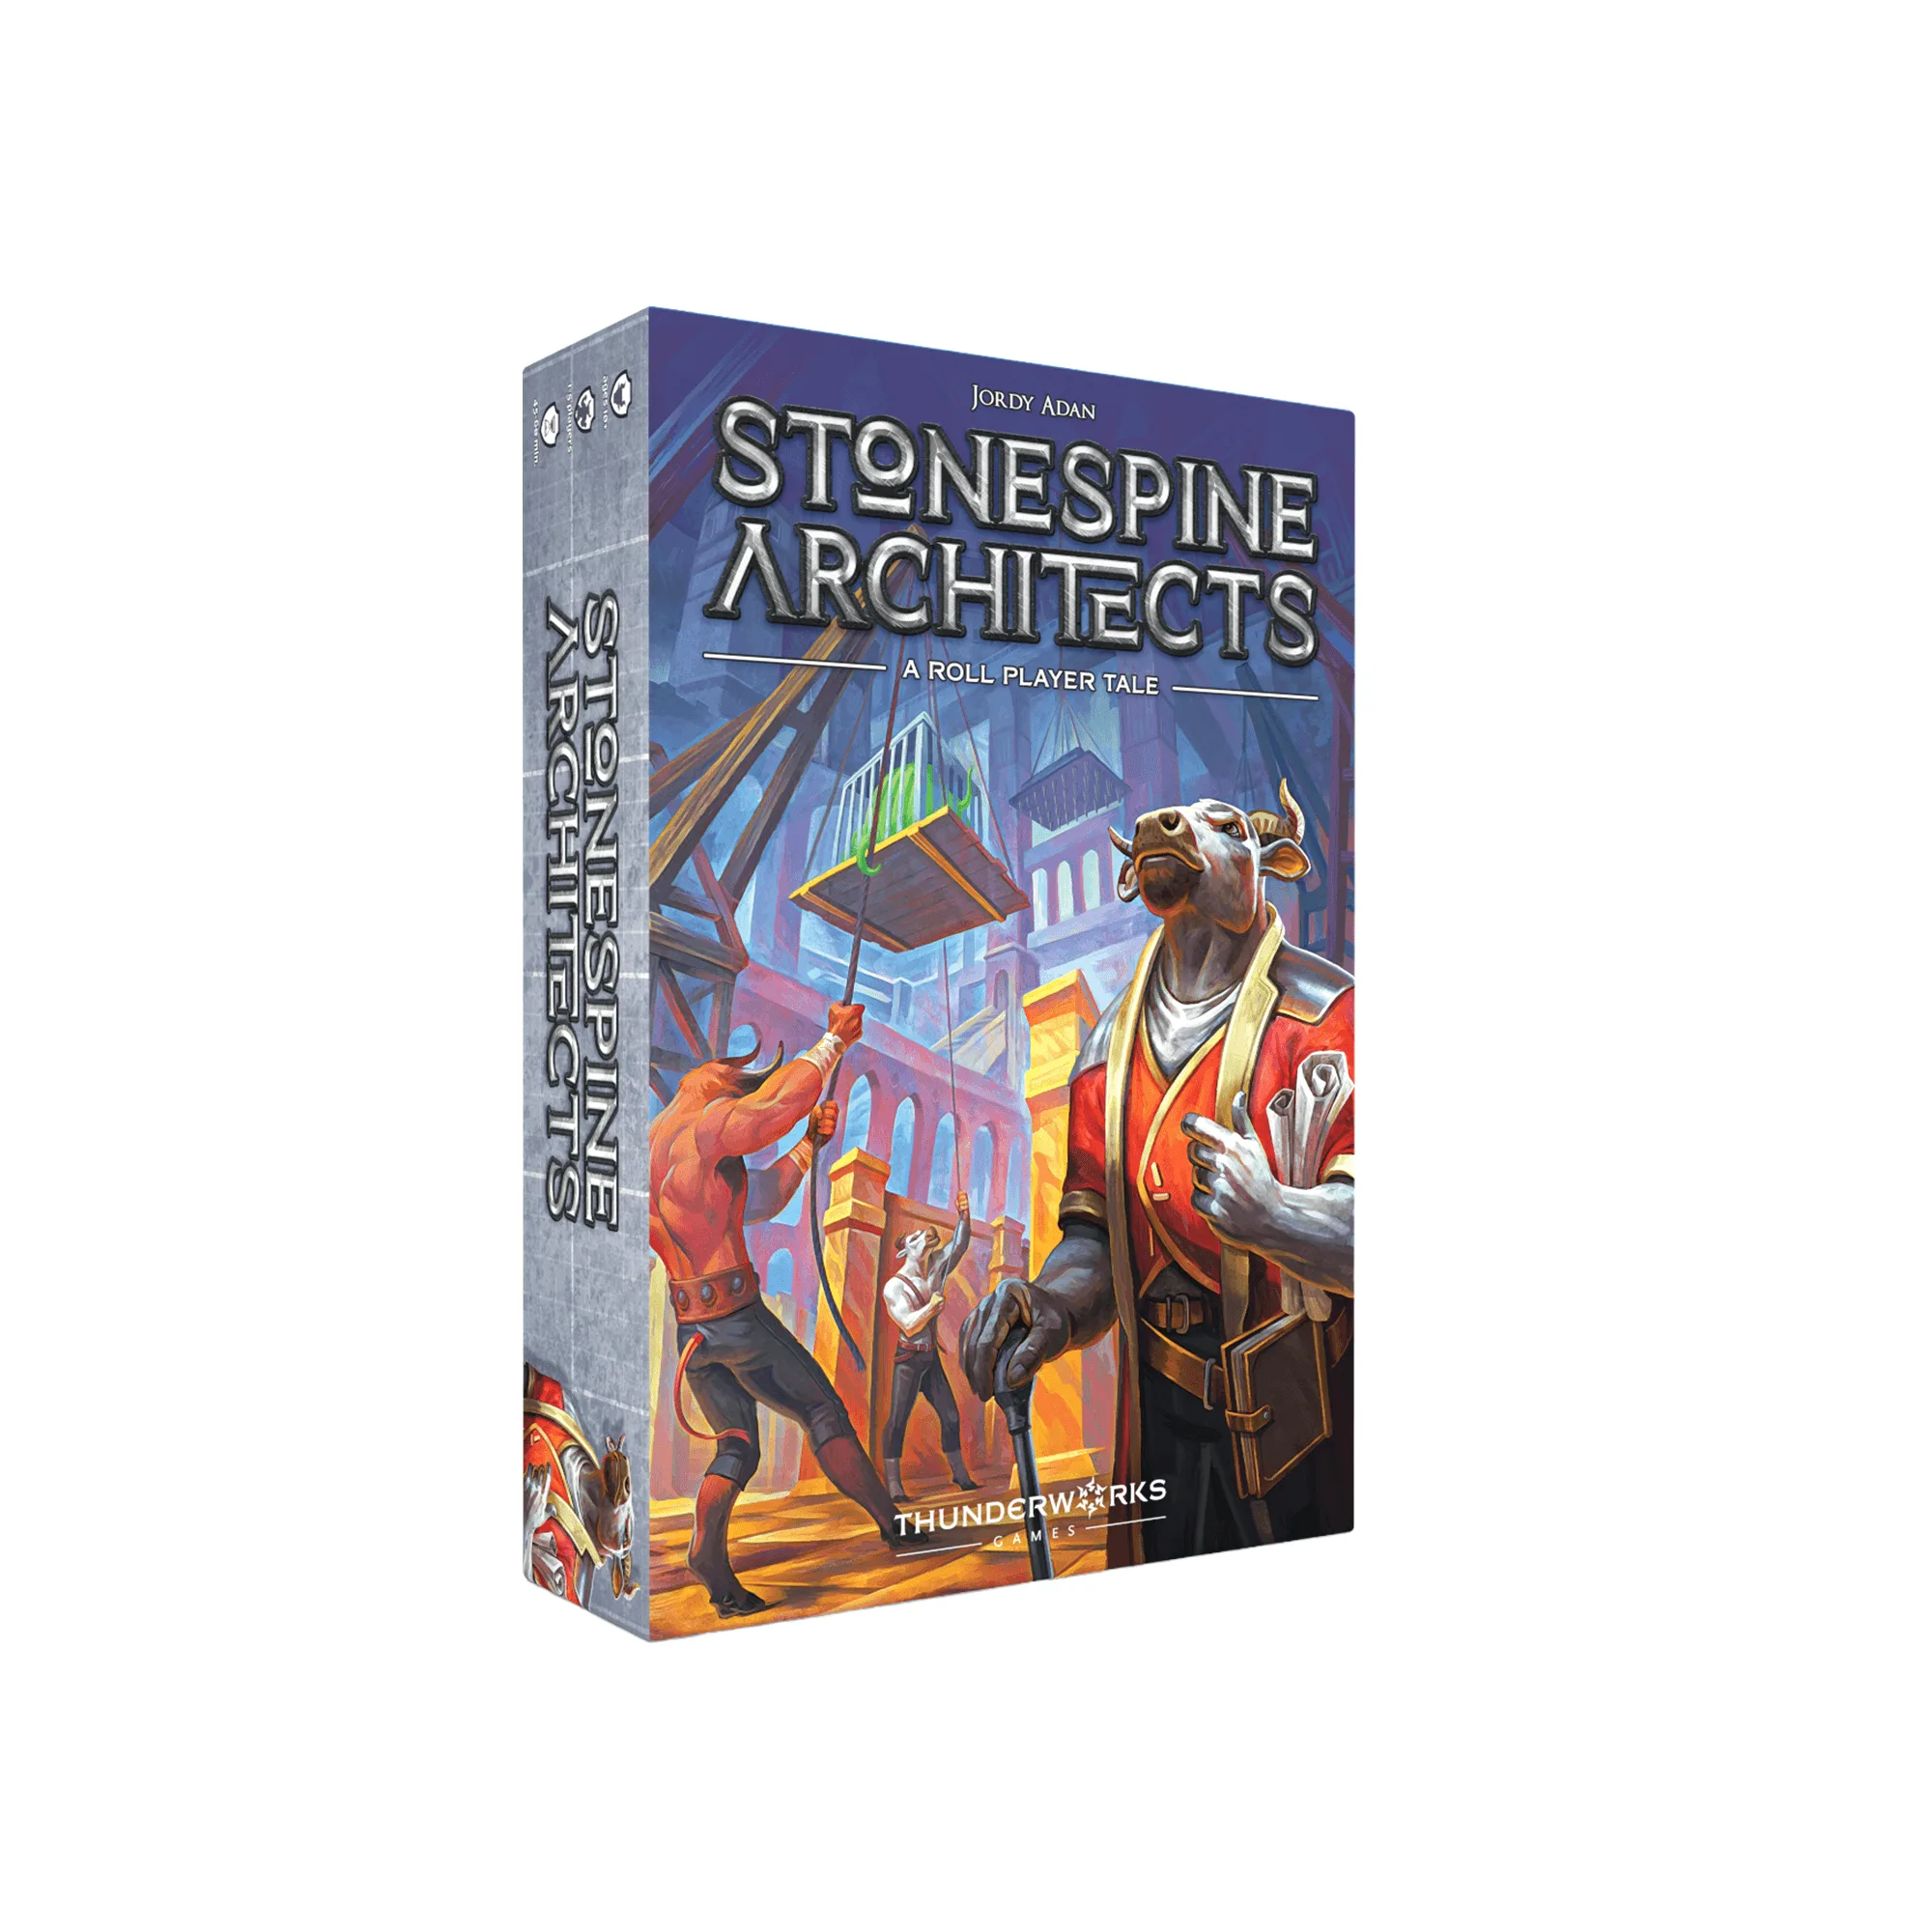
- Stonespine Architects: Build your own perilous dungeon and become a master architect! Features: pick-and-pass card drafting, tableau building, and scoring patterns. 1-5 players, 45-60 min. If you're painting minis for this dungeon-building game, you'll have plenty of stone and creature figures to customize, making your dungeon feel uniquely yours.
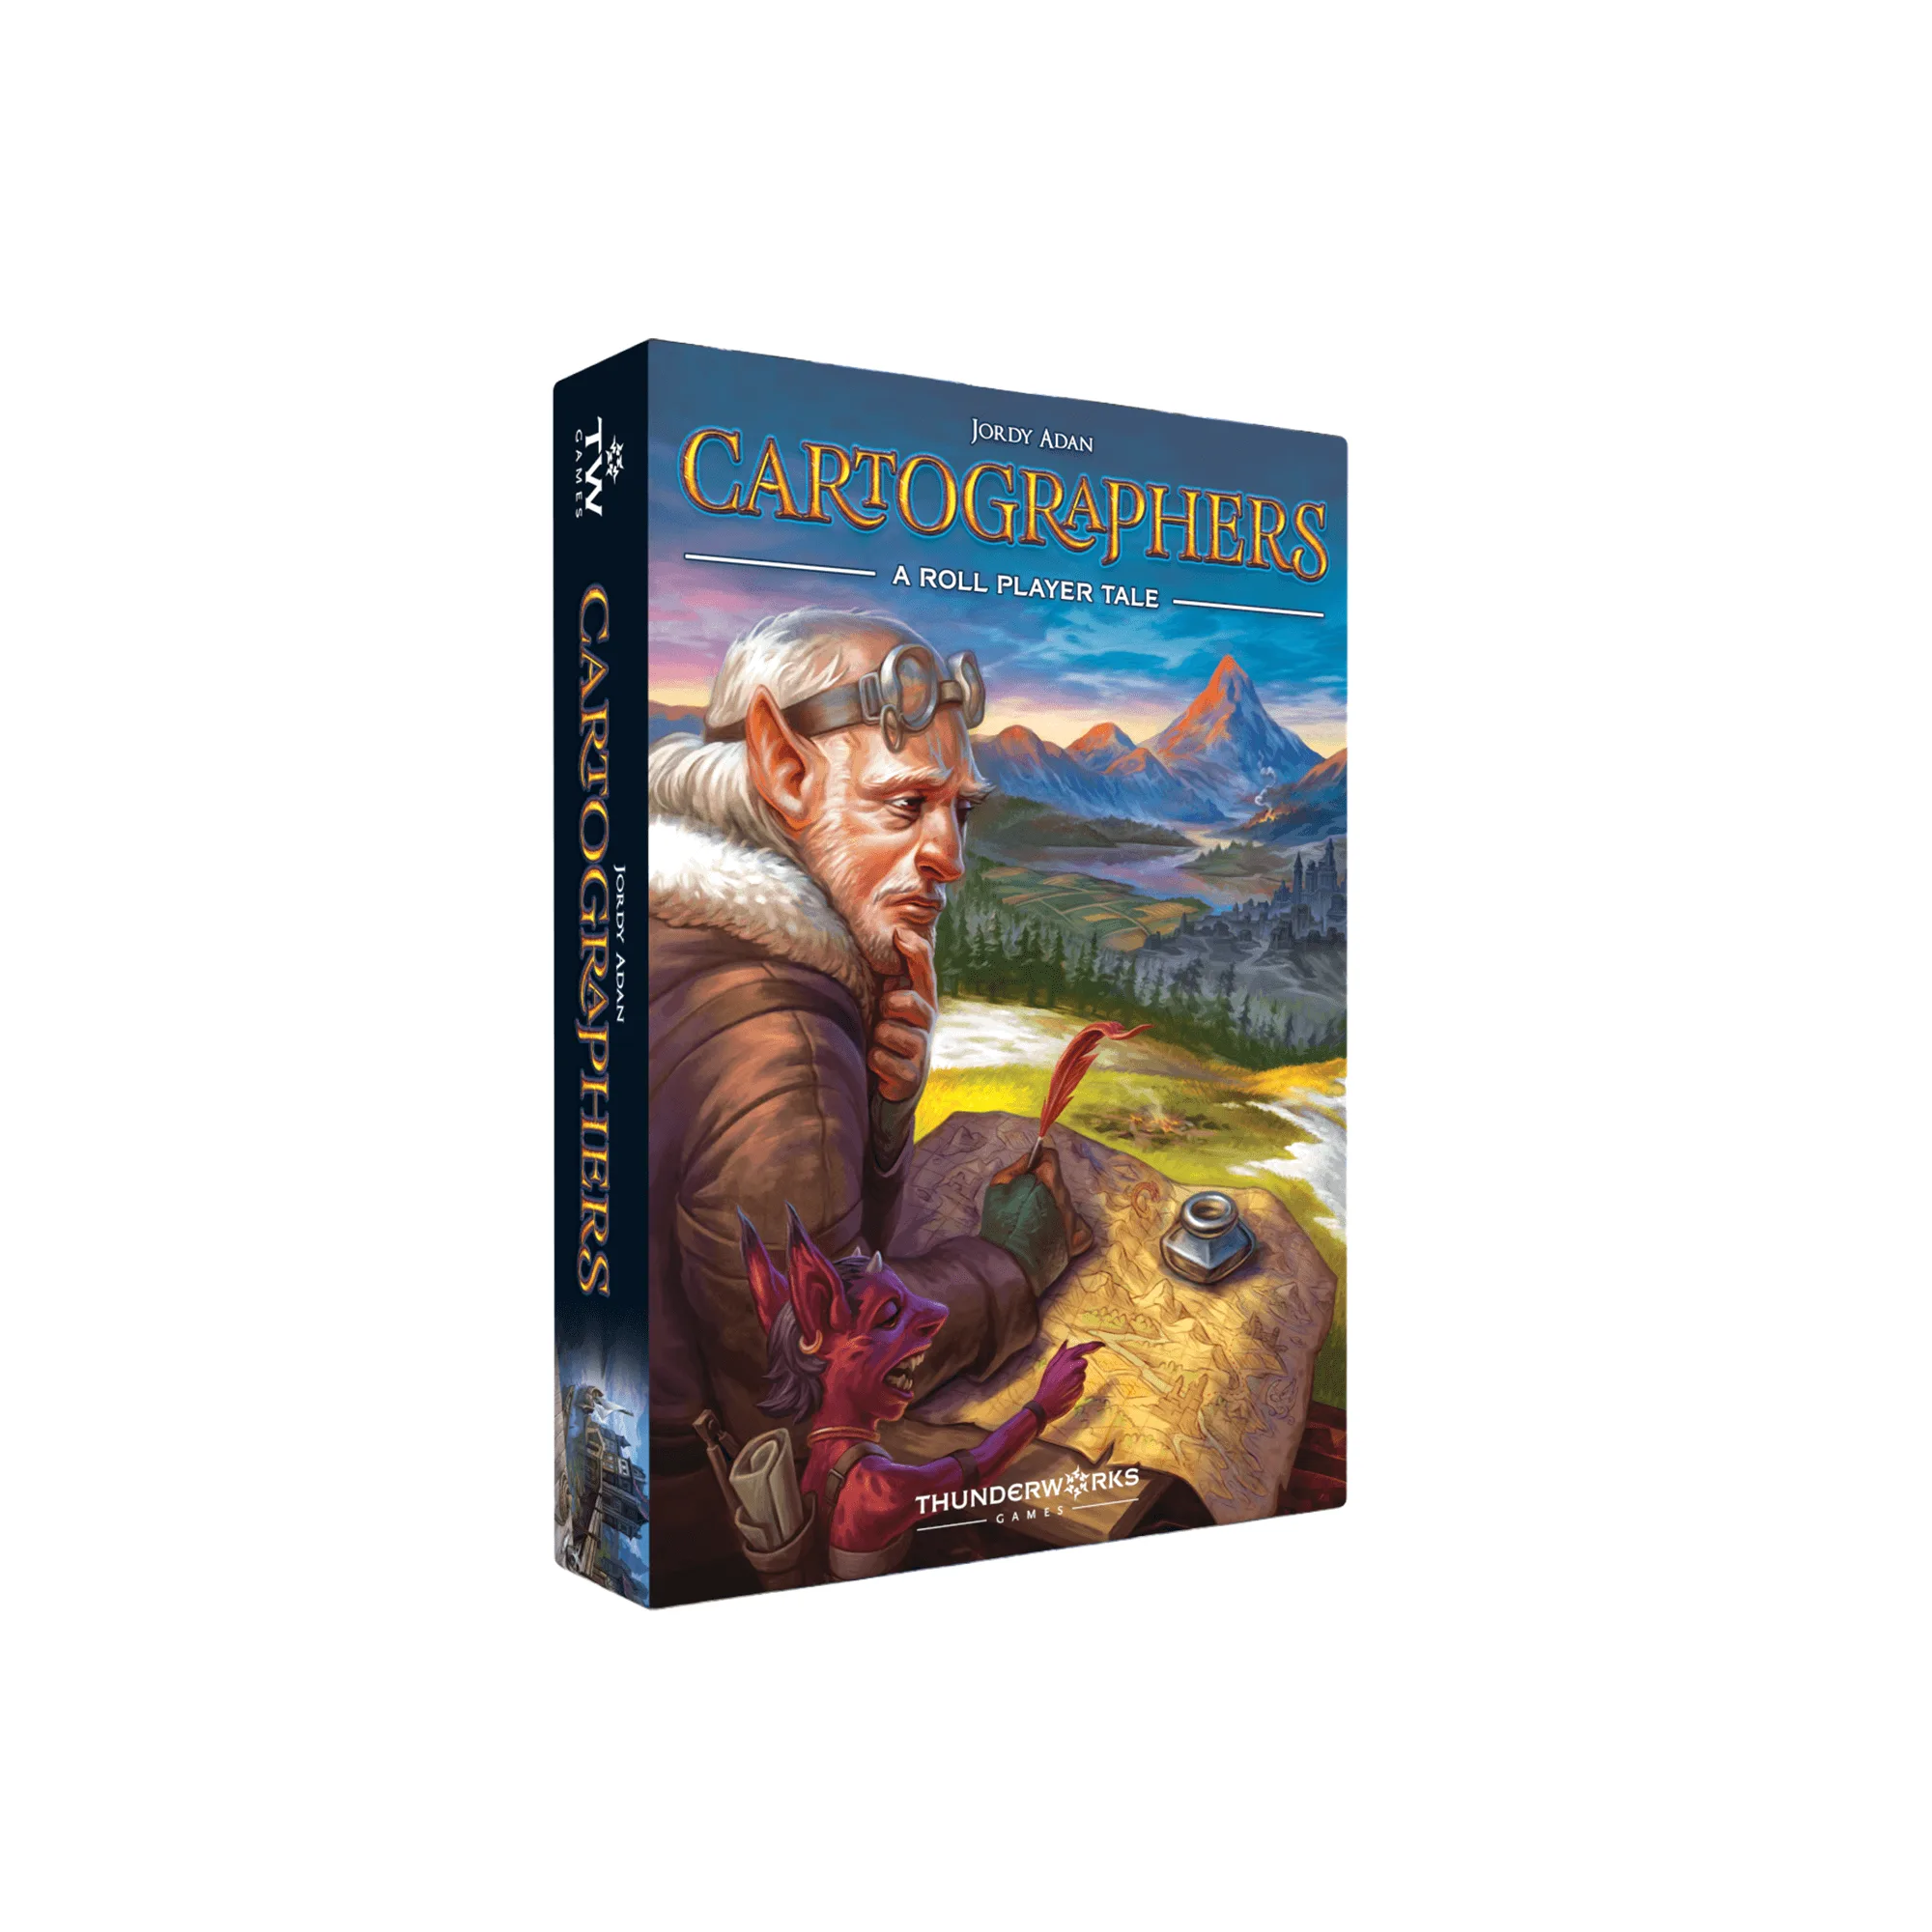
- Cartographers: Draw shapes to create your own fantasy map. The award-winning, fantasy map-drawing game for everyone - literally! Play by yourself or with up to 100 players of all ages. While Cartographers uses drawn maps rather than miniatures, you can apply the same painting principles to customize your game components, like painting the map sheets or creating custom tokens.
Painting your board game miniatures is a rewarding hobby that adds a personal touch to your games. With practice, you'll develop your own style and techniques. Remember to enjoy the process and don't be afraid to experiment. Happy painting!