Quick answer
You can paint metal dragon coins and tokens, but the metal must be clean and primed first, and the paint must be sealed to prevent tarnish and wear. Use thin acrylic layers, avoid handling the faces while painting, and finish with a clear coat that matches the metal's finish. For unpainted coins like Dawn of Ulos: 77 Metal Dragon Coins, focus on tarnish prevention and safe storage rather than paint.
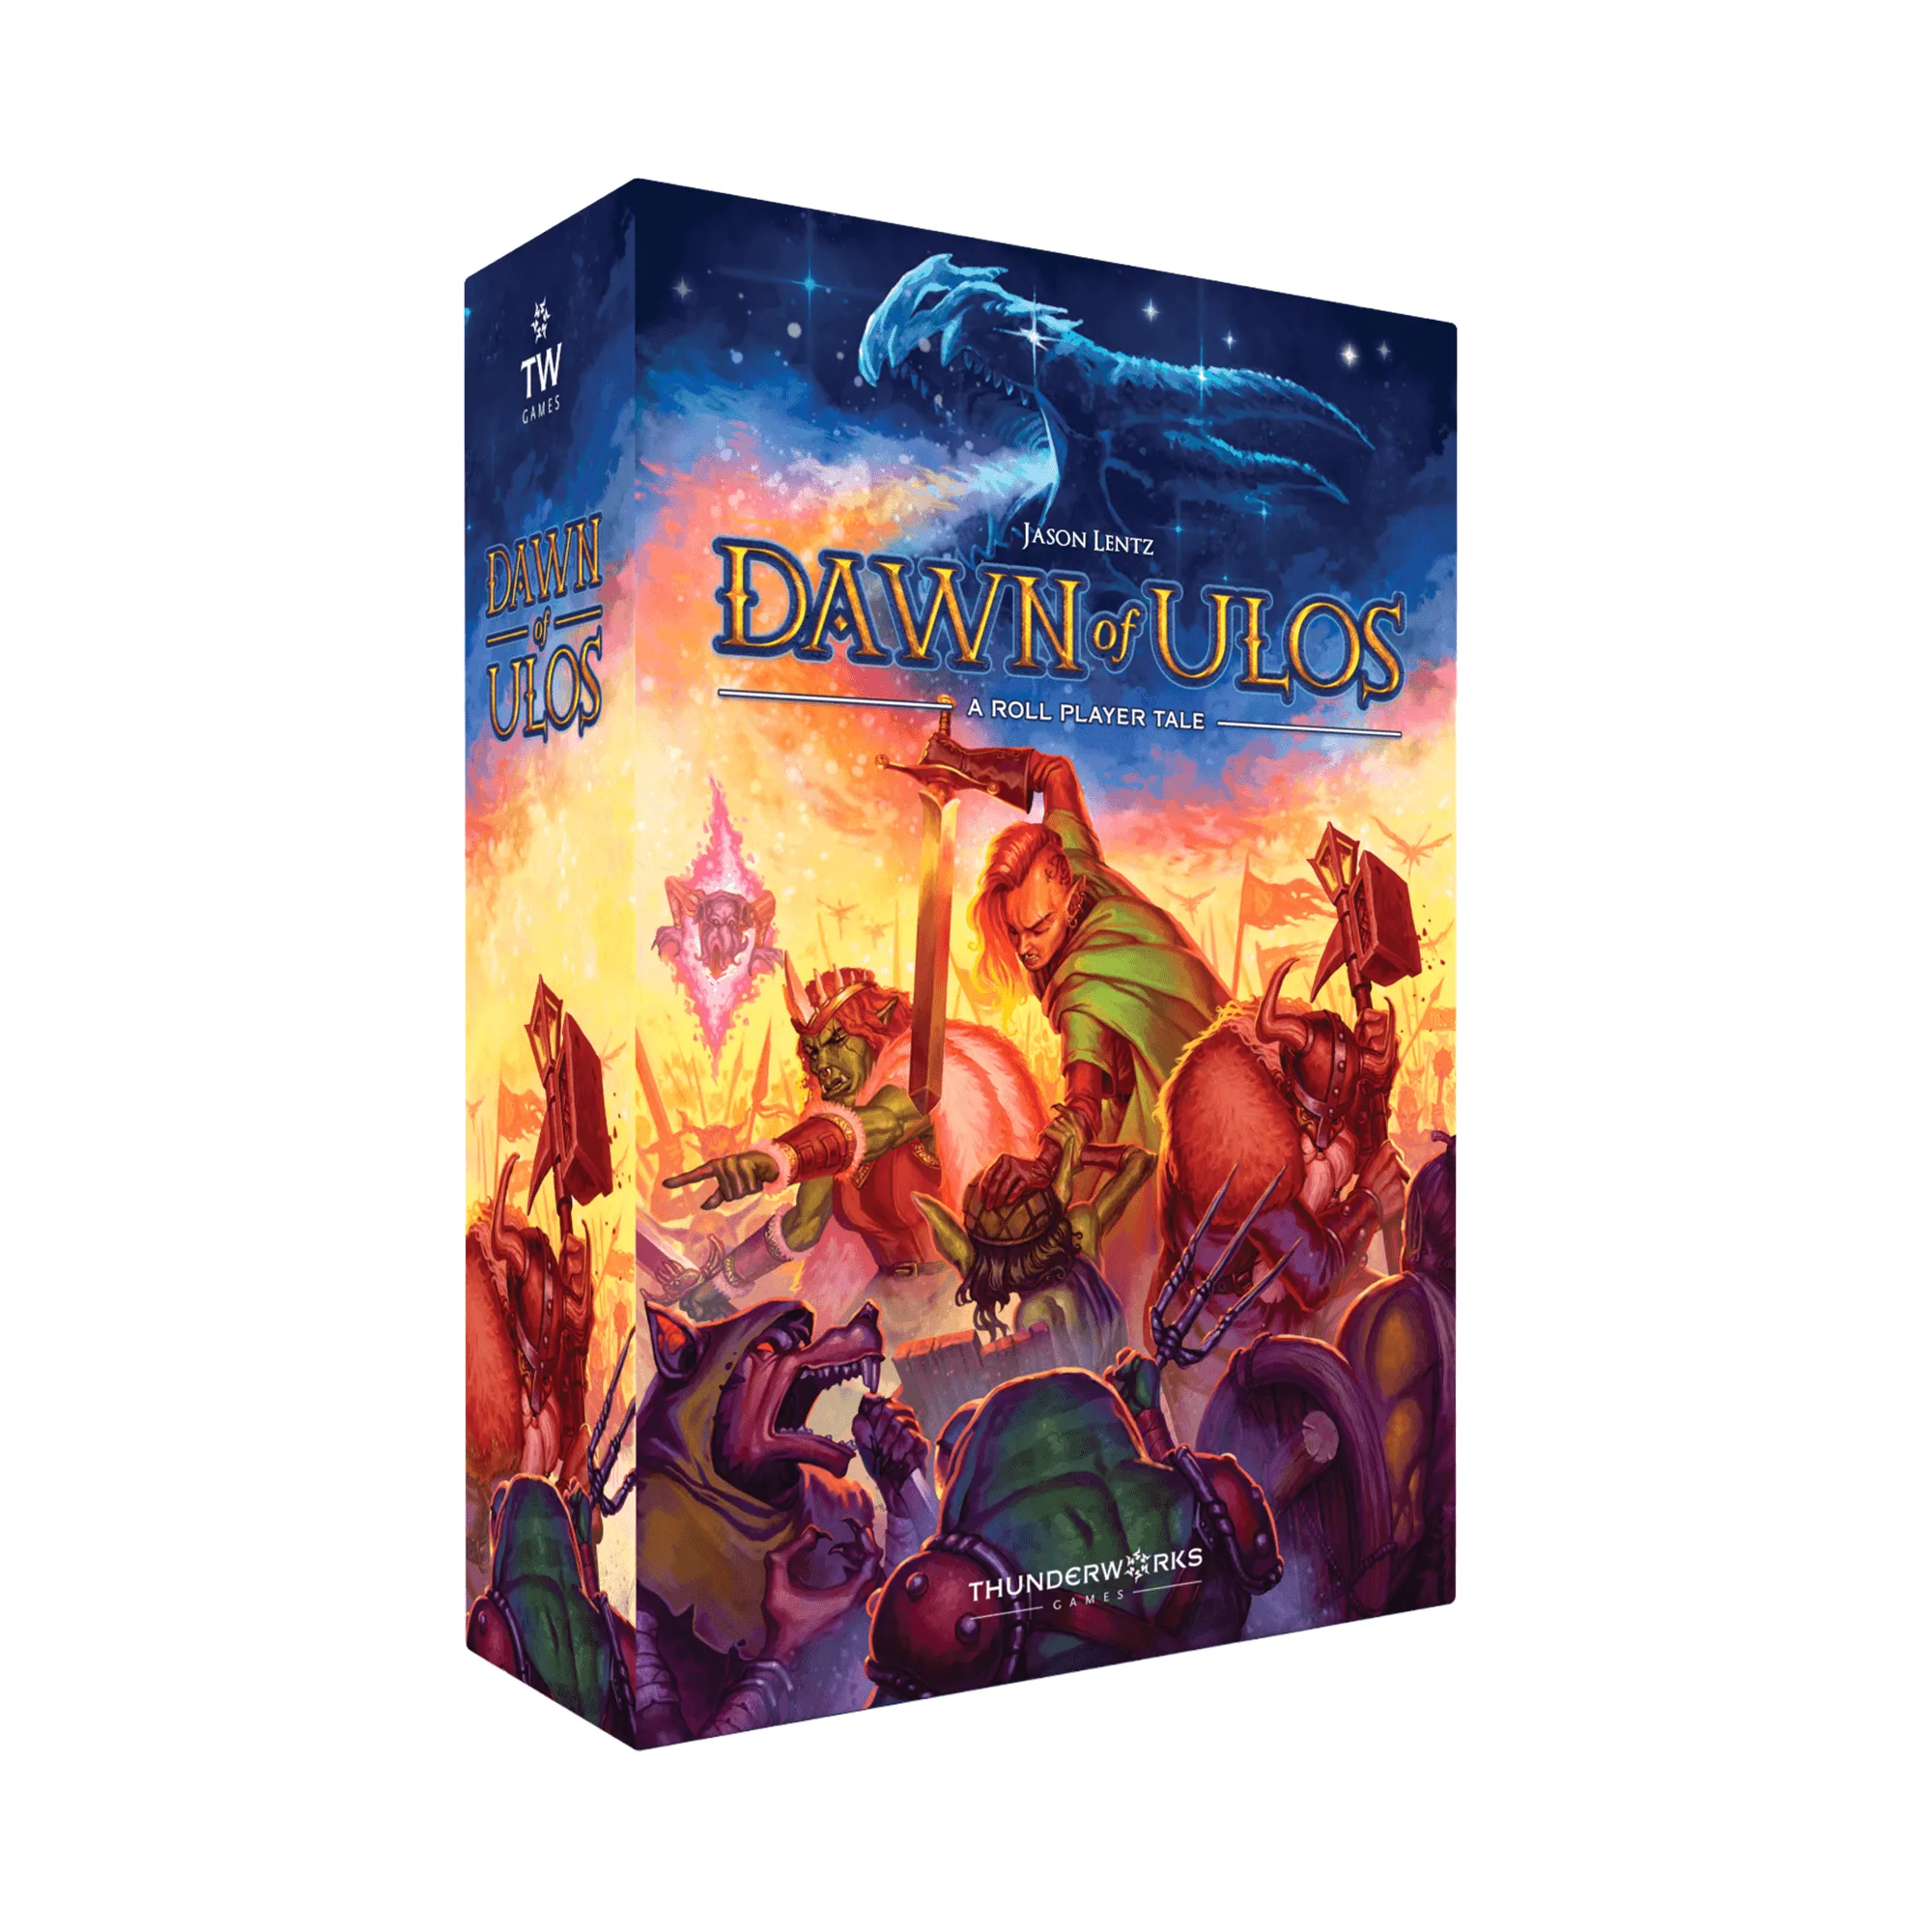
Dawn of Ulos
Prep the metal before any paint touches it
Metal coins and tokens arrive with oils from manufacturing and handling. Those oils stop paint from sticking and can trap moisture that leads to tarnish. Wash the pieces in warm water with a drop of mild dish soap, rinse well, and dry them completely with a soft cloth. For detailed castings, use an old toothbrush to reach recesses. Let them air-dry for at least an hour before priming. If you plan to paint only a few accent areas, you can skip full priming, but the surface still needs to be clean and dry. A common mistake is handling cleaned coins with bare fingers; the natural oils on your skin undo the cleaning. Wear nitrile gloves or handle coins by the edges.
Choose the right paint and tools for metal
Not all paints bond to metal. Water-based acrylics made for miniatures work well, but they need a primer or a clear adhesion promoter. Solvent-based enamels can also work but are harder to remove if you make a mistake. For fine details on coins, use a size 0 or 00 brush with a sharp tip. Metallic paints can look flat on metal; instead, use thin layers of regular acrylics and let the metal's own shine show through in recesses. If you want a colored metal look, apply a translucent ink or glaze rather than opaque paint. A checkpoint: test your paint on the edge of one coin first. If it beads up or scratches off easily after drying, your surface prep or primer is insufficient.
Paint in thin layers and let them cure
Thick paint hides detail and chips easily. Apply thin coats, letting each dry completely before adding the next. For raised designs, dry-brushing a lighter metallic color can highlight the relief without covering the whole coin. If you are painting a denomination number or symbol, use a fine brush and steady hand; a toothpick can help clean up edges. Avoid painting the entire face if the coin will be handled often, because paint on high-touch areas wears faster. After painting, let the coins cure for 24 hours in a dust-free place. Do not rush this step; uncured paint will wrinkle under a clear coat.
Seal the paint to prevent tarnish and wear
A clear sealer protects both the paint and the metal underneath. For metal coins, use a varnish designed for metal or miniatures. Matte varnish reduces shine; gloss varnish keeps a polished look but can be slippery. Many painters apply a gloss coat first for durability, then a matte coat on top to control shine. Spray sealers work, but apply them in thin, even passes from at least 8 inches away to avoid pooling. Brush-on sealers give more control for small batches. Important: some sealers can react with metal and cause discoloration. Test on one coin and wait 48 hours to check for cloudiness or tackiness. If you see any, remove it with isopropyl alcohol and try a different product.
Store and handle painted coins to avoid damage
Even sealed coins can chip if they rub against each other. Store painted coins in a soft pouch or a case with individual slots. Avoid airtight containers if the coins were recently sealed; trapped solvent can keep the sealer soft. For unpainted metal coins, store them in a dry place away from rubber bands, which can leave marks and speed tarnish. Handle coins by the edges and avoid dropping them on hard surfaces. If you notice tarnish on unpainted coins, a light polish with a jewelry cloth can restore shine, but do not use abrasive polishes on painted coins. A checkpoint: after a game session, wipe coins with a dry microfiber cloth before returning them to storage.
Step-by-step: painting and protecting metal coins
- Clean and degrease: Wash coins in warm soapy water, scrub recesses with a soft brush, rinse, and dry completely. Handle with gloves afterward. Checkpoint: water should sheet off evenly, not bead up.
- Prime or prepare the surface: Apply a thin coat of metal primer or adhesion promoter if you plan to paint large areas. For small accents, skip primer but ensure the surface is dry and oil-free. Common mistake: skipping primer on smooth metal, which leads to flaking.
- Paint in thin layers: Use acrylics made for miniatures. Apply multiple thin coats, letting each dry. Use a fine brush for details and avoid thick paint that fills recesses. Checkpoint: paint should be opaque but not hide the coin's texture.
- Cure fully: Let painted coins sit undisturbed for 24 hours at room temperature. Do not handle them during this time. Common mistake: sealing too soon, which traps solvent and causes wrinkles.
- Seal with varnish: Apply a thin coat of gloss varnish for durability, then a matte coat if you want less shine. Spray in thin passes or brush on carefully. Checkpoint: after 48 hours, the sealer should be hard and clear, not tacky.
- Store and handle with care: Keep painted coins in a soft pouch or slotted case. Store unpainted metal coins dry and away from rubber. Wipe after play. Next step: label your storage so you know which coins are sealed and which are bare metal.
Products that fit this process
- Dawn of Ulos: 77 Metal Dragon Coins: Dawn of Ulos: 77 Metal Dragon Coins includes 77 coins across 4 denominations (1 value x37, 5 value x26, 25 value x10, and one more), each 2.5 mm thick and collectively weighing 1.13 lbs. These coins are designed to replace cardboard favor tokens in Dawn of Ulos, but they also work as generic metal tokens in other games. Because they are unpainted metal, they benefit most from tarnish prevention and gentle storage rather than painting.
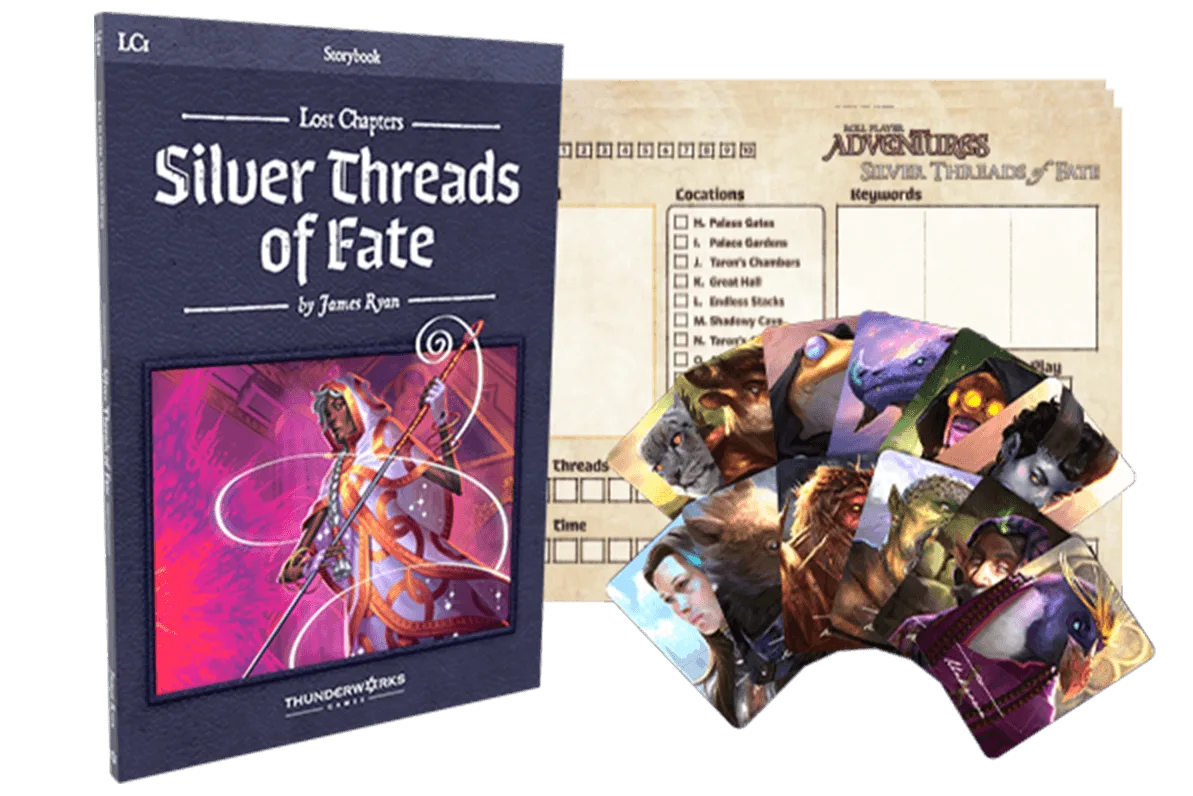
- Roll Player Adventures: Silver Threads of Fate + Lost Character Pack (Expansion): https://thunderworksgameseyb.com/products/roll-player-adventures-board-game-98f94c79c77c3648f8e6d5e8-897324Roll Player Adventures: Silver Threads of Fate + Lost Character Pack expansion includes a 108-page storybook and 10 party journals. If you paint or seal metal tokens for this campaign game, the journals give you a place to record which tokens were customized, helping you keep components organized across sessions.