Quick Answer
To paint your own crystal friend, start by choosing a wooden crystal cutout, then apply a base coat, add your design with acrylic paints, and finish with a sealant to protect your work. If you're new to painting, consider joining a crystal friend class where supplies and guidance are provided.
Why a Crystal Friend Class Helps Beginners
If you've never painted on wood before, a crystal friend class can be a great starting point. The instructor handles the setup, provides all materials, and offers real-time feedback, so you can focus on the fun part: decorating your crystal cutout. Plus, being in a group setting with other beginners can make the experience more social and less intimidating.
However, if you prefer to work at your own pace or want to save money, DIY crystal painting at home is totally doable. You just need to gather a few basic supplies and set aside a couple of hours. The trade-off is that you'll have to troubleshoot on your own, but the sense of accomplishment is just as rewarding.
Step-by-Step: Paint Your Own Crystal Friend
- Gather Your Supplies: Collect a wooden crystal cutout, acrylic paints in your favorite colors, paintbrushes in various sizes, a palette, water cup, paper towels, and a clear sealant. If you're attending a class, these will be provided for you. Check that you have a fine-tipped brush for details before you start.
- Prepare Your Workspace: Lay down newspaper or a plastic tablecloth to protect your surface. Have a cup of water nearby for rinsing brushes and paper towels for blotting excess paint. Good lighting is essential to see the details of your crystal shape. Avoid using a surface that can be easily stained—cover it thoroughly.
- Apply a Base Coat: Paint a thin, even layer of white or light-colored acrylic over the entire wooden cutout. This helps the final colors pop and provides a smooth surface. Let it dry completely before moving on. Don't skip the base coat—it prevents the wood grain from showing through.
- Sketch Your Design (Optional): If you want a specific pattern or character, lightly sketch it with a pencil before painting. This acts as a guide and helps you stay within the lines, especially if you're a beginner. Use a soft pencil so you can erase any mistakes without damaging the base coat.
- Paint Your Design: Start with larger areas using a medium brush, then switch to a fine-tipped brush for details. Apply multiple thin coats rather than one thick layer to avoid brush strokes and uneven color. Let each coat dry before adding the next. If the paint looks streaky, don't panic—wait for it to dry and add another thin coat.
- Add Sparkle and Personalization: Once your base design is dry, you can add glitter, rhinestones, or a layer of sparkly paint to give your crystal friend some shimmer. Write your name or a special date on the back to make it truly yours. Use a small brush or toothpick to place tiny decorations precisely.
- Seal Your Artwork: After all paint and decorations are completely dry, apply a clear sealant (like a spray or brush-on varnish) to protect your work from chips and fading. Follow the manufacturer's instructions for drying time. Sealing is essential if you plan to display your crystal friend in direct sunlight or handle it often.
Product Spotlight
-
Paint Your Own Crystal Friend Class - October 7, 2026: The Paint Your Own Crystal Friend Class on October 7, 2026, provides all painting and decorating supplies, and is held at The Crystal Guide in Portland. You don't need to buy any materials beforehand—just show up ready to create, which lowers the barrier for beginners.
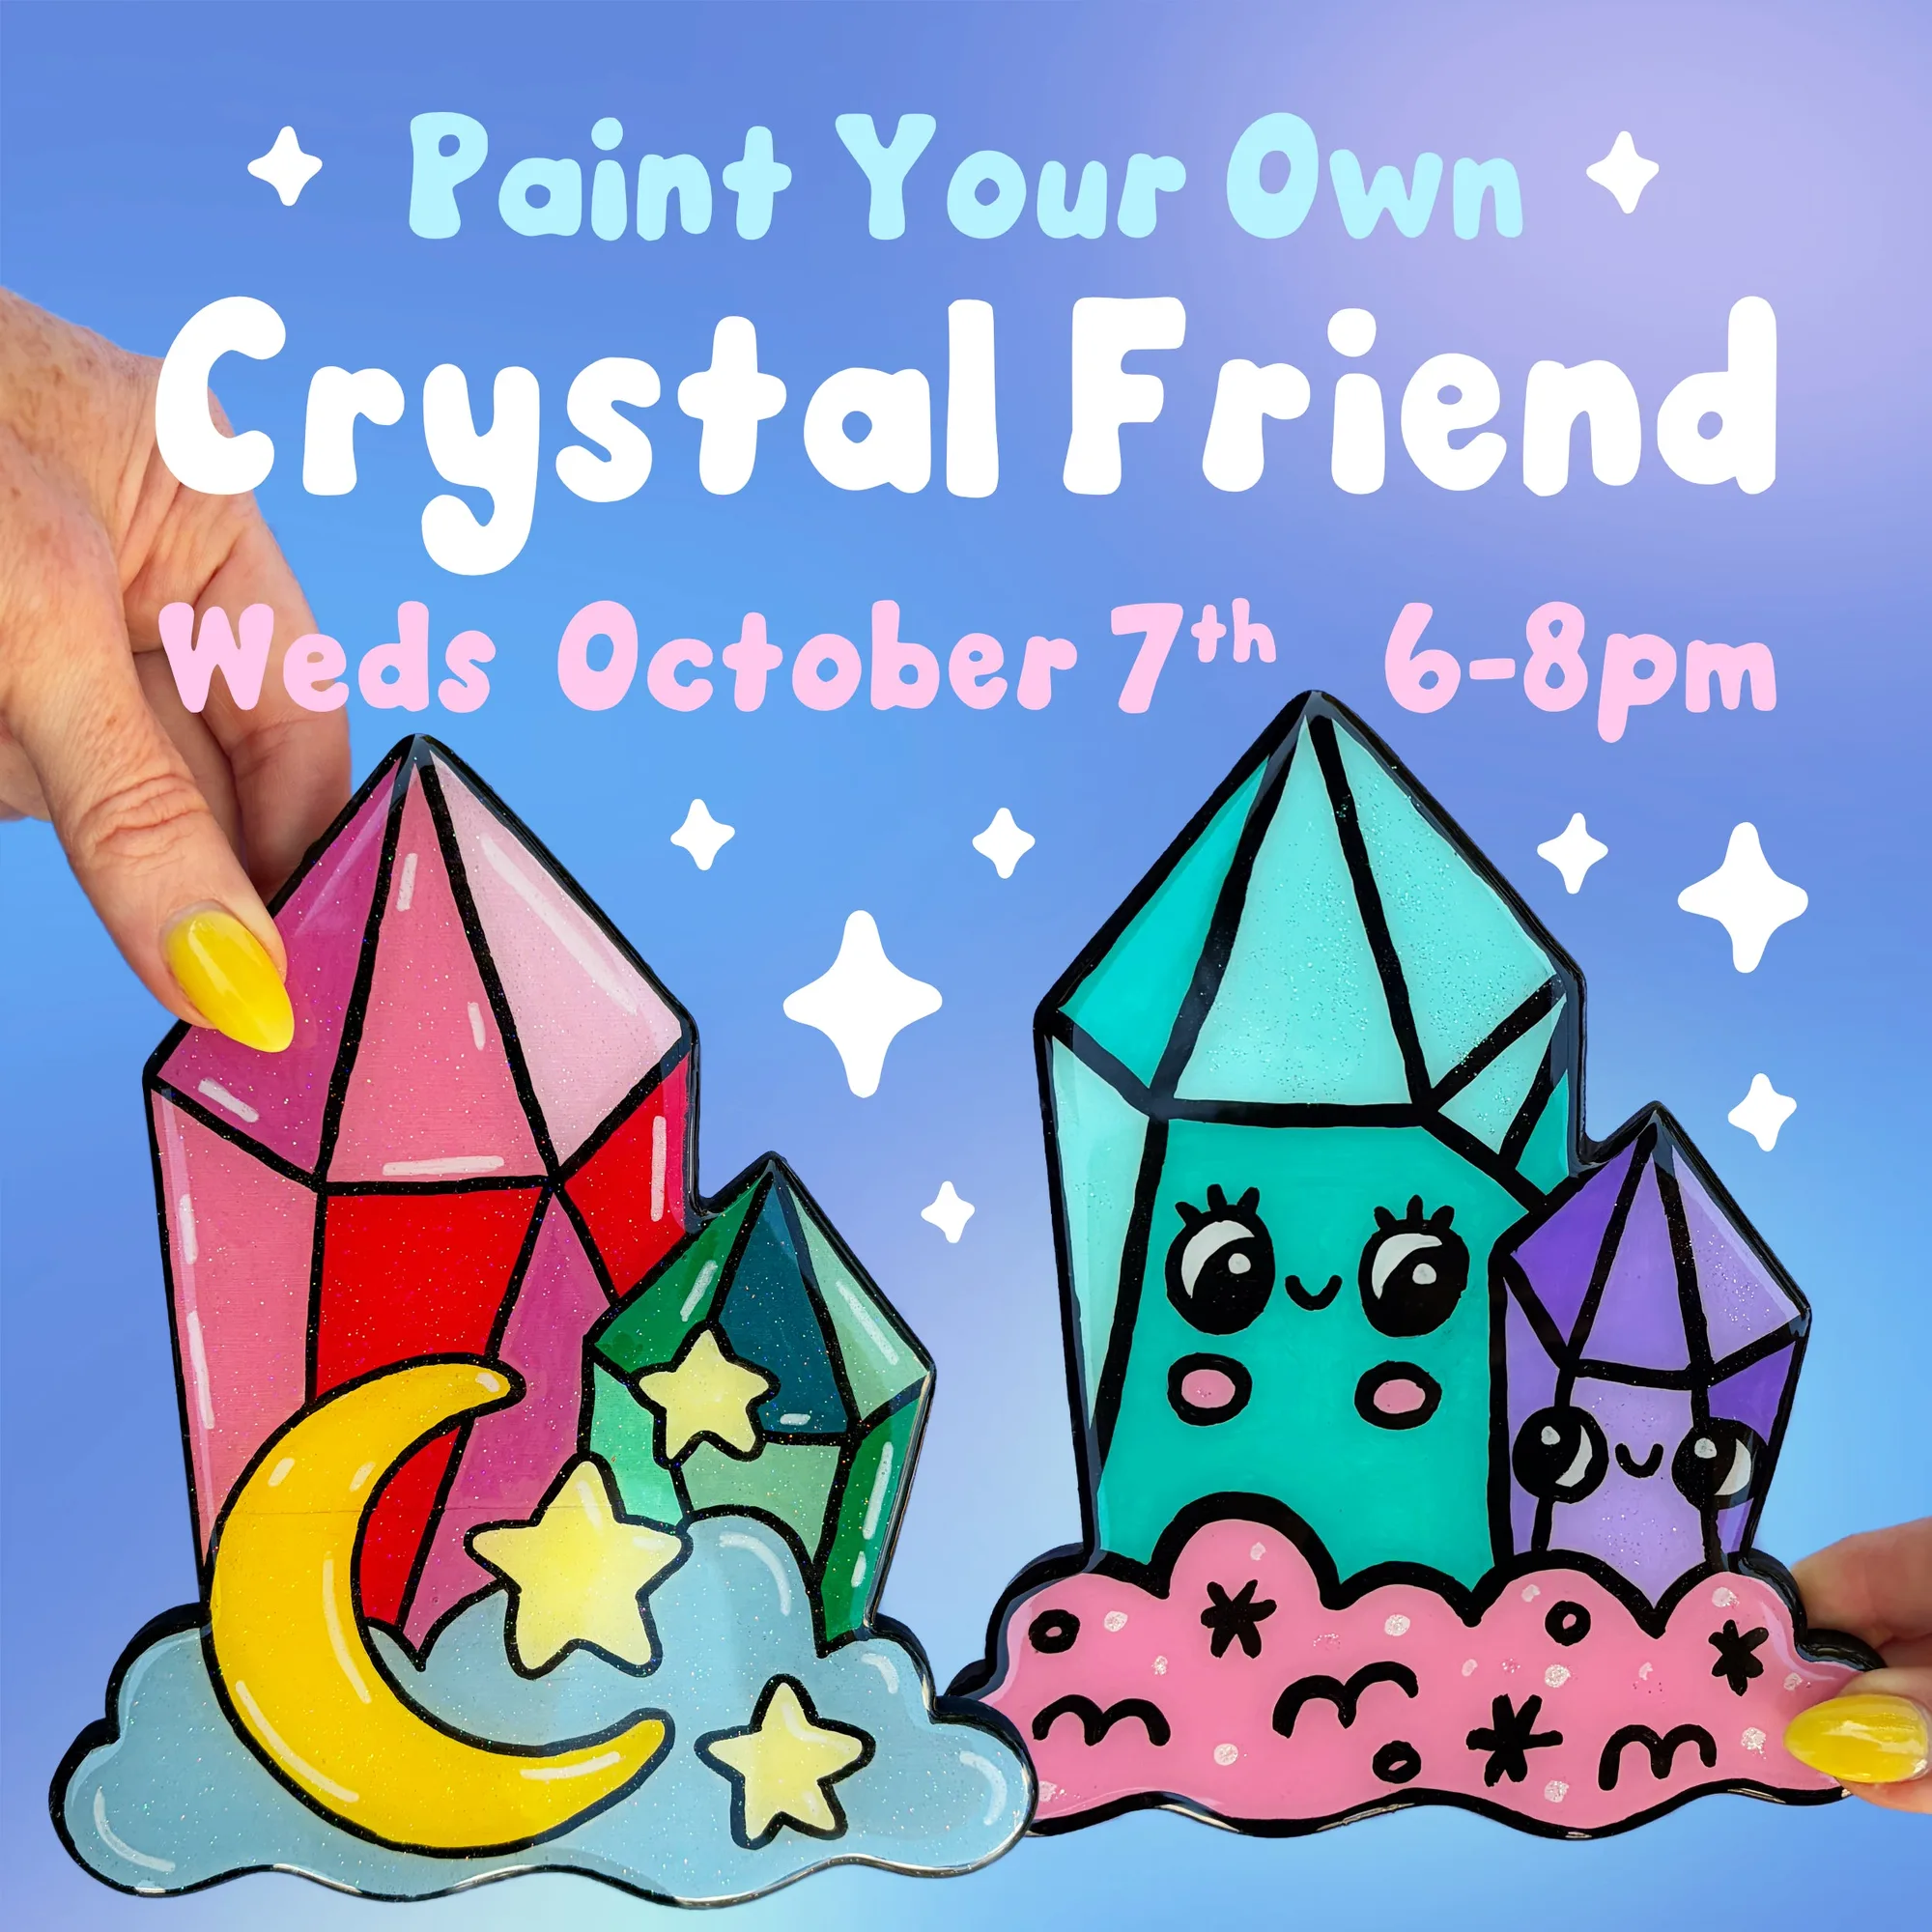
Paint Your Own Crystal Friend Class - October 7, 2026