Quick Answer
Panel lining your Gundam model kits is the fastest way to add depth and realism. Use a panel line accent color or a fine-tipped marker to trace the engraved lines, then clean up excess with a cotton swab. Start with simple techniques and practice on spare parts before moving to your main kit.
Panel lining is the technique of darkening the recessed lines on your Gundam model kit to make the details pop. It's one of the most impactful and beginner-friendly ways to elevate your build without advanced tools or painting skills. Whether you're working on a high-grade or a master-grade kit, clean panel lines can transform the overall look.
In this guide, we'll walk you through the essential steps, from choosing the right materials to applying the panel line accent color and avoiding common mistakes. You'll also learn about the differences between panel line washes and markers, and how to fix errors when they happen.
Why Panel Line Your Gundam Model Kit?
Panel lining adds contrast to the plastic, making the kit's surface details more visible and giving it a more finished appearance. It's a low-cost, low-risk upgrade that even beginners can master. Unlike painting, panel lining doesn't require an airbrush or spray cans, and it can be done on a fully assembled model or on the runner before assembly.
The technique involves applying a dark ink or paint into the engraved panel lines, then wiping away the excess from the surface. This creates a shadow effect that mimics depth. The result is a more dynamic and realistic look that makes your Gundam stand out on the shelf.
- Start with a cheap or spare kit to practice before your main build.
- Use a gloss coat if you're applying a wash to bare plastic, as it helps the ink flow and prevents staining.
Choosing Your Panel Lining Method: Markers vs. Washes
There are two primary ways to panel line: using a fine-tipped Gundam marker or using a panel line accent color (a ready-to-use enamel wash). Markers are easy to control and ideal for beginners. They work well on bare plastic and don't require any cleanup, though they can be less precise on very fine lines.
Panel line accent color is a liquid wash that flows into the lines via capillary action. It gives a more even and crisp result, especially on detailed kits. However, it requires a bit more preparation and cleanup, and you need to be careful not to let it pool or stain the plastic. Many modelers use a combination of both: markers for quick lines and washes for deeper panel lines.
- If you use a wash, apply it with a fine brush or the bottle's applicator tip, then let it dry before cleaning.
- Always test on a spare runner to see how the plastic reacts.
Preparing Your Kit for Panel Lining
Before you start, make sure your kit is clean and free of dust or grease. If you've already assembled the model, you can panel line directly on the plastic. For best results, some modelers apply a gloss coat first. This is especially important if you're using a panel line wash, as the smooth surface helps the ink flow and makes cleanup easier.
If you're panel lining on bare plastic, be aware that some washes can make the plastic brittle if applied too heavily. Always use a light touch and avoid letting the liquid pool in large areas. For markers, no special preparation is needed, but wiping the surface with a cloth can help the ink adhere.
- Consider panel lining on the runners before assembly for easier access to each part.
- Keep a cotton swab and some lighter fluid or rubbing alcohol handy for cleanup.
Step-by-Step: How to Panel Line Your Gundam Model Kit
Now let's get into the actual process. This step-by-step guide works for both markers and washes. The key is to work in small sections and clean up as you go.
Start by applying the panel line accent color or marker to the engraved lines. Let it dry completely, then use a cotton swab slightly dampened with the appropriate solvent to wipe away the excess. Work in one direction to avoid smudging. For stubborn residue, use a clean swab or a bit more solvent.
- Always test on a hidden area first to ensure the solvent doesn't damage the plastic.
Step-by-Step Panel Lining Process
- Step 1: Gather Your Materials: You'll need a panel line marker or panel line accent color, a fine brush, cotton swabs, and a solvent like lighter fluid or rubbing alcohol. Optionally, a gloss coat spray. Checkpoint: Ensure you have a clean, well-lit workspace.
- Step 2: Prepare the Surface: Clean the parts to remove dust and oils. If using a wash, apply a gloss coat and let it dry completely. Checkpoint: Test on a spare part first to see how the plastic reacts.
- Step 3: Apply the Panel Line Ink: Using the marker or a brush with wash, trace the panel lines. For washes, let the liquid flow naturally into the lines. Checkpoint: Work in small sections to avoid the ink drying too fast.
- Step 4: Let It Dry: Allow the ink to dry completely. This can take a few minutes for markers and longer for washes. Checkpoint: Don't rush; premature cleanup can smudge the lines.
- Step 5: Clean Up Excess: Dampen a cotton swab with solvent and gently wipe along the surface to remove excess ink. Use a clean swab for stubborn spots. Checkpoint: If you smudge a line, reapply and clean again.
- Step 6: Final Touch-Ups: Once dry, inspect your work. For any missed lines, apply more ink and repeat the process. You can also use a fine sandpaper to remove any stains. Checkpoint: Apply a topcoat to protect your panel lines if desired.
Products to Help You Get Started
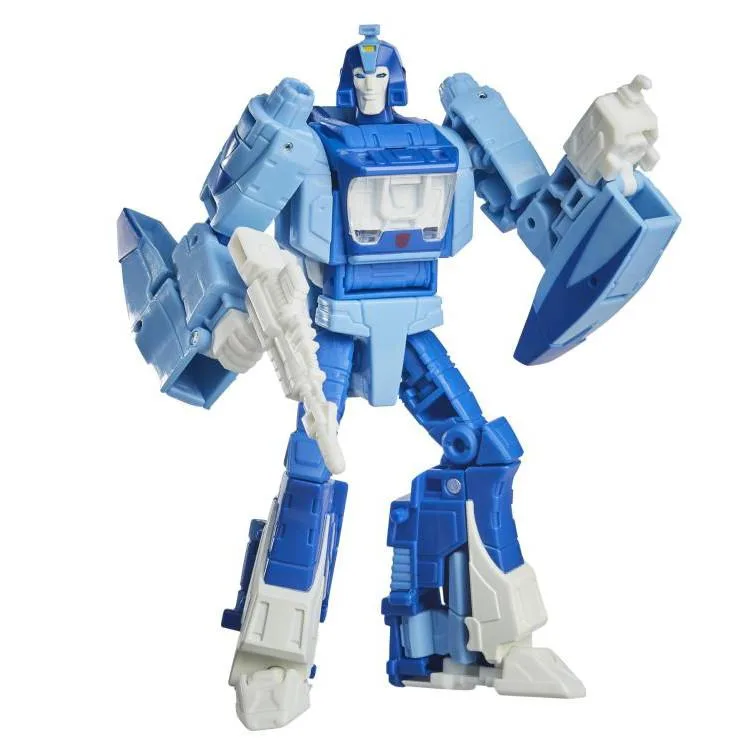
- Transformers Studio Series 86 - Deluxe Blurr: Reach past the big screen and build the ultimate Transformers collection with Studio Series figures, inspired by iconic movie scenes and designed with specs and details to reflect the Transformers movie universe. Now including The Transformers: The Movie! This Studio Series 86-03 Deluxe Class The Transformers: The Movie-inspired Blurr figure converts from robot to Cybertronian hovercar mode in 18 steps. If you enjoy the detailing aspect of model kits, you might appreciate the intricate engineering in figures like this Blurr. While it's not a Gundam, it shows how panel lining techniques can be applied to other mecha figures to enhance their movie-accurate details.
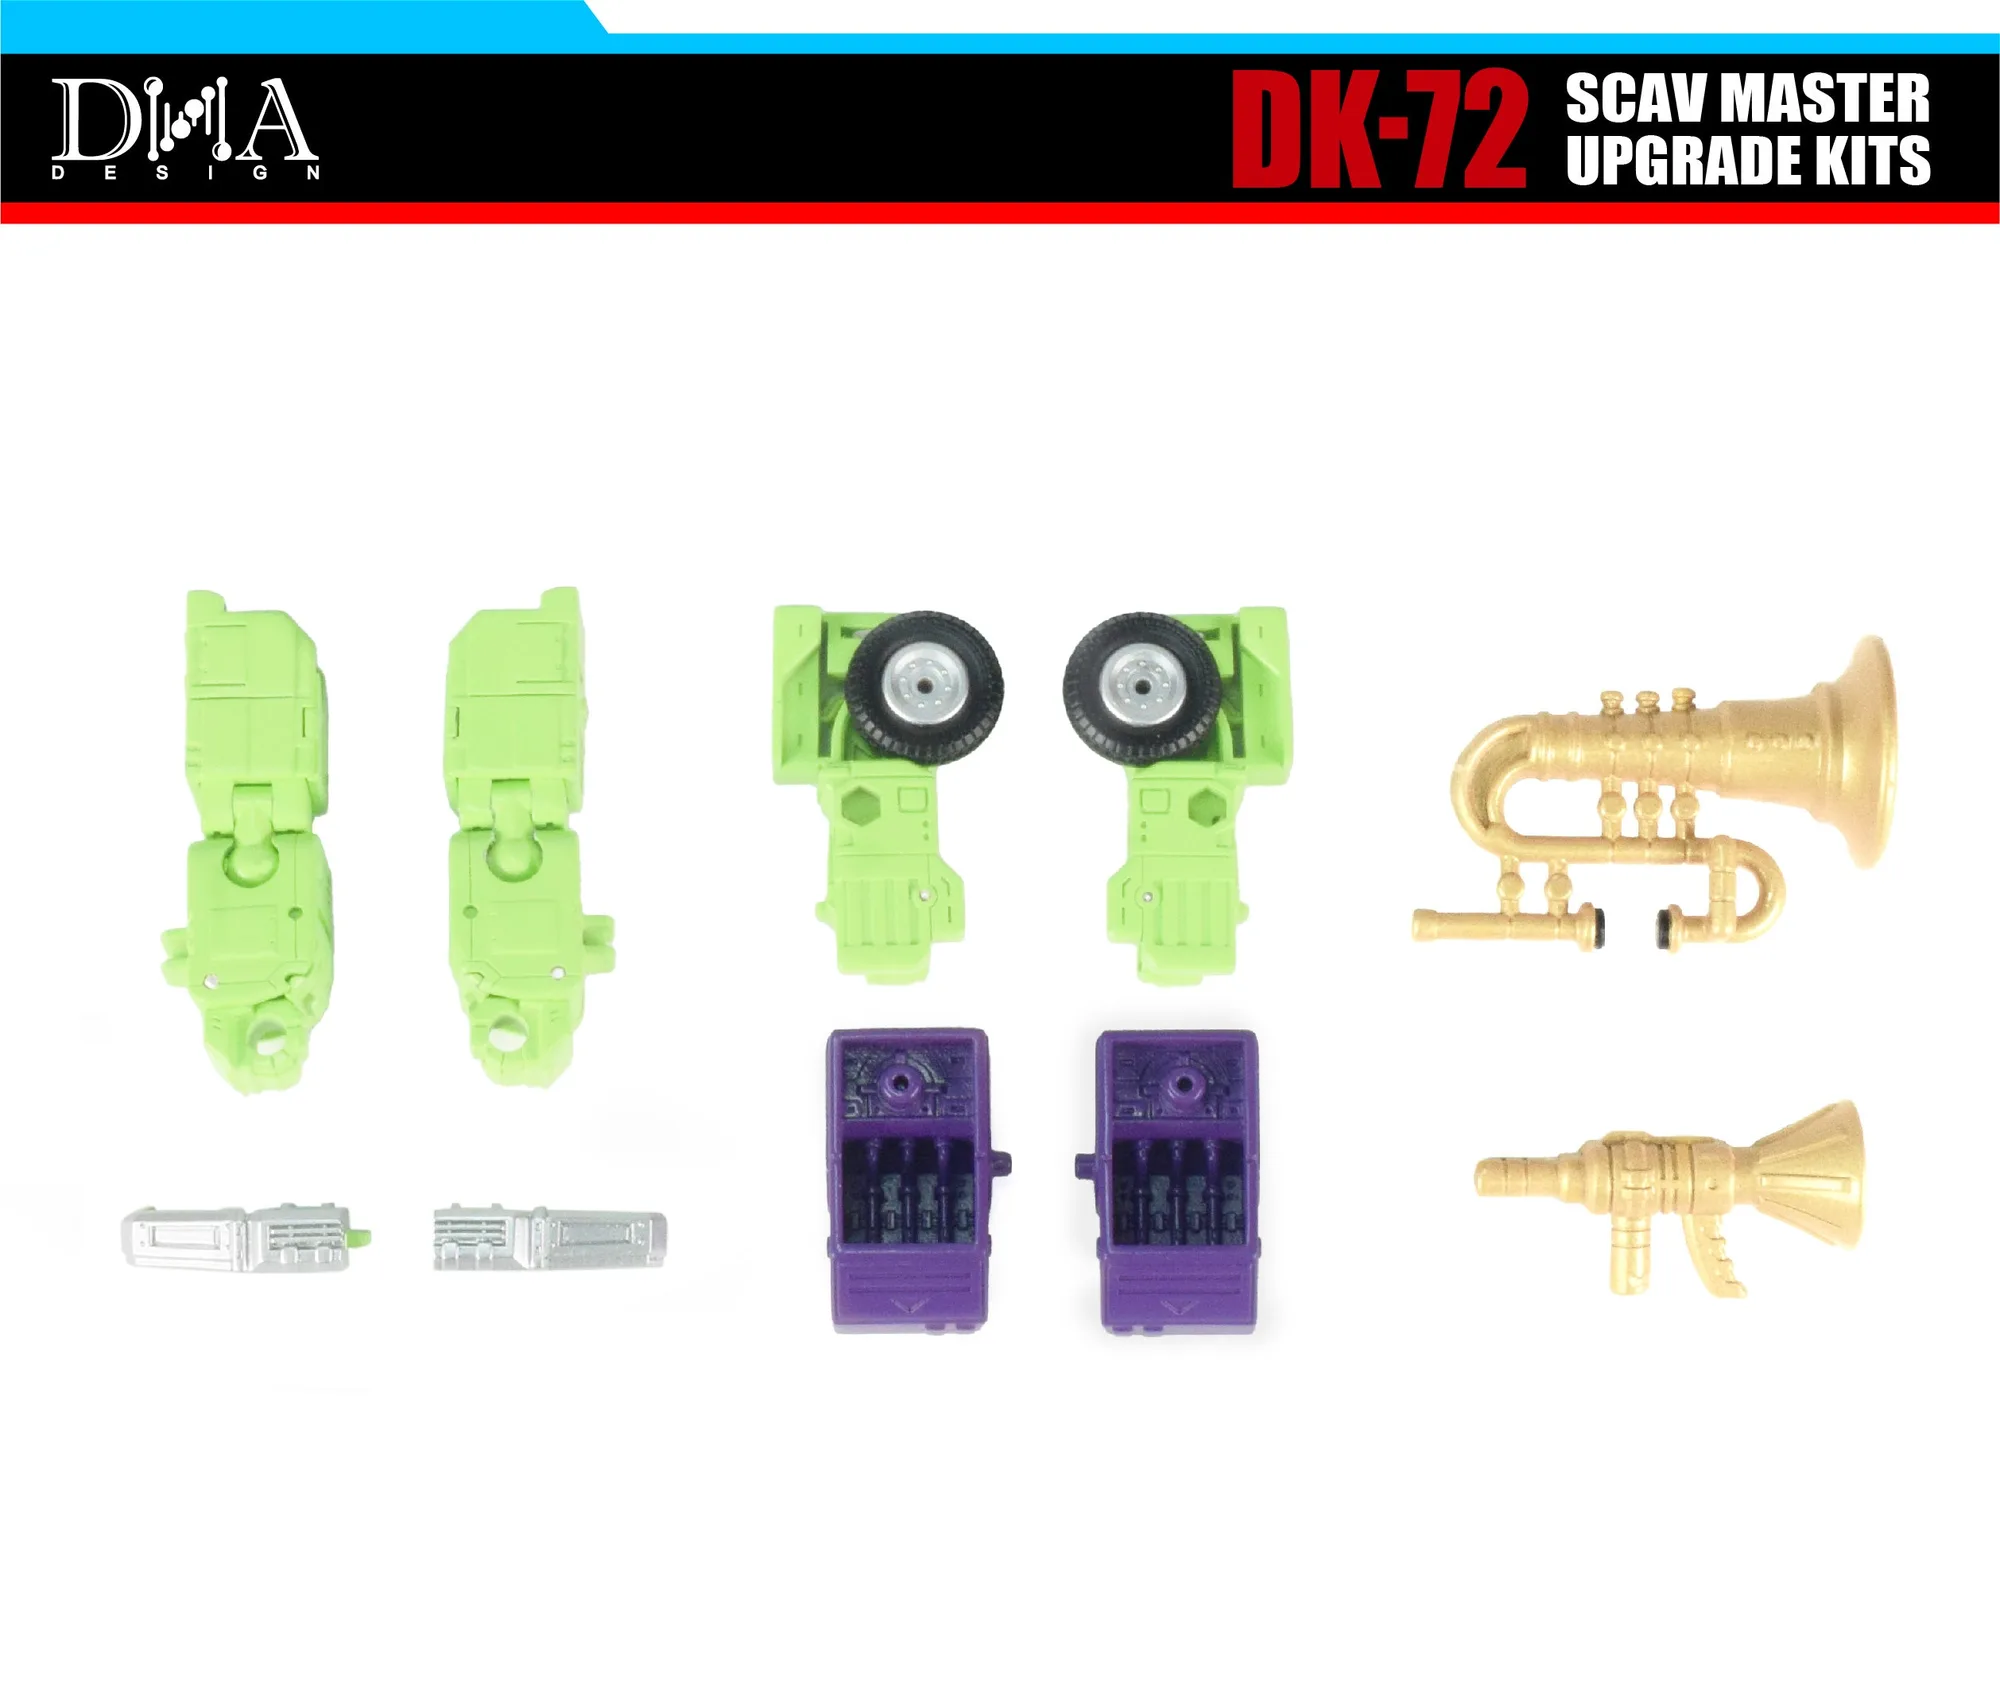
- DNA Designs - DK-72 - Upgrade Kit for Transformers Studio Series Scavenger and Mixmaster: The DK-72 Upgrade Kit contains a selection of new and improved accessories and attachments that are compatible with Transformers Studio Series Scavenger & Mixmaster. (Sold separately and not included.) Upgrade kits can add new details to your figures, and panel lining those new parts can help them blend seamlessly with the original figure. This kit is a great example of how aftermarket parts can expand your customization options.
Panel lining is a rewarding skill that adds a professional touch to your Gundam model kits. With the right tools and a bit of practice, you'll be able to create crisp, clean details that make your builds stand out. Remember to start simple, test on spare parts, and take your time. Happy building!