Quick answer
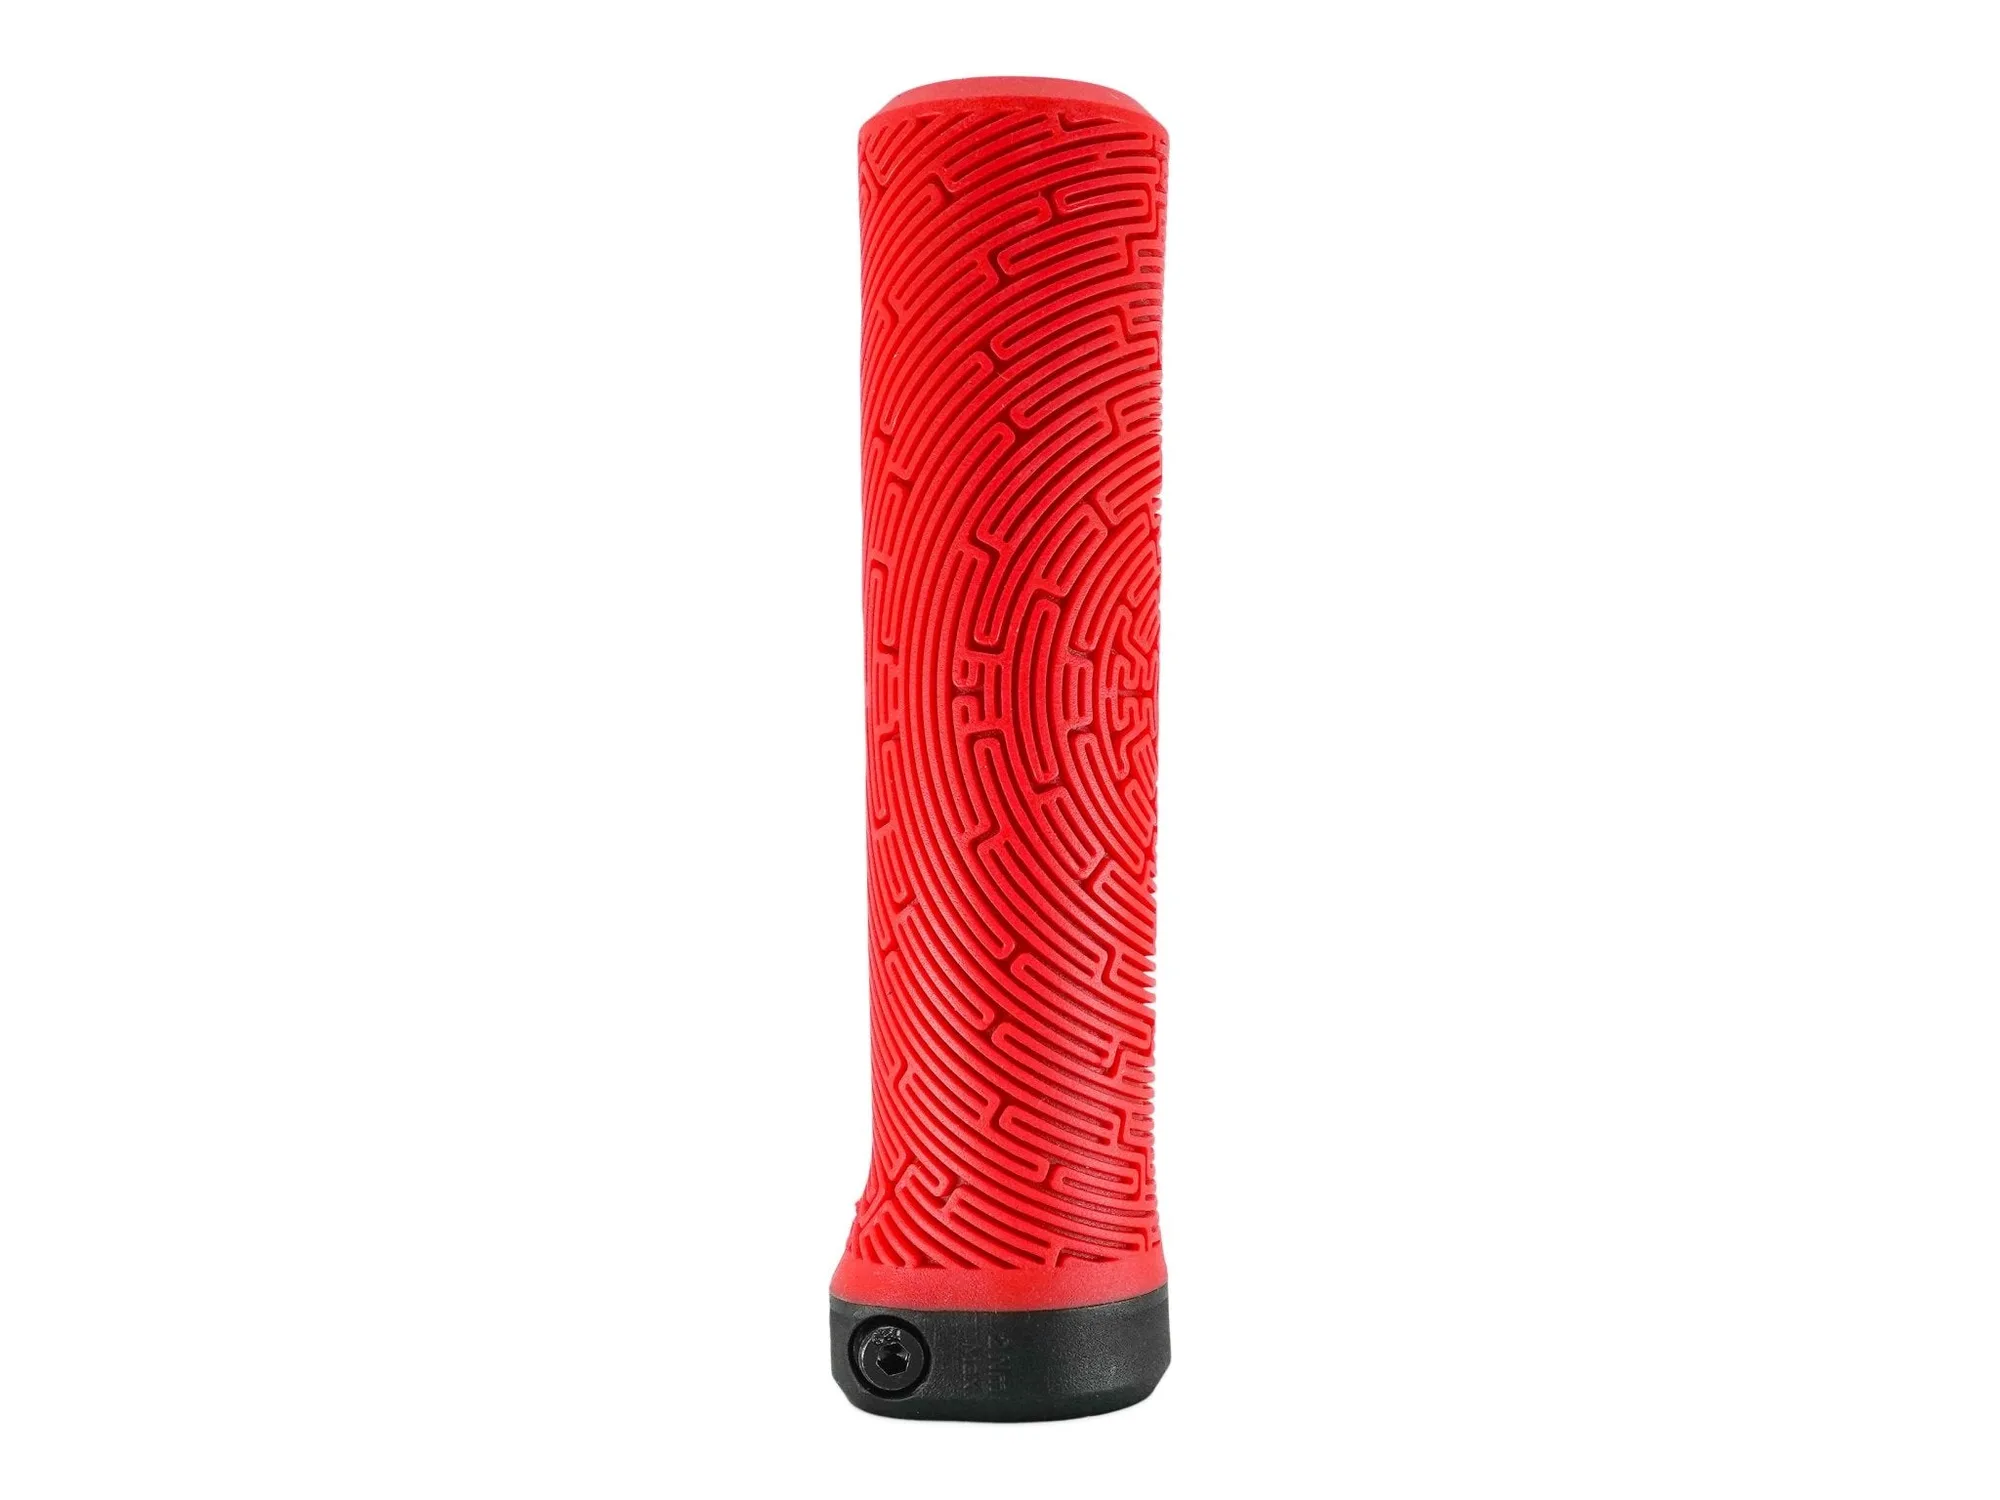
Buy grips that match your child's handlebar diameter and intended use, then install them dry or with a light grip-safe spray so they lock on without twisting. Custom color grips are the fastest, cheapest way to personalize a kids bike because they change the look and the feel at the same time. On a Prevelo, Custom Color Grips use the same Kraton rubber as the stock grips, so you get the color change without changing the ride.
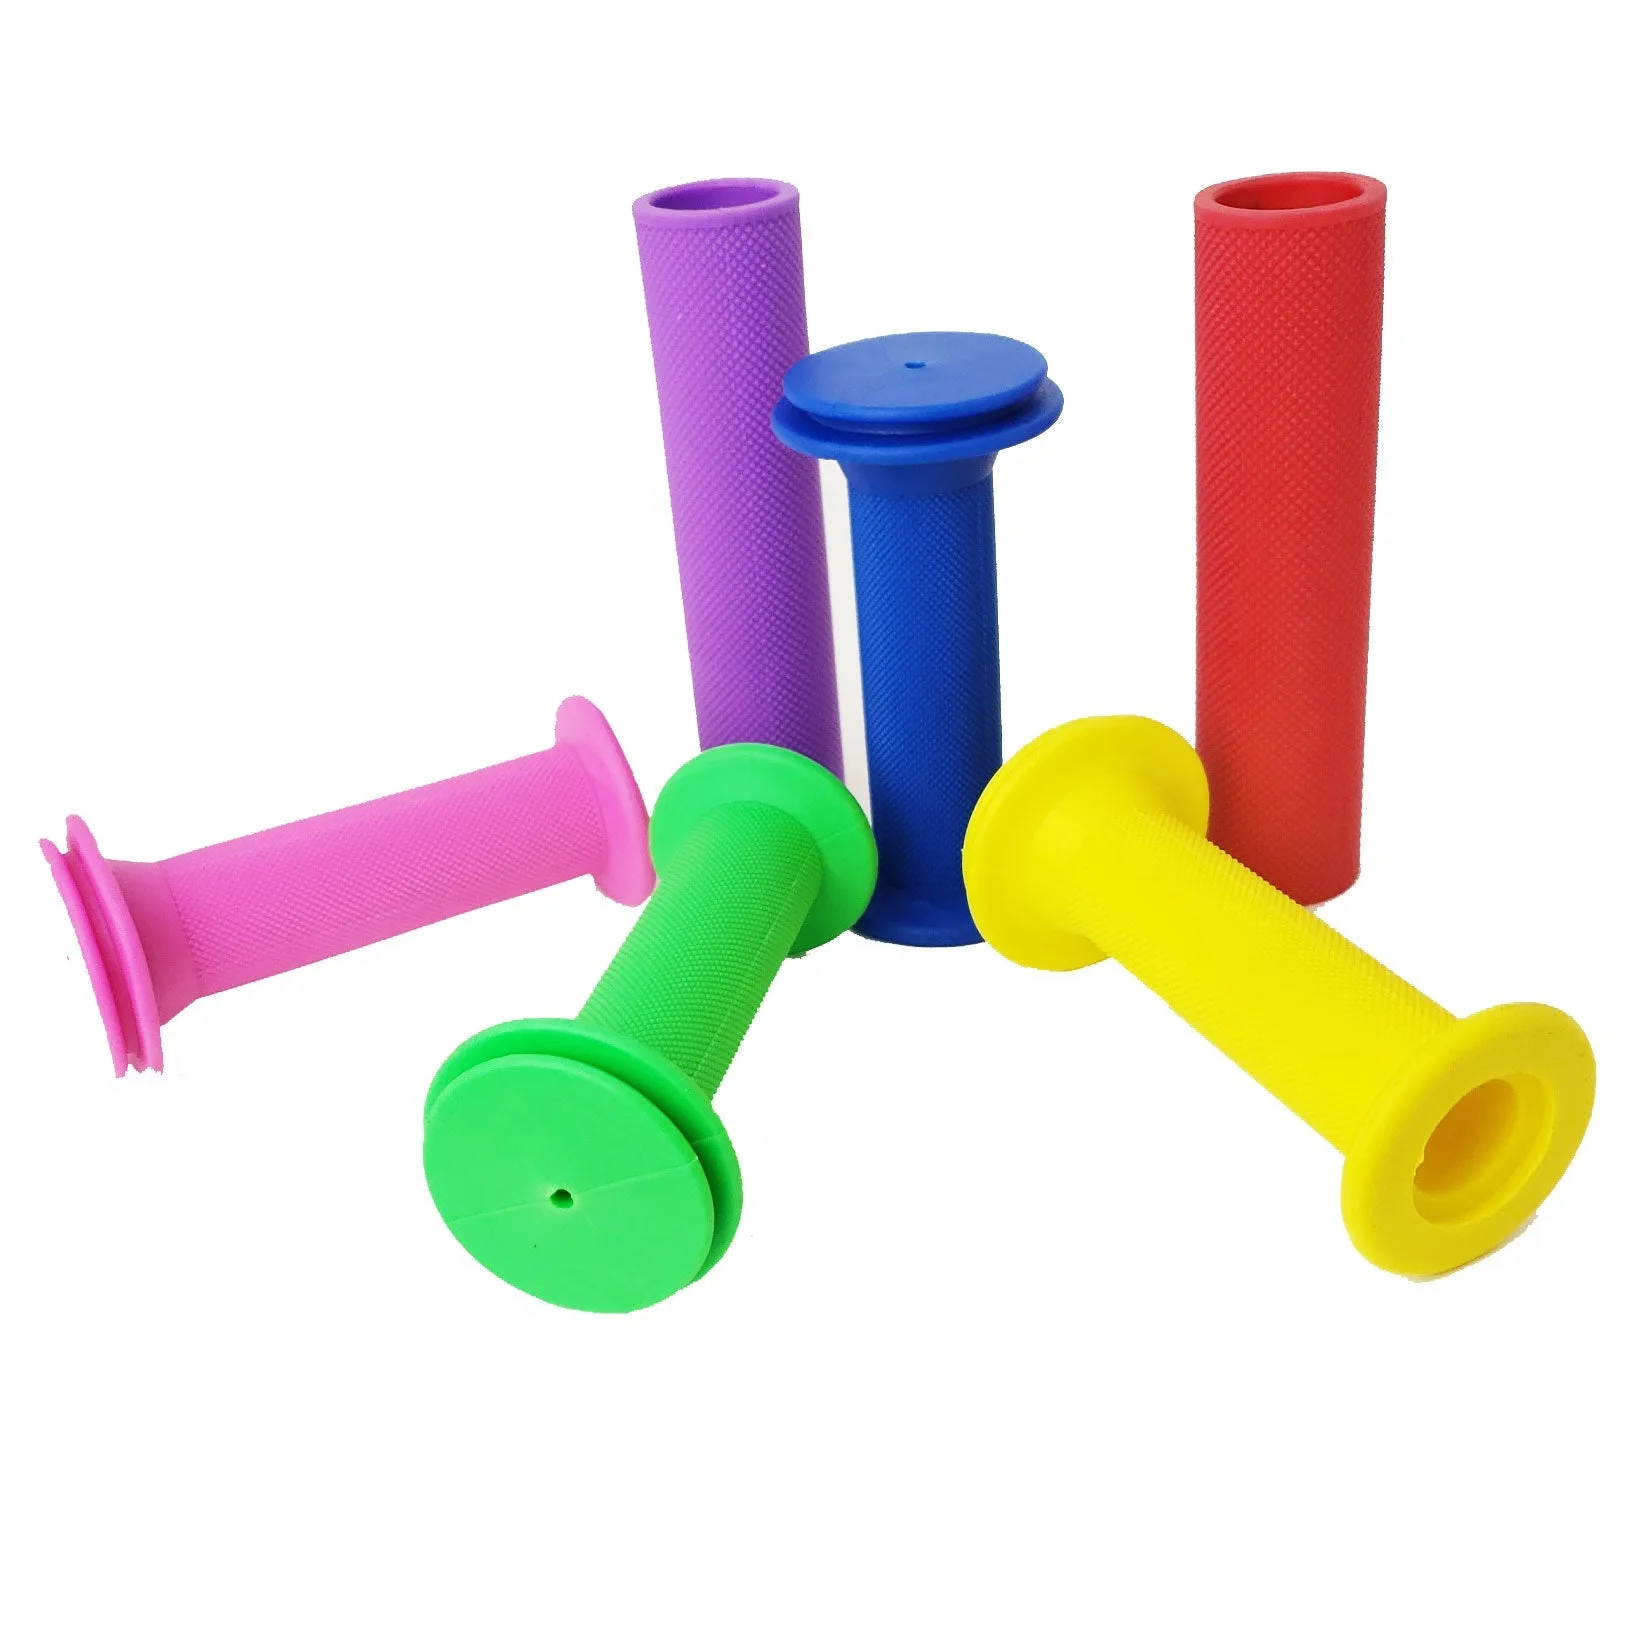
Custom color grips
Grips are the first thing kids touch on a bike and the easiest part to change, which makes them the smartest starting point for kids bike customization. A new color can make a hand-me-down feel like a new bike, and it costs far less than a new frame or wheelset.
The catch is that grips are also a fit and safety part, not just a cosmetic one. The wrong diameter twists on the bar, the wrong compound tears on the first crash, and a sloppy install leaves a loose grip that can slide off mid-ride. This guide walks through picking colors, checking fit, and installing custom color grips so they stay put.
Why grips are the right first customization
Grips sit at the exact point where your child's hands meet the bike, so any change is felt immediately. A grippy compound improves control on bumpy pavement and light trails, while a worn or slick grip makes small hands work harder than they should. That is why swapping grips is often the first upgrade parents make after a growth spurt or a hand-me-down rebuild.
Color matters more to kids than parents expect. Letting your child choose the grip color gives them ownership of the bike, which tends to translate into more riding and better care of the bike. It is a small purchase with an outsized effect on how often the bike leaves the garage.
- Pair grip color with one other accent, like pedals, so the bike looks intentional rather than random.
- Keep the original grips in a drawer; they are handy spares if a new set gets damaged.
Check bar diameter and grip length before you buy
Most kids' bikes use a standard 22.2 mm handlebar diameter, but grip length varies with bar width and brake lever placement. Measure the old grip from the end of the bar to where the lever clamp starts. If a new grip is longer than that space, it will push the brake lever inward and change your child's reach, which is a handling problem, not just a cosmetic one.
Also check whether the bike uses lock-on grips with a collar or slide-on grips. Lock-on grips are easier to remove and reinstall, while slide-on grips rely on friction and need a cleaner install. Knowing which type you have prevents buying a set that will not fit.
- Measure twice: bar diameter at the grip area and available grip length.
- If your child has small hands, a slightly thinner grip is easier to wrap around and control.
Choose a compound that survives real kid riding
Kids drop bikes, lean them on pavement, and ride with sweaty or muddy hands. A soft, tacky rubber gives the best grip in those conditions but wears faster, while a harder compound lasts longer with less cushioning. For most families, a middle-ground rubber like Kraton is the practical choice because it balances grip, comfort, and durability.
Color is not just decoration here. Lighter colors show dirt and scuffs sooner, while darker colors hide wear but can look less exciting to a kid who picked them. If your child is set on a light color, plan on cleaning the grips more often rather than talking them out of it.
- Avoid grips with hard plastic end plugs if your child crashes often; soft ends are more forgiving.
- Replace grips when they feel slick, spin freely, or show torn edges.
Install grips so they lock on and stay put
Remove the old grips by loosening any lock-on collar or sliding a thin screwdriver under a slide-on grip and working it around the bar. Clean the bar with rubbing alcohol and let it dry completely. Any leftover adhesive or grit will let the new grip creep, which is the most common install mistake.
For slide-on grips, a light spray of isopropyl alcohol or grip-safe assembly spray gives you a few seconds to position the grip before it sets. Push it on until it bottoms out against the bar end, then check that the brake lever and shifter still sit where your child expects. Let the bike sit for a few hours before riding so everything settles.
- Never use oil or grease to slide grips on; they will never lock properly.
- Twist-test each grip firmly by hand before your child rides.
Match the rest of the bike without overdoing it
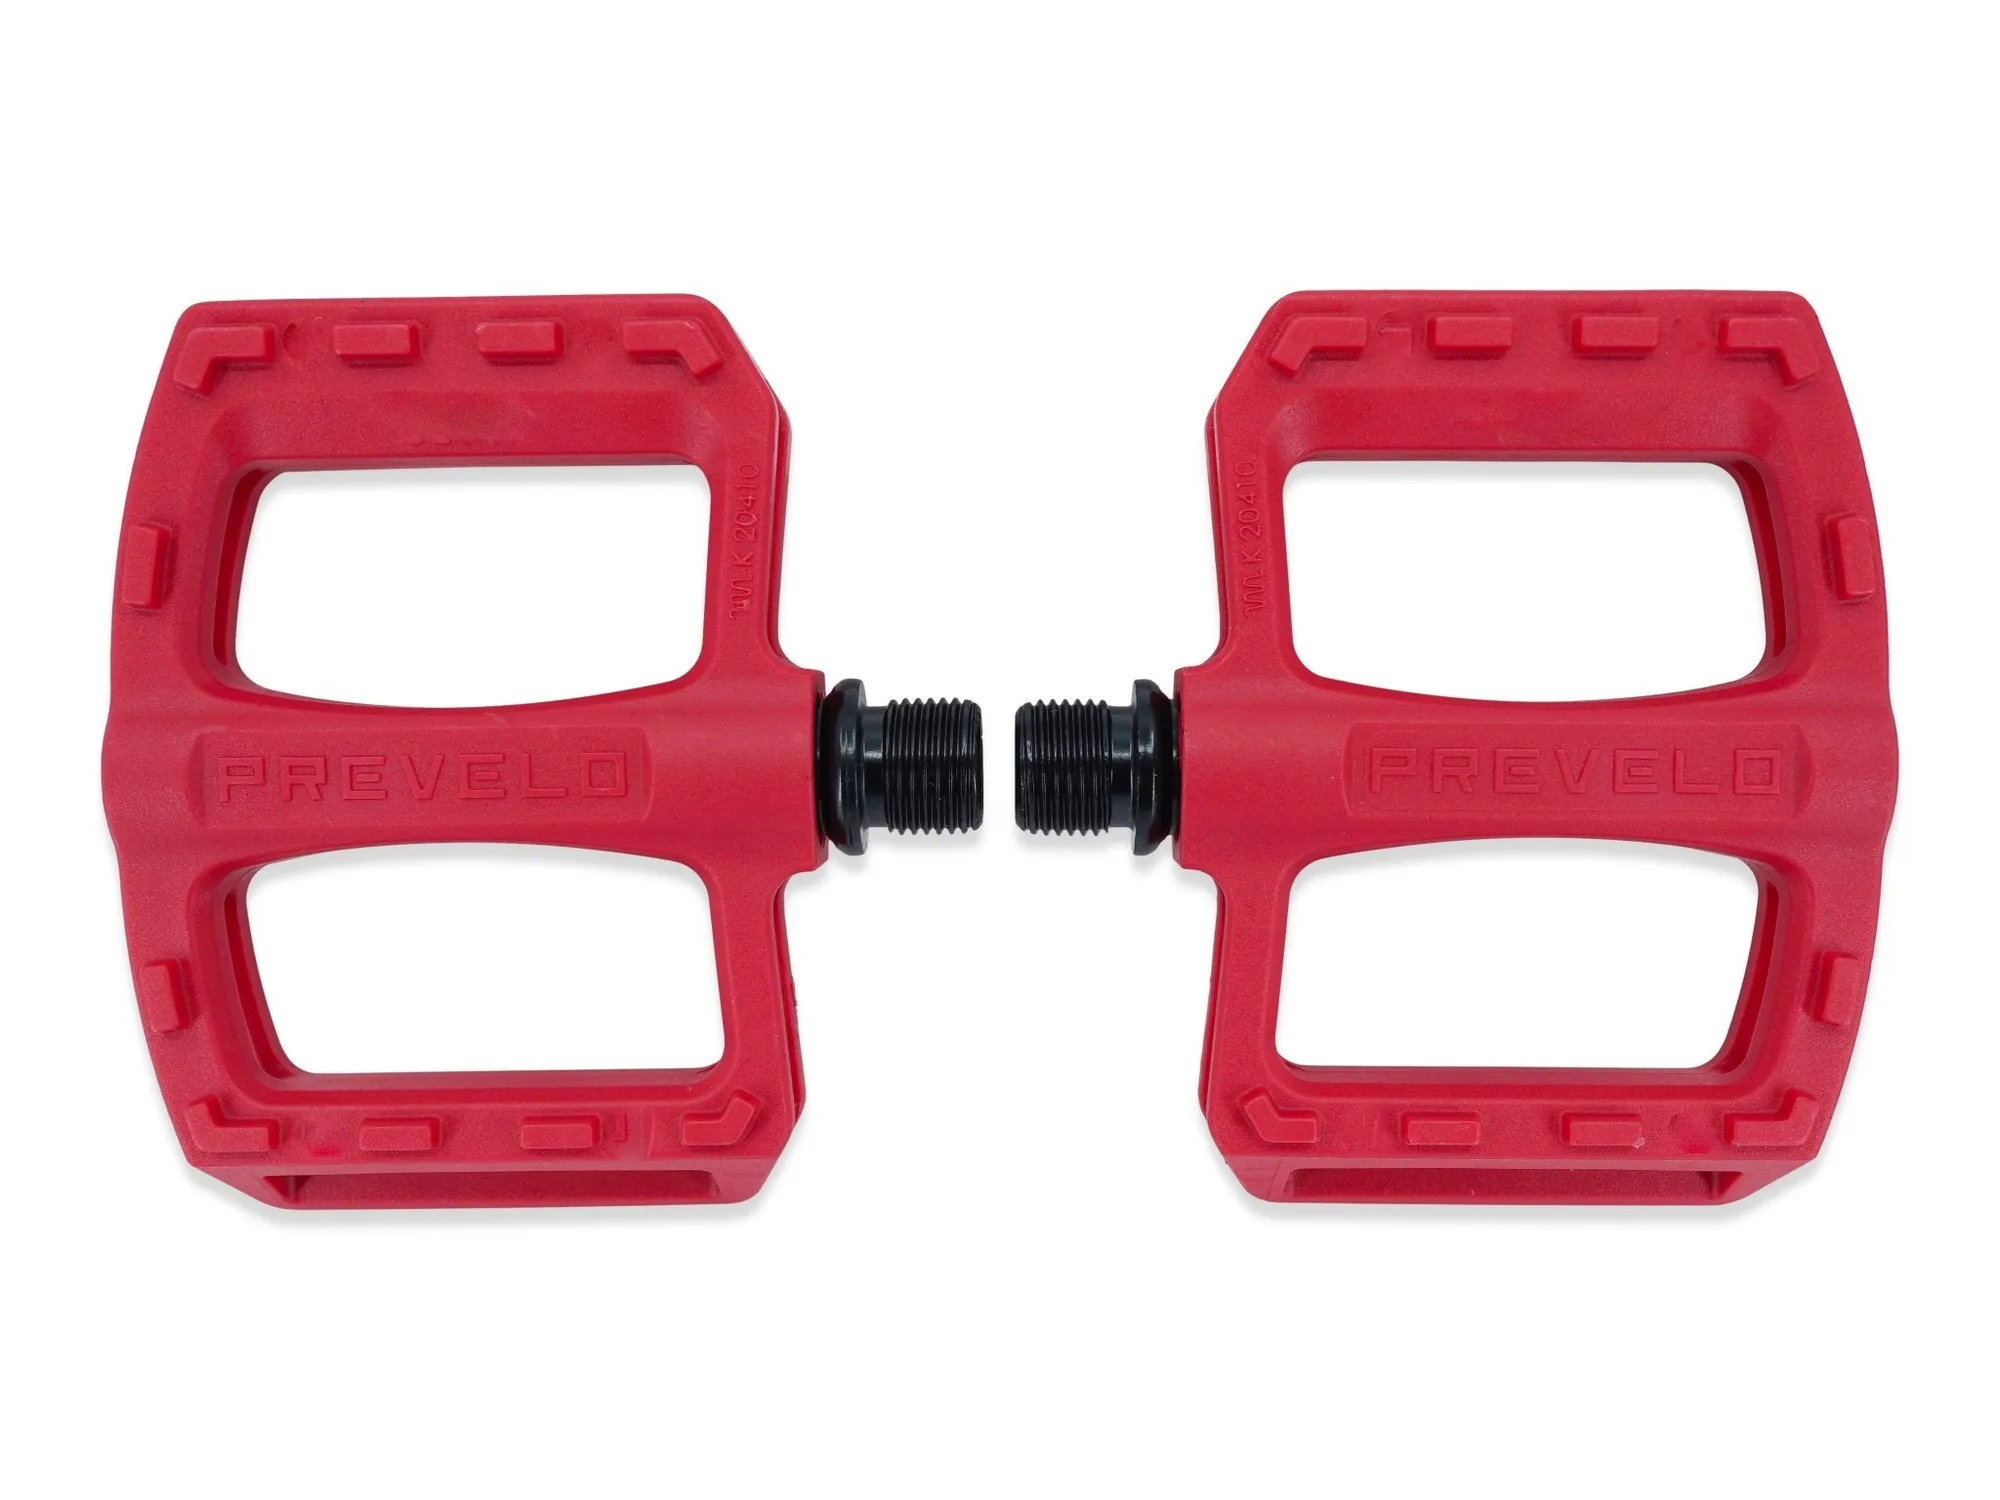
Once the grips are on, you can echo the color in pedals, a chainring, or stickers for a cohesive look. The trick is restraint: two accent colors plus the frame color is usually plenty. Too many competing colors makes a bike look cluttered and can make future part swaps harder to match.
If you plan to change pedals at the same time, check spindle compatibility first. Pedal spindle length varies by bike model, and the wrong spindle size can change your child's stance or fail to fit at all. Grips are forgiving; pedals are not.
- Photograph the finished bike so you can match colors later when buying parts.
- Involve your child in the color choice; they will ride it more.
Your grip swap, step by step
- Measure the old grip and bar: Note the bar diameter and the grip length from bar end to brake lever clamp. Common mistake: guessing the size and buying a grip that pushes the lever out of reach. Write the numbers down before you shop.
- Pick the color with your child: Let them choose from the available color options, then decide whether to echo it in pedals or stickers. Common mistake: buying a color you like instead of the one they will be excited to ride. One accent color is usually enough.
- Remove the old grips cleanly: Loosen lock-on collars or slide a thin tool under slide-on grips and work them off. Common mistake: prying with a metal tool and scratching the bar or tearing the grip. Keep the old grips as spares.
- Clean and dry the bar: Wipe the grip area with rubbing alcohol and let it dry fully. Common mistake: installing over leftover adhesive or grit, which lets the new grip twist. A clean bar is the difference between locked-on and loose.
- Install the new grips: Use isopropyl alcohol or grip-safe spray for slide-on grips, push them fully onto the bar, and reposition the brake lever and shifter. Common mistake: using oil or grease, which never dries and leaves the grip slipping. Let the bike sit a few hours before riding.
- Twist-test and ride: Grab each grip and twist firmly by hand, then have your child squeeze the brakes and shift through the gears. Common mistake: skipping the test ride and discovering a loose grip on the trail. If a grip moves at all, reinstall it before riding.
Prevelo parts that make color swaps easy
- Custom Color Grips: Made of the same high-quality Kraton rubber as the grips that come standard on Prevelo bikes, with added color options. You get the color change your child wants without changing the grip feel they already know, and the rubber is proven on Prevelo bikes.
- Prevelo Color Pedals: Compatible with Alpha One, Alpha Two, Alpha Three, Alpha Four, Zulu One, Zulu Two, Zulu Three, and Zulu Four, with short or long spindle sizes; not recommended on Alpha Five or Zulu Five. If you want to carry the grip color down to the pedals, check your model and spindle size first so you buy a set that actually fits.
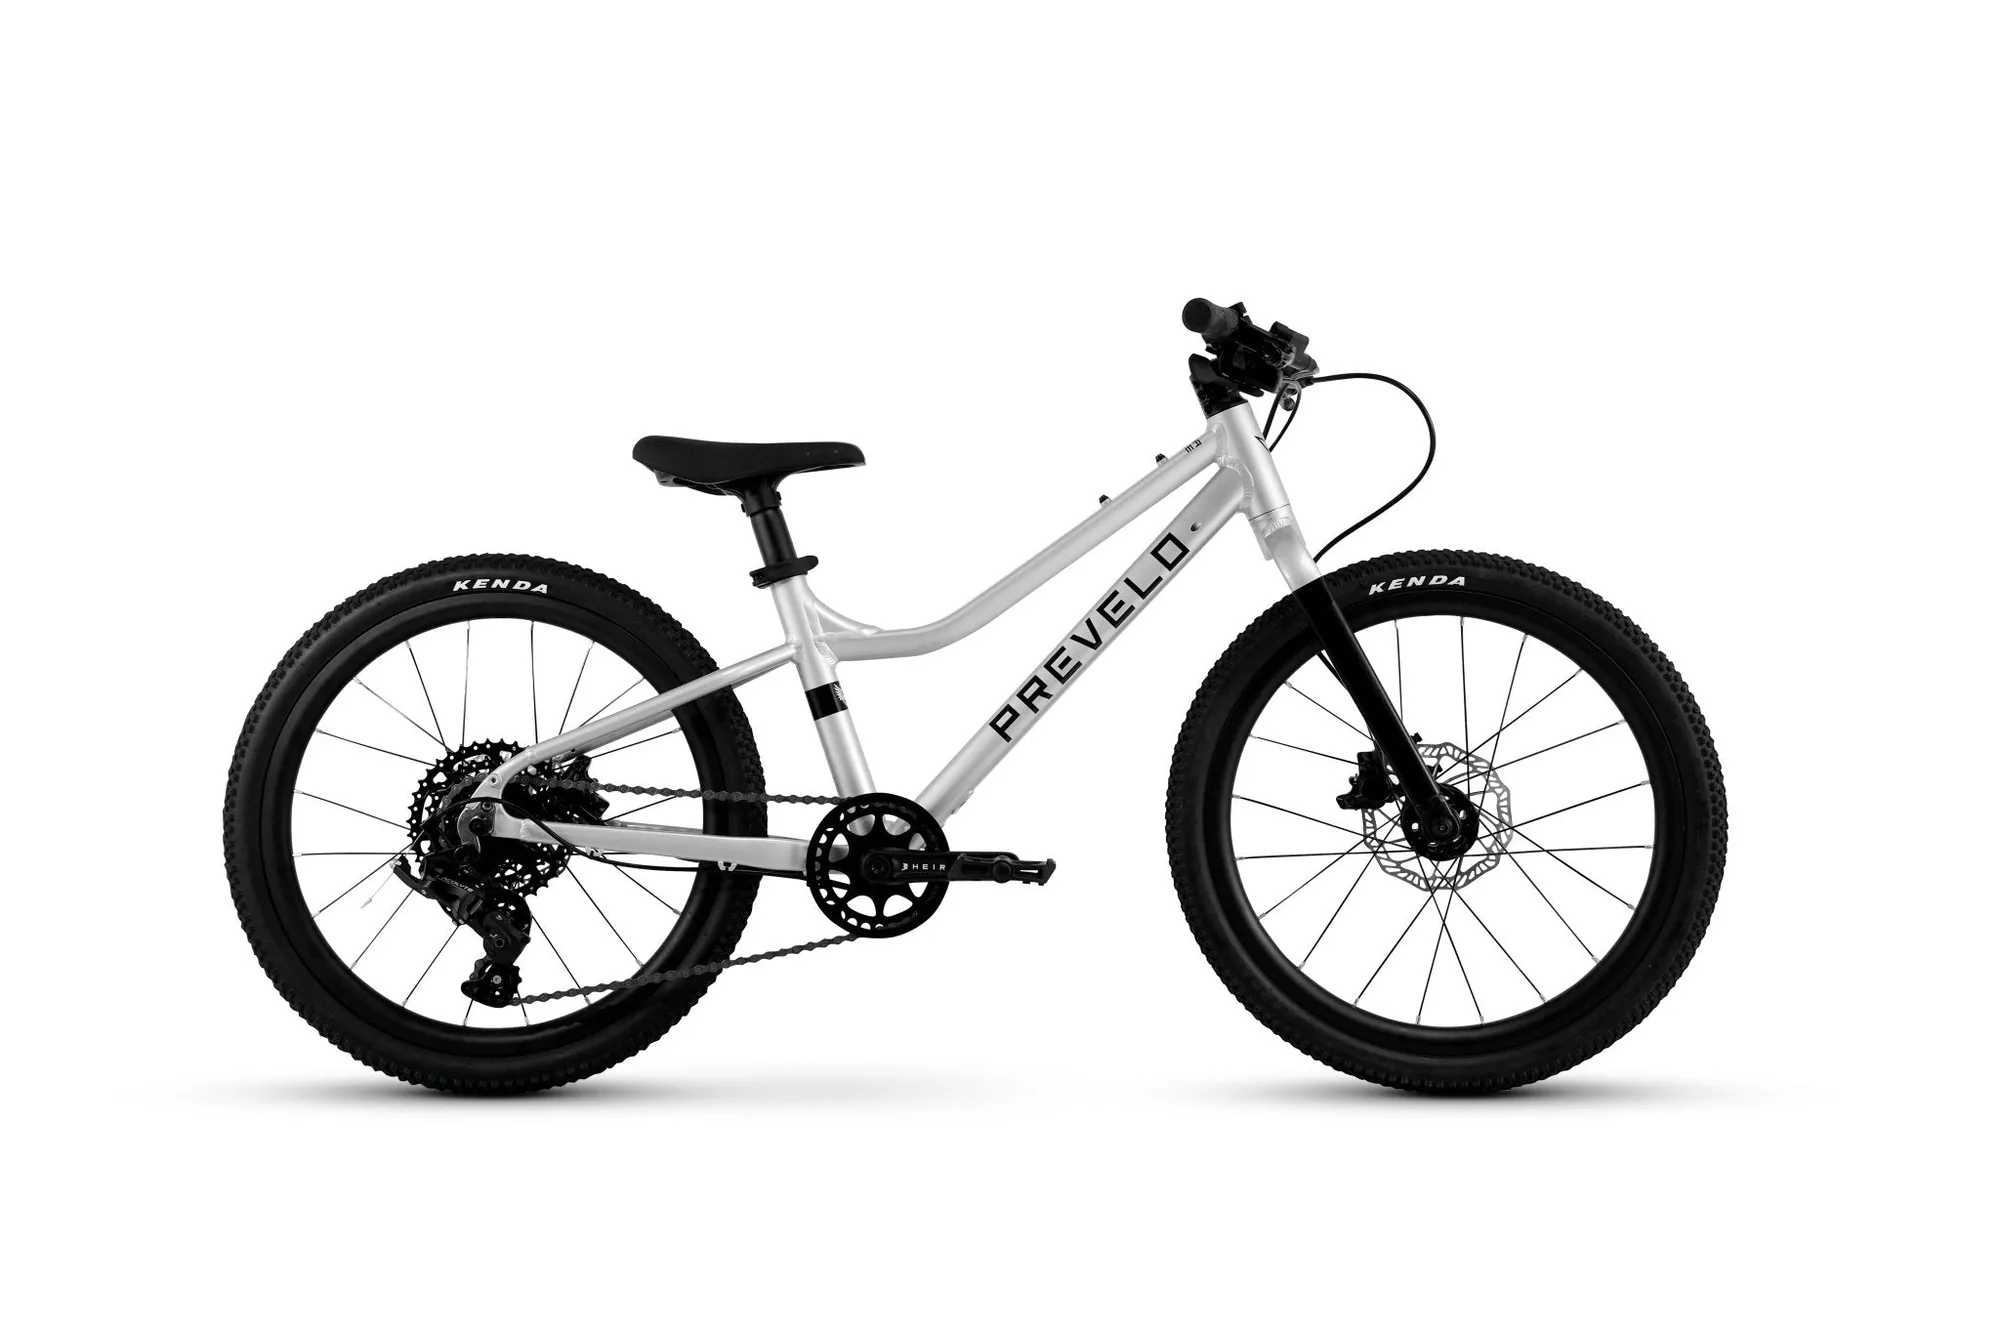
- Direct Mount Chain Ring: Fits HEIR cranksets, with 3 mm offset for 148 mm Boost rear spacing and 6 mm offset for 135 mm or 142 mm rear spacing. A matching chainring is a subtle way to tie the color theme together, but only if you pick the correct offset for your bike's rear spacing.
Custom color grips are the simplest, most affordable way to personalize your child's bike, and they double as a real handling upgrade. Measure first, pick a color your child actually wants, and install them cleanly so they stay put. If you want to carry the theme further, check compatibility on pedals and chainrings before you buy.