Quick answer
Pick one paper-based project, buy enough of the same core supplies for everyone, and set up stations before guests arrive. Keep the craft simple enough to finish in 90 minutes, and have a backup sticker or ribbon activity ready for anyone who finishes early. This approach works for a paper craft party because it removes decision fatigue and lets people actually enjoy making something together.
A craft night with friends should feel relaxed, not like a second job. The fastest way to get there is to choose one project that uses paper, ribbon, and stickers, then buy duplicate supplies so nobody has to share scissors or wait for glue.
This guide walks through a repeatable plan: pick a project, gather craft night supplies, set up the room, run the event, and clean up without losing your favorite tools. It also includes specific product examples from Mary Engelbreit that fit a paper craft party, plus a few easy group craft ideas you can adapt to any season.
Choose one project and one backup
The biggest mistake in planning a craft night is offering too many options. Pick a single main project that uses paper, ribbon, and stickers, such as decorated greeting cards, gift tags, or a simple paper garland. Then choose one backup project that uses the same supplies, like a sticker sheet collage or a ribbon bookmark, so fast finishers stay busy.
For a paper craft party, a card-making station is hard to beat. Guests can fold cardstock, add ribbon, and finish with stickers. It works for any skill level and produces something useful. If you want a seasonal angle, swap in holiday or birthday themes without changing the supply list.
- Checkpoint: if the main project takes more than 90 minutes for a beginner, simplify it or add a second session.
Build a supply list that covers everyone
Buy enough of the core tools so each guest has their own scissors, glue stick, and tape runner. Sharing is fine for specialty items like a hole punch or decorative edge scissors, but waiting for scissors kills the mood. For paper, choose a few coordinated colors rather than a huge variety, and cut some pieces to size ahead of time.
Ribbon and stickers are where you can add personality without much cost. A sticker sheet like the ME Classics July Sticker Sheet gives you 2 sheets of 4" x 8" stickers with 6 stickers per sheet, each about 1.75" x 2.5". That size works well on cards, tags, and journal covers. For ribbon, look for a mix of widths so guests can layer without bulk.
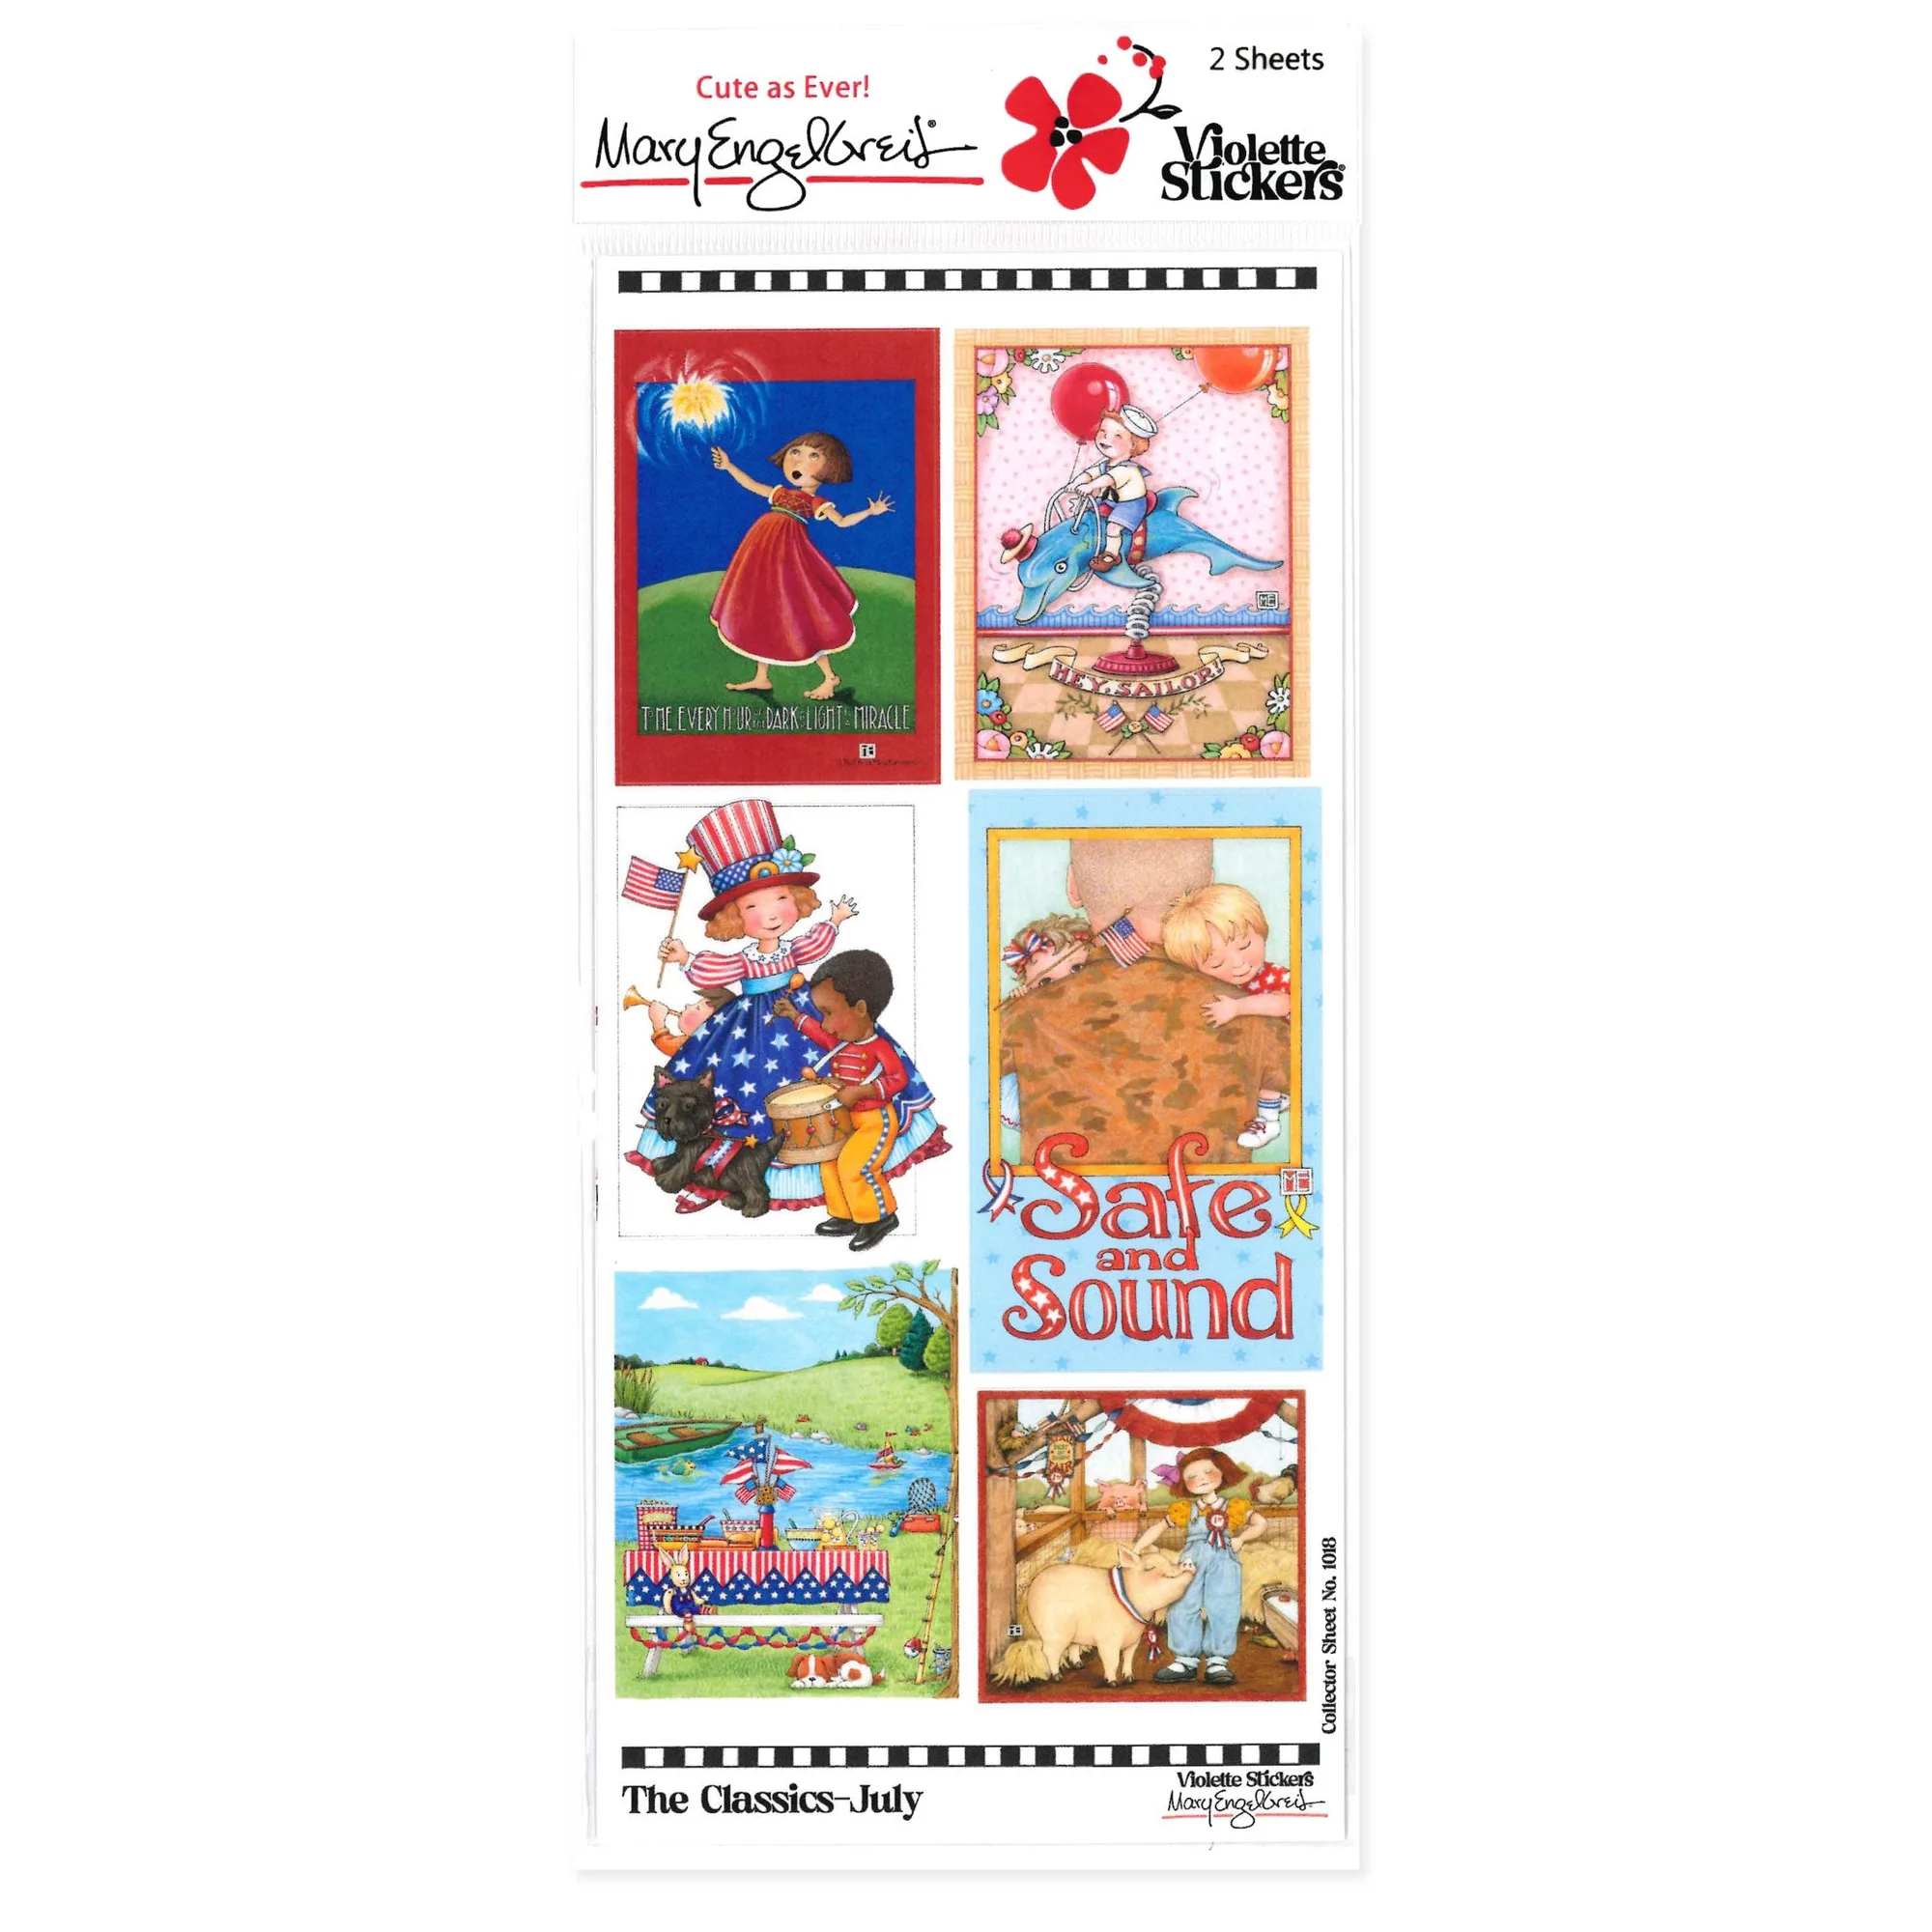
ME Classics July Sticker Sheet
- Common mistake: buying only one pair of scissors. Get one per guest or at least one per two guests.
Set up stations before anyone arrives
Set up one station per two guests with a cutting mat, scissors, adhesive, and a small tray for ribbon and stickers. Put a shared bin of paper in the center of each table. If you have a sample finished project, place it in the middle as a visual reference. This cuts down on questions and keeps people making.
Lighting matters more than you think. Add a table lamp or two if your room is dim, especially for detail work like threading ribbon or peeling small stickers. Keep a trash bowl on each table for paper scraps so the floor doesn't become a hazard.
- Checkpoint: walk through the room as if you were a guest. If you can't reach scissors, glue, and paper within arm's reach, rearrange.
Run the night with a simple rhythm
Start with a two-minute demo of the main project, then let everyone work. Resist the urge to teach every technique. Instead, circulate and help one-on-one. If someone finishes early, point them to the backup project or invite them to make a second item for a friend.
Keep drinks and snacks away from the paper station. A small side table for food prevents sticky fingers and ruined projects. If you're crafting with kids, set a hard stop time and have a cleanup signal, like a specific song, so transitions are smooth.
- Common mistake: over-instructing. Let people make imperfect things; that's the point.
Clean up and store supplies for next time
Cleanup goes faster if you assign one person to ribbons, one to stickers, and one to paper. Sort reusable scraps into a small bin for future projects. Wipe down tables and put tools back in a dedicated craft night box so you're not hunting for them next month.
If you used a counted cross stitch leaflet as a backup activity, keep the chart and leftover floss in a labeled bag. The Hem Your Blessings Counted Cross Stitch Leaflet, for example, is a leaflet-only pattern designed for 14ct White Aida and 25 floss colors, so storing it with the floss prevents mix-ups later.
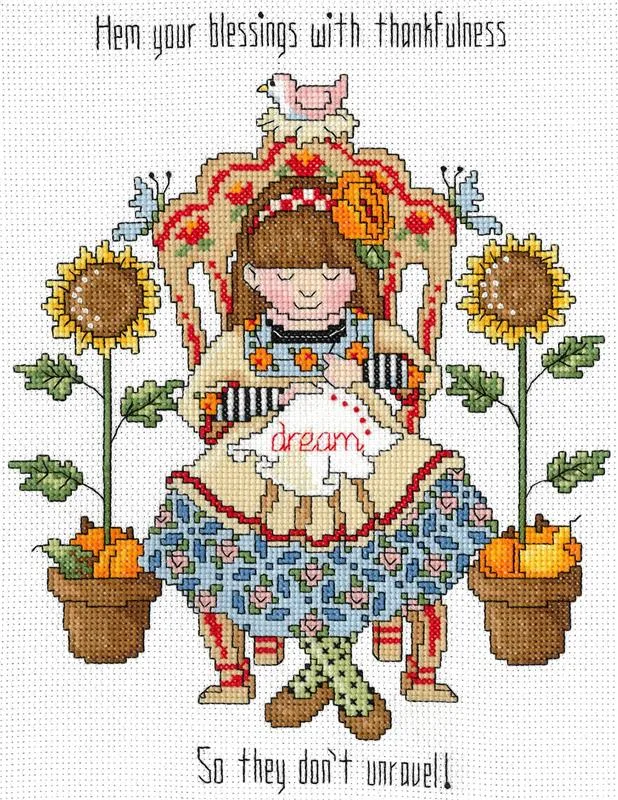
Hem Your Blessings Counted Cross Stitch Leaflet
- Checkpoint: take a photo of your setup before cleanup. It becomes your planning reference for the next craft night.
Craft night planning steps
- Pick one main project and one backup: Choose a paper-based project that uses ribbon and stickers, such as cards or gift tags. Add a simpler backup like sticker collages. Checkpoint: if a beginner can't finish in 90 minutes, simplify.
- Buy duplicate core supplies: Get one pair of scissors, one glue stick, and one tape runner per guest. Buy coordinated paper, a few ribbon widths, and at least one sticker sheet per two guests. Common mistake: one shared scissors pile.
- Set up stations before guests arrive: Create one station per two guests with tools, a ribbon tray, and a sticker tray. Put shared paper in the center and a sample project nearby. Checkpoint: everything reachable within arm's reach.
- Run a short demo, then circulate: Show the project in two minutes, then help one-on-one. Point early finishers to the backup project or a second item. Common mistake: over-teaching instead of letting people create.
- Clean up and store for next time: Assign sorting tasks, save reusable scraps, and pack tools into a dedicated craft night box. Store leaflets with their floss. Checkpoint: photograph your setup for next time.
Paper, ribbon, and sticker supplies that work for group crafting
- ME Classics July Sticker Sheet: Includes 2 sheets of 4" x 8" stickers, 6 stickers per sheet, each approximately 1.75" x 2.5". The sticker size is ideal for cards, tags, and small paper crafts, and two sheets give a group enough to share without running out.
- Hem Your Blessings Counted Cross Stitch Leaflet: A stitching-themed design using full stitches, quarter stitches, backstitching, and French knots, charted in black and white symbols with colored backstitch lines, designed for 14ct White Aida and 25 floss colors. Leaflet only. This is a good backup project for guests who already stitch, but because it is leaflet only, you must supply fabric and floss separately.
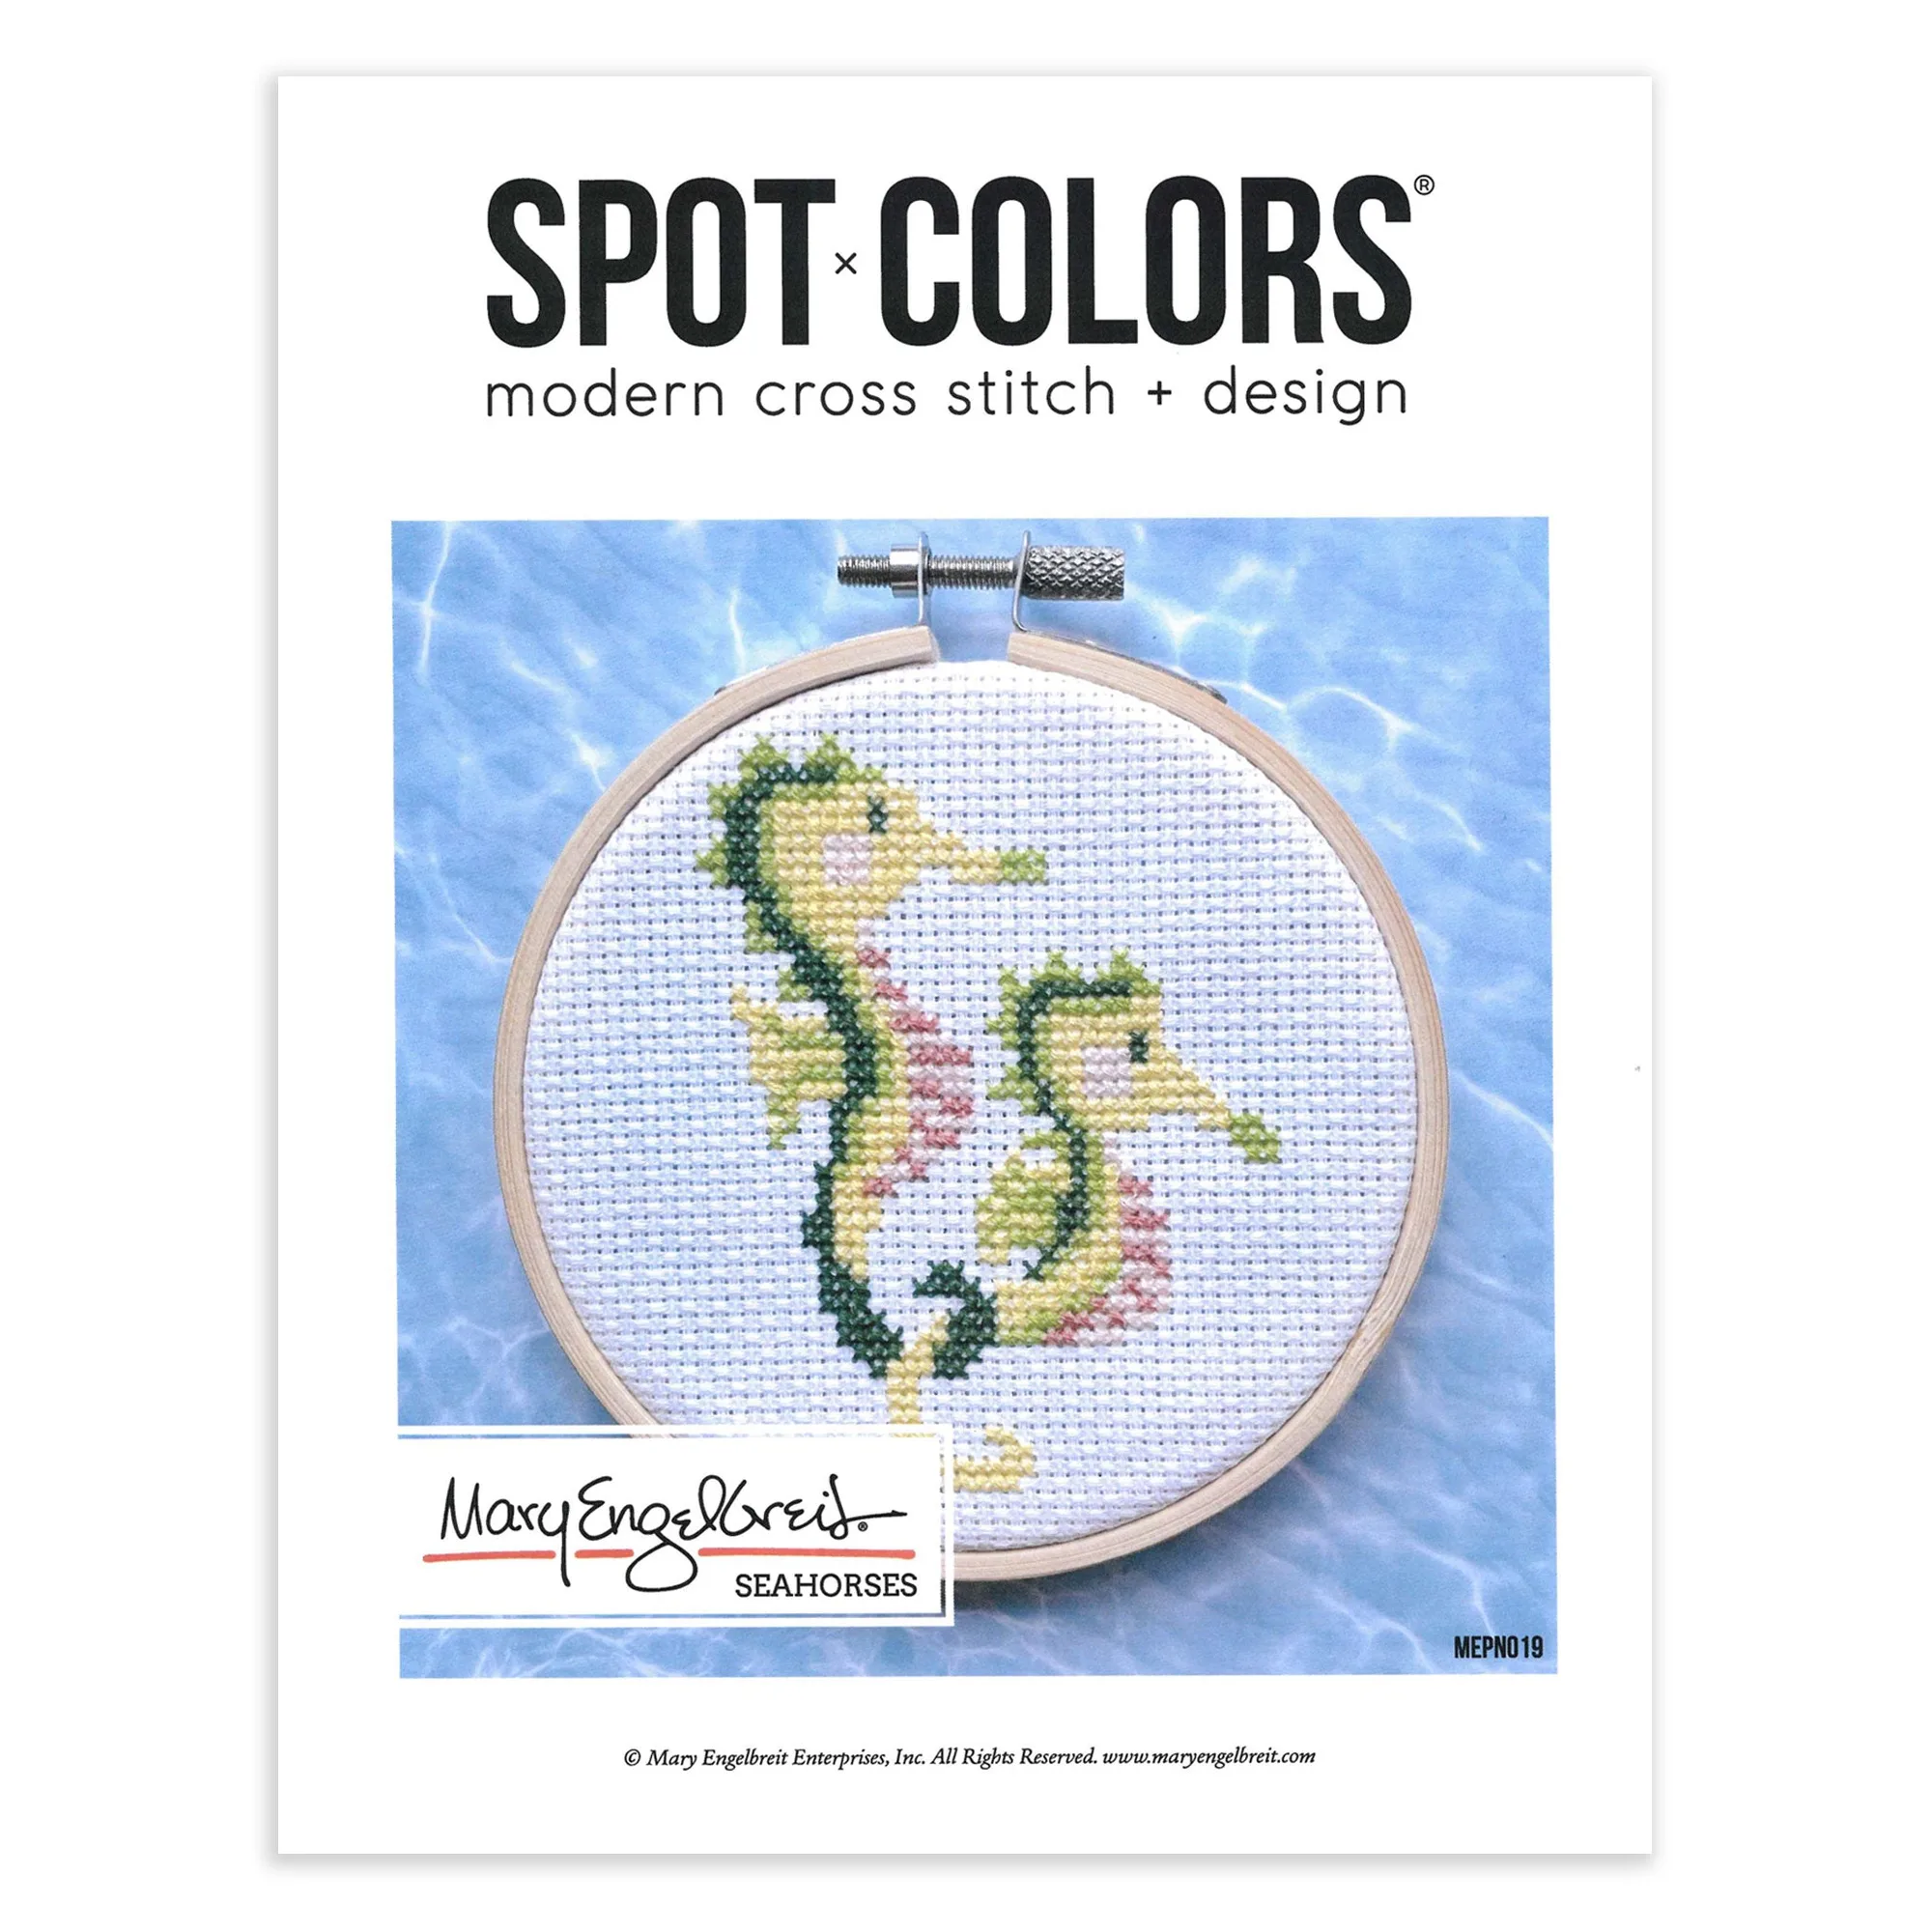
- Seahorse Counted Cross Stitch Leaflet: Beginner skill level; pattern includes a photo, 2 chart styles, instructions, and links to videos. The beginner-friendly format makes it a low-stress option for a craft night with friends who are new to counted cross stitch.
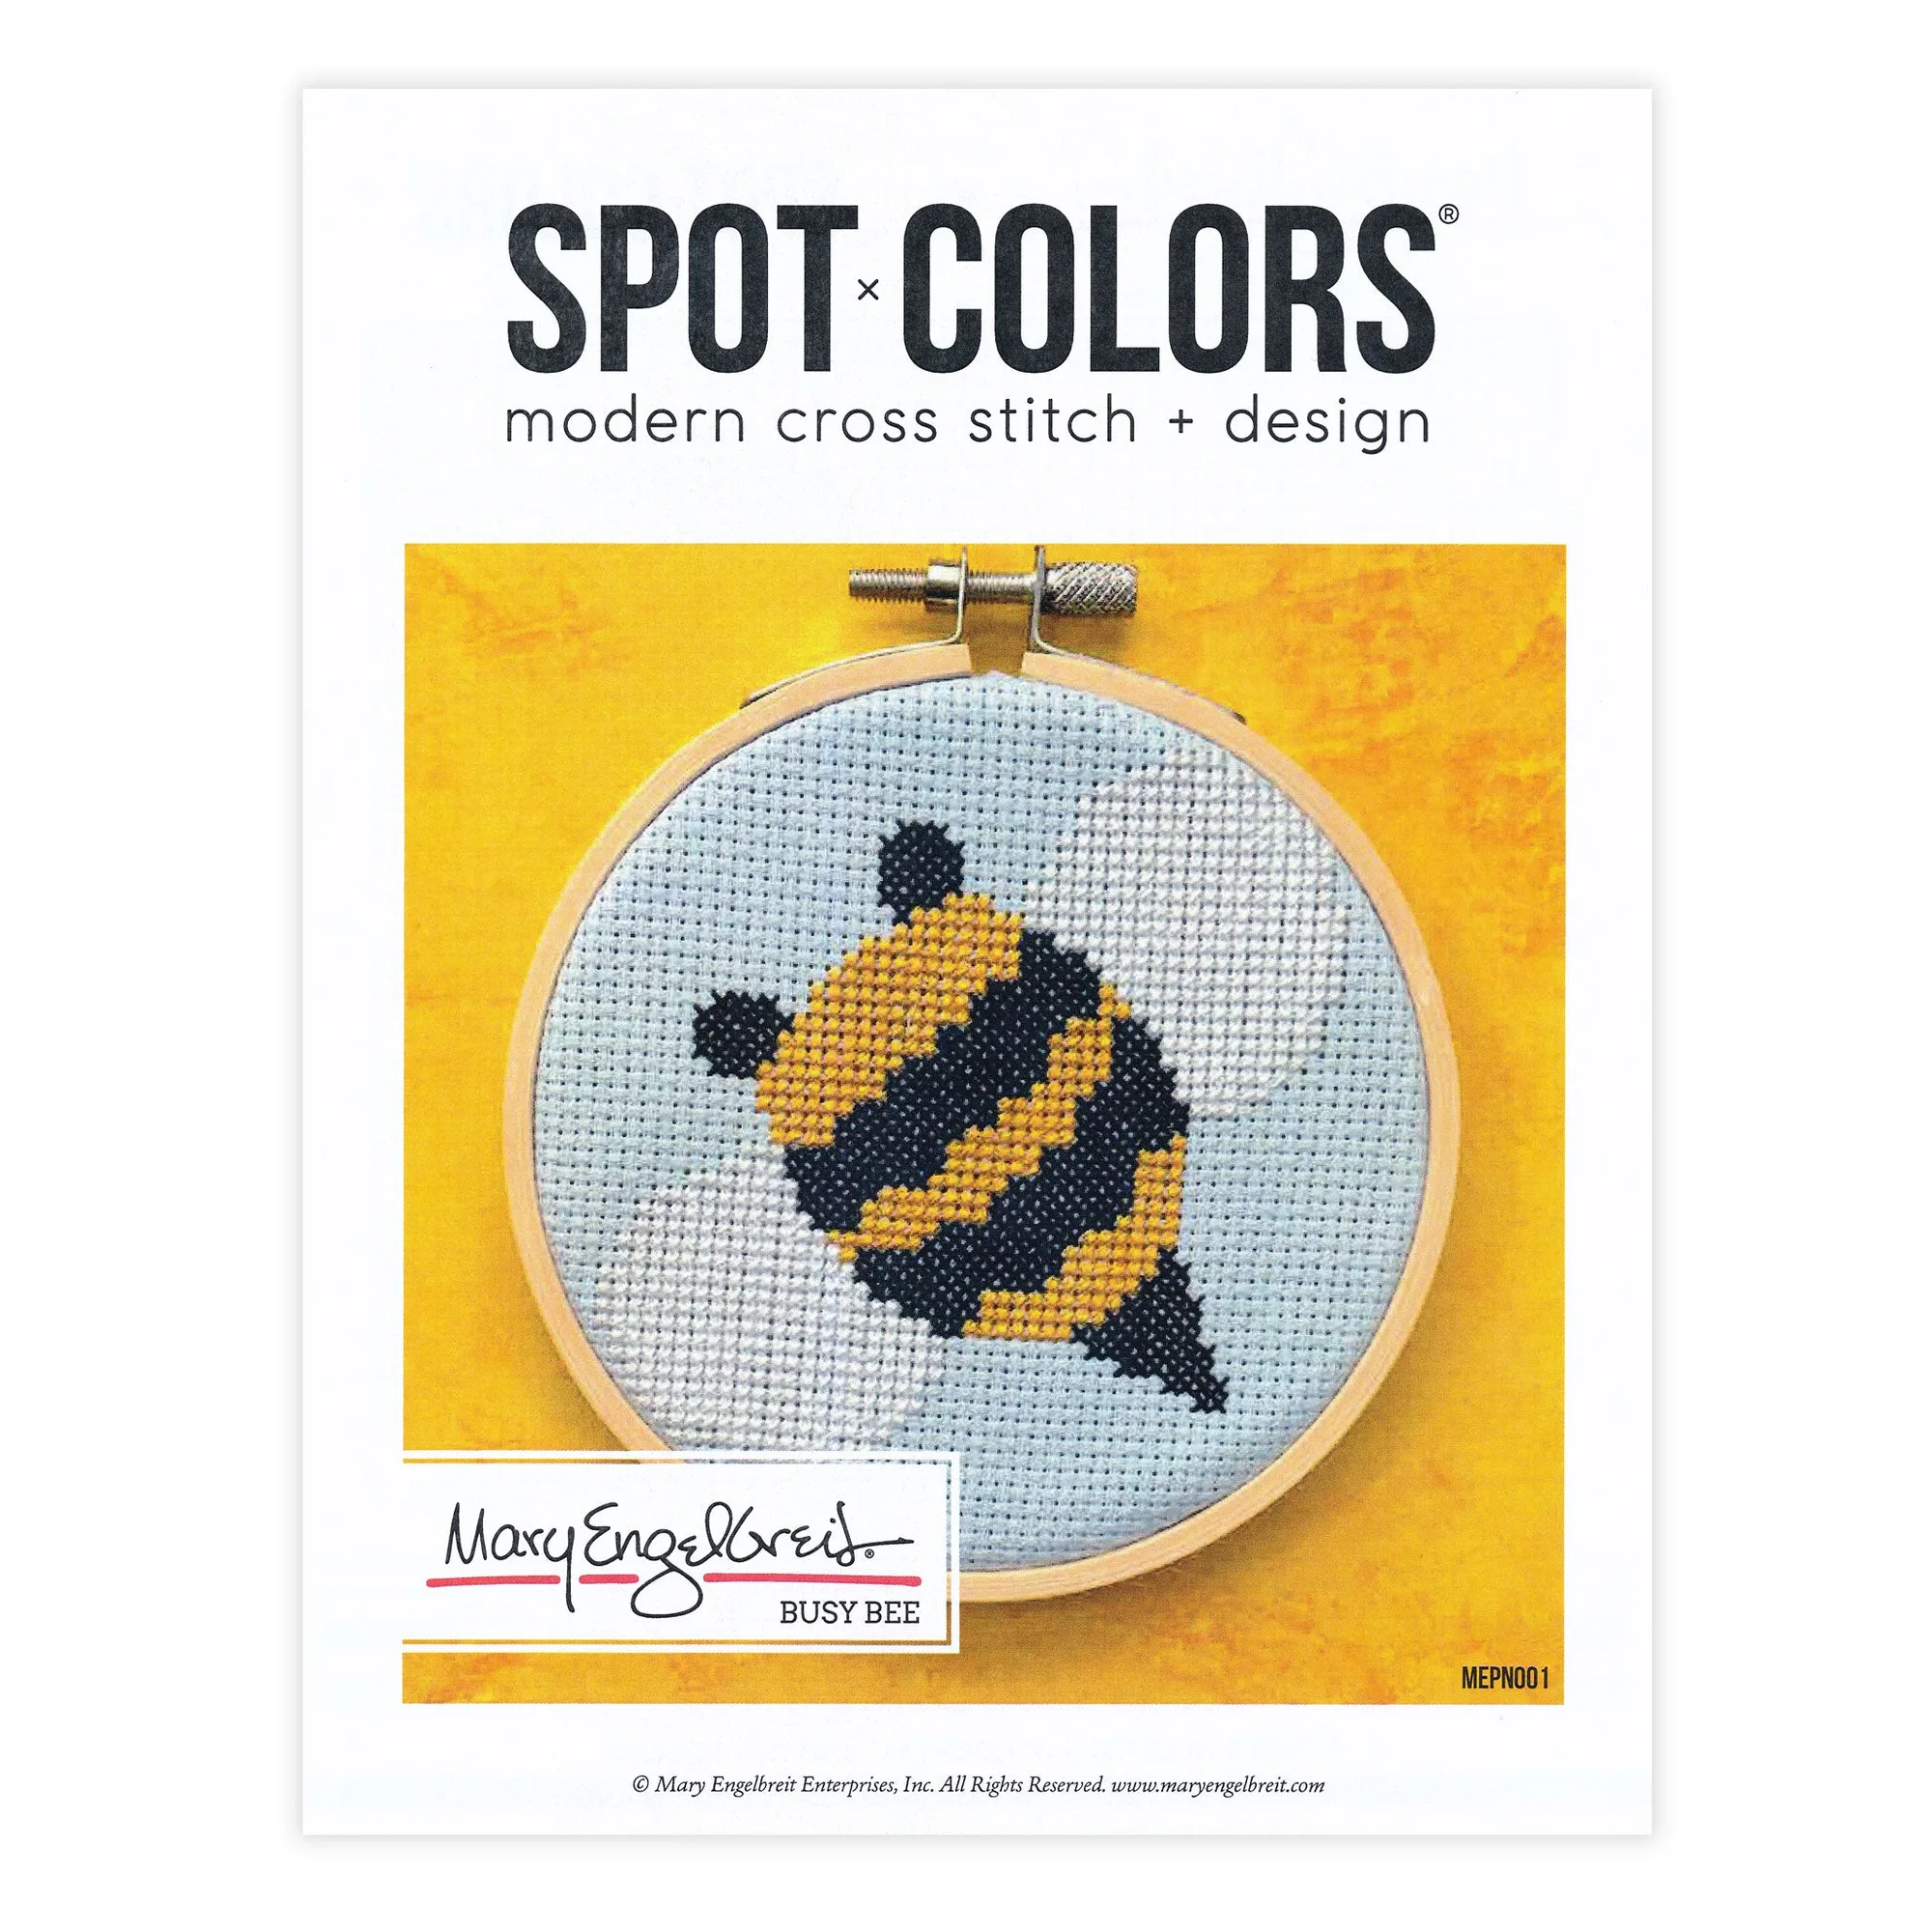
- Busy Bee Counted Cross Stitch Leaflet: Beginner skill level; pattern includes a photo, 2 chart styles, instructions, and links to videos. Another entry-level leaflet that works as a secondary activity if your group wants to try stitching alongside paper crafts.
A good craft night is less about perfect projects and more about removing friction. Pick one paper craft, buy enough supplies for everyone, set up before guests arrive, and keep a backup activity ready. With a simple plan, your next craft night with friends can be relaxed, creative, and easy to repeat.