Quick answer
Warm the figure gently with your hands or a hair dryer on low, move one joint at a time along its intended axis, stop at the first sign of resistance, and use a stand to support any airborne pose. This keeps poseable figure joints tight and paint intact.
Why joints fail and what to check before you pose
Most joint damage comes from forcing a cold or paint-seized joint past its designed range. Before posing, inspect each articulation point for paint bridges or stiff rotation. Rotate wrists, shoulders, and hips through a small arc first to feel where movement is smooth and where it binds.
- Cold plastic is brittle; warm it before any large movement.
- Paint in the joint seam means the parts are fused; work it loose gradually.
- If a joint clicks or grinds, stop and re-check the axis.
Match the pose to the joint type
Ball joints handle rotation and tilt but not pulling. Hinge joints move in one plane only. Swivel joints rotate but do not bend. Knowing which type you are adjusting prevents the common mistake of twisting a hinge sideways, which ovalizes the socket and creates permanent looseness.
Step-by-step safe posing routine
- Warm the figure evenly: Hold the figure in your hands for 30–60 seconds or pass a hair dryer on low 6–8 inches away for a few seconds. Warm plastic flexes; cold plastic cracks. Never use high heat or hold the dryer in one spot. Checkpoint: the plastic should feel slightly warm, not hot.
- Support the joint, not the limb: Pinch the joint with one hand and move the limb with the other. Pulling on a hand or foot transfers force through the joint and can snap a peg. Move only the segment you are adjusting. Mistake to avoid: yanking a whole arm to rotate a shoulder.
- Move along the intended axis: Rotate ball joints, bend hinges in one plane, and twist swivels. If a joint resists, stop and check for a hidden lock or paint seal. Forcing past resistance is how sockets crack. Checkpoint: smooth movement with no clicking or grinding.
- Set the pose, then support it: Any pose with both feet off the ground needs a stand. Position the stand arm under the torso or pelvis, not a thin limb. Tighten just enough to hold; over-tightening can dent soft plastic. Mistake to avoid: balancing a jumping pose on one ankle joint.
- Return to neutral after long display: Leaving a joint stretched for months can relax the plastic. Every few weeks, reset arms and legs to a neutral position for a day. This is poseable figure joint care that costs nothing and extends tightness. Next step: store the figure in a cool, dust-free case when not displayed.
Figures that show safe posing in practice
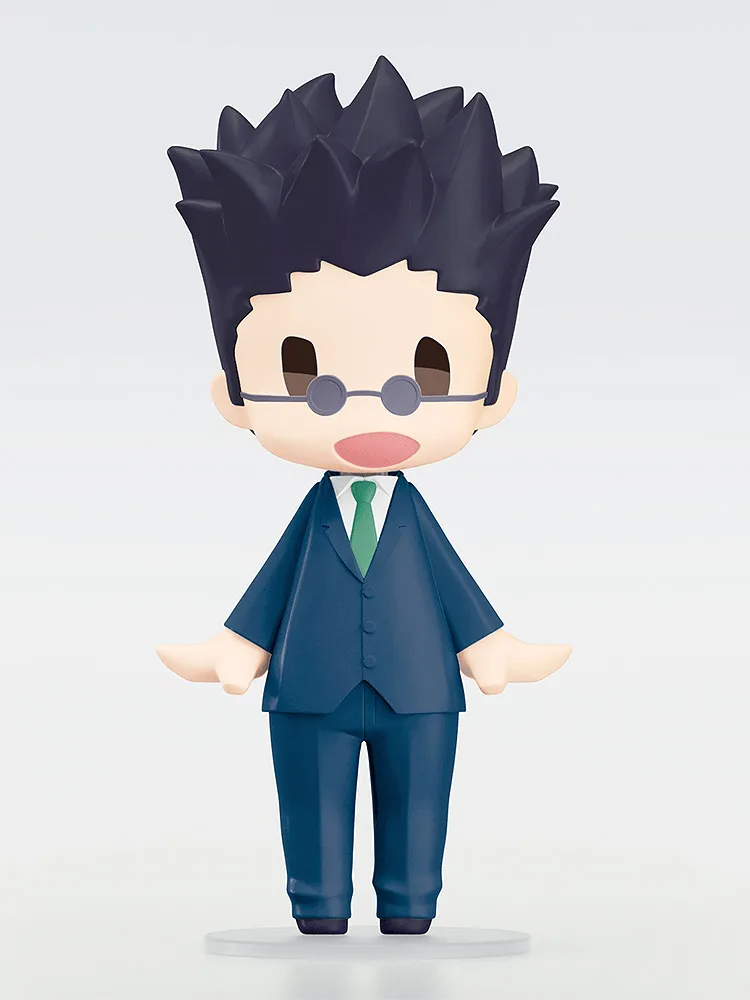
- HELLO! GOOD SMILE Leorio (Hunter x Hunter): HELLO! GOOD SMILE Leorio mini figure features a tilt-able head for playful posing. A tilt-only head is a low-risk joint to practice on; it moves on a single axis and does not require force.
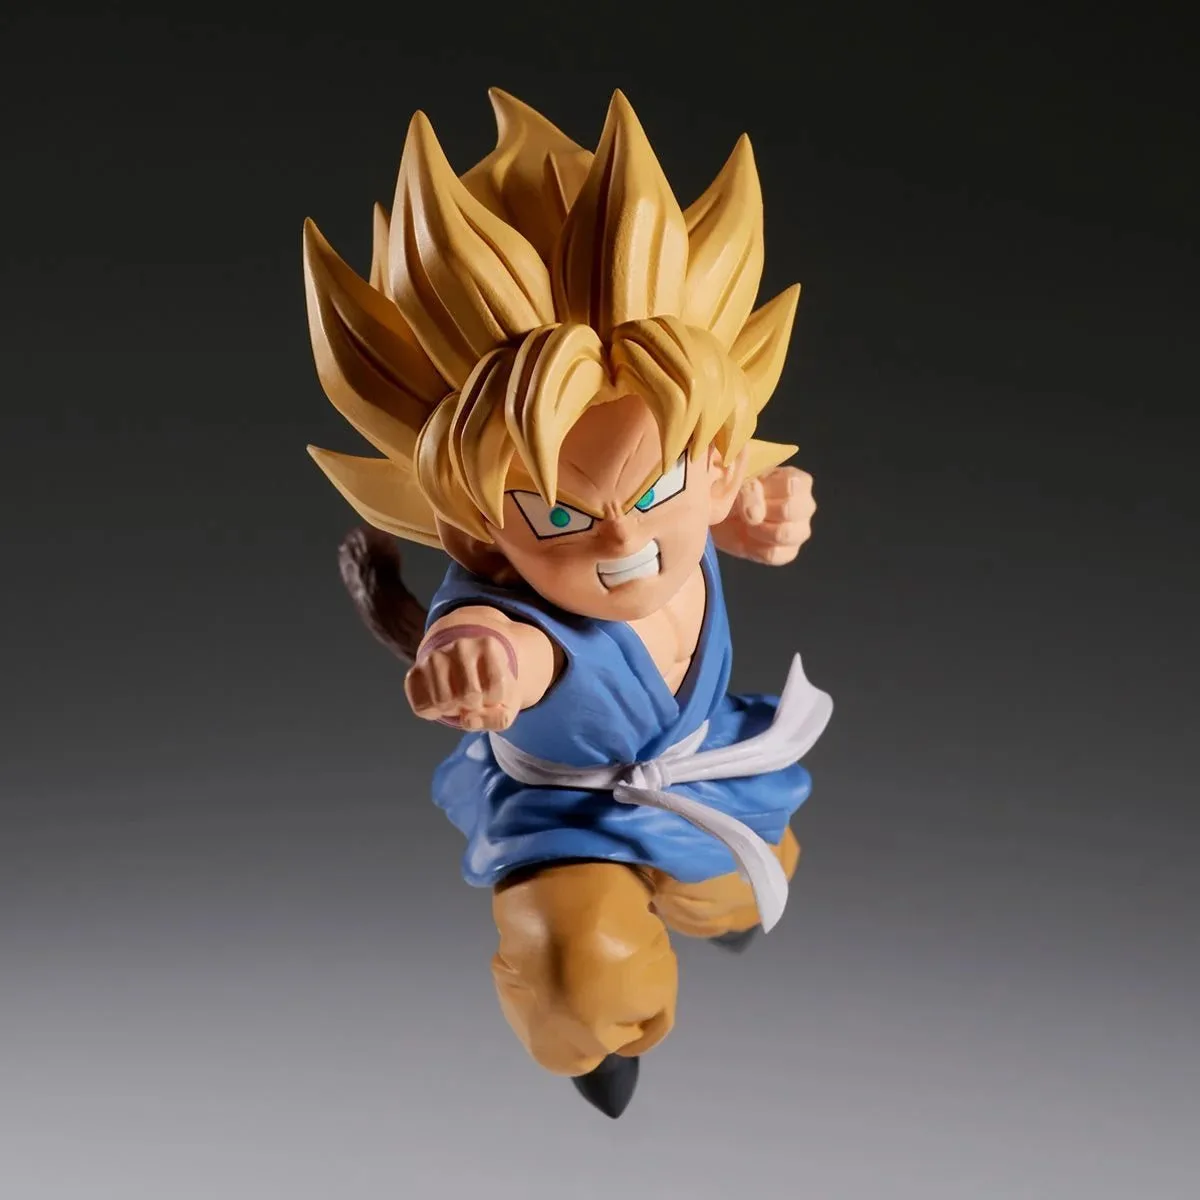
- Dragon Ball GT Super Saiyan Goku [vs. Super #17] Match Makers Statue: Dragon Ball GT Super Saiyan Goku [vs. Super #17] Match Makers Statue is a fully completed and painted figure, ready to display with no assembly required. Fixed-pose statues like this have no user-serviceable joints, so they are not for articulation practice; use them as display references instead.