Quick Answer
To pose a Tasmanian devil figure in a diorama, start by choosing a dynamic stance that suggests movement, then scale the figure to your scene, secure it naturally, and add environmental details that reinforce the pose.
Why Pose Matters for a Wildlife Diorama
A static figure can make a diorama feel flat, but a well-chosen pose tells a story. The Tasmanian devil figure's detailed sculpt and sturdy build allow for a variety of poses that can convey foraging, alertness, or aggression.
Think about the story you want to tell: is the devil sniffing the ground, looking back over its shoulder, or ready to pounce? The pose should match the narrative of your scene.
Consider the viewing angle. A pose that looks great from the front might not work from the side. Position the figure so that its most expressive features are visible from your primary viewing direction.
Scale and Proportion in Your Diorama
The Tasmanian devil figure is about 3.5 inches long, making it a 1:20 scale representation of a real devil (which averages 28 inches in length). This scale is ideal for pairing with other figures in the same range, such as the Giraffe Male Figure or Polar Bear Cub Walking Figure.
If your diorama includes larger animals, ensure the devil isn't dwarfed or overwhelming. Use the figure's size to create a sense of depth—place it slightly off-center to draw the eye.
When in doubt, keep the devil as the focal point. Its compact size means it can be easily lost in a busy scene, so give it breathing room.
Step-by-Step Posing Guide
- Choose a Natural Stance: Select a pose that reflects the devil's behavior—sniffing the ground, looking alert, or mid-stride. Adjust the legs and head to create a balanced, natural silhouette. Avoid stiff, symmetrical poses. Check that the figure stands on its own without wobbling; if not, adjust the legs or use a small amount of putty for stability.
- Scale the Figure to Your Diorama: Place the devil in a scene where it's proportionate to other elements. Use the figure's 1:20 scale as a guide—pair it with similar-sized figures or create a foreground/background depth with smaller or larger elements. Take a photo from your intended viewing angle to see if the scale feels right; adjust placement if the devil looks lost or oversized.
- Secure and Position the Figure: Use a small amount of clear putty or a pin to anchor the figure to the base, especially if the diorama is vertical or will be moved. Position the devil so it interacts with the environment—near a log, bush, or rocky outcrop. Ensure the figure is firmly attached but removable, so you can reposition it later without damaging the base or the figure.
- Add Environmental Details: Use natural materials like moss, sand, or small twigs to create a habitat that complements the pose. For example, if the devil is sniffing, add a small scent trail of crushed leaves or a tiny insect to draw the eye. Step back and check that the details don't overwhelm the figure—the devil should remain the star of the scene.
- Lighting and Display: Position a small spotlight or use natural light to highlight the devil's pose. Side lighting can create dramatic shadows that emphasize texture and movement. Avoid harsh overhead light that flattens the scene. Test different light angles and choose the one that best reveals the figure's features and the diorama's mood.
Product Facts
-
Tasmanian Devil: This Tasmanian Devil figure will bring a pinch of wild Aussie wildlife right to your home. Its cool design is perfect for playtime and can be a great conversation piece for your collection. The figure's detailed design and durable build make it easy to pose in a variety of stances, so you can create a dynamic diorama that captures the devil's spirited nature.
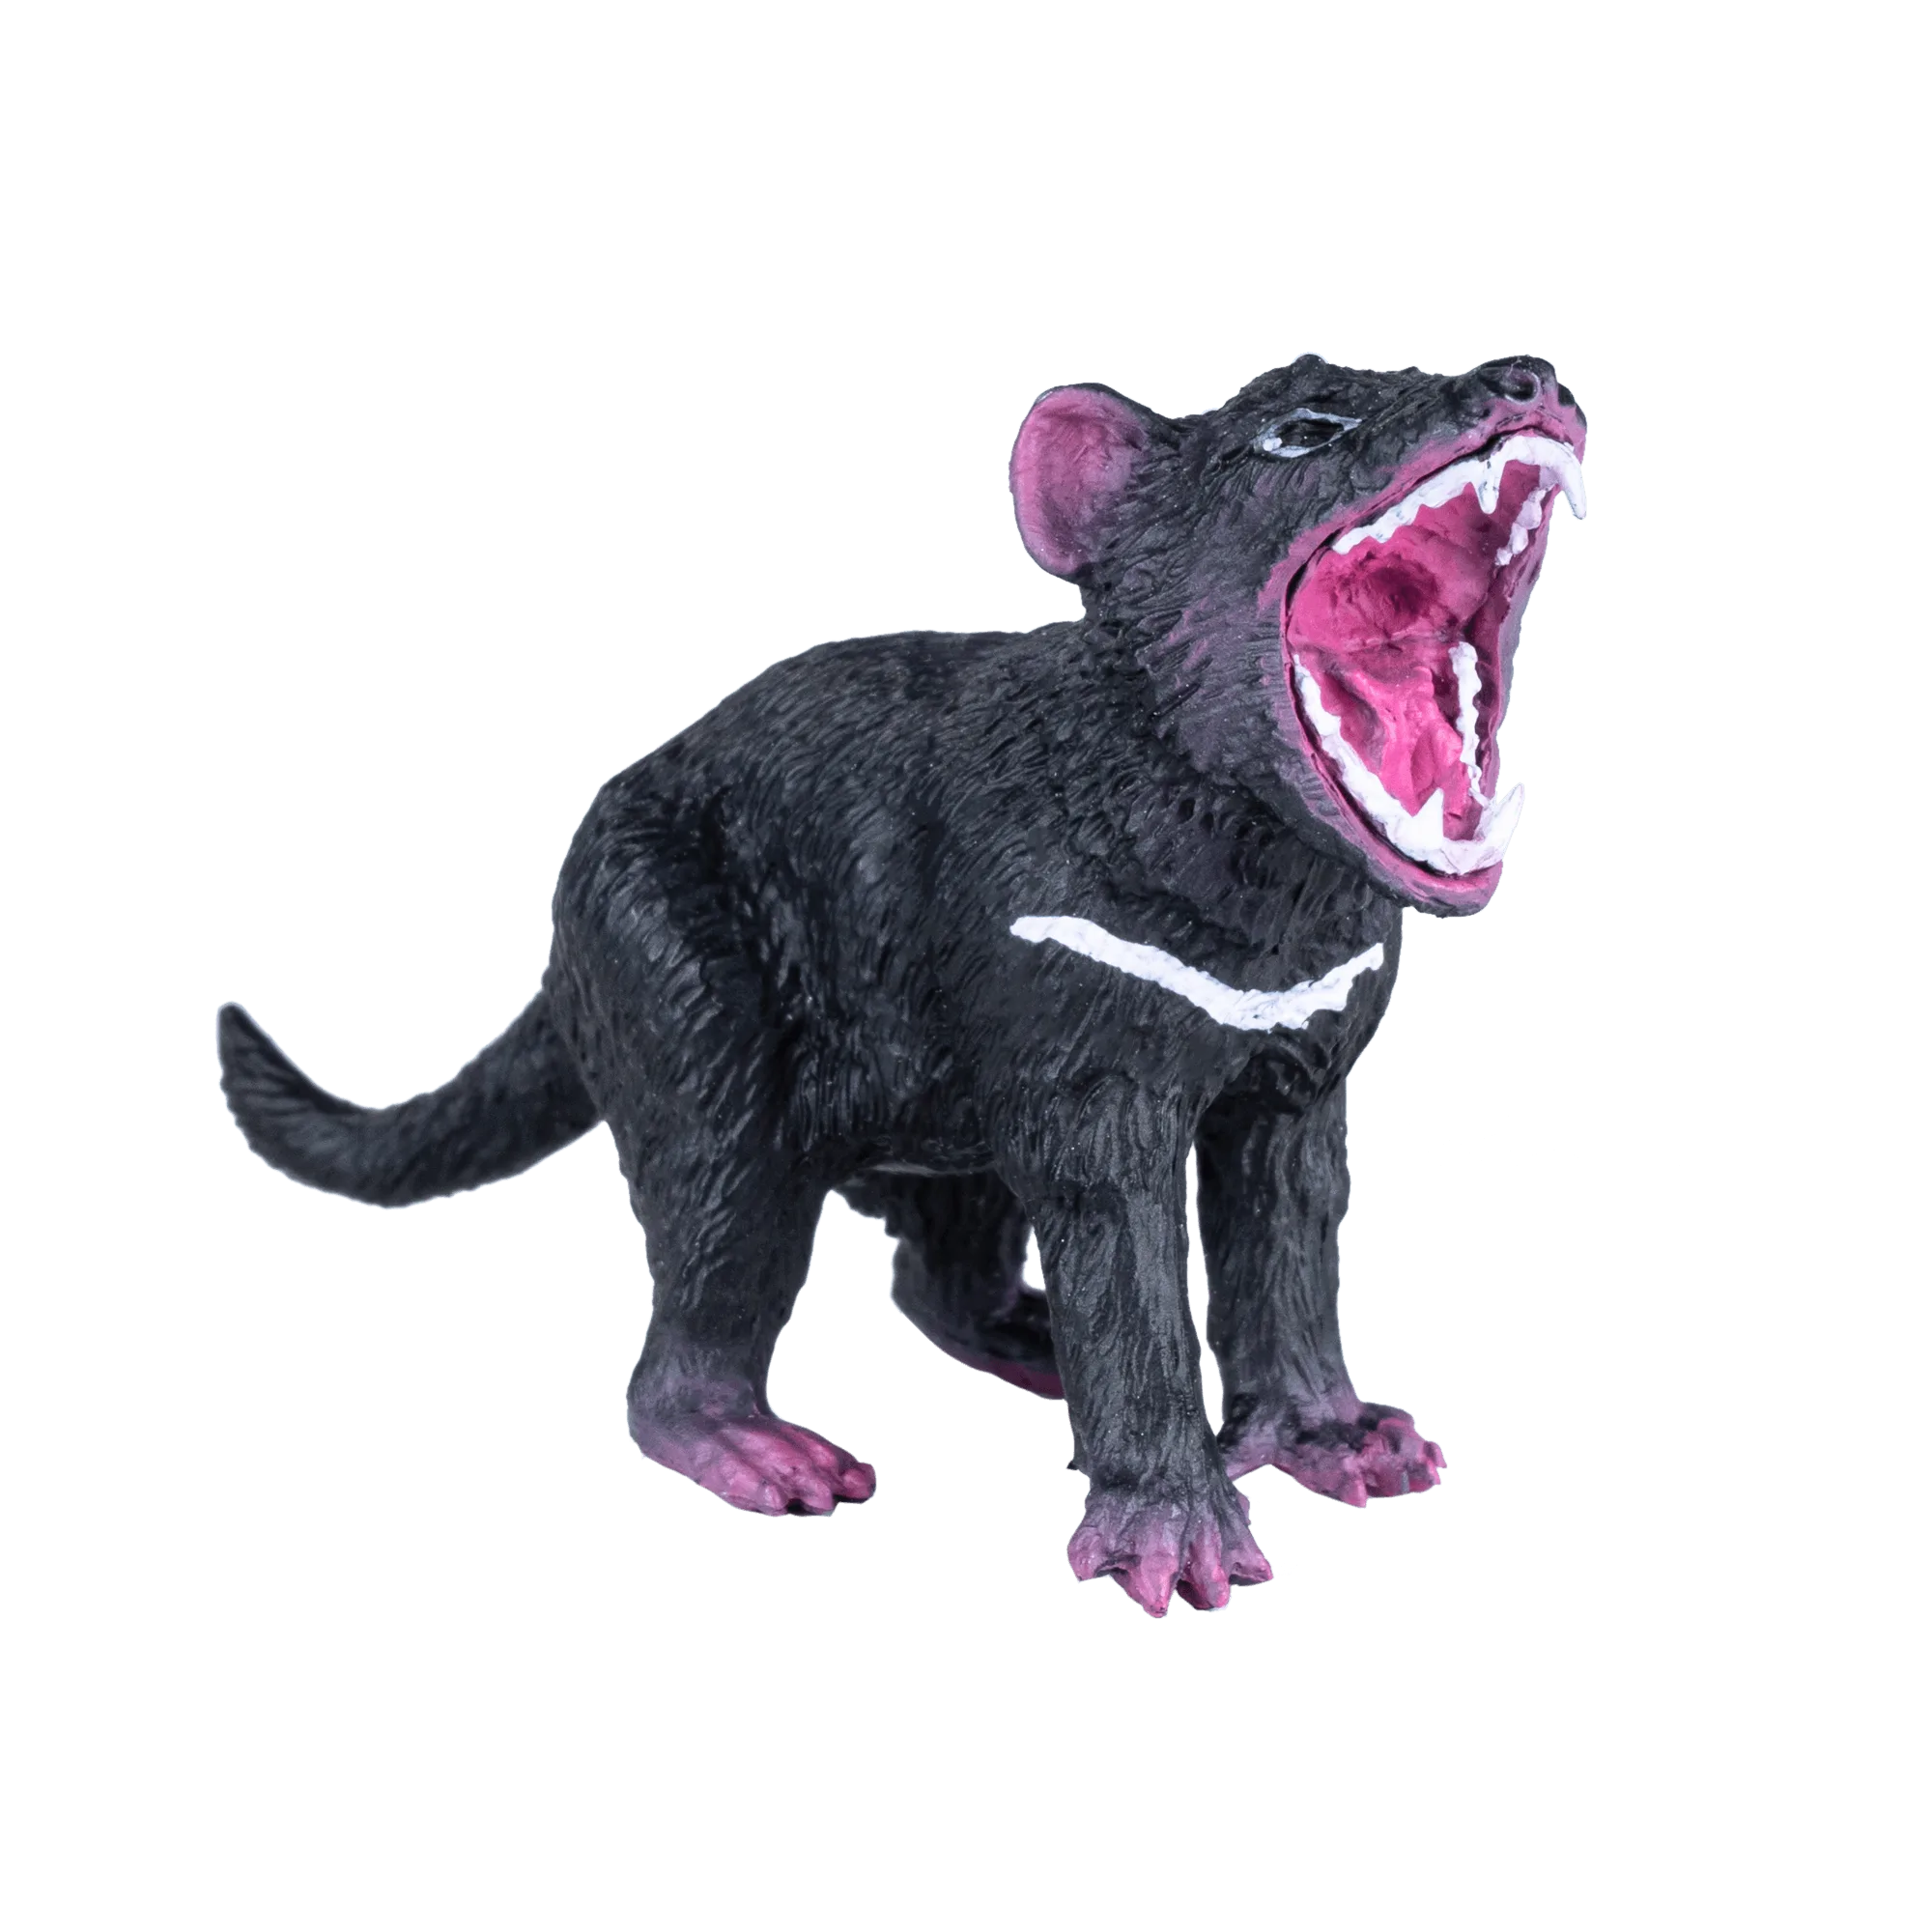
Tasmanian Devil


