Quick Answer
Most common needlepoint mistakes come from three root causes: inconsistent tension, mismatched needle or thread size, and losing your place in the pattern. Fix tension by laying stitches with a smooth, even pull rather than tugging. Match your needle to the canvas mesh and your thread to the stitch. Use a needleminder to hold your place so you stop re-stitching the same area. If a mistake is more than a few stitches old, rip it out rather than trying to stitch over it.
Every needlepointer, from first-timer to seasoned stitcher, hits the same handful of problems. A stitch looks loose, a row goes crooked, or you suddenly realize you have stitched the same area twice. These moments are frustrating, but they are also predictable and fixable.
This guide walks through the most common needlepoint mistakes by symptom, cause, and correction. You will learn when to fix in place, when to rip out, and when to step away from the canvas entirely. The goal is not perfection; it is knowing what to do when something goes wrong.
Uneven Tension and Loopy Stitches
Symptom: Your stitches look loose, loopy, or inconsistent in height across the canvas. Cause: You are pulling thread too tight in some areas and too loose in others, or your thread is twisted as you stitch. Corrective action: Lay the stitch by pulling the thread smoothly until it sits flat against the canvas, not tight enough to distort the holes. Let your needle dangle every few stitches to remove twist. If the canvas mesh is already stretched, dampen the back slightly and let it dry flat before continuing.
Prevention: Work with shorter thread lengths, about 18 inches, so the thread does not fray or twist. Use a thread conditioner if your fiber tangles easily. Check your tension every few stitches by looking at the canvas from an angle; the stitches should sit on top of the canvas, not pull it out of shape.
- Let the needle hang to untwist thread before each new strand.
- Use a laying tool or your needle to smooth each stitch flat.
- If the canvas is distorted, block it before stitching further.
Skipped Stitches and Missed Areas
Symptom: You finish a section and notice a small gap where the canvas shows through. Cause: You skipped a stitch while following the pattern, or your thread jumped over a hole. Corrective action: If the skipped area is small and surrounded by stitches, you can often fill it in by working a single stitch over the top, following the same direction as the surrounding stitches. If the gap is larger or in a high-contrast area, rip out the surrounding stitches and re-stitch the section to keep the texture even.
Prevention: Mark your progress on the canvas or pattern with a highlighter or magnetic board. Count twice, stitch once. For painted canvases, the design is your guide, but you still need to check that each stitch covers the painted area completely.
- Use a needleminder to keep your place on the pattern.
- Work in small sections and check for gaps before moving on.
- For dark threads on light canvas, gaps are more visible; fix them immediately.
Thread Tangles and Knots
Symptom: Your thread knots up mid-stitch, or you get a tangle that will not pull through. Cause: Thread that is too long, twisted, or frayed. Corrective action: Stop immediately. Do not pull the knot tighter. Gently work the knot loose with a needle or your fingers. If it will not come undone, cut the thread close to the canvas and re-thread. If the knot is in a stitched area, you may need to rip out a few stitches to access it.
Prevention: Cut thread to 18 inches or less. Strip and separate strands individually before recombining them, which removes twist. Run thread through a conditioner or dampen it slightly. If you are using silk, be extra gentle; it snags more than wool.
- Never pull a knot tighter; it only makes it worse.
- Cut and restart rather than fighting a stubborn tangle.
- Keep your thread short and untwisted for smoother stitching.
Canvas Distortion and Warping
Symptom: Your finished canvas no longer lies flat; it curves or ripples. Cause: Tension that is too tight, especially along the edges, or stitching that pulls the canvas off-grain. Corrective action: If the distortion is mild, block the canvas when you finish stitching. Wet it, pin it to a board in a square shape, and let it dry completely. If the distortion is severe, you may need to rip out the tightest areas and re-stitch with looser tension.
Prevention: Use a frame or stretcher bars to keep the canvas taut and square while stitching. Avoid pulling thread tight enough to pucker the canvas. Check the edges periodically; if they curl, your tension is too tight.
- Stitch with the canvas on stretcher bars or a frame.
- Block the finished piece to restore shape.
- If the canvas is already warped, fix tension before continuing.
Losing Your Place and Re-Stitching
Symptom: You realize you have stitched over an area twice, or you cannot tell where you left off. Cause: No system for marking progress. Corrective action: If you have double-stitched, examine the area. If it looks bulky, rip out the extra stitches. If it is not noticeable, you can leave it, but be aware that the texture may differ. To find your place, use the painted design and your pattern together. Count from a known landmark.
Prevention: Use a needleminder to hold your place on the canvas. Mark your pattern with a highlighter or use a magnetic board. Take a photo of your work before you stop for the day. These small habits save hours of confusion.
- A needleminder keeps your place on the canvas and pattern.
- Mark off completed areas on your pattern as you go.
- Take a progress photo before putting your work down.
When to Stop and Start Over
Not every mistake needs to be ripped out. If the error is small, in a low-contrast area, and does not affect the overall design, you can often leave it or cover it with a stitch. But if the mistake affects the structure of the canvas, like a large area of wrong stitches, or if it causes visible distortion, it is better to rip out and re-stitch. The same goes for thread that is frayed or knotted beyond repair; cut your losses and start fresh.
If you find yourself making repeated mistakes, step away. Fatigue and frustration lead to more errors. Take a break, then come back with fresh eyes. Needlepoint is meant to be relaxing, not a source of stress.
- Rip out if the mistake affects the design or canvas shape.
- Leave small errors in low-contrast areas if they are not noticeable.
- Take a break when you start making repeated mistakes.
Mistake Diagnosis Chart
- Loopy or uneven stitches: Thread twist or inconsistent tension. Untwist thread by letting the needle hang, and practice laying stitches flat with even pressure. If the canvas is already distorted, block it before continuing.
- Gaps in stitched area: Skipped stitches or thread jumping over a hole. Fill small gaps with a single stitch; rip out larger areas to maintain texture. Mark your pattern as you go to avoid missing stitches.
- Thread knots and tangles: Thread too long or twisted. Cut thread to 18 inches, strip strands, and use conditioner. Never pull a knot tighter. If a knot will not come loose, cut and restart.
- Canvas warping: Tension too tight or stitching off-grain. Use stretcher bars, stitch with looser tension, and block the finished piece. Severe warping may require ripping out tight areas.
- Losing your place: No progress tracking. Use a needleminder, mark your pattern, and take photos before stopping. A needleminder is a simple, effective tool for keeping your spot.
Products That Help Prevent Mistakes
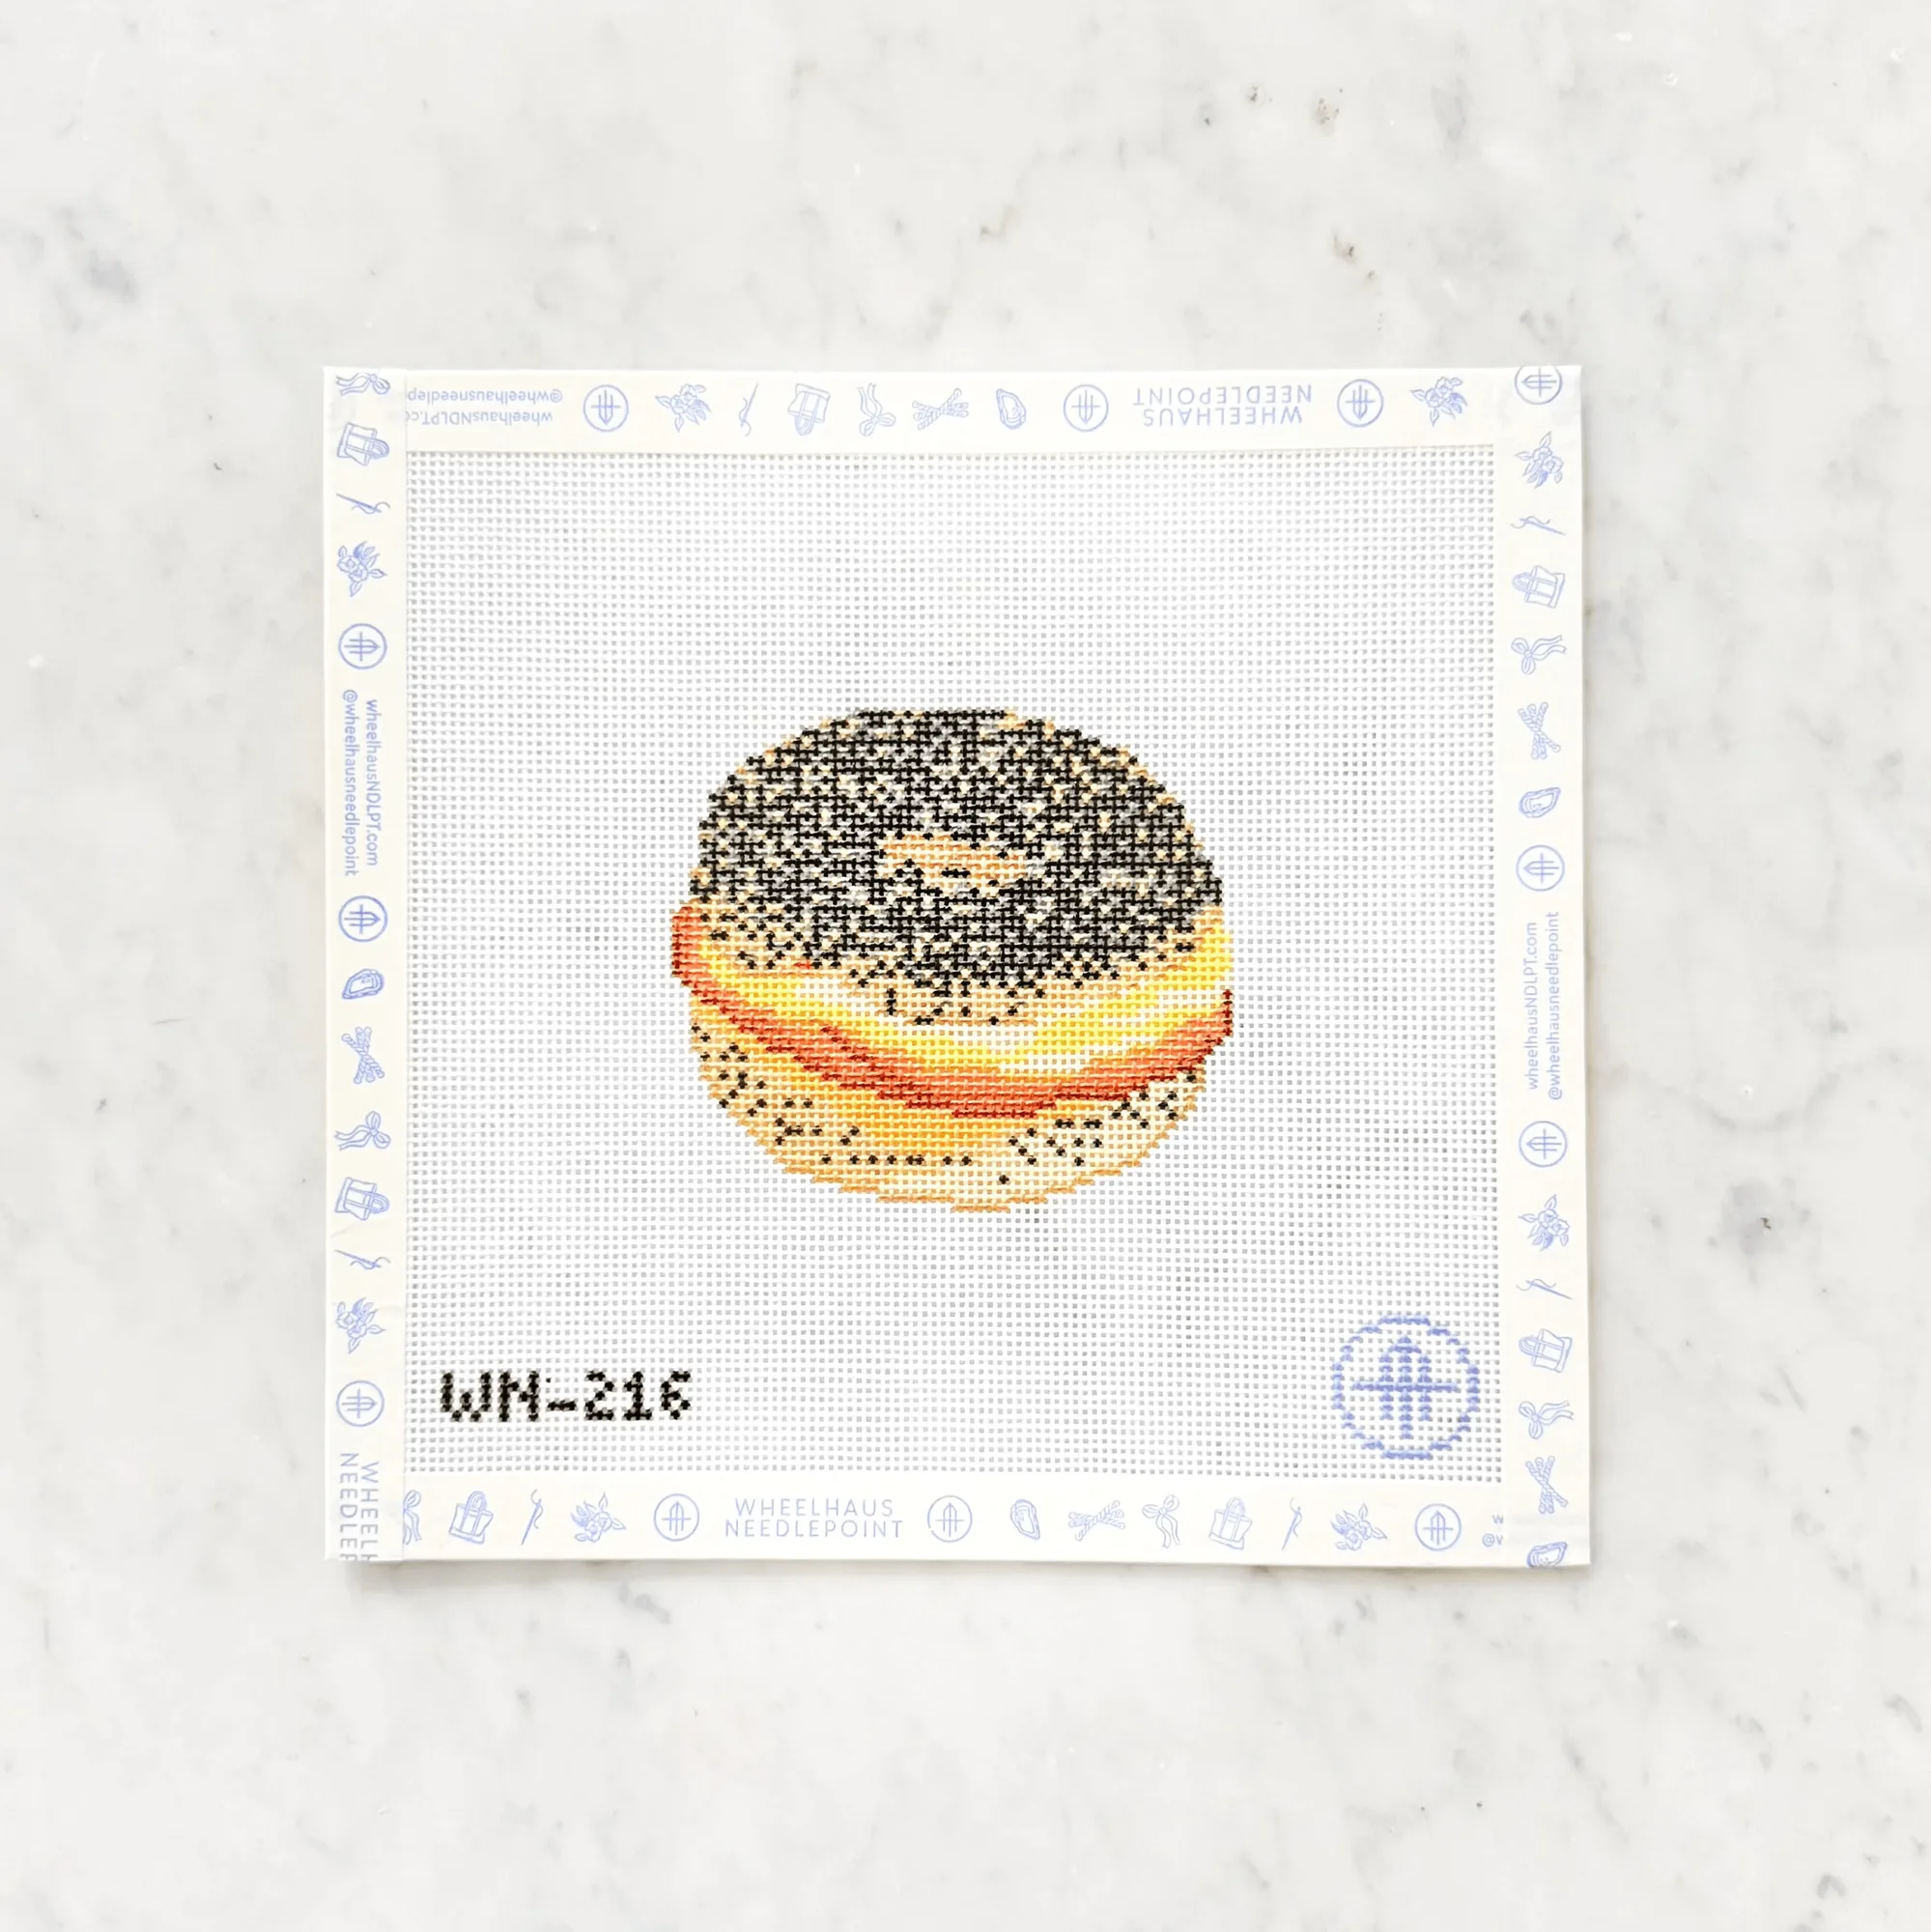
- Pork Roll (Taylor Ham), Egg, and Cheese on a Poppy Bagel: 18 mesh, 3.75x3.5, StitchPerfect Printed, canvas only, includes stitch pamphlet, needle, WIP Project Card, and reusable PVC protective project baggy. The included stitch pamphlet and project card help you keep track of your progress and stitches, reducing the chance of skipped or misplaced stitches. The protective baggy keeps your work clean and organized between sessions.
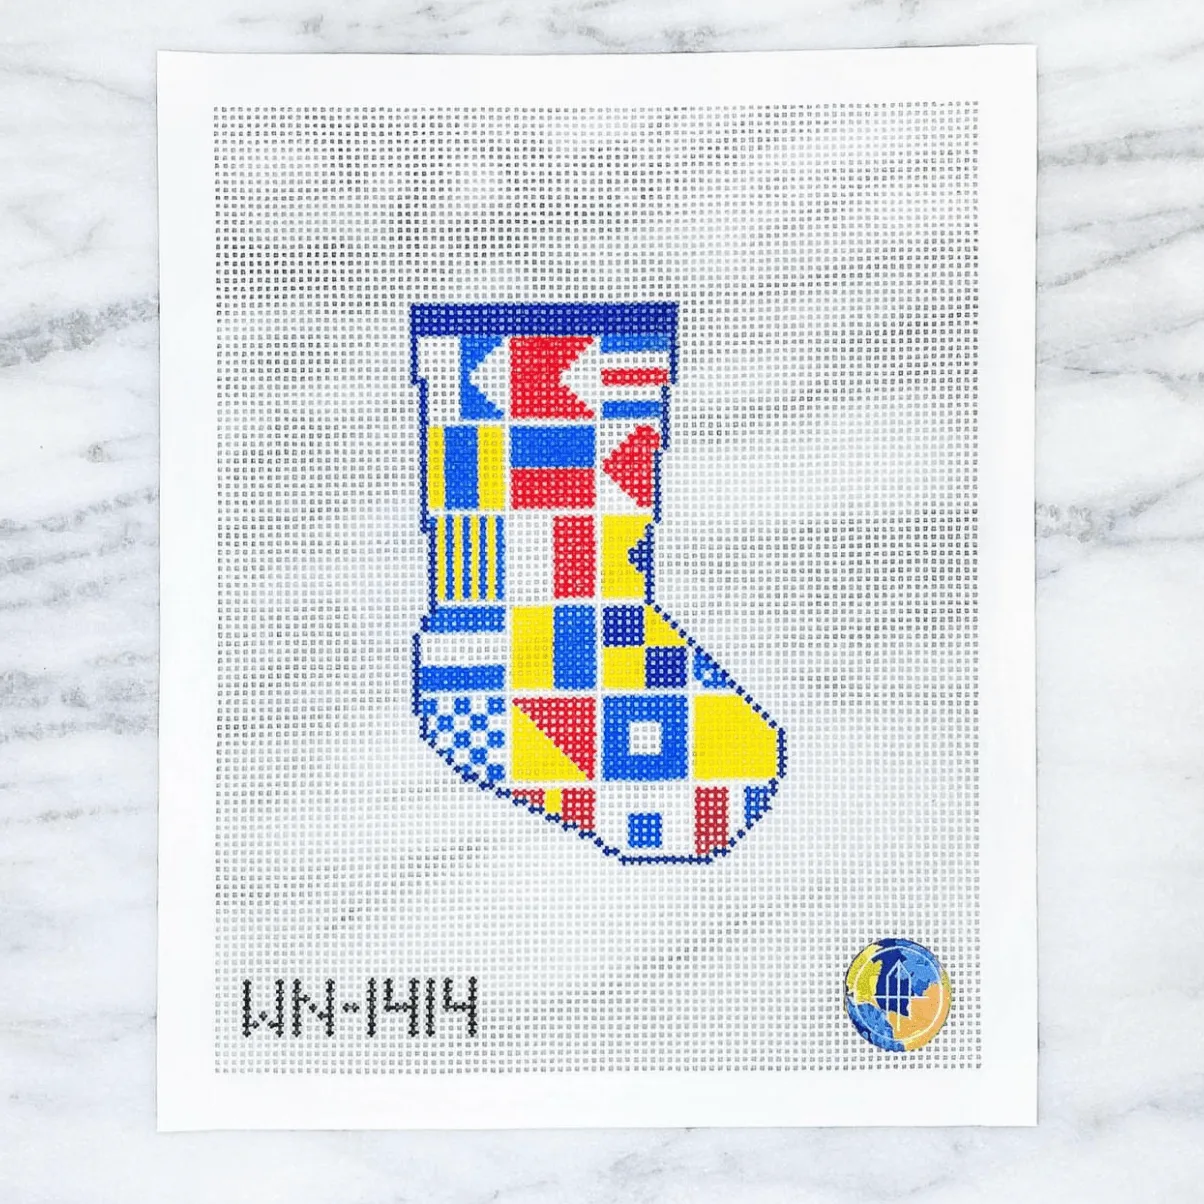
- Nauti or Nice Mini Stocking: 13 mesh, 3.75Wx5.5H, canvas only or thread kit available. Thread kit includes canvas, silk and wool fibers, thread ring, tapestry needle, and stitch brochure. The thread kit option gives you all the correct fibers and a thread ring, which helps prevent thread tangles and ensures you have the right amount of thread. The larger 13 mesh is easier to see, which can reduce counting errors for beginners.
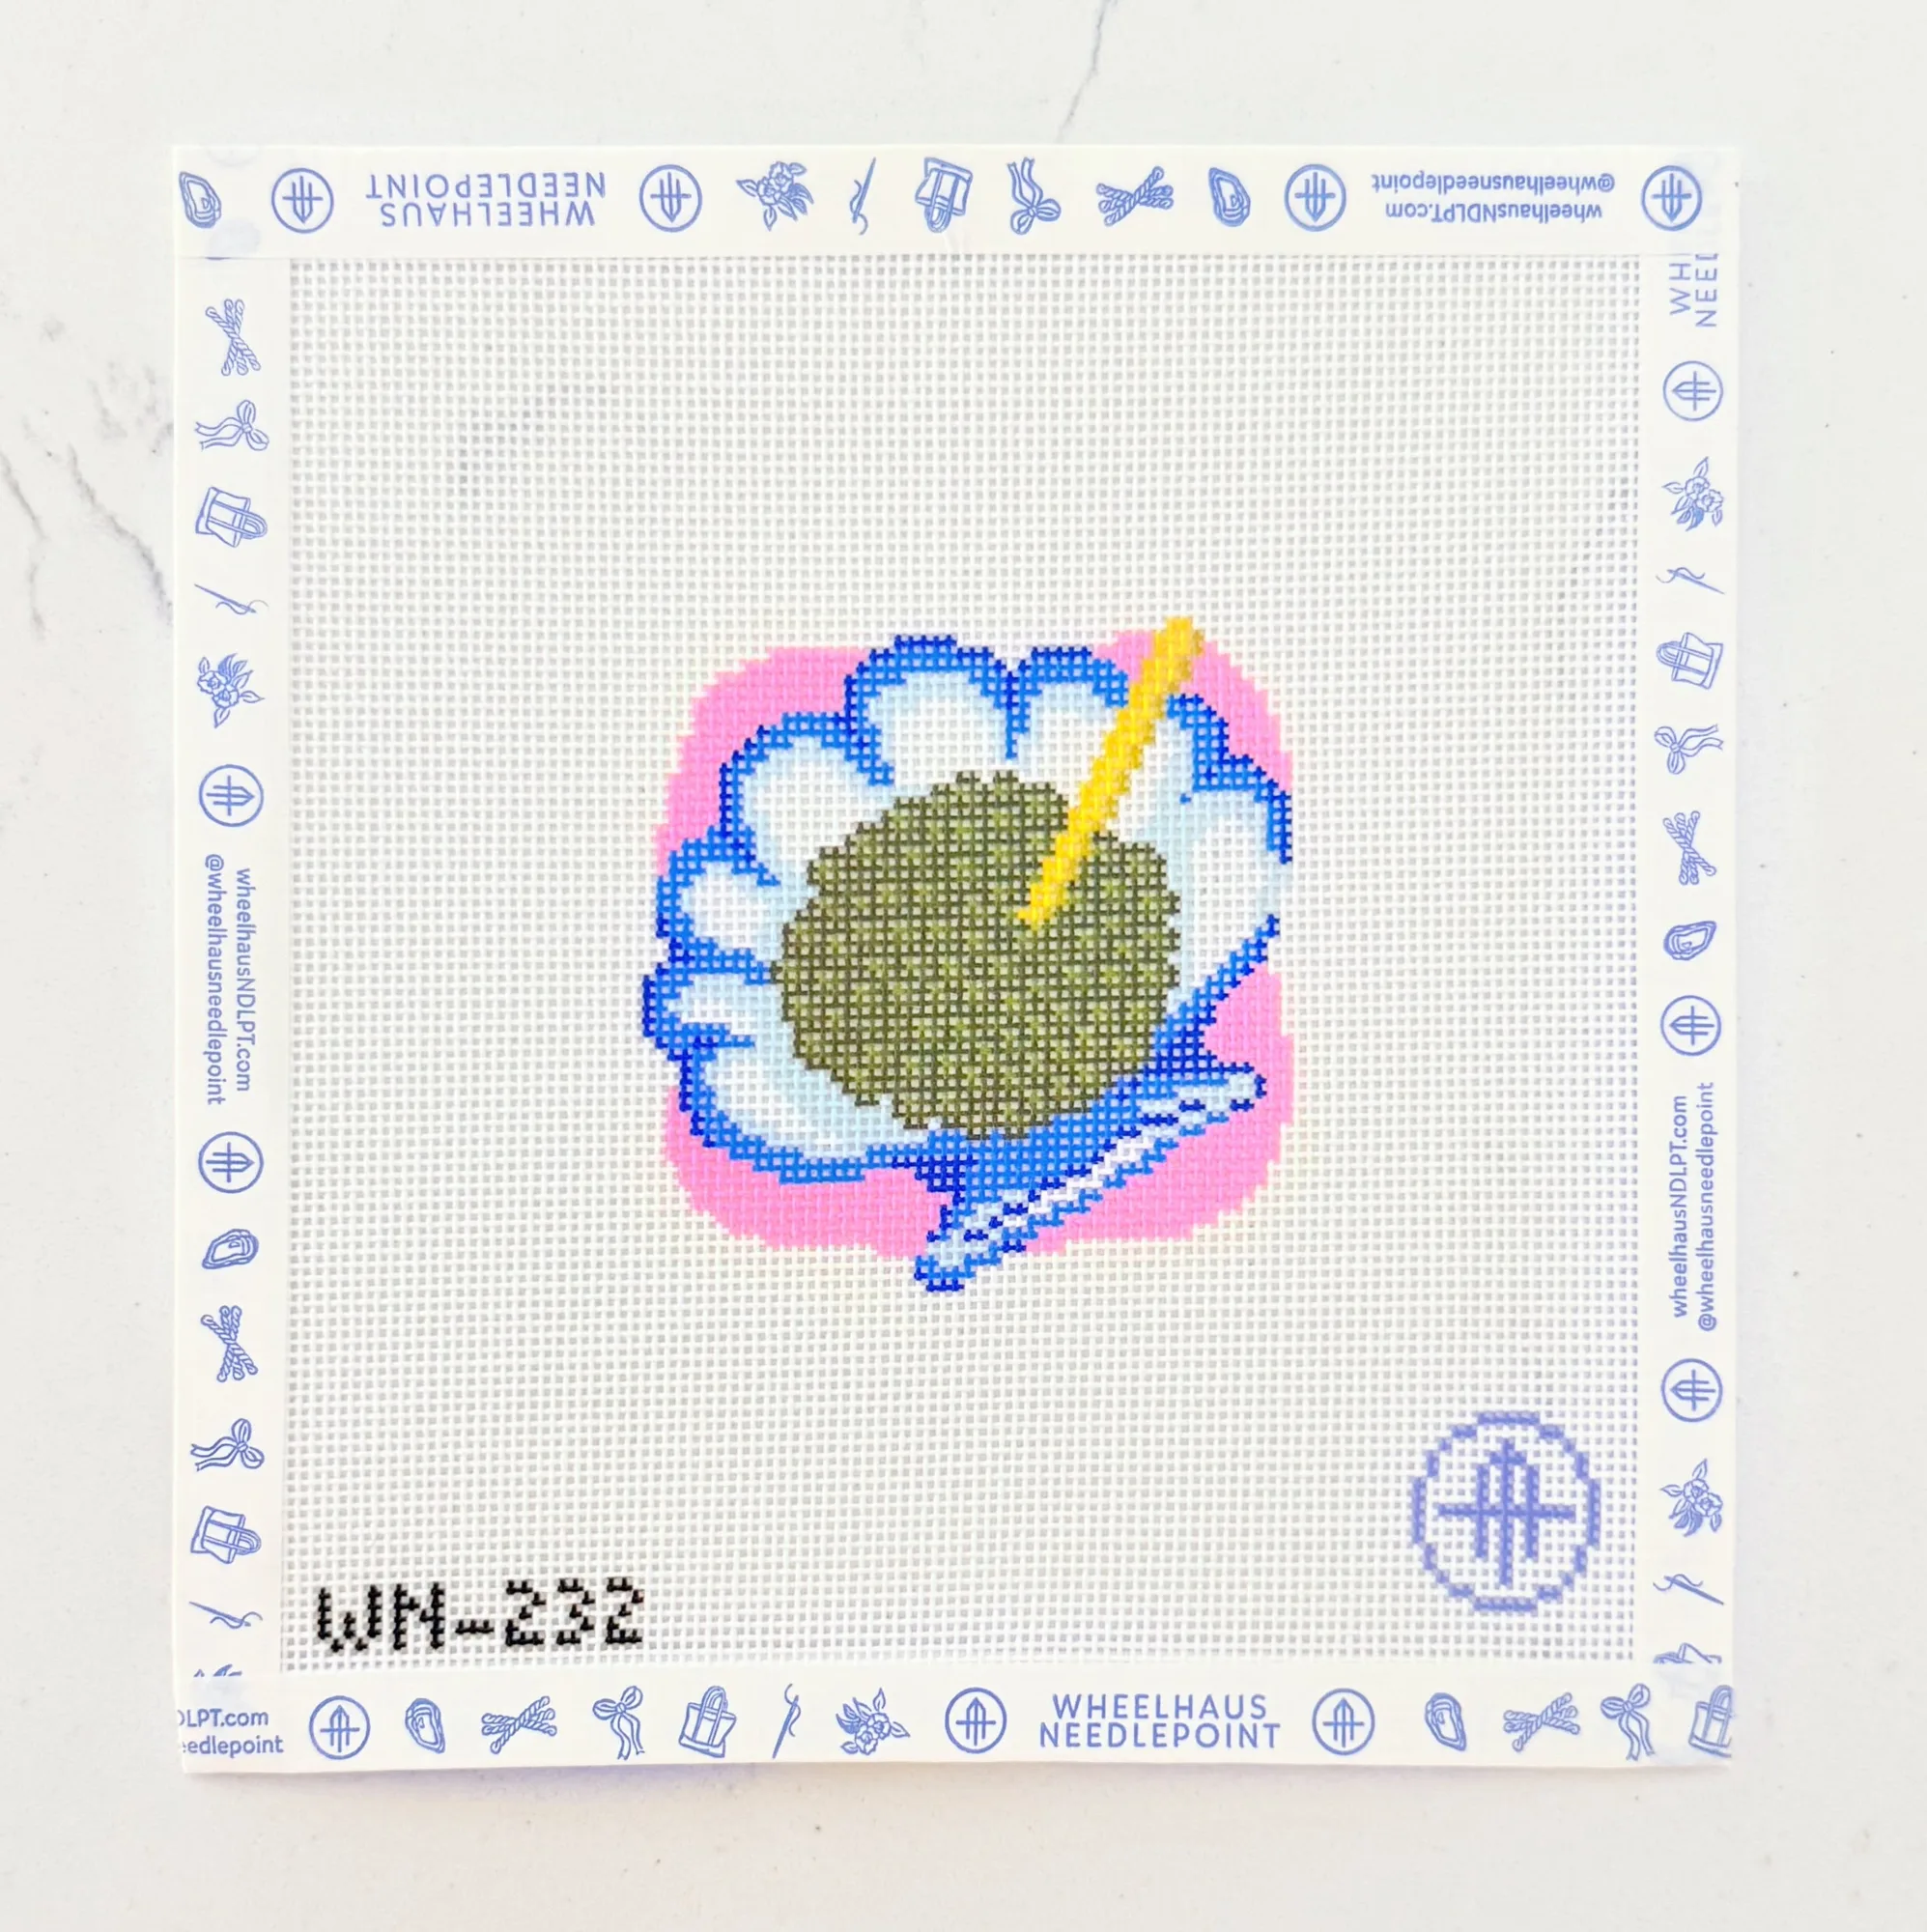
- Euro Summer Mini - Caviar: 18 mesh, 3x3, StitchPerfect Painted, canvas only, includes stitch pamphlet, WIP Project Card, and reusable PVC protective project baggy. Option to add Caviar Beads. Small canvases like this are great for practicing tension and stitch consistency without committing to a large project. The optional beads add texture but require careful placement, so they are a good way to practice precision.
Mistakes are part of learning needlepoint. With these troubleshooting steps, you can fix common problems quickly and get back to stitching with confidence. Remember to check your tension, keep your thread organized, and use tools like needleminders and project cards to stay on track. If a mistake is beyond repair, rip it out and start again; your canvas will thank you.