Quick answer
Read the chart like a map, not a script. Match each chart symbol to its thread color, then stitch the painted areas on your canvas in the order the kit instructions give. On a painted canvas, the printed color already tells you where each thread goes, so the chart is mainly a symbol key and a stitch guide. Work one color or one section at a time, and check your placement before you pull the thread through.
A needlepoint chart can look like a grid of tiny marks until you know what each mark is telling you. The good news is that most charts follow the same logic: the grid mirrors the canvas mesh, and every symbol stands for one thread color or one stitch. Once you can read that key, a painted canvas kit becomes much easier to stitch cleanly.
This guide walks through the process in order, from checking your kit contents to finishing the last stitch. It uses real kit examples from our catalog so you can see how chart, canvas, and instructions work together, and it flags the mistakes that most often send stitchers back to the frog pile.
What a needlepoint chart actually shows you
A chart is a scale drawing of your canvas. Each square on the grid represents one intersection of canvas threads, and each symbol inside that square tells you which thread to use there. On a painted canvas, the design is already printed in color, so the chart functions as a symbol key and a stitch reference rather than the only source of the design.
That distinction matters when you open a kit. Some kits, like the Seashore Shell Needlepoint Kit, include an online stitch guide with decorative stitch suggestions, while the canvas itself carries the color. Others, like the Seafood Cocktail Crab Needlepoint Kit, include a color card showing the stitched design plus instructions for a specific background stitch. Read what your kit provides before you assume the chart is doing all the work.
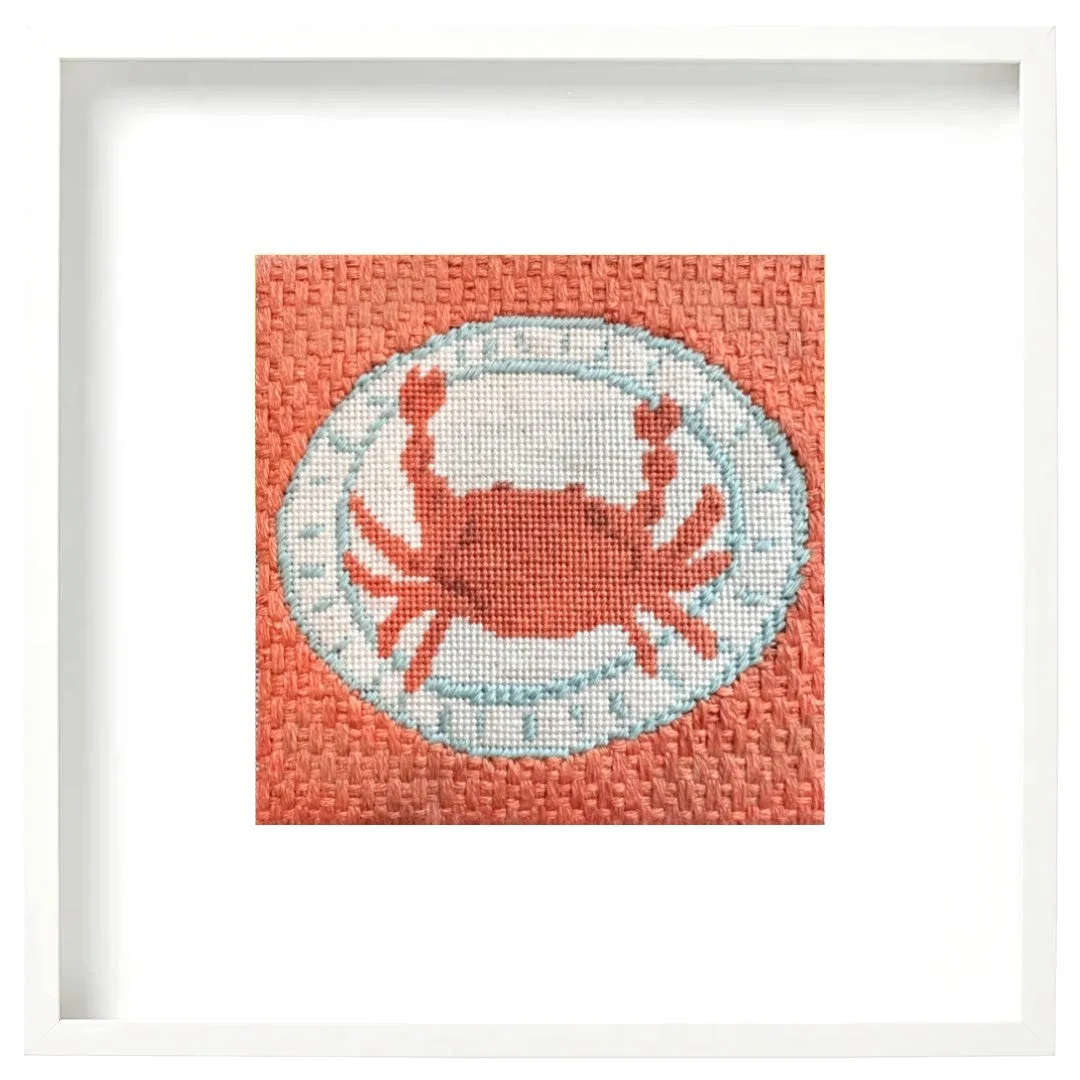
Seafood Cocktail Crab Needlepoint Kit
- The grid equals the mesh count, not inches. A 5" x 5" design on 18-count canvas is 90 by 90 intersections.
- A symbol can mean a color, a stitch, or both. Check the key before you stitch.
Decoding needlepoint chart symbols
Chart symbols are chosen to be distinguishable in black and white, so they are often circles, triangles, crosses, or shaded blocks. The key, sometimes called a legend or color card, pairs each symbol with a thread name or number. If two symbols look similar at a glance, isolate them by covering the rest of the chart with a ruler or a piece of paper while you work.
When a chart uses the same symbol in two different stitch areas, the stitch guide usually clarifies it. That is common in designs with a decorative background, where the symbol tells you the thread and the guide tells you the stitch. If your kit's chart and guide seem to disagree, trust the guide for stitch placement and the chart for color.
- Photocopy or screenshot the key so you can mark it up without ruining the original.
- If a symbol is ambiguous, stitch one test square on a scrap of canvas before committing.
Reading the painted canvas alongside the chart
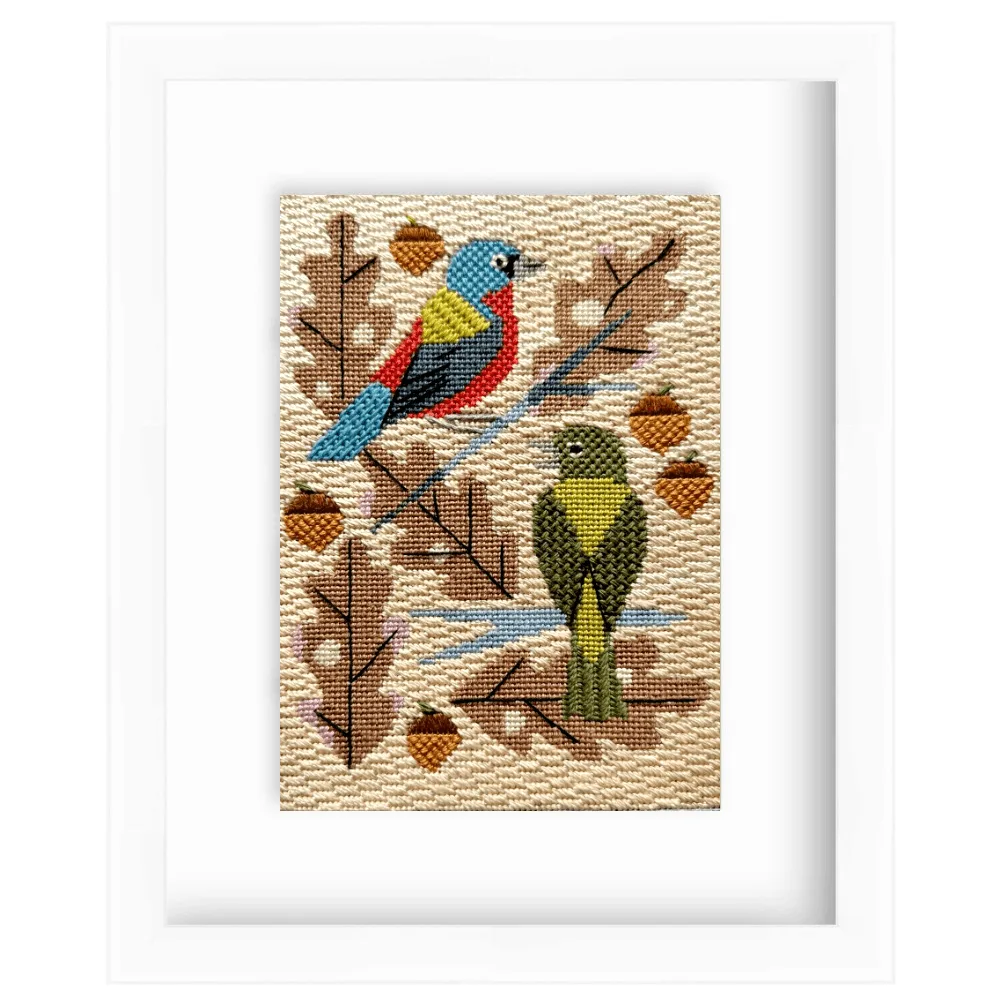
Reading needlepoint canvas is mostly about trusting the print. The painted color shows where a thread belongs, and the chart confirms which thread that is. On precision-printed canvases like the Buntings in Oak Needlepoint Kit, the design is printed on 18-mesh mono canvas at 4.75" x 6.75", slightly larger than some other designs to give decorative stitches room to show.
The common mistake here is stitching over a printed line and losing the design's edge. Work from the center outward or from the largest color area inward, and let the print guide your needle rather than your memory of the chart. If the print is faint in one area, mark it with a water-soluble pen before you begin.
- Check that the printed design is centered and edge-taped before your first stitch.
- Never assume a faint print means a different color. Compare it to the chart key.
Following needlepoint kit instructions in the right order
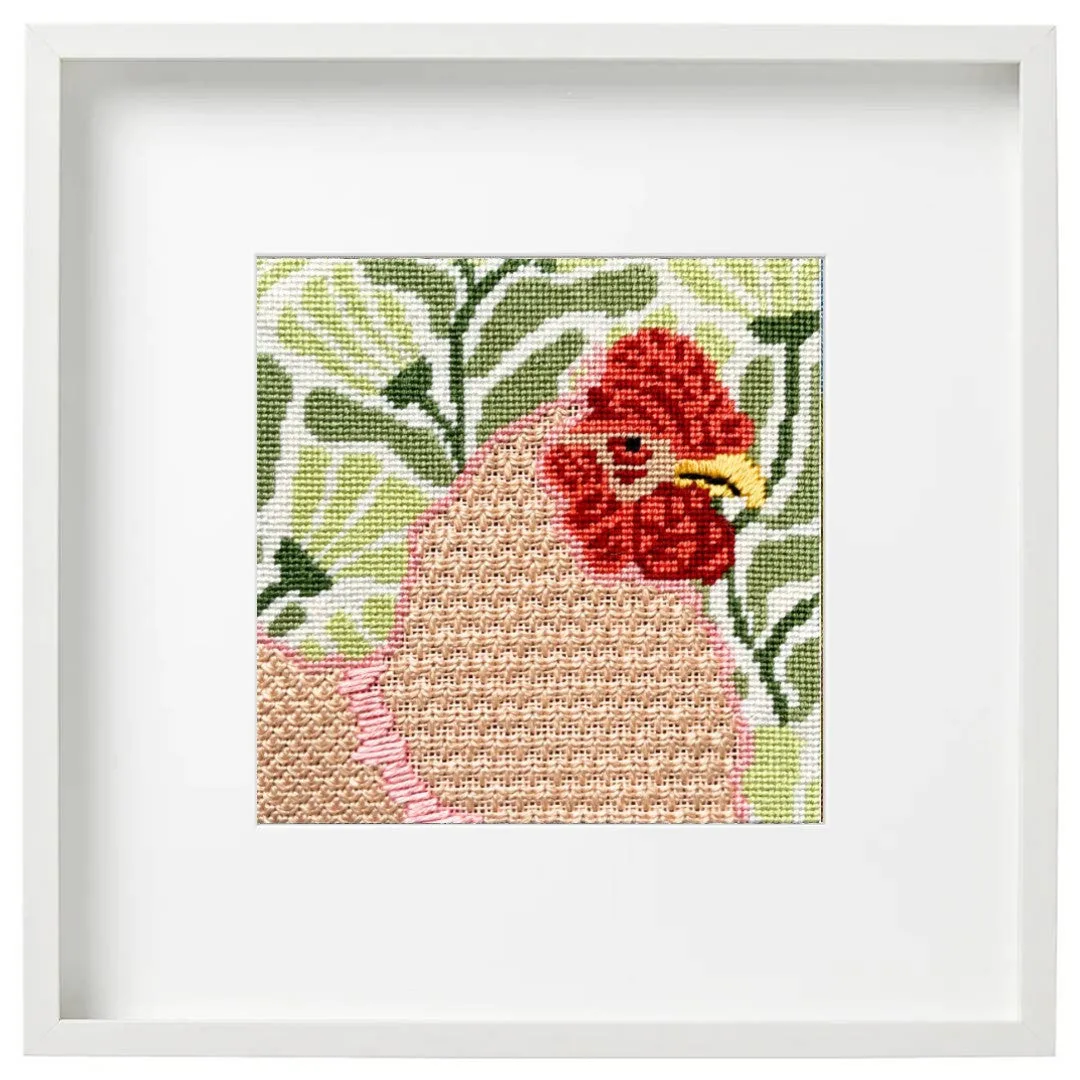
Start by reading the entire instruction sheet once. Then sort your threads by symbol or color and lay them out in the order you will stitch them. Kits like the Penny Henny Needlepoint Kit include a project bag for exactly this reason: keeping threads and tools organized prevents the mid-project scramble that leads to wrong-color stitches.
Stitch the focal point first, then the background, then any decorative stitches. This order lets you adjust tension and coverage on the most visible area while you are still fresh. If your kit includes an online stitch guide, open it before you start the background so you are not improvising a stitch you have never tried.
- Read all instructions before threading a needle.
- Stitch the most important area first, while your tension is most consistent.
Matching thread to symbol without guessing
When a kit supplies Pepperpot Silk and Essentials wool/silk blend, the two fibers can look similar in the skein but stitch up differently. Silk gives a smooth, lustrous finish; the wool/silk blend adds slight texture and coverage. The chart key should tell you which is which, and the Seashore Shell Needlepoint Kit is a good example of a kit that supplies both for a smooth, lustrous finish.
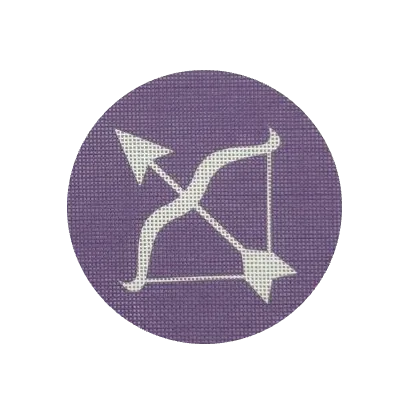
If your kit includes an optional thread pack, like the Sagittarius Needlepoint Canvas + Optional Thread Pack with Pepperpot Silk in violet, decide before you start whether you are using it. Swapping threads mid-project changes the sheen and can make one area look different under light.
- Label each thread with its symbol using a small sticker or clip.
- If two threads look alike, stitch a test row of each on scrap canvas first.
Stitching the chart one section at a time
Work in small, contained sections rather than jumping around the canvas. Finish one color block or one motif before moving to the next. This keeps your thread from traveling across the back of the work, which wastes fiber and can show through on light canvas.
The most common mistake is stitching a decorative background before the main motif is complete. Decorative stitches like the Bamboo background stitch in the Seafood Cocktail Crab Needlepoint Kit are easier to keep even when the surrounding area is already stitched and stable.
- Finish one section before starting another.
- Avoid carrying thread more than a few stitches across the back.
Checking your work against the chart as you go
Pause every few sections and compare your stitched canvas to the chart and the printed design. Look for skipped intersections, wrong symbols, and uneven tension. Catching a mistake after ten stitches is a quick fix; catching it after a hundred means ripping back and possibly damaging the thread.
If you are stitching a kit with a specific skill level, respect it. The Seafood Cocktail Crab Needlepoint Kit is listed as advanced, which usually means the background stitch needs more attention than a basic tent stitch. If you are new to decorative stitches, practice the stitch on scrap canvas before applying it to the kit.
- Check your work under the same light you will use to display it.
- If a section looks off, compare it to the chart before stitching further.
Your step-by-step chart-to-stitch routine
- Read the whole instruction sheet first: Lay out the chart, key, and any online stitch guide before you thread a needle. Identify which symbols mean color and which mean stitch. Checkpoint: you can point to the symbol for every thread in the kit.
- Match each thread to its symbol: Sort threads by symbol and label them. If two fibers look alike, stitch a test row of each on scrap canvas. Checkpoint: no unlabeled threads remain in the bag.
- Find the center of the canvas and the chart: Count to the center intersection on both and mark it. This is your anchor point for every section that follows. Checkpoint: the center mark on canvas lines up with the center square on the chart.
- Stitch the focal point before the background: Work the most visible motif first while your tension is most consistent, then move outward into background and decorative areas. Checkpoint: the main motif is complete before you start any decorative stitch.
- Work one section at a time: Finish a color block or motif before moving on. Avoid carrying thread more than a few stitches across the back. Checkpoint: the back of your work stays nearly as neat as the front.
- Compare your canvas to the chart every few sections: Look for skipped intersections, wrong symbols, and uneven tension. Fix small errors immediately rather than stitching around them. Checkpoint: every stitched area matches both the printed canvas and the chart key.
- Block and finish only after a final chart check: Before blocking or framing, do one last pass against the chart to confirm no intersection was missed and no symbol was misread. Checkpoint: the finished piece matches the color card or chart key from edge to edge.
Kits that show how chart and canvas work together
- Seashore Shell Needlepoint Kit: Includes a 5" x 5" canvas on 18-count, Pepperpot Silk and Essentials wool/silk blend threads, two Bohin stainless steel size 22 needles, how-to-needlepoint instructions, and an online stitch guide with decorative stitch suggestions. The online stitch guide is where you will find the decorative stitch suggestions, so open it before you start the background and keep it beside your chart.
- Seafood Cocktail Crab Needlepoint Kit: Includes a 5" x 5" canvas on 18-count, Pepperpot Silk threads, two Bohin stainless steel size 22 needles, and a color card showing the stitched design with instructions for the Bamboo background stitch. Listed as advanced skill level. The color card doubles as your symbol key, and the advanced rating tells you to practice the Bamboo stitch on scrap canvas before committing it to the kit.
- Buntings in Oak Needlepoint Kit: A 4.75" x 6.75" design on 18-mesh mono canvas, slightly larger than other designs to let decorative stitches shine, with premium materials curated for a professional finish. The larger printed area gives you more room to read the canvas and place decorative stitches without crowding, which makes chart-reading mistakes easier to spot early.
- Sagittarius Needlepoint Canvas + Optional Thread Pack: A 4" Zodiac Sagittarius needlepoint canvas kit with an optional Pepperpot Silk thread pack in rich violet, suited to small, impactful projects. The optional thread pack means you decide your palette before you start, so check the chart key against the threads you actually have on hand.
Reading a needlepoint chart comes down to three habits: match symbols to threads before you stitch, trust the painted canvas for placement, and check your work against the chart as you go. Do those, and any kit in your stash becomes a straightforward project instead of a puzzle.