Quick answer
Read a stitch guide in layers, not all at once. Start with the symbol key and thread list, match each symbol to its thread, then work the charted area one stitch at a time, checking the diagram before you pull the needle through. The chart tells you where a stitch goes and the diagram tells you how to make it, so keep both in view.
A stitch guide is not a single chart. It is a small packet of information: a symbol key, a thread list, and diagrams that show how each stitch is built. Beginners often try to absorb all of it at once and freeze. Read it in order instead, and the page stops looking like code.
This walkthrough covers the order that works: key first, threads second, chart third, diagrams as you go. It also flags the common mistakes at each stage, since most stitch guide problems come from skipping a layer rather than from the stitching itself.
Start with the symbol key, not the canvas
Every stitch guide chart assigns a symbol to a thread or stitch, and that key is the dictionary for the rest of the page. Before you look at the painted canvas, read the key from top to bottom and note how many symbols are in play. A guide with four symbols is a different job than one with fourteen.
Copy the key onto a sticky note or index card you can keep beside your work. If the guide uses similar symbols, such as a solid triangle and an open triangle, separate them visually now so you do not confuse them mid-row.
- Checkpoint: if two symbols look alike at a glance, mark one with a highlighter before you stitch a single row.
Match each symbol to a thread before threading a needle
The thread list tells you which fiber goes with which symbol, and sometimes which needle or how many strands. Pull every listed thread out of your stash and lay it on the guide next to its symbol. This takes a few minutes and prevents the classic error of stitching half a section in the wrong fiber.
If a guide references beads or specialty threads you do not own, decide now whether you will substitute or skip that element. Deciding mid-section is how charts get misread.
- Common mistake: assuming the first thread listed is the first one you stitch. The list is a reference, not a stitching order.
Read the chart area by area, not row by row
Charted areas are usually grouped by stitch or by color block, and working area by area keeps your tension and thread use consistent. Find the boundary of the first area, count its width and height in stitches, and confirm that count against the canvas before you begin.
As you stitch, place a ruler or a strip of paper under the current row so your eye stays on the right line. This is the single easiest fix for the skipped-row problem that plagues dense charts.
- Checkpoint: after the first area, step back and check that the stitched block sits where the chart says it should.
Use the stitch diagram for the how, the chart for the where
A stitch diagram shows the path of the needle for one repeat: where it comes up, where it goes down, and how the next repeat connects. The chart on the canvas tells you where that repeat belongs. Keep both in front of you and consult the diagram at the start of each new stitch type rather than trying to memorize it.
Work one full repeat on scrap canvas or in a corner of the project if the stitch is new to you. A practice repeat costs a few minutes and saves ripping out a whole section.
- Common mistake: reading the diagram once and assuming you have it. Recheck it at the start of every new row of that stitch.
Handle compensating stitches at edges last
When a stitch pattern meets a curved or diagonal edge, the full repeat no longer fits, and the guide will show partial or compensating stitches. These are usually the least intuitive part of the chart, so stitch the interior of the area first and leave the edges for last.
If the guide does not spell out a compensating stitch, follow the shape of the neighboring stitches and keep the coverage even. Slight variation at an edge is normal and rarely visible once the piece is finished.
- Checkpoint: confirm edge stitches cover the canvas without leaving exposed mesh or building up bulk.
Track what you have finished so you can stop and restart
Stitch guides are rarely finished in one sitting. Mark completed areas on a photocopy of the chart rather than on the guide itself, so the original stays clean for reuse. A simple pencil line through a finished section is enough.
Before you put the project down, note the symbol and area you stopped on. Restarting is where misreads happen, because you are reconstructing context from memory.
- Common mistake: marking the guide in pen. You lose the ability to re-stitch or lend the guide later.
Your stitch guide reading sequence
- Read the symbol key end to end: Note every symbol and flag any that look similar to each other. Checkpoint: you can name each symbol without looking back at the key.
- Pull and match every listed thread: Lay each fiber beside its symbol before threading a needle, and decide on substitutions now. Common mistake: starting to stitch before you know which fiber belongs to which symbol.
- Measure the first charted area: Count its width and height in stitches and confirm it against the canvas. Checkpoint: the area's position on canvas matches the chart.
- Stitch one repeat from the diagram: Follow the needle path for a single repeat, then check it against the chart placement. Common mistake: reading the diagram once and trusting memory for the rest of the row.
- Fill the interior, then compensate the edges: Work full repeats first and leave partial edge stitches until the interior is complete. Checkpoint: edges cover the mesh evenly without bulk.
- Mark progress on a copy: Cross off finished areas on a photocopy and note your stopping symbol before you set the project down. Next step: restart at the noted symbol instead of re-reading the whole guide.
Stitch guides and canvases in the shop
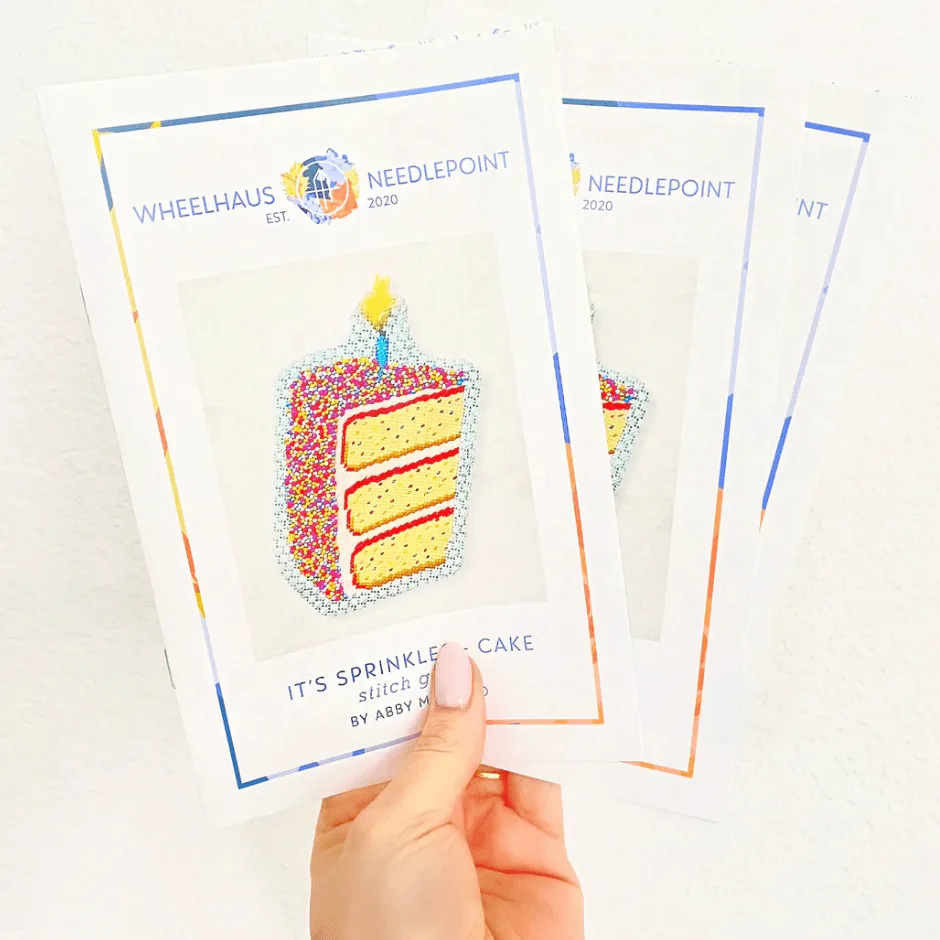
- It's Sprinkles Celebration Cake Stitch Guide: A single stitch guide booklet, mailing only, that does not align with the thread kit; the listing also notes where to find the exact beads used in the guide. A good example of why you read the guide's own notes first: this booklet is a standalone reference, so the thread list and bead callouts are things you source separately rather than assume are bundled.
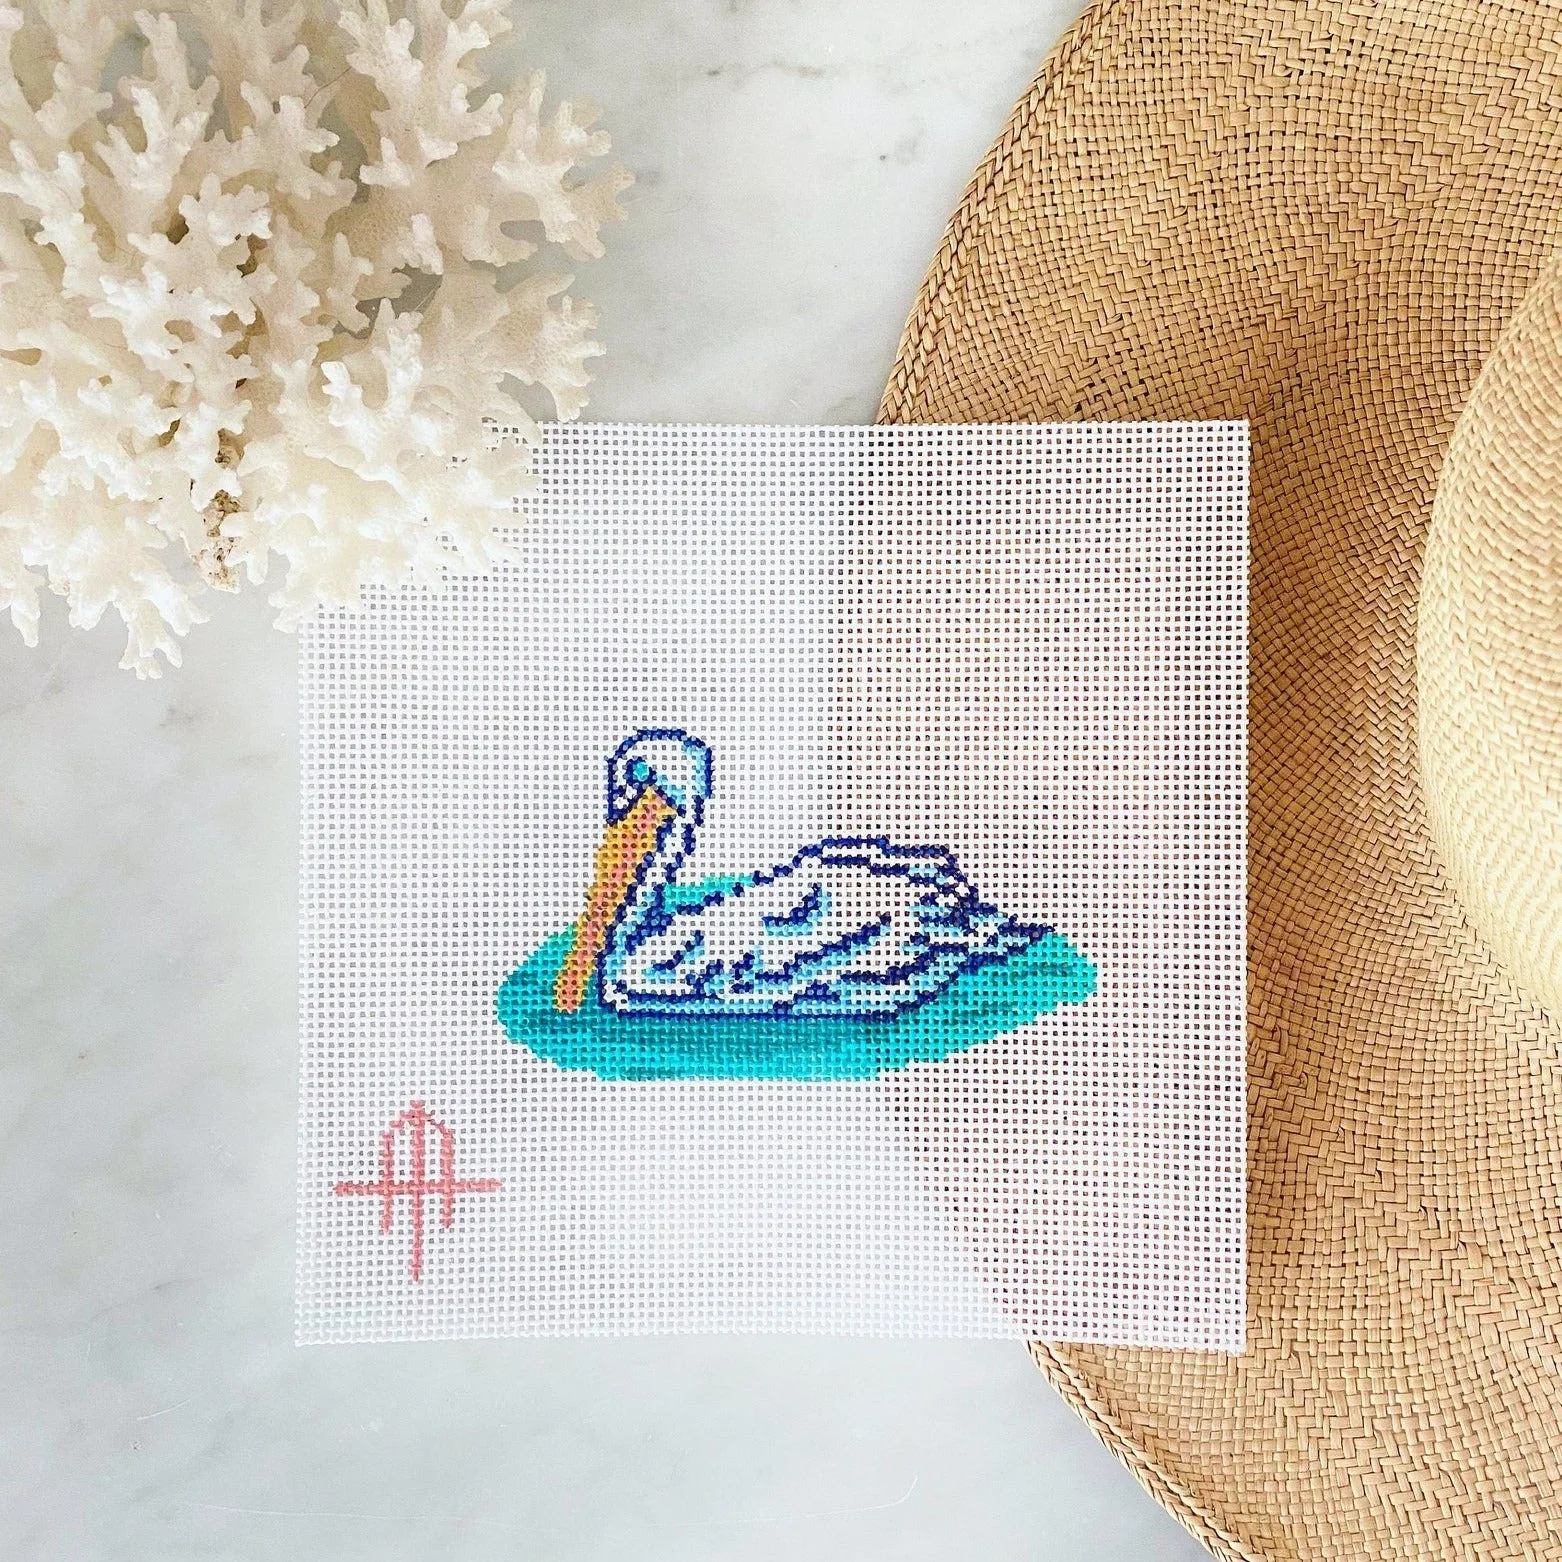
- Pelican: Available as canvas only or as a thread kit; the canvas-only option includes a hand painted, stitch painted canvas, one of seven stitch pamphlets, a WIP project card, and a reusable PVC protective project baggy. The thread kit adds a curation of silk and wool fibers, a thread ring, a tapestry needle, and a stitch brochure. If you are learning to read charts, the thread kit removes one variable because the fibers are already matched to the design, letting you focus on symbols and diagrams instead of fiber selection.
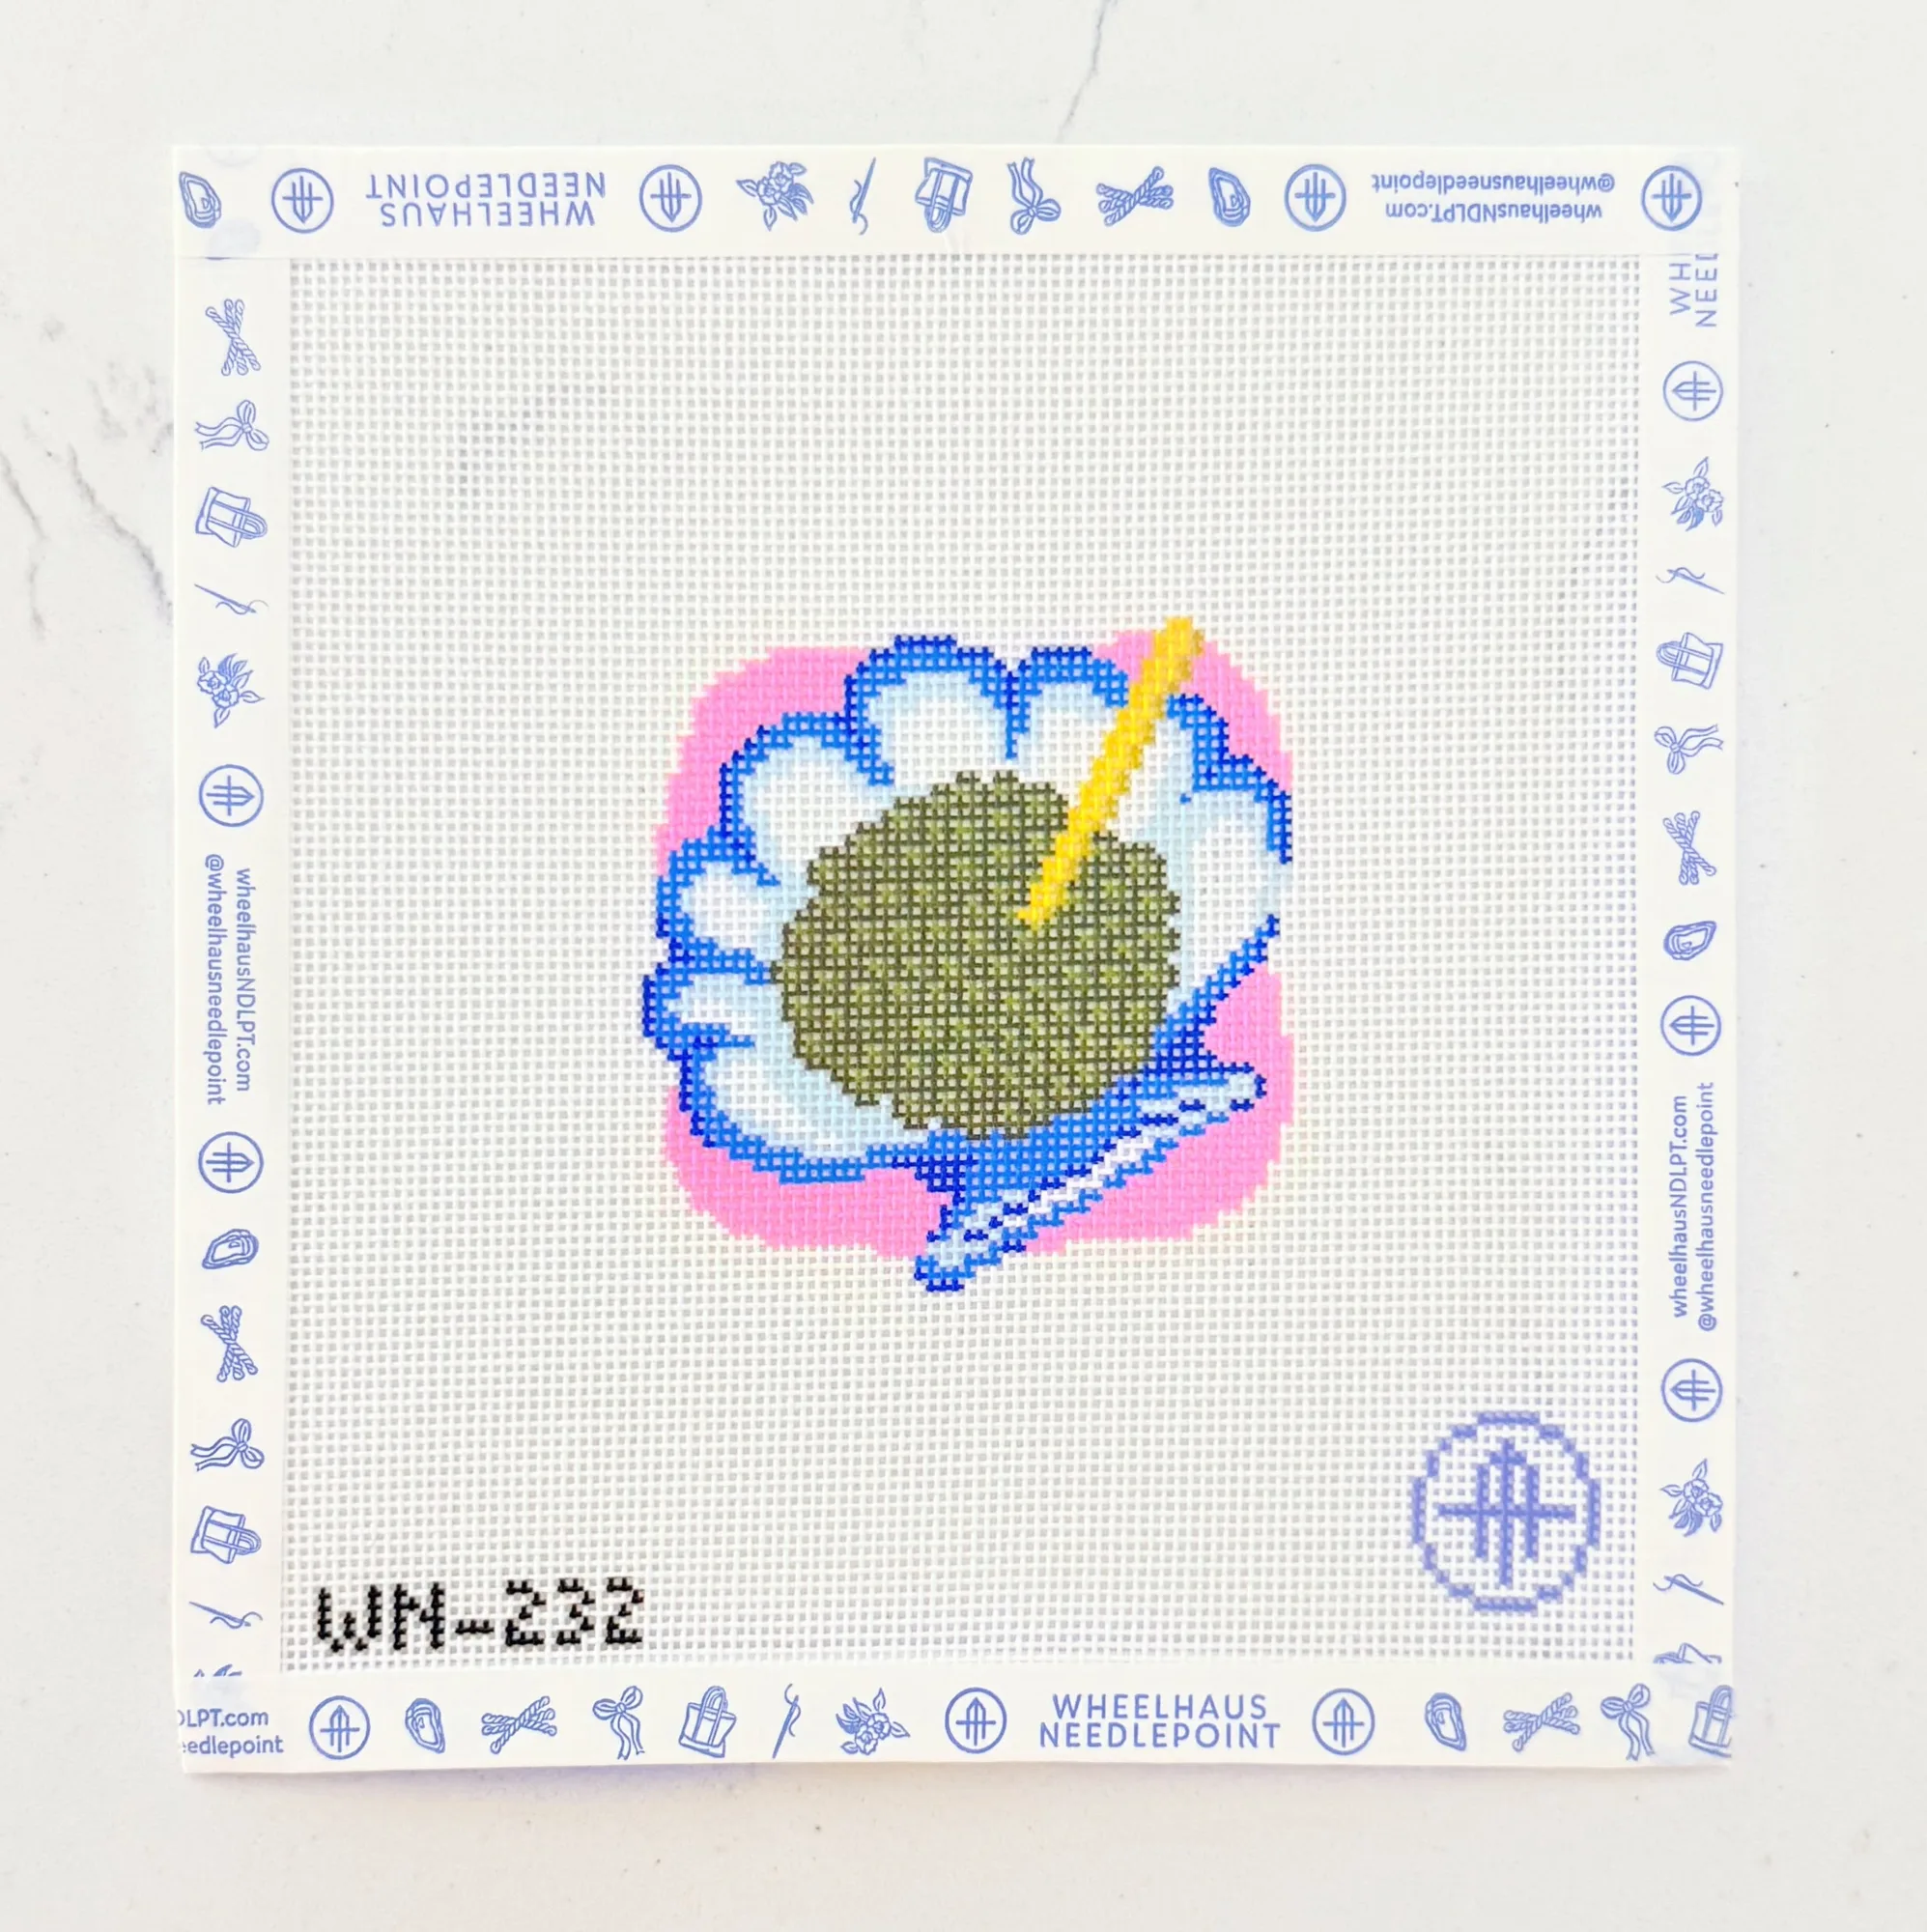
- Euro Summer Mini - Caviar: 18 mesh, 3x3 design, StitchPerfect painted, and the listing suggests adding Caviar Beads for a caviar effect. Small painted pieces like this are forgiving places to practice chart reading, and the optional bead suggestion is the kind of note you should spot in a guide before you start stitching.
Read the key, match the threads, then stitch the chart in areas with the diagram open beside you. Do those three things in order and a stitch guide stops being intimidating and starts being the most useful page in your project bag.