Quick answer
Read the chart key first, then map each symbol to a specific stitch and thread color before you thread a needle. Count grid squares from the nearest painted landmark rather than from the canvas edge, and mark your starting point on the canvas with a light pencil dot. If your chart has no key or the symbols are ambiguous, stop and request clarification before stitching.
Match every symbol to the chart key before you stitch
A stitch guide chart is a grid where each square represents one canvas intersection, and each symbol inside that square tells you which stitch and fiber to use. The chart key is the legend that decodes those symbols. Before you make a single stitch, read the key from top to bottom and physically point to each symbol on the chart. If a symbol appears on the chart but not in the key, that is a printing or design gap, not something to guess at. Contact the designer or retailer for clarification. Guessing leads to ripping out stitches, which weakens the canvas and wastes expensive silk and wool fibers.
Orient the grid to the painted canvas
Hand-painted needlepoint canvas and the printed chart should share the same orientation. Find a distinctive painted element on the canvas, such as a corner of a flag or the edge of a rope, and locate the same element on the chart. If the chart appears rotated or mirrored, rotate the paper, not the canvas. Once oriented, you can count grid squares in any direction and trust that the chart matches the painted design. This step prevents the most common beginner error: stitching a motif upside down or shifted by one or two threads.
Count grid squares from a landmark, not the edge
Grid basics are simple: one square equals one intersection of canvas threads. But counting from the raw canvas edge is unreliable because the painted design may not start exactly at the edge. Instead, count from the nearest painted landmark. For example, if a chart shows a symbol three squares to the right of a flagpole, find the flagpole on your canvas and count three intersections to the right. This landmark method keeps you accurate even if the canvas margin is uneven or the design is centered differently than expected.
Mark your starting point and first few stitches
Before you stitch a large area, place a small pencil dot on the canvas at the intersection where your first stitch will go. Then stitch just the first two or three symbols and compare them to the chart. If they match, continue. If they do not, you have caught a counting error while it is still easy to fix. This checkpoint is especially useful on 18 mesh canvas, where each intersection is small and a one-square mistake is hard to see until several rows are complete. For 13 mesh canvas, the larger grid gives you a bit more room to verify, but the same checkpoint applies.
Track color changes and thread blends on the chart
Many stitch guides use the same symbol shape in different colors or with different fill patterns to indicate thread changes. Read the key carefully to distinguish between a solid black square and a black square with a white dot, for example. If the chart uses a single symbol for a blended area, the key should specify which fibers to combine. When a chart does not state the exact thread for a symbol, treat that as a decision limitation: choose a fiber that matches the painted color and the stitch coverage. For 13 mesh, a 50% silk and 50% merino wool skein covers roughly 20 square inches per 30-yard skein, which helps you estimate whether one skein is enough for a large symbol area.
Step-by-step: reading your first stitch guide chart
- Read the chart key from top to bottom: Locate the legend that lists every symbol and its corresponding stitch and thread color. Point to each symbol on the chart as you read it. If a symbol is missing from the key, pause and ask the designer or retailer before stitching. Checkpoint: every symbol on the chart must appear in the key.
- Orient the chart to the painted canvas: Find a distinctive painted landmark on the canvas and the same landmark on the chart. Rotate the paper until they align. Do not rotate the canvas or you will lose your reference point. Checkpoint: the chart and canvas should share the same top, bottom, left, and right.
- Count from the nearest landmark, not the canvas edge: Count grid squares from a painted element such as a flagpole or rope edge. One square equals one intersection of canvas threads. This method works even if the canvas margin is uneven. Checkpoint: your count should land on the same painted element shown on the chart.
- Mark and test your starting point: Place a light pencil dot on the canvas at your first intersection. Stitch the first two or three symbols and compare them to the chart before continuing. This catches counting errors early. Checkpoint: if the first stitches do not match the chart, recount before adding more.
- Track color and thread changes as you go: Watch for symbols that look similar but indicate different fibers or blends. If the key does not specify a thread for a symbol, choose a fiber that matches the painted color and the stitch coverage. On 13 mesh, one 30-yard silk and merino skein covers about 20 square inches. Next step: estimate your fiber needs per symbol area before you stitch a large block.
Products that support chart reading practice
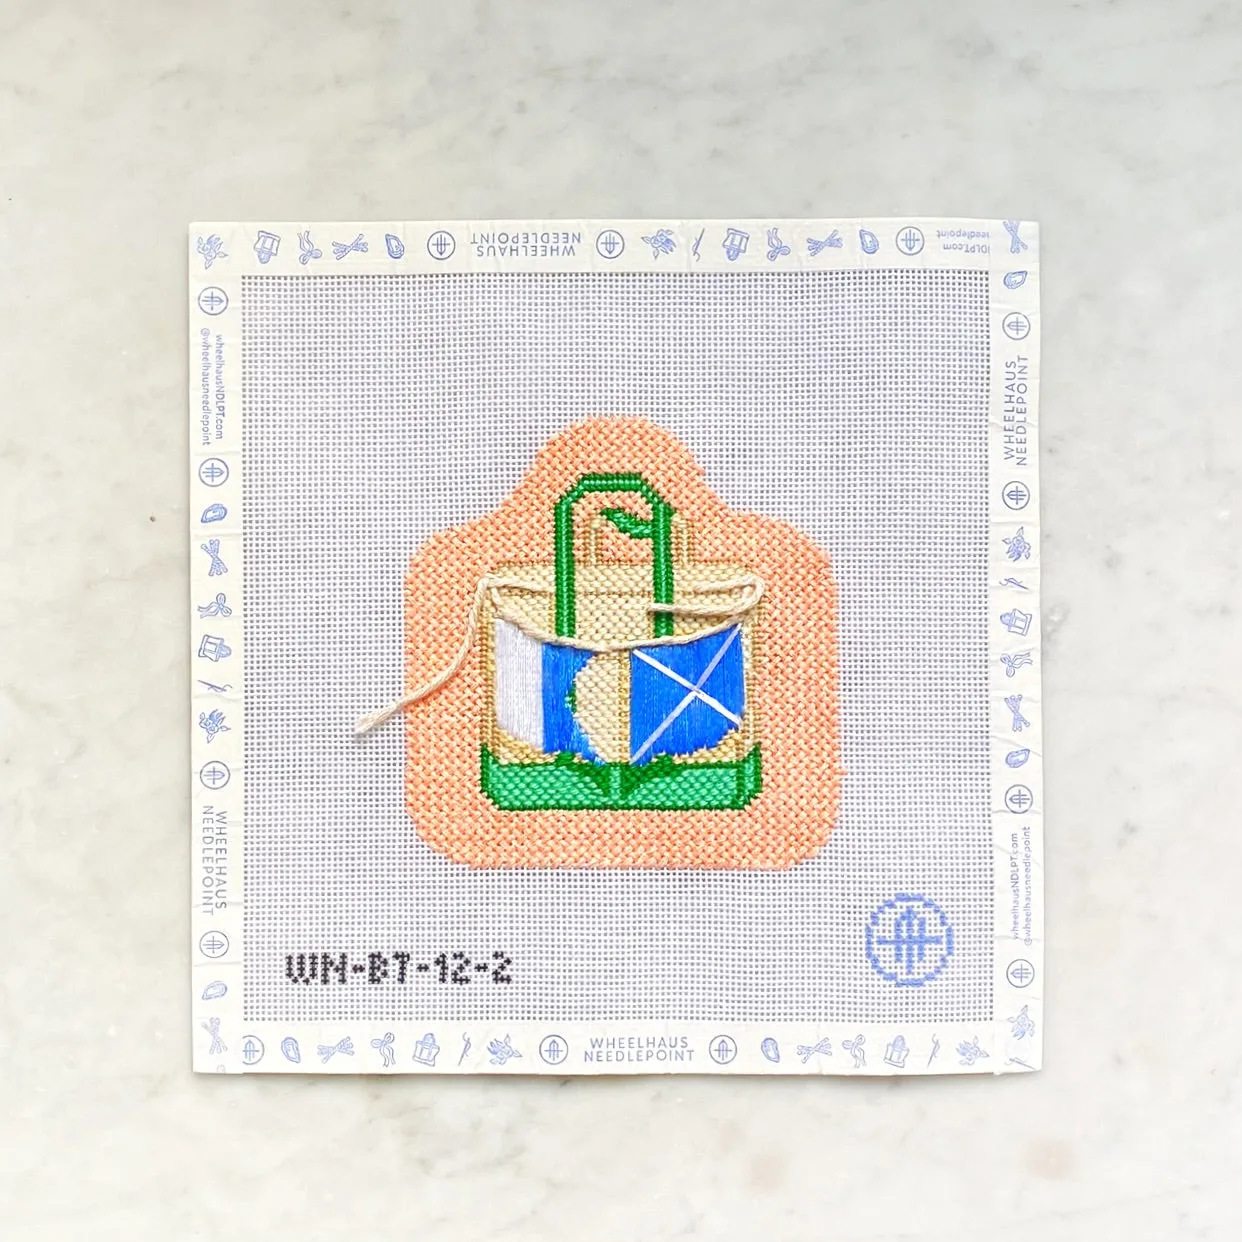
- Personalized Nautical Flags Tote - Day 2: 18 mesh canvas with a design area of 3.5 inches wide by 3.75 inches high, available as canvas only or with a stitch pamphlet, tapestry needle, and reusable PVC project bag. A small 18 mesh design gives you a manageable grid to practice reading symbols and counting intersections without committing to a large project.
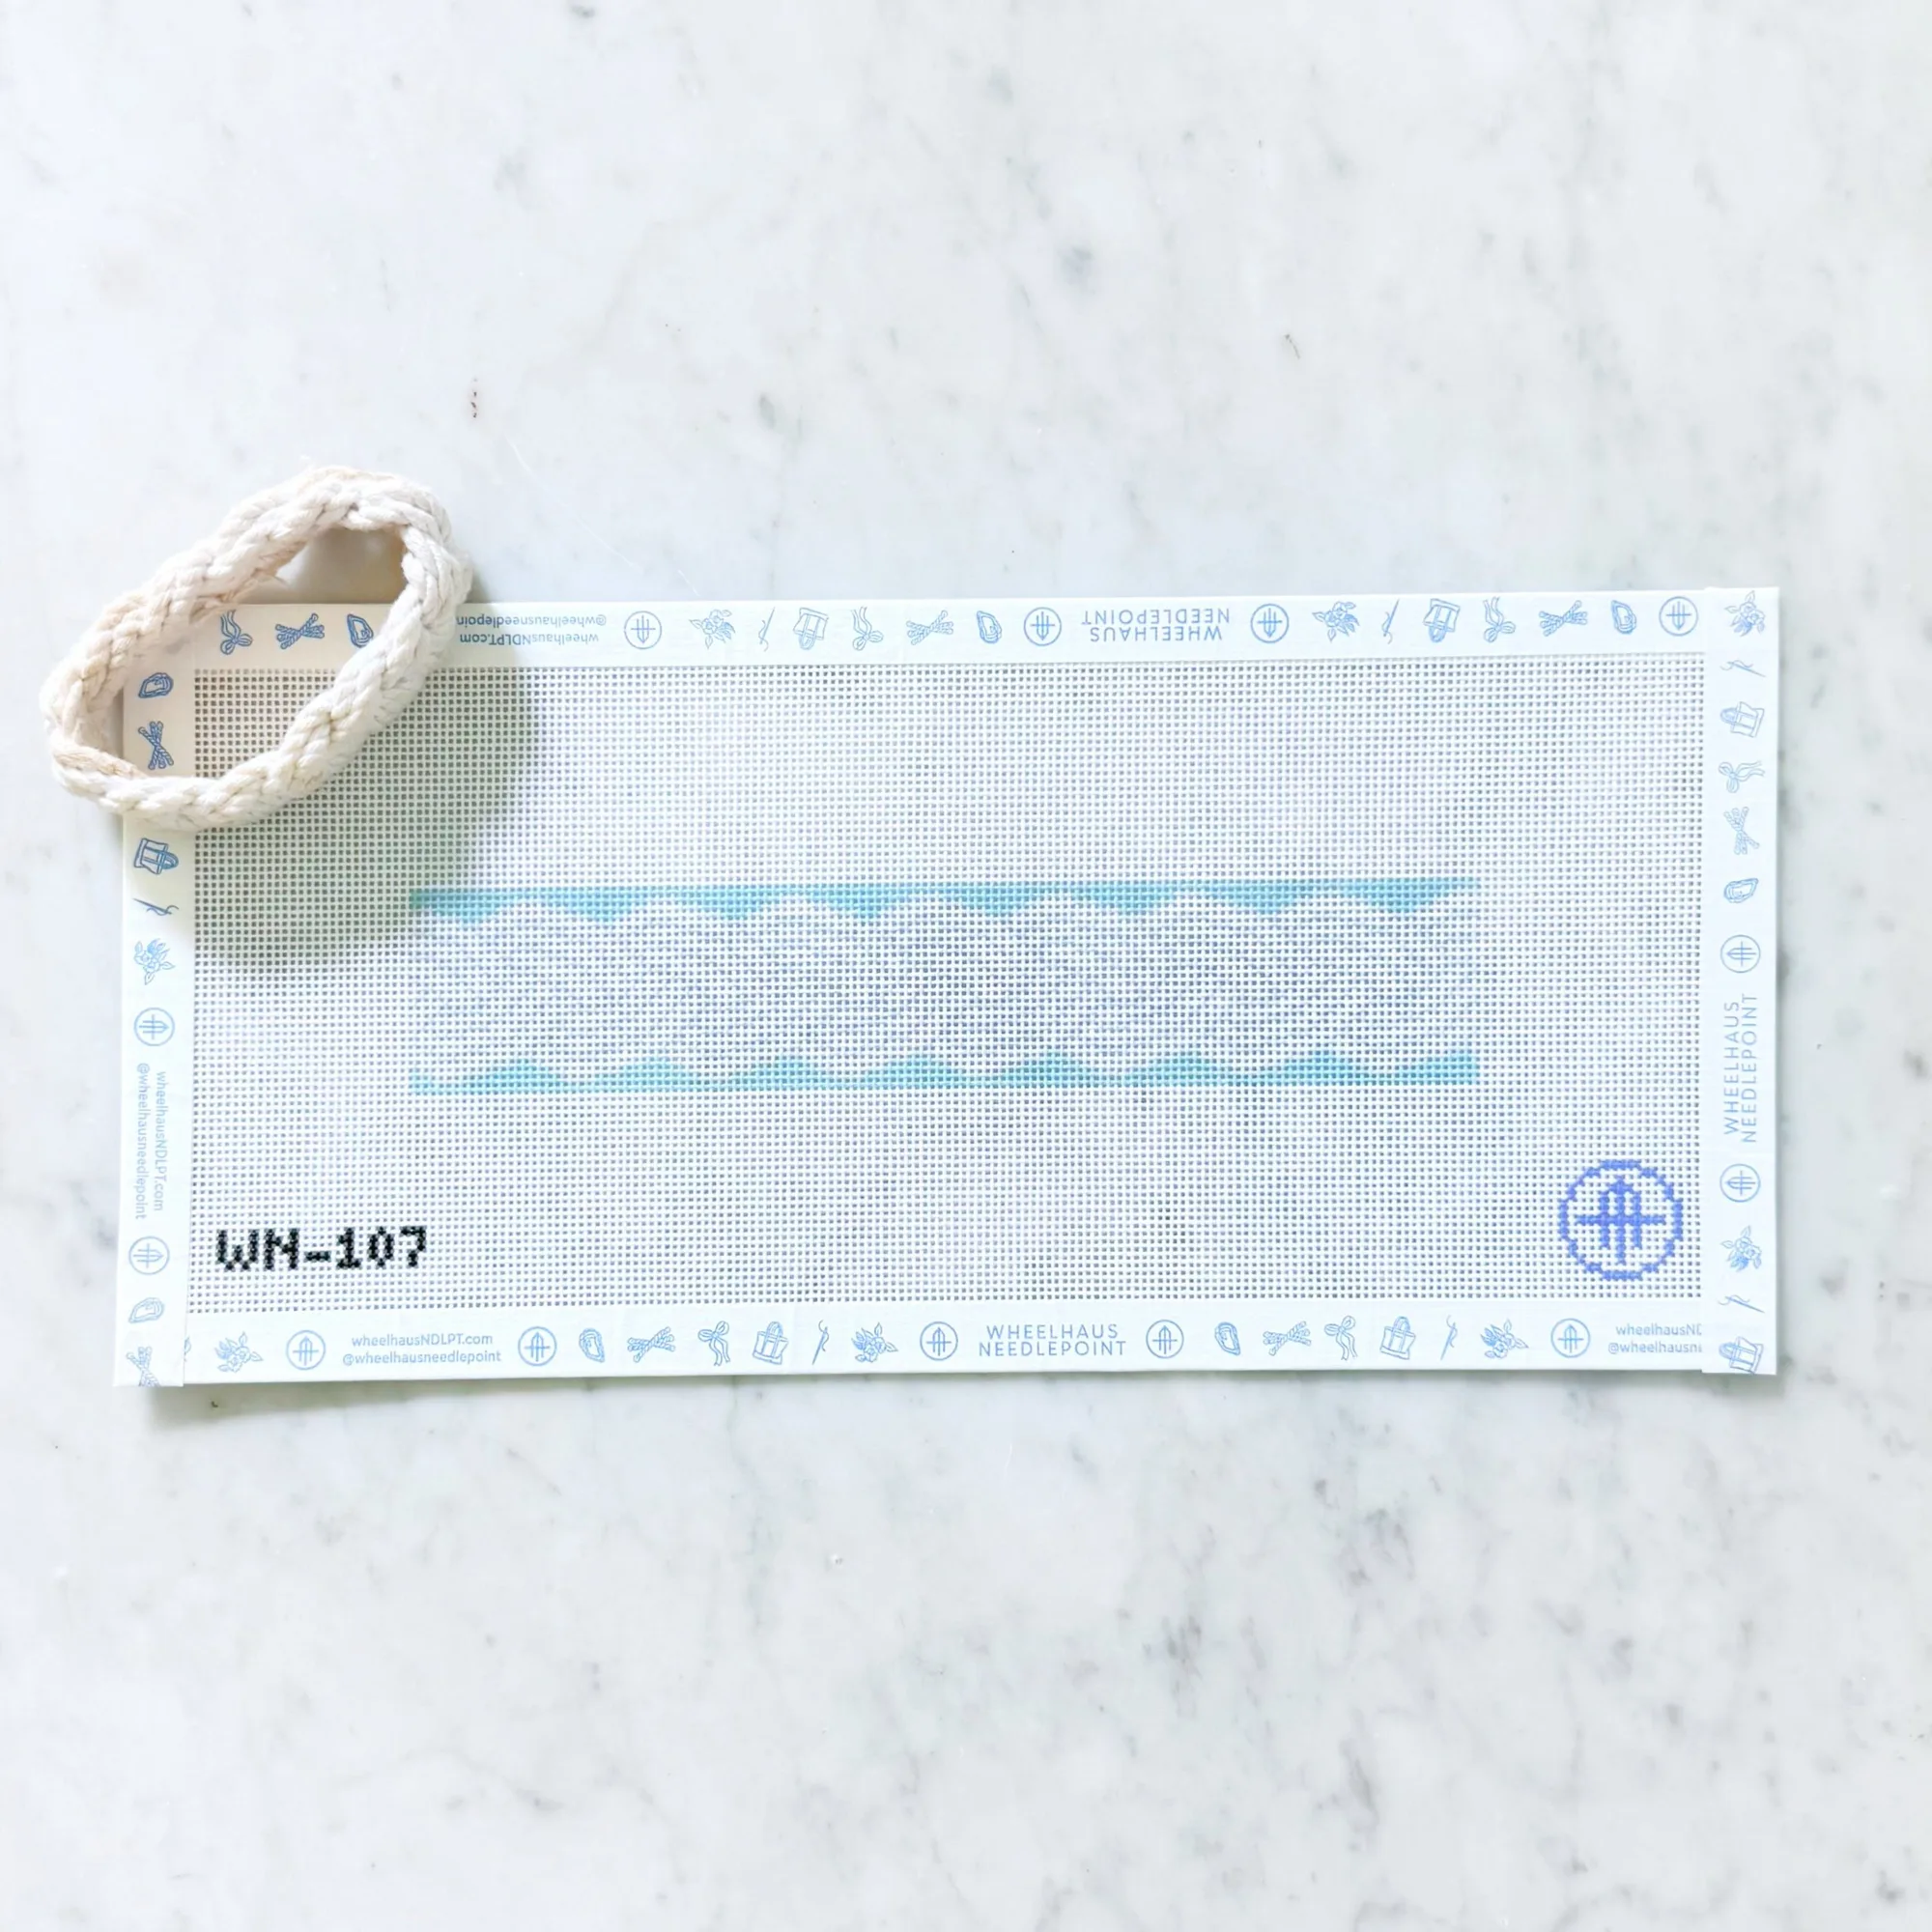
- Sailor's Rope Wristlet Key Fob: 13 mesh canvas wristlet key fob design measuring 7 inches by 1.5 inches, available as canvas only or as a thread kit that includes silk and wool fibers, a thread ring, a tapestry needle, and a stitch brochure. The 13 mesh grid is easier to see and count, making it a good choice for beginners who are still building confidence with chart symbols.
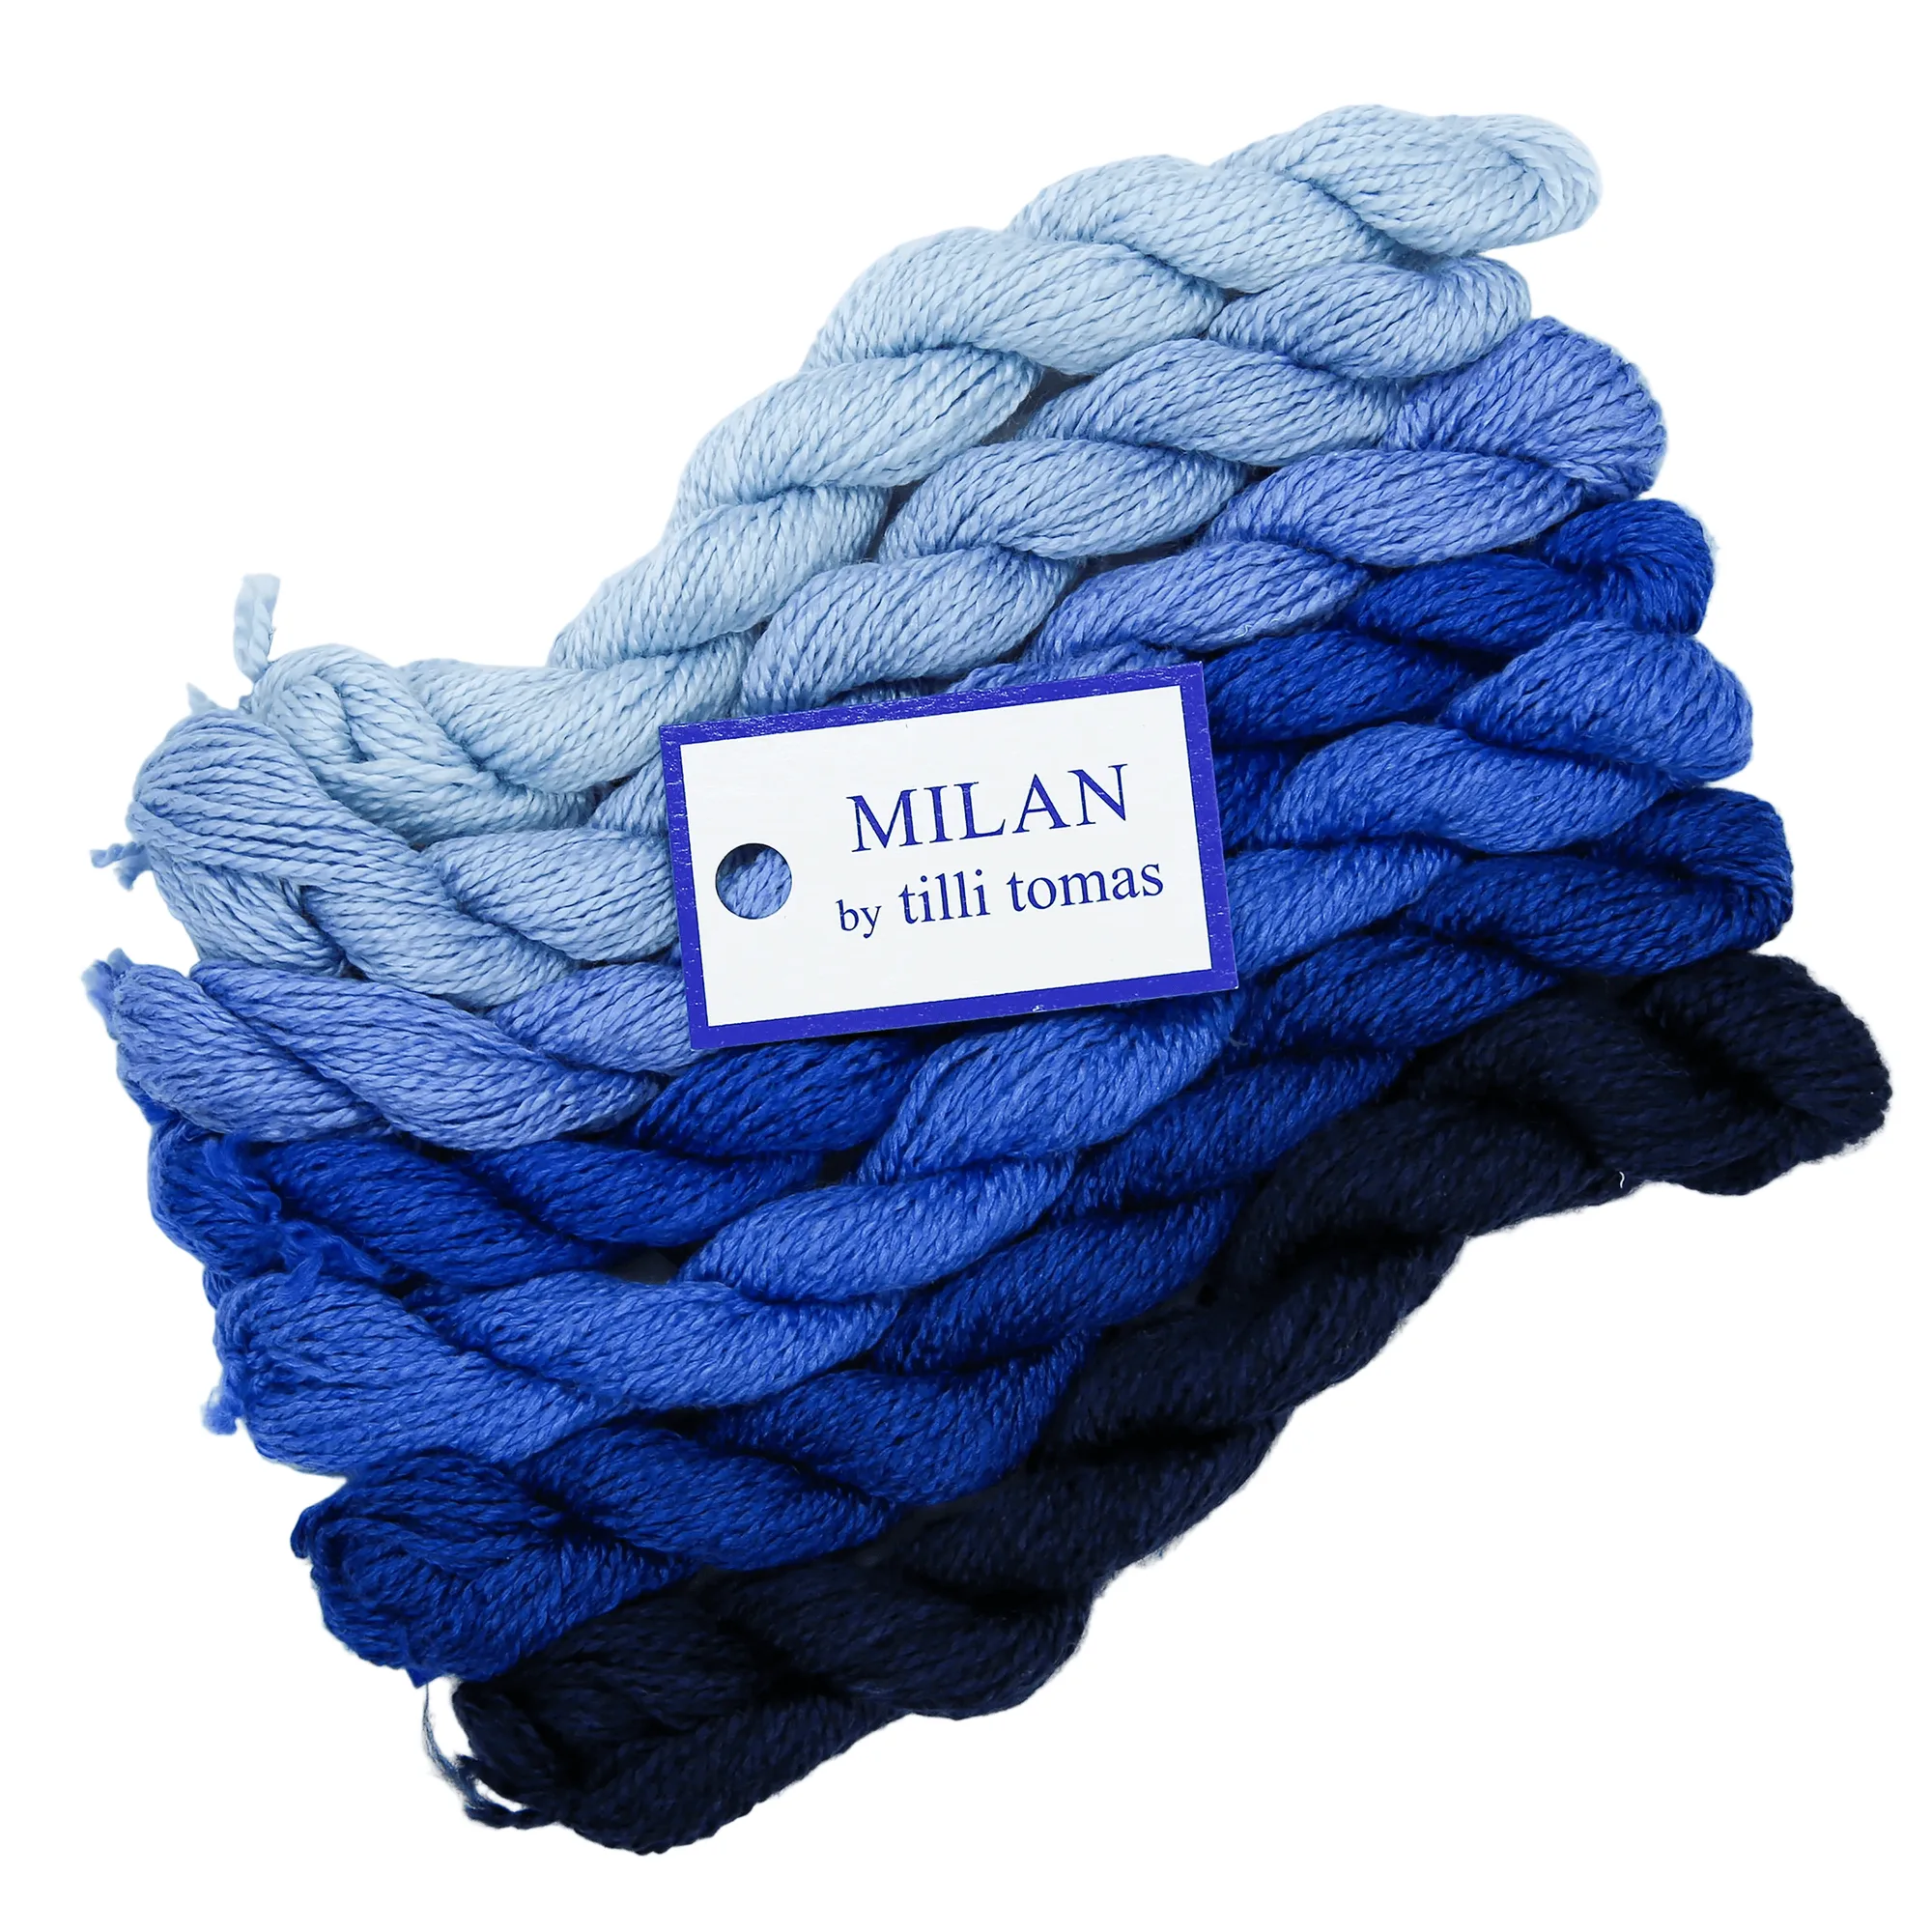
- Milan Skeins: 30-yard skeins of 50% silk and 50% merino wool, with coverage of approximately 20 square inches on 13 mesh. Knowing the coverage per skein helps you match the chart's thread key to the right amount of fiber and avoid running short mid-symbol.