Quick answer
To remove decorative nails without damaging fabric, work from the back of the nailhead with a thin, stiff tool like a tack puller or a flat-head screwdriver. Apply slow, even leverage rather than pulling straight up. If the nail is deeply set or the fabric is fragile, stop and consider covering it instead of removing it.
Decorative nails and nailhead trim add a polished, traditional look to upholstery, but they can become a problem when you need to reupholster, repair, or change the style. The challenge is removing them without tearing the fabric or denting the frame underneath. The good news is that with the right approach, most nails can be taken out cleanly.
This guide separates the symptom, likely cause, corrective action, and the point where you should stop or choose another option. You will learn which tools work best, how to avoid common mistakes, and when it is smarter to leave the nails in place and work around them.
Why decorative nails get stuck (and why fabric tears)
Decorative nails are often driven into hardwoods, furniture frames, or dry wall, and over time they can rust, bend, or become sealed by paint or finish. The fabric around them may also be brittle from age or sun exposure. When you pry too fast or at the wrong angle, the nailhead acts like a tiny wedge that rips the fabric instead of releasing.
The most common cause of damage is pulling straight up or using a tool that is too wide. A wide blade distributes force over a larger area, which can crush the fabric weave. A thin, stiff tool that fits under the nailhead gives you better control and less collateral damage.
- Test a hidden area first: try removing one nail on the underside or back of the piece to see how the fabric responds.
- If the nailhead is painted over, score around it lightly with a craft knife to break the seal before prying.
Tools that remove nails cleanly (and what to avoid)
A dedicated tack puller or a small flat-head screwdriver with a thin tip is your best bet. You can also use a staple remover if the nails are small, but be careful not to gouge the fabric. For nailhead trim that comes in a continuous strip, work one nail at a time rather than trying to lift the whole strip at once.
Avoid using pliers directly on the nailhead unless you can grip it without twisting. Pliers can slip and mar the finish or crush the fabric. Also skip any tool that requires you to push down hard on the fabric, as that can leave permanent indentations.
- Keep a small piece of cardboard or a thin plastic sheet between your tool and the fabric to protect the surface.
- Work in good light so you can see exactly where the nailhead meets the fabric.
Step-by-step: how to remove upholstery nails without damage
Start by sliding your tool under the edge of the nailhead at a low angle, close to the fabric. Apply gentle, steady pressure upward. If the nail does not budge, do not force it. Instead, try working from a different side or use a second tool to support the fabric around the nail. Once the nail lifts slightly, you can often pull it out with your fingers or a pair of needle-nose pliers.
For nailhead trim that is attached in a strip, remove the nails at the ends first, then work toward the middle. This reduces tension on the strip and makes each nail easier to extract. If the strip is glued as well as nailed, slide a thin blade under the strip to break the adhesive before pulling.
- If a nail bends, straighten it with pliers before trying again. A bent nail is more likely to tear fabric.
- After removal, vacuum or brush away any debris before starting your next step.
When to stop and choose another option
If the nail is deeply embedded in a hardwood frame and will not move after several gentle attempts, stop. Continuing can crack the wood or tear the fabric beyond repair. In that case, you can often cover the nailhead with a new layer of fabric, a decorative patch, or a new row of trim placed slightly offset.
Similarly, if the fabric around the nail is already frayed or very thin, removal may cause a larger hole. If you are planning to reupholster anyway, you can cut the fabric around the nails and remove them from the back, but that is a different process. For a quick fix, consider leaving the nails and working around them.
- If you feel the fabric starting to stretch or hear tearing, stop immediately.
- When in doubt, test on a small, inconspicuous area first.
Repairing minor damage after removal
Small holes left by decorative nails can often be steamed and massaged closed with your fingers. For larger holes, a tiny drop of fabric glue on a scrap of matching fabric can be pushed into the hole with a needle. If you plan to re-cover the piece, you can skip this step and simply fill any dents with a bit of wood filler before adding new fabric.
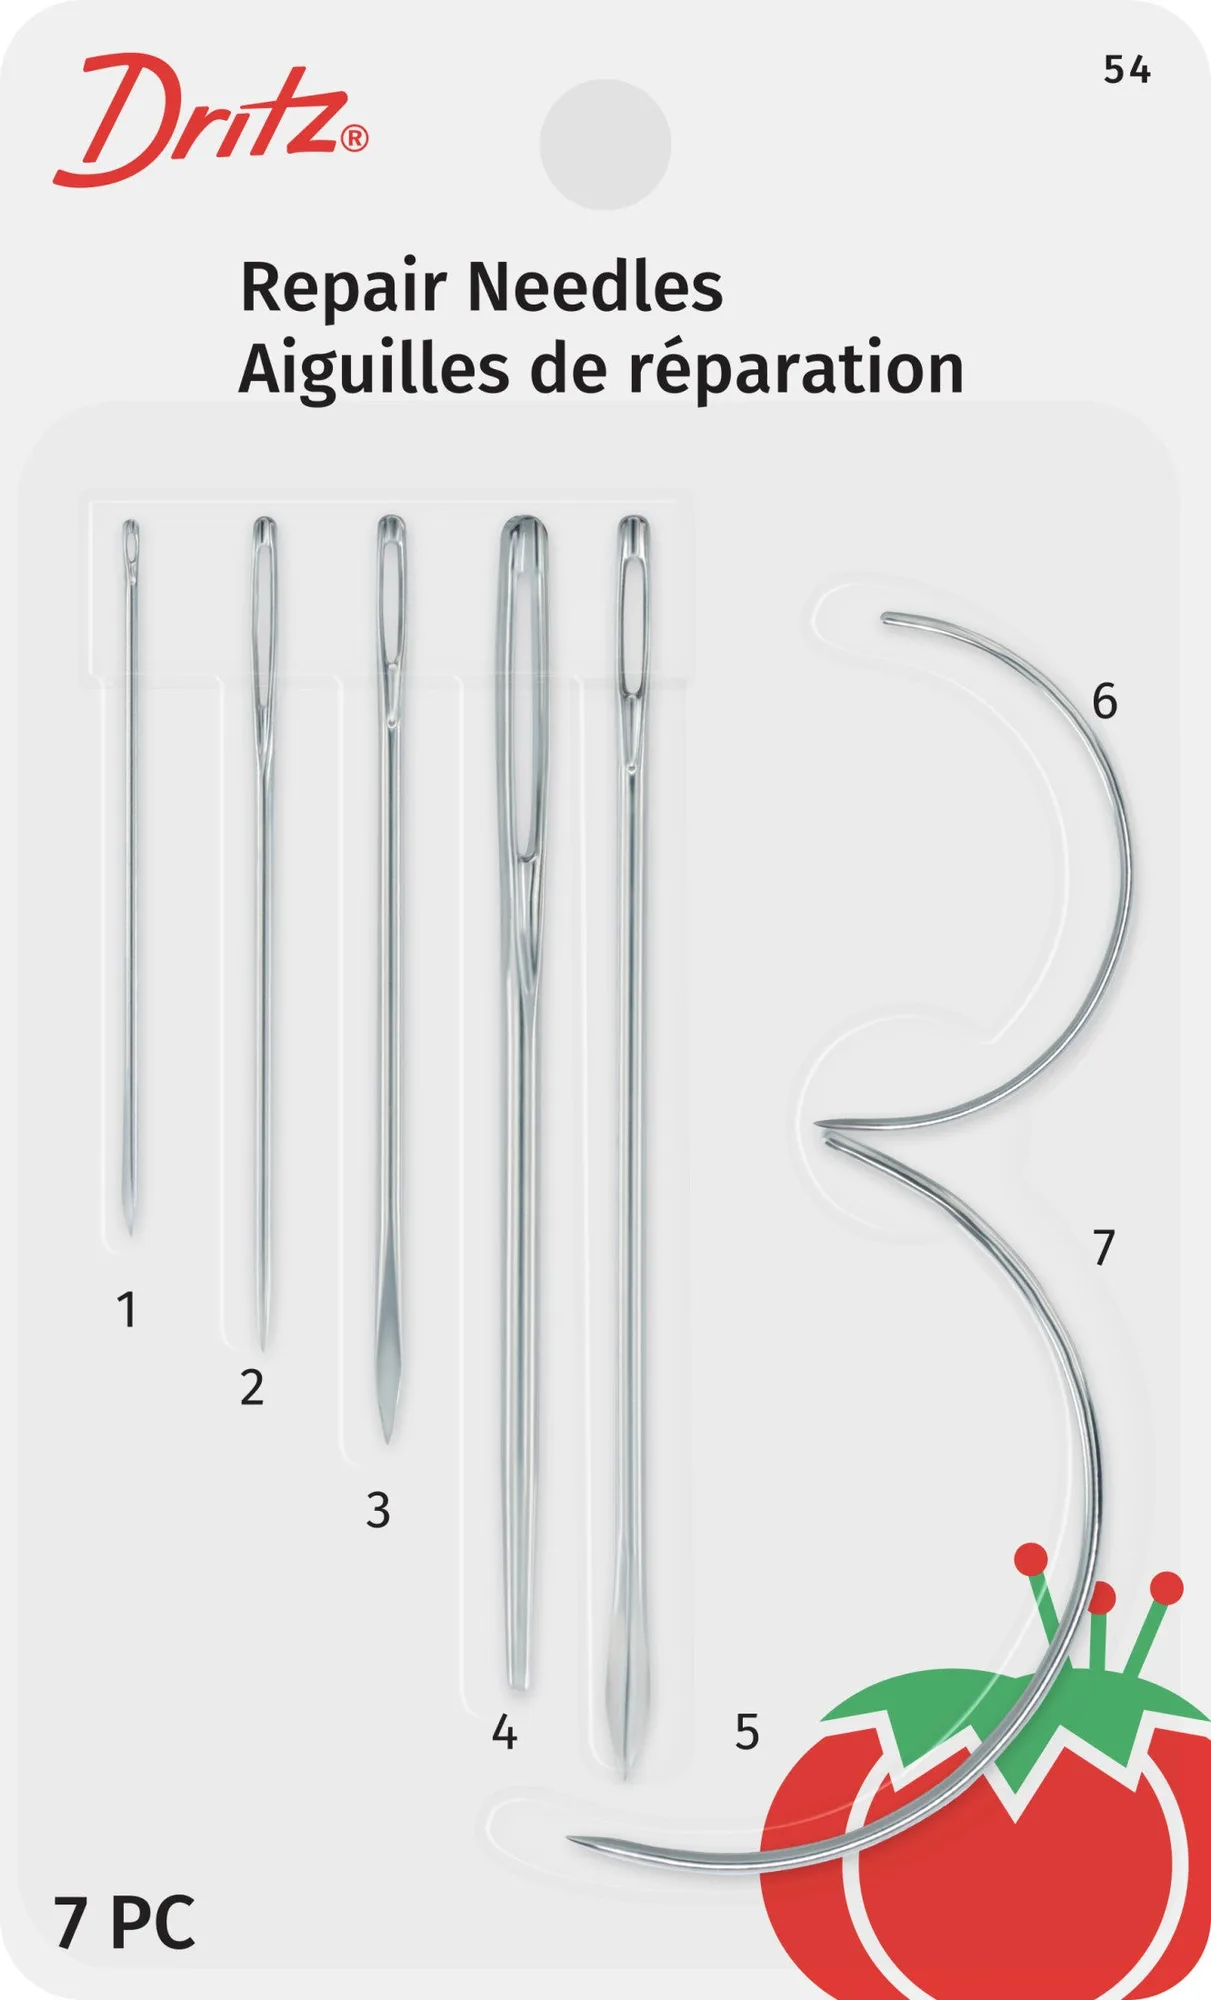
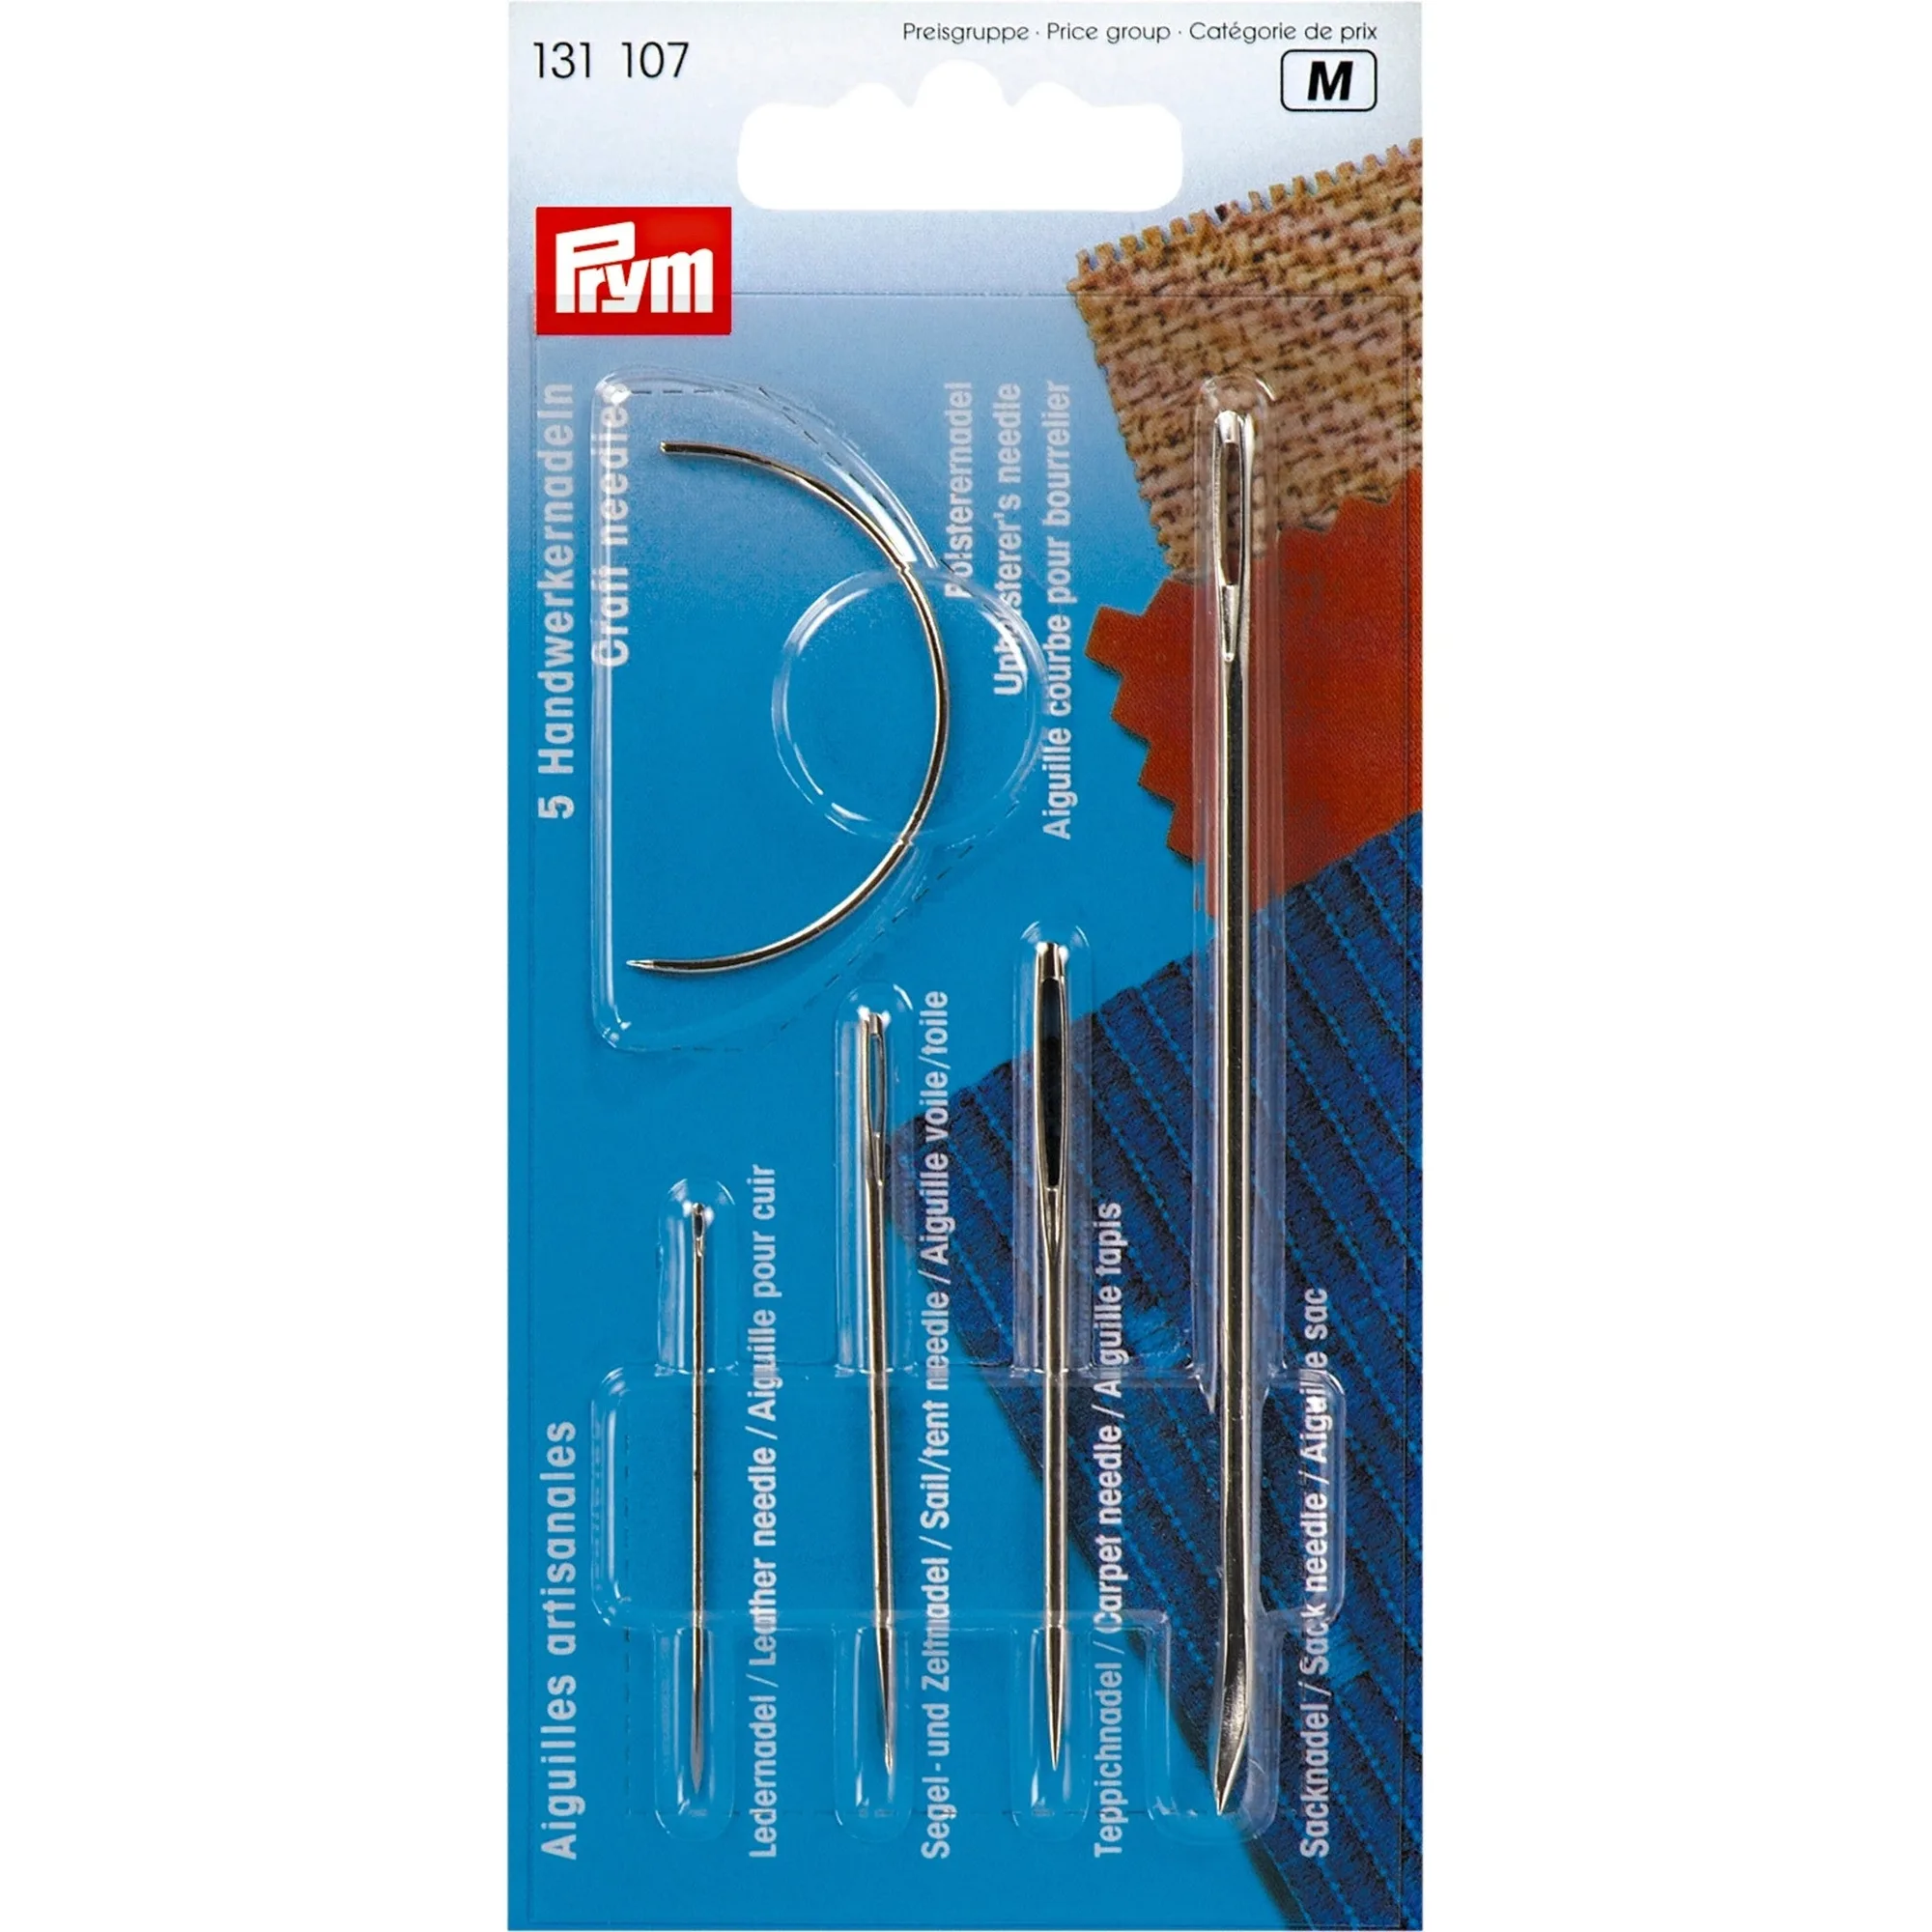
If you are repairing upholstery or other heavy materials, a repair needle can help you stitch tears or reinforce weak spots. The Dritz Repair Needles Pack includes seven different needle types for mending fabric, upholstery, and even heavy-duty items like sails and canvas.
- Always test fabric glue on a hidden area first to ensure it does not discolor.
- For large tears, consider a fusible bonding web patch before stitching.
Diagnosis: symptom, cause, action, and stop point
- Symptom: Nailhead will not budge: The nail may be rusted, bent, or sealed by paint or finish. The fabric around it may also be brittle. Apply a penetrating oil if the nail is metal and the fabric can be protected. Wait a few minutes, then try again with a thin tool.
- Symptom: Fabric tears as you pry: The tool is too wide or you are pulling straight up instead of leveraging from the side. Switch to a thinner tool, work at a lower angle, and support the fabric with your free hand.
- Symptom: Nail is deeply embedded in hardwood: The nail may be driven into a hard frame and cannot be removed without cracking the wood or tearing fabric. Stop. Cover the nailhead with new trim or fabric, or cut from the back if you are reupholstering.
Tools that help with removal and repair
- https://prymamerica.com/products/54-ffc09fa70b1de5ccdd0c118c-1316119Repair Needles Pack, 7 pc: Includes seven different types of needles for mending a variety of materials, from fabric tears to upholstery nicks, and can repair heavy-duty items like sails, sacks, canvasses, and carpets. After removing nails, you may need to close small holes or reinforce weak fabric. This pack gives you the right needle for the job without buying multiple packs.
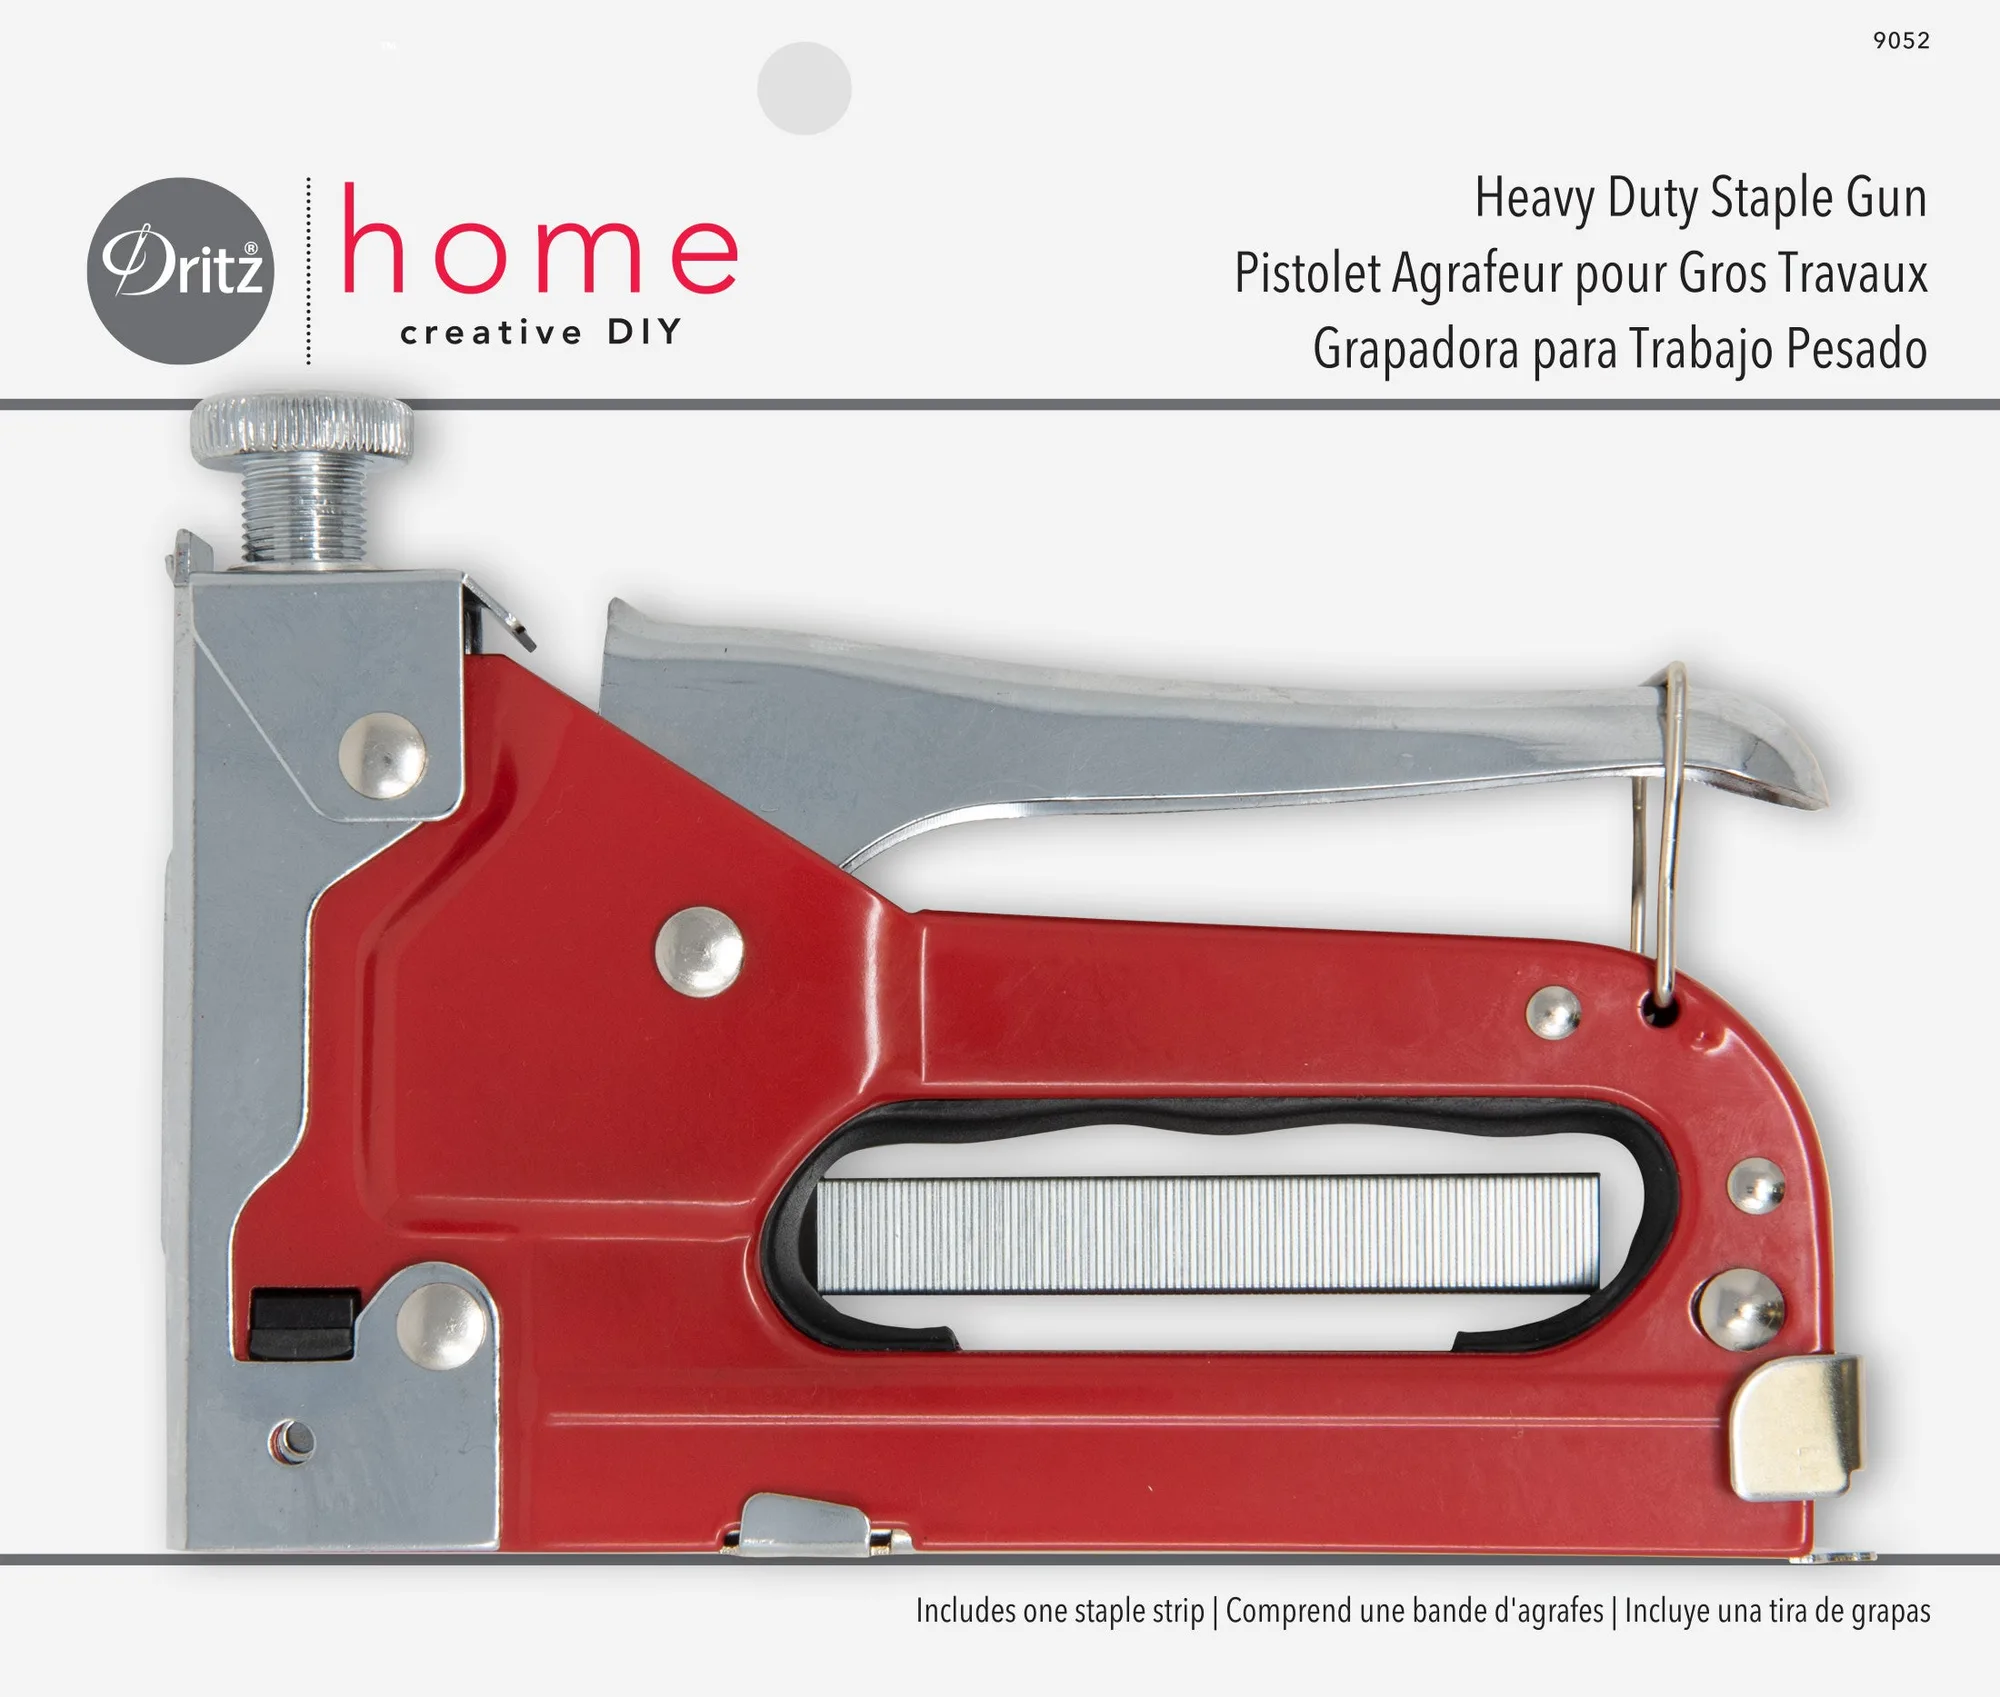
- https://prymamerica.com/products/9052-5d8dd050bef2ebc1e43074f4-1316577Heavy Duty Staple Gun: Works on hardwoods, furniture frames, and dry wall; designed for use with Dritz 9053 Heavy Duty Staples. If you are reupholstering after removing nails, this staple gun can secure new fabric to the frame. It is not a removal tool, but it is the logical next step for many projects.
Removing decorative nails without damage comes down to patience and the right tool. Work slowly, test first, and know when to stop. If you need to repair fabric afterward, a repair needle pack can help you close small holes and reinforce weak spots so your project looks clean and finished.