Quick Answer
Soak-off gel polish removes cleanly when you file through the top layer, soak in acetone long enough for the gel to lift on its own, and gently push away softened polish without scraping. Rushing the soak or peeling early is what causes most nail damage. Follow the steps below for a safe, damage-free removal at home.
Gel polish lasts for weeks, but taking it off the wrong way can leave your nails thin, white, and peeling. The good news is that soak-off gels are designed to dissolve with acetone, so removal does not have to mean damage.
This guide walks through the exact steps to remove gel polish safely at home, including the checkpoints that tell you when the gel is ready to come off and the mistakes that cause most nail damage.
What You Need Before You Start
Gather pure acetone, a coarse nail file or buffer, cotton balls or pads, aluminum foil or soak-off clips, a cuticle stick or orange stick, and a nourishing cuticle oil. Pure acetone works faster than acetone-free removers, but it is drying, so plan to moisturize afterward. Work in a ventilated room and keep acetone away from your skin where possible.
If your gel polish is a UV/LED soak-off formula, it is designed to break down in acetone. Thicker sculpted layers, such as a 5g UV/LED sculpting gel used for structure, may need a longer soak or a light file first. Check the product description for removal guidance before you start.
Do not skip the filing step. The top film on gel polish slows acetone penetration; breaking that seal is the difference between a 10-minute soak and a 30-minute struggle.
- Use pure acetone, not nail polish remover with added oils or fragrance, for the fastest soak-off.
- Set up foil wraps or soak-off clips before you begin so you are not fumbling with wet hands.
Step 1: File Away the Top Layer
Use a medium-grit file to gently scuff the surface of each nail. You are breaking the glossy seal, not filing down to the natural nail. Work in light strokes across the whole nail, including the edges. The surface should look matte when you are done.
The most common mistake here is filing too aggressively, especially near the cuticle, which thins the natural nail. If you see pink or feel heat, stop. You only need to remove the shine, not the color.
- Checkpoint: the nail surface should be dull and matte, not visibly thinner.
Step 2: Soak in Acetone
Soak a cotton ball or pad in pure acetone and place it directly on the nail. Wrap the fingertip in aluminum foil or use a soak-off clip to hold it in place. Repeat for all nails, then wait 10 to 15 minutes. For thicker gel or sculpted layers, allow up to 20 minutes.
The gel is ready when it looks lifted, wrinkled, or cloudy. If it still looks solid and glossy, it needs more time. Do not pull at the gel to test it; that is how nails get damaged.
- Checkpoint: gel should look visibly lifted or crinkled before you move on.
Step 3: Gently Push Off the Softened Gel
Remove the foil or clip and use a cuticle stick or orange stick to gently push the softened gel from the cuticle toward the tip. Work slowly and let the tool do the work. If the gel resists, rewrap that nail and soak for another 3 to 5 minutes rather than scraping.
Never use a metal pusher to force gel off, and never peel it. Peeling removes layers of the natural nail and leaves it weak and flaky. A little patience here protects your nails for the next manicure.
- Checkpoint: if you feel resistance or see white patches forming, stop and re-soak.
Step 4: Clean Up and Moisturize
Once the gel is off, wash your hands with mild soap and water to remove acetone residue. Gently buff away any remaining flakes with a fine buffer, but do not over-file. Apply cuticle oil and a rich hand cream to rehydrate the nail plate and surrounding skin.
Acetone strips oils, so your nails may feel dry for a day or two. Moisturizing regularly helps them recover and keeps the nail plate flexible. If you plan to reapply gel right away, wait at least a few hours and use a bonder or base coat suited to dry nails.
- Checkpoint: nails should look even and feel smooth, not chalky or dented.
Common Mistakes That Cause Nail Damage
The biggest culprit is peeling or picking gel off before it is fully soaked. This removes layers of the natural nail and can take weeks to grow out. Another common mistake is using a metal tool to scrape, which etches the nail plate. Skipping the top-layer file also leads to long soaks and over-drying.
Acetone-free removers are gentler but slower, so they may not fully break down soak-off gels. If you use one, expect a longer soak and check that the gel is lifting before you push it. Always prioritize gentleness over speed.
- Avoid soaking longer than 20 minutes at a time; rewrap and wait rather than leaving nails in acetone too long.
Gel Removal Steps at a Glance
- File the top layer: Lightly scuff the entire nail surface with a medium-grit file until the shine is gone. Checkpoint: matte surface, not a thinner nail.
- Soak in pure acetone: Apply acetone-soaked cotton and wrap with foil or clips for 10 to 15 minutes. Checkpoint: gel looks lifted or crinkled before you proceed.
- Push off softened gel: Use a cuticle stick to gently push gel from cuticle to tip; re-soak if it resists. Checkpoint: no scraping or peeling, ever.
- Wash and moisturize: Wash hands, buff away flakes, then apply cuticle oil and hand cream. Checkpoint: nails feel smooth and even, not chalky.
Products That Make Removal Easier
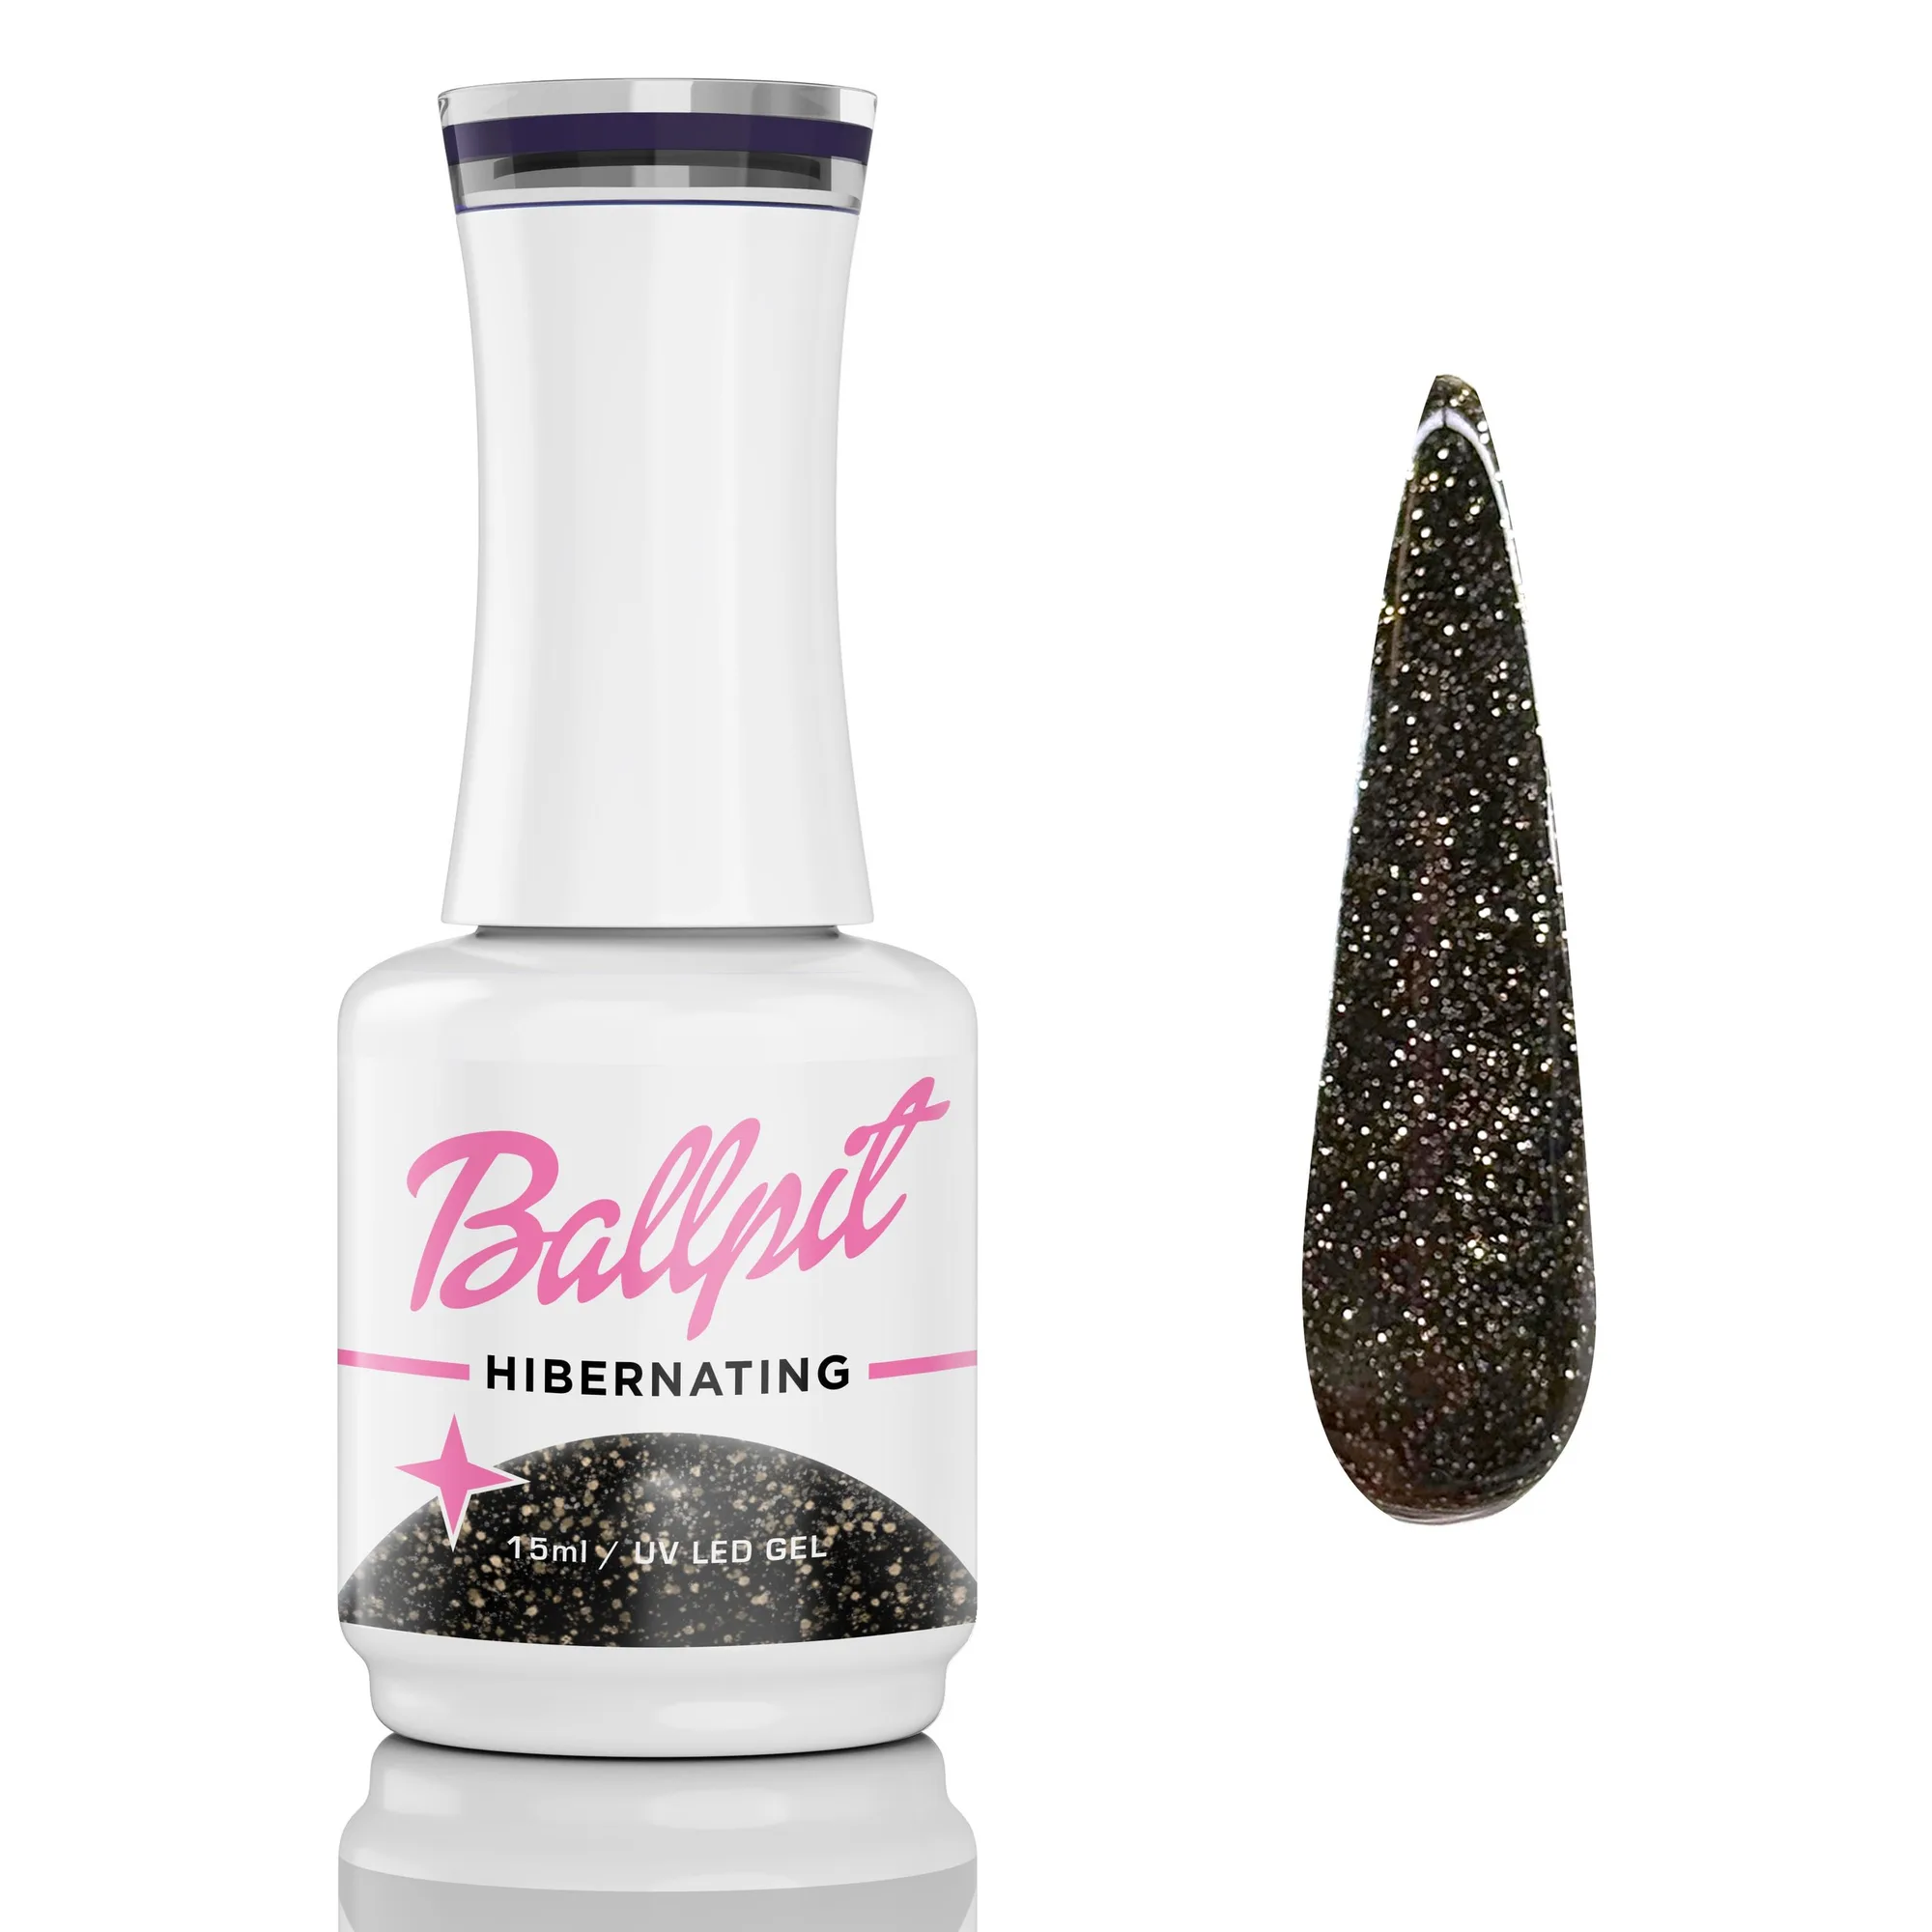
- Hibernating - Gel Polish: 15ml UV/LED soak-off gel with the classic creamy gel formula, extreme pigment, and anti-spread properties. Because it is a soak-off gel, it is designed to dissolve in acetone, so the removal steps above work without extra filing or scraping.
- Yellow Diamond - Winter Crystal sculpting gel: 5g UV/LED sculpting gel using the classic creamy gel formula with extreme pigment and anti-spread properties. Sculpting gels are typically thicker than standard polish, so plan for a longer soak or a light file before wrapping to help acetone penetrate.
Removing gel polish safely comes down to patience and the right technique: file the top layer, soak long enough, and let the gel lift before you push it off. Skip the shortcuts and your nails will stay healthy and ready for your next set.