Quick answer
Soak your nails in warm soapy water or use a dedicated nail glue gel remover, then gently work a cuticle stick under the edge until the press-on releases. Never pry or peel from the tip, because that is what tears natural nail layers. If a nail resists after 10 to 15 minutes of soaking, soak again rather than forcing it.
Nail glue gel holds press-on nails through hand washing, typing, and daily life, so removing it takes patience rather than force. The goal is to dissolve or soften the adhesive bond without scraping your natural nail plate.
This guide walks through a safe removal process you can do at home, with checkpoints at each stage. It also covers what to do when a nail will not budge and how to keep reusable sets like Hanami or Silvaris in shape for another wear.
Silvaris
What you need before you start
Gather warm water, mild liquid soap, a small bowl, a cuticle stick or orange stick, a soft nail brush, and a lint-free cloth. If you use a dedicated nail glue gel remover, read its label first and follow the contact time it lists. Acetone can work on some gel adhesives, but it is harsh on skin and natural nails, so use it only if the product instructions support it.
Work in a well-ventilated space and keep a towel under your bowl. Have a small dish for the removed press-on nails so they do not get lost or scratched while you finish the other hand.
- Checkpoint: if your nails are already lifting at the edges, start with those first — they will release fastest.
- Do not use metal tools to pry under the nail; they can gouge the natural nail plate.
Step-by-step: how to take off nail glue gel
Soak your fingertips in warm water with a few drops of mild soap for 10 to 15 minutes. The warmth and moisture soften the adhesive bond. If you are using a nail glue gel remover, apply it according to the label and give it the full contact time instead of rushing.
After soaking, dry one hand and slide a cuticle stick under the side edge of the press-on at a shallow angle. Work it gently toward the tip. If the nail lifts cleanly, set it aside. If it holds, stop and soak again for another 5 minutes rather than pulling.
Once the press-on is off, use the soft brush with soapy water to remove leftover adhesive from your natural nail. Pat dry and apply cuticle oil or a light moisturizer. Repeat the process on the other hand.
- Common mistake: peeling from the free edge. That is the fastest way to take off natural nail layers with the press-on.
- Checkpoint: a properly softened nail releases with light pressure. If you are straining, it is not ready.
When a nail will not come off
Some adhesives cure harder than others, especially if the set was applied with a UV lamp. In that case, extend the soak to 20 minutes and reapply remover if the product allows it. You can also try filing the top surface of the press-on lightly with a soft buffer to help remover penetrate, but avoid filing into your natural nail.
If a single nail still refuses to move, wrap just that fingertip in a warm, soapy cloth for 5 minutes and try again. Never use pliers, nippers, or a metal pusher to force it. If you feel pain, burning, or see damage to the natural nail, stop and let a professional remove the set.
- Checkpoint: if the natural nail looks white, flaky, or tender after removal, give it a break before your next set.
- For stubborn UV-cured gel glue, a second round of remover is safer than one aggressive pull.
Cleaning and reusing your press-on nails
Handmade sets such as Hanami and Silvaris are described as reusable, so removal is also a chance to prepare them for another wear. Peel or gently scrape away leftover glue from the back of each press-on with a cuticle stick, then wipe with a little rubbing alcohol on a cotton pad.
Store the cleaned nails in a labeled container or the original box so sizes stay together. Reusable sets hold up better when they are not tossed loose into a drawer, where edges can chip or bend.
- Do not soak press-on nails in acetone unless the maker says it is safe; it can dull the finish.
- Checkpoint: if the back of the press-on still feels tacky after cleaning, it needs another wipe before storage.
Removal checkpoints at a glance
- Soak first: Use warm soapy water for 10 to 15 minutes, or follow the contact time on your nail glue gel remover. Checkpoint: the nail should feel slightly loose at the edges before you try to lift it.
- Lift from the side: Slide a cuticle stick under the side edge at a shallow angle and work toward the tip with light pressure. Checkpoint: if you meet resistance, stop and soak again instead of pulling.
- Clean and moisturize: Brush away leftover adhesive with soapy water, dry your hands, and apply cuticle oil or moisturizer. Checkpoint: clean, moisturized natural nails recover faster between press-on sets.
- Prep reusable nails: Remove glue from the back of each press-on with a cuticle stick, wipe with alcohol, and store by size. Checkpoint: dry, non-tacky backs mean the set is ready for next time.
Product facts that help with removal and reuse
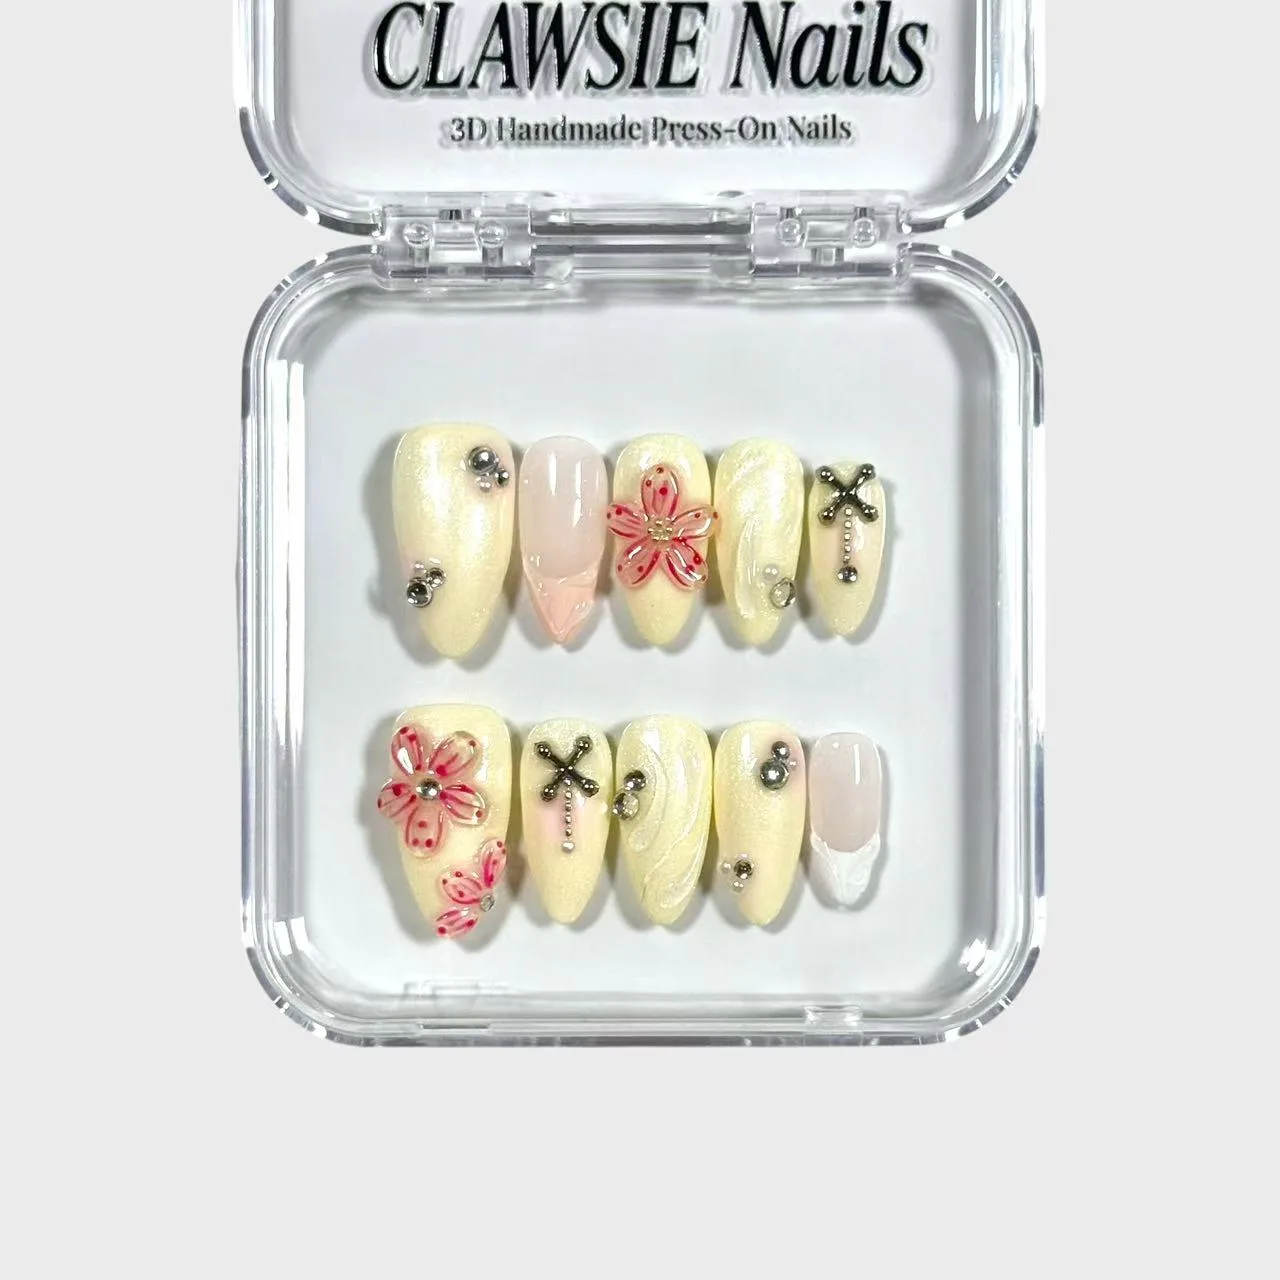
- Hanami: Hanami from CLAWSIE Nails is a medium almond press-on set with shimmering ivory tones, soft pink floral blossoms, sparkling crystal accents, and elegant 3D handmade details. The catalog describes it as durable and reusable. Because Hanami is designed to be reusable, removing it gently with soaking and a cuticle stick protects both your natural nails and the 3D details for a second wear.
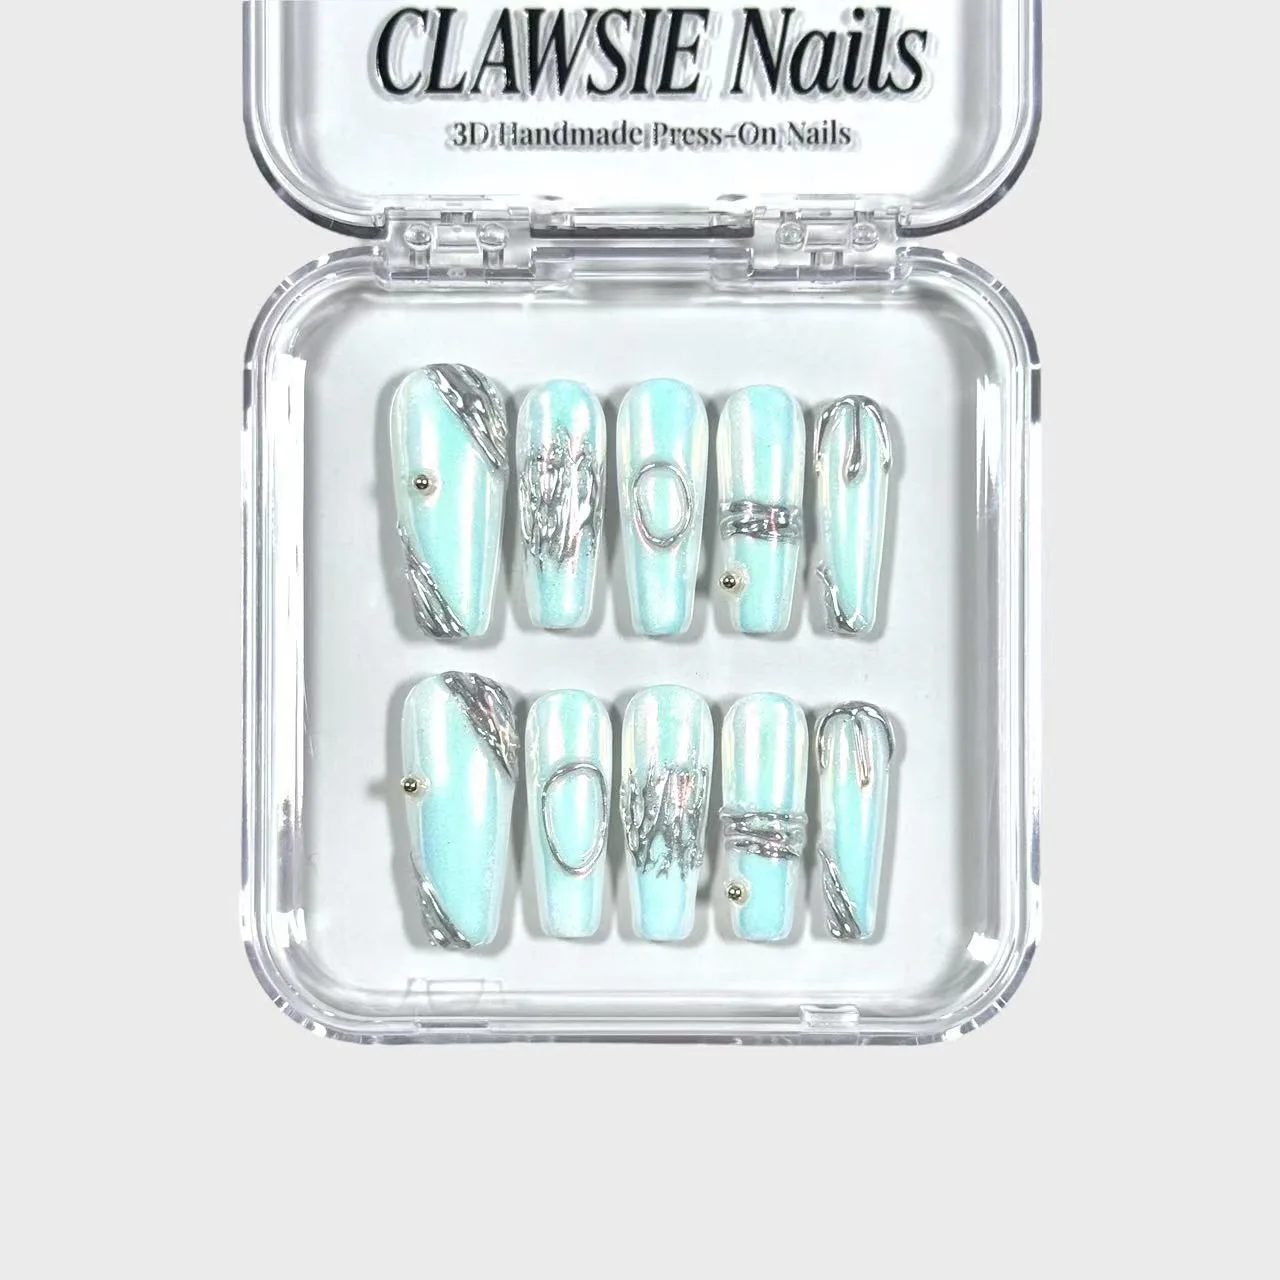
- Silvaris: Silvaris from CLAWSIE Nails is a medium ballerina press-on set with an iridescent pearl-white chrome base and artistic silver 3D accents. The catalog describes it as lightweight, reusable, and easy to apply. The chrome base and 3D accents can dull or snag if you scrape aggressively, so clean the backs with a cuticle stick and alcohol rather than soaking them in harsh solvents.
Removing nail glue gel comes down to softening the bond and letting the press-on release on its own schedule. Soak, lift gently from the side, and clean both your natural nails and the reusable set afterward. If a nail fights back, soak again — your natural nails will thank you.