Quick Answer
To remove pre-mapped lash extensions without damaging your natural lashes, never pull or tug. Instead, use an oil-based makeup remover or a dedicated lash adhesive remover, apply it along the lash line, wait for the glue to soften, and gently slide the extensions off. Follow with a nourishing lash care routine to keep your natural lashes healthy.
Pre-mapped lash extensions are a convenient way to get a salon-style look at home, but removing them incorrectly can leave you with sparse, damaged lashes. The key is to be patient and use the right technique – never just yank them off.
This guide walks you through the safe removal process, the common mistakes to avoid, and how to care for your natural lashes afterwards. Whether you're using a temporary set or a longer-lasting option, these steps will help you protect your lash line.
Why Gentle Removal Matters
Your natural lashes are delicate and cycle through growth phases. Pulling off extensions prematurely can pull out healthy lashes that aren't ready to shed, leading to gaps and thinning. The adhesive used for pre-mapped lashes is designed to hold securely, so forcing it off is never a good idea.
Using the right removal method – one that breaks down the adhesive rather than applying physical force – keeps your natural lashes intact. This is especially important if you wear extensions regularly, as repeated damage can affect lash health over time.
- Never pull or tug at extensions, even if they feel loose.
- Avoid using waterproof mascara or oil-based products near the lash line during wear, as they can weaken the adhesive prematurely.
- If you experience pain or irritation, stop and consult a professional.
Step-by-Step Safe Removal
Start by washing your hands and gathering your supplies: a gentle oil-based makeup remover or lash adhesive remover, cotton pads or swabs, and a clean spoolie brush. Make sure your eye area is free of other makeup.
Soak a cotton pad with the remover and press it gently over your closed eye, holding it in place for 30–60 seconds. This allows the remover to penetrate and soften the adhesive. Then, using a gentle downward motion, slide the extension off. Never twist or pull.
If the lash doesn't slide off easily, apply more remover and wait longer. Rushing this step can cause damage. Once all extensions are removed, gently cleanse your lashes with a mild cleanser to remove any leftover adhesive residue.
- Work on one eye at a time to ensure even removal.
- Use a fresh cotton pad for each eye to avoid cross-contamination.
- If you have sensitive eyes, choose a remover specifically formulated for lash adhesives.
Aftercare for Natural Lashes
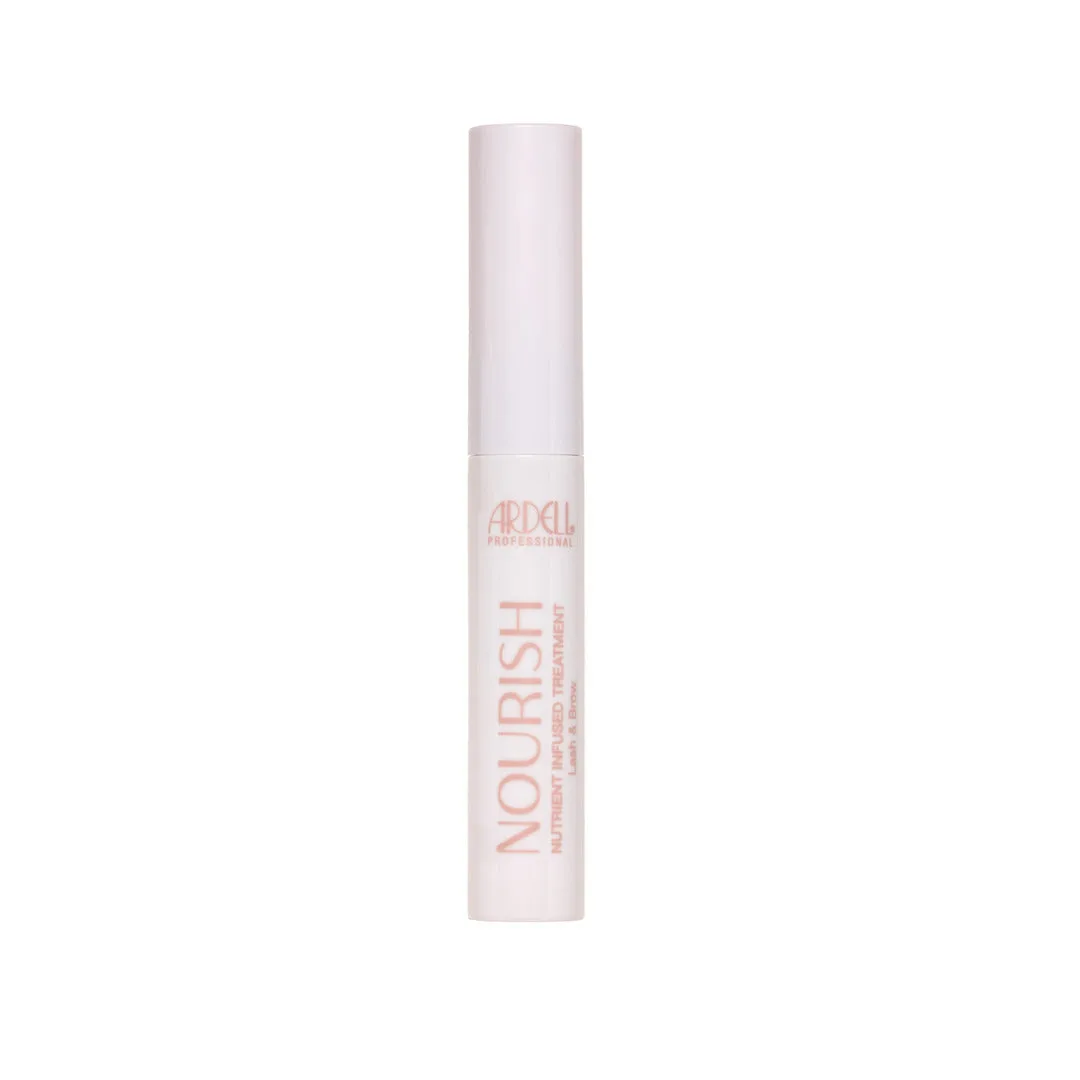
After removal, your natural lashes need some TLC. Avoid applying new extensions immediately – give your lashes at least a week to recover. During this time, use a nourishing lash serum or conditioner to support lash health.
Be gentle when cleansing and brushing your lashes. Use a clean spoolie to brush them daily and avoid rubbing your eyes. If you notice any unusual shedding or irritation, it's best to pause and consult a professional before reapplying.
- Wait at least 24 hours before applying any new lash products.
- Use a lash-friendly makeup remover to clean off eye makeup.
- Consider a lash primer to strengthen and condition your natural lashes.
Diagnosis: Common Removal Mistakes and How to Fix Them
- Symptom: Extensions won't budge: The adhesive hasn't been fully softened. You may have applied the remover for too short a time or used a product that isn't oil-based. Reapply the remover and wait longer. If it still doesn't work, switch to a dedicated lash adhesive remover.
- Symptom: Natural lashes come off with the extension: You're pulling too hard or too quickly. This can happen when the adhesive is still strong and the extension is firmly attached. Stop immediately. Use more remover and let it sit. If you continue to lose lashes, consider visiting a professional for removal.
- Symptom: Redness or irritation after removal: Your skin may be sensitive to the adhesive or the remover. This can also happen if you've been rubbing or tugging excessively. Rinse the area with cool water and apply a soothing eye cream. If irritation persists, consult a dermatologist or lash tech.
Products That Make Removal Easier
- wispies-10-count-354216">Seamless Underlash Extensions Wispies, 10-Count: Seamless One Day clear Glue and Seal is latex-free, vitamin-infused and designed for secure hold and gentle easy removal with any oil-based makeup remover. This means you can remove these underlash extensions using a simple oil-based remover you likely already own, making the process gentler on your natural lashes.
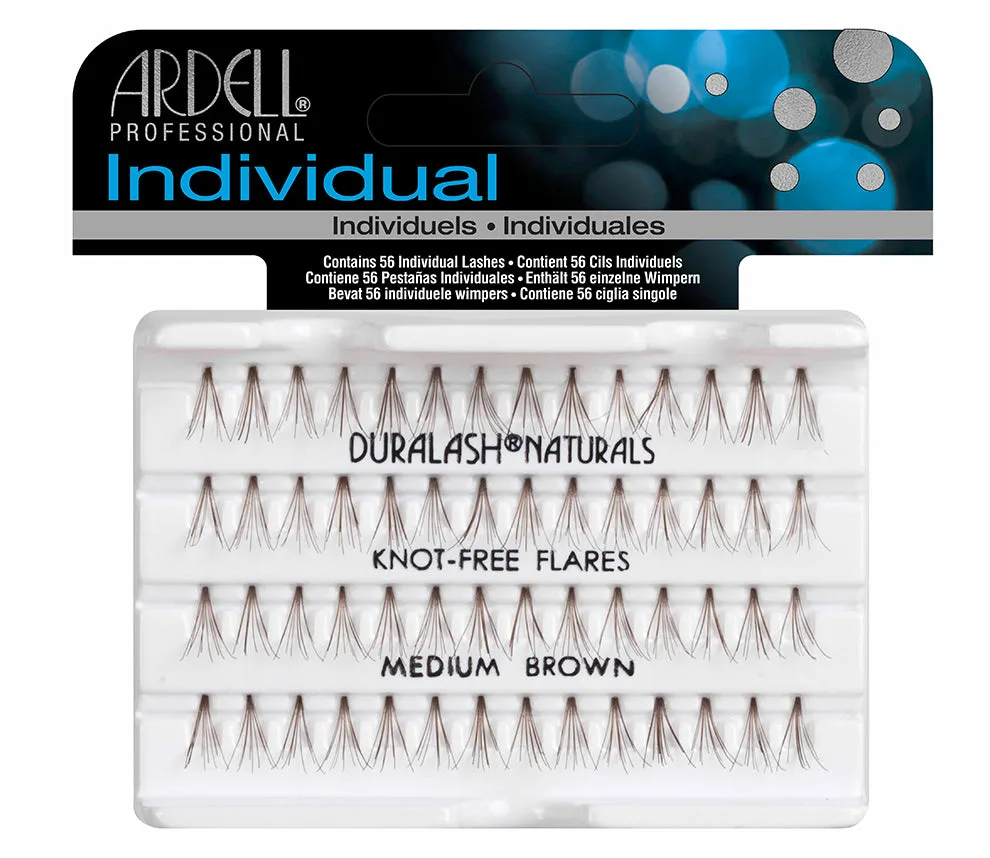
- Seamless Underlash Extensions Refill, Light As Air: The refill pack contains 32 knot-free, patented clusters for seamless blending. Build volume and length for subtle or standout vibe. Knot-free clusters reduce friction and pulling during removal, helping you take off the extensions without catching or tugging your natural lashes.
Removing pre-mapped lash extensions doesn't have to be stressful. By using the right products and techniques, you can keep your natural lashes healthy and ready for your next look. Always prioritize gentleness over speed, and when in doubt, seek professional help.