Quick Answer
Repairing your dog's gear is often simple: replace broken buckles with spare parts like the Hurtta Spare Buckle. This DIY fix extends the life of your gear, saves money, and reduces environmental impact. Follow our step-by-step guide to get your gear back in action.
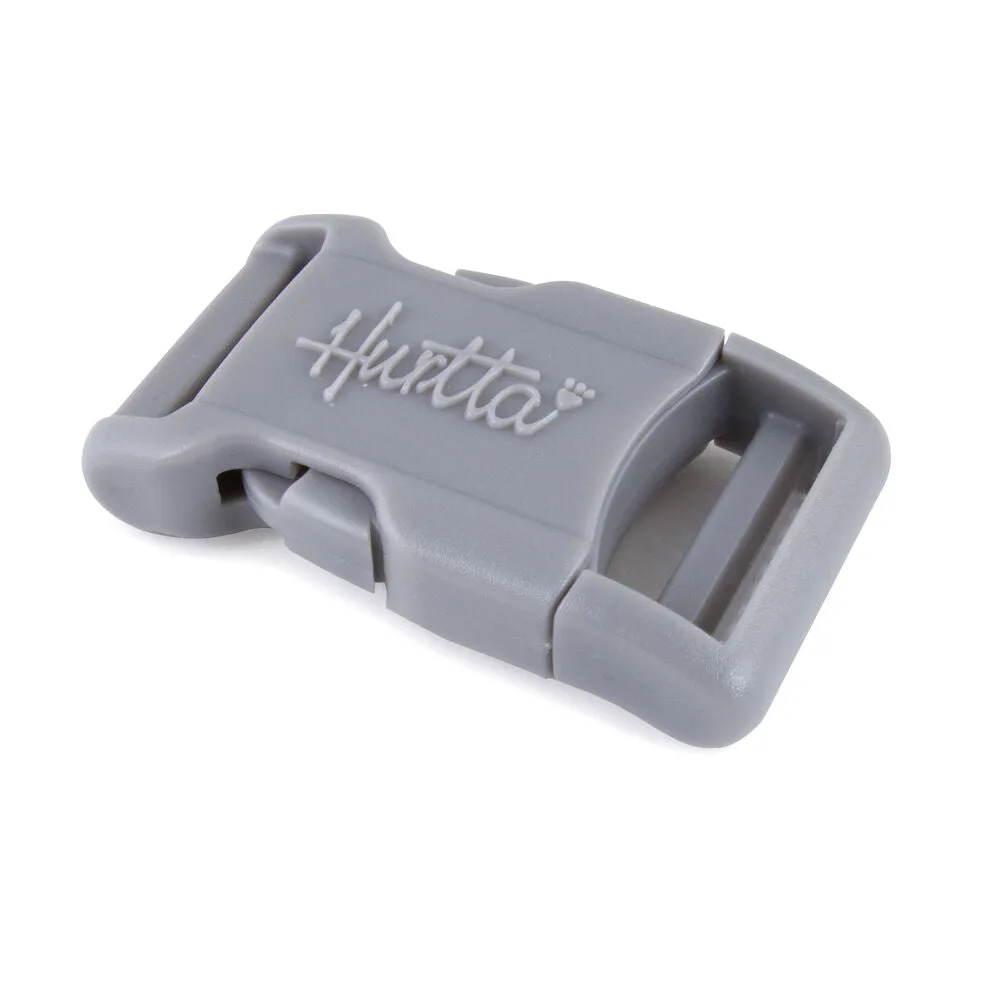
Spare Buckle
Dog gear takes a beating—buckles crack, straps wear, and before you know it, your favorite harness is unusable. But before you toss it, consider a simple repair. Many issues, especially broken buckles, can be fixed at home with minimal tools and a spare part, saving you money and reducing waste.
This guide walks you through the process of repairing your dog's gear, from identifying the problem to completing the fix. We'll cover common issues, the tools you need, and how to use spare parts like the Hurtta Spare Buckle to extend the life of your gear.
Why Repair Instead of Replace?
Repairing your dog's gear is not only cost-effective but also environmentally friendly. When you extend the lifespan of a product, you reduce its carbon footprint. According to Hurtta, repairing a broken buckle is a relatively quick DIY fix that you can do at home or at a local sewing shop or shoemaker. This approach keeps gear out of landfills and saves you the cost of a full replacement.
Beyond the environmental benefit, repairing your gear maintains the fit and comfort your dog is already accustomed to. A new harness or coat might not fit the same way, and breaking in new gear takes time. Repairing preserves the familiarity and ensures your dog stays comfortable during walks and adventures.
- Check if your gear is still under warranty before attempting repairs.
Common Gear Issues and How to Spot Them
The most common issue with dog gear is a broken buckle. This can happen if an eager pet chews on it or if you accidentally step on it while dressing your pup. Other issues include frayed straps, broken zippers, or worn-out Velcro. Regularly inspect your gear for signs of wear, especially before outdoor activities.
Look for cracks in plastic buckles, loose stitching, or metal loops that have bent out of shape. Catching these issues early can prevent a complete failure during a walk. If you notice any damage, assess whether it's repairable or if it's time to replace the item.
- Inspect buckles and straps monthly, especially if you use gear daily.
Tools You'll Need for a DIY Fix
Most buckle replacements require only basic tools: a seam ripper or small scissors, a needle and thread or a sewing machine, and a replacement buckle. For some repairs, you might need pliers to remove stubborn parts. Having a well-lit workspace and a steady hand will make the process easier.
If you're not comfortable sewing, you can take the gear to a local sewing shop or shoemaker. Many will do small repairs for a minimal fee. However, learning to do it yourself is a valuable skill that saves time and money in the long run.
- Keep a spare buckle in your gear bag for quick fixes on the go.
Step-by-Step Buckle Replacement
- Assess the Damage: Examine the broken buckle and the surrounding fabric. Determine if the buckle is the only issue or if the strap is also damaged. Check if the buckle is sewn in or attached via a clip. If the strap is frayed, you may need to reinforce it before attaching a new buckle.
- Remove the Old Buckle: Using a seam ripper or small scissors, carefully cut the stitching that holds the old buckle in place. If the buckle is clipped on, simply unclip it. Be cautious not to cut the fabric. Take a photo of the original attachment before removing, to help you reattach the new buckle correctly.
- Attach the New Buckle: Position the new Spare Buckle in the same orientation as the old one. If it's sewn, use a needle and thread to sew it securely, making sure the stitches go through the reinforced fabric. If it clips, snap it into place. Double-check that the buckle moves freely and locks properly before using the gear.
- Test the Repair: Give the repaired area a firm tug to ensure the buckle holds. If possible, have your dog wear the gear for a short period to ensure comfort and functionality. If the repair feels loose, reinforce the stitching or consult a professional.
Spare Parts and Products for Repairs
- Spare Buckle: Sometimes the plastic buckles can break in the teeth of an eager pet or when you step on the buckle while dressing the pup. Repairing your favorite Hurtta product is worth it, because when you extend its lifespan, you also reduce the product's carbon footprint. Replacing a broken Hurtta buckle is relatively quick DIY fix that you can do it either at home or at a local sewing shop or shoemaker. Having a spare buckle on hand means you can fix a broken buckle immediately, without waiting for a replacement or buying a whole new harness.
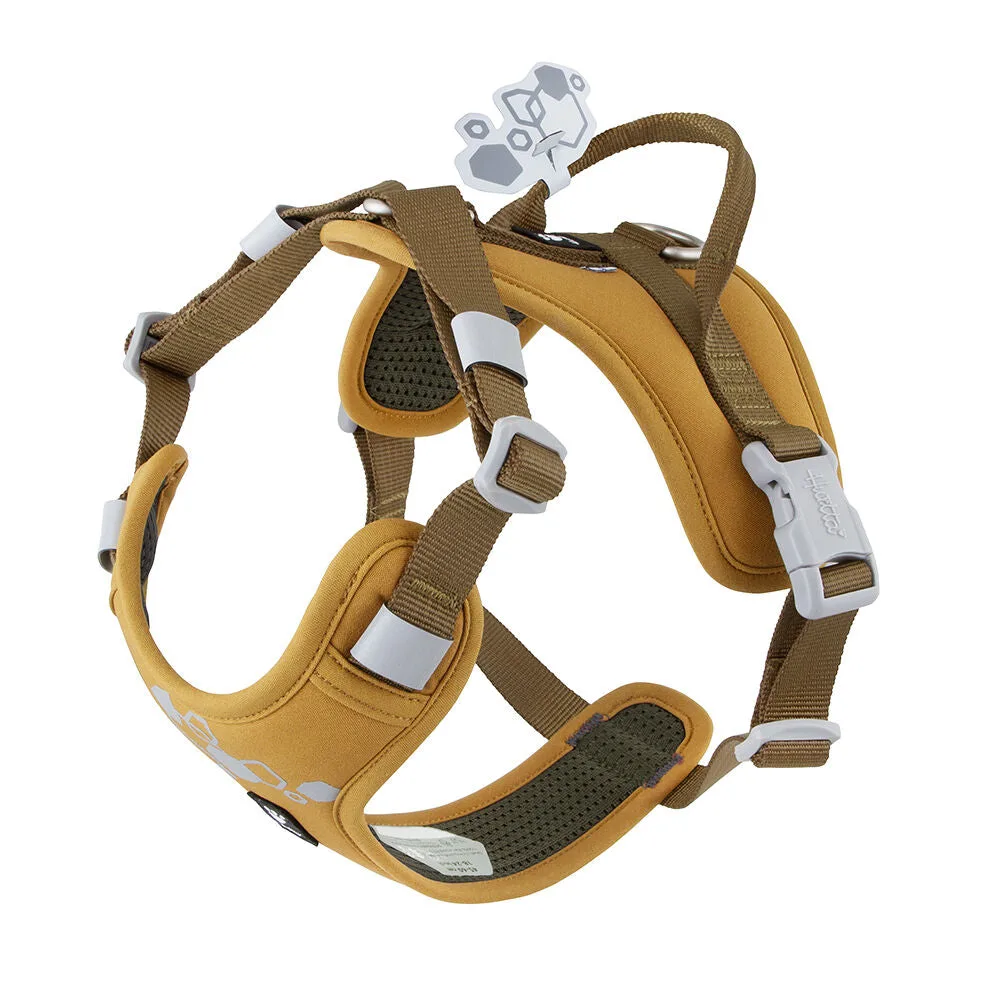
- Weekend Warrior Harness II ECO: Introducing the new and improved Weekend Warrior II Eco Harness, where your dog's comfort and your control take centre stage. In this updated version, we've narrowed the padding at the front, meaning it fits even the slimmest dogs perfectly, and repositioned the metal loop for the leash, ensuring it remains firmly on top of the padding and never causes discomfort. If your current harness is beyond repair, this updated harness offers improved comfort and fit, making it a worthy replacement that may last longer with proper care.
Repairing your dog's gear is a practical skill that saves money and reduces waste. With a few tools and a spare buckle, you can fix common issues and extend the life of your favorite harness or coat. Remember to inspect your gear regularly and address small problems before they become big ones. Happy repairing!