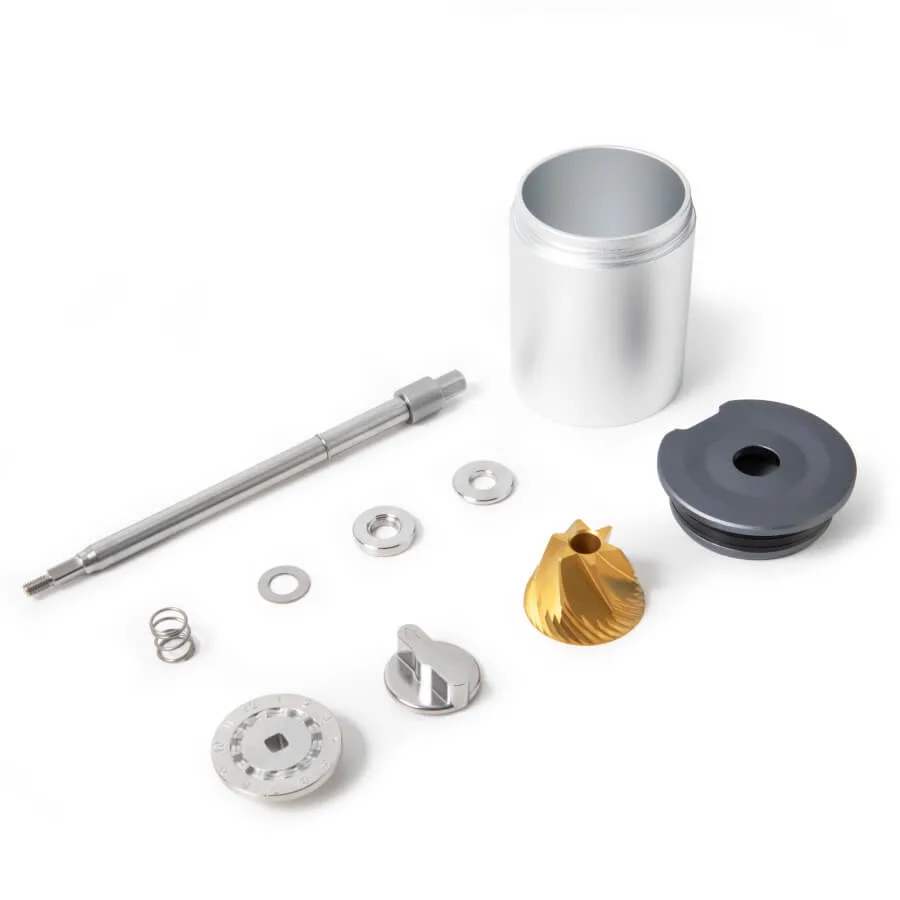
Quick answer
Replace a damaged AeroPress Go lid with the official silicone replacement, swap a worn grinder catch for the aluminum MGC01, and use the loose parts kit to restore your manual grinder.
Why replace parts instead of buying new?
AeroPress components are designed to be user-serviceable. Replacing a cracked Go lid or a stripped grinder catch costs far less than a full setup, and it keeps plastic and metal out of the landfill. The trade-off is that you need to confirm exact model compatibility — the Go lid only fits the Go model, not the original AeroPress.
What about the plunger seal?
If your plunger seal is loose or leaking, see our dedicated guide on replacing the AeroPress plunger seal. This article focuses on the lid and grinder parts that are less frequently covered.
How to replace AeroPress Go lid and grinder parts
- Remove the old Go lid: Twist the existing lid counter-clockwise until it detaches from the AeroPress Go chamber. If it's stuck, run warm water over the seal area for a few seconds to soften the silicone. Common mistake: pulling the lid off without twisting can tear the silicone. Always twist first.
- Install the new Go lid: Align the tabs on the new LFGB-grade silicone lid with the slots on the chamber. Press down evenly and twist clockwise until it clicks into place. Wash the lid on the top rack of the dishwasher before first use. Checkpoint: the lid should spin freely but not wobble. If it wobbles, remove and re-seat it.
- Replace the manual grinder catch: Unscrew the old catch from the bottom of the AeroPress Manual Grinder. Screw the new aluminum catch (MGC01) into place hand-tight. Do not over-tighten — the aluminum threads can strip. Common mistake: cross-threading the catch. Start turning it by hand before using tools.
- Swap loose parts with the kit: Remove the adjustment dial, spring, and washers from the grinder. Install each part from the Loose Parts Kit in the same order: washers, spring, dial, then the catch hopper lid. Refer to the exploded diagram in the grinder manual if available. Checkpoint: after reassembly, the adjustment dial should click through all 18 settings without binding.
- Test the assembly: Grind a small amount of coffee (about 10g) and brew with the AeroPress Go. Check for leaks around the lid and listen for grinding noise changes. If the catch leaks fines, tighten it slightly. Empty the catch and wipe the threads before final use to remove any metal shavings from manufacturing.
Parts you may need
-
AeroPress Go Lid: This replacement lid is made from LFGB-grade silicone and is dishwasher safe (top rack only). It ensures a proper, food-safe seal on your AeroPress Go and is easy to clean without manual scrubbing.
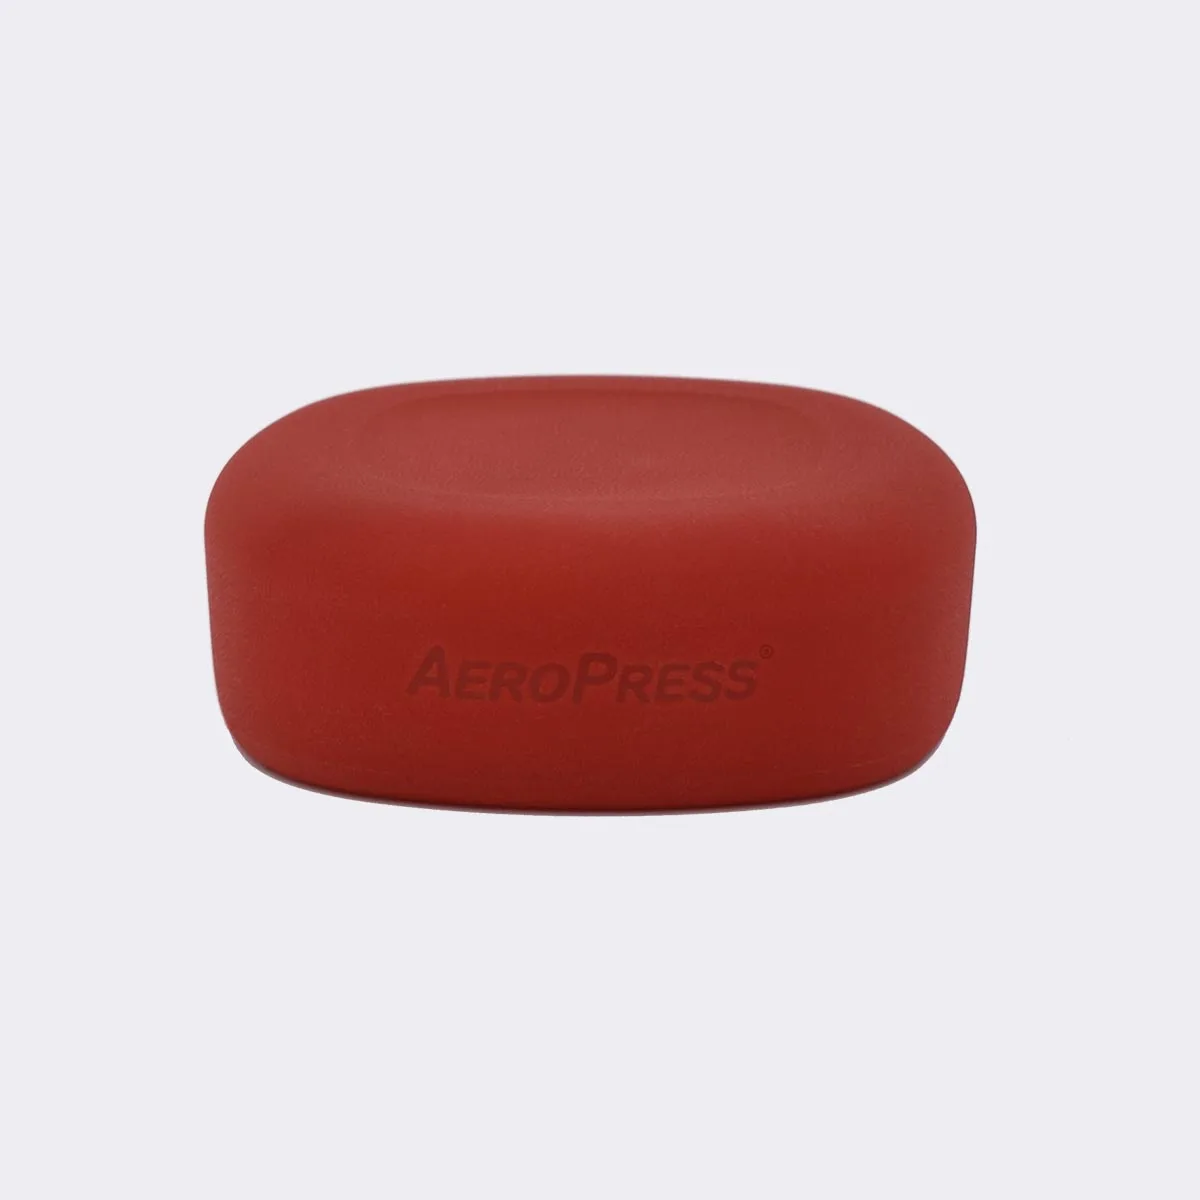
AeroPress Go Lid
-
AeroPress Manual Grinder Catch: The AeroPress Manual Grinder Catch (MGC01) is an aluminum part with a 25g capacity. If your original catch cracks or the magnet weakens, this drop-in replacement restores full function without buying a new grinder.
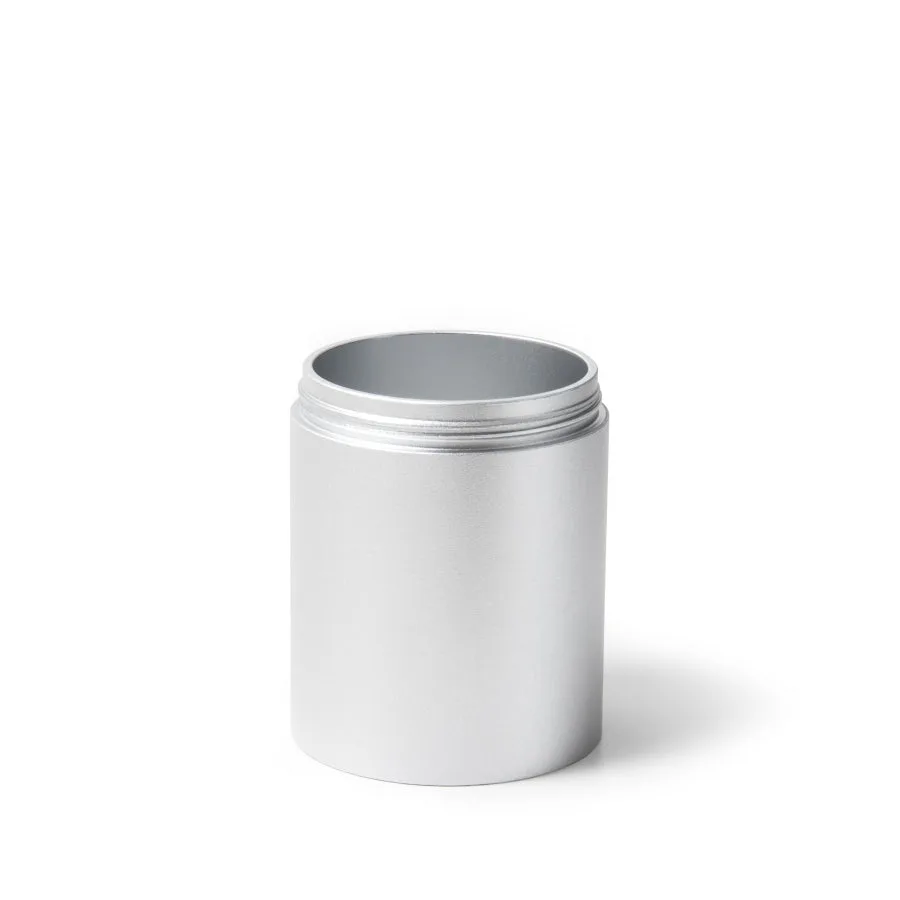
AeroPress Manual Grinder Catch
-
AeroPress Manual Grinder Loose Parts Kit: The Loose Parts Kit includes the catch hopper lid, adjustment dial, spring, and washers for the AeroPress Manual Grinder. It's the only way to replace small plastic and metal parts that wear out over time, keeping your grinder adjustable and spill-free.