Quick Answer
To replace bike grips on your child's bike, loosen the old grip with rubbing alcohol or a thin flathead screwdriver, slide it off, clean the bar, then push the new grip on until it sits flush with the bar end. Twist it to check for slip before your child rides. The whole job takes about 15 to 20 minutes with no special tools.
grips
Grips are one of the cheapest parts on a kids bike and one of the first to wear out. Between sweaty hands, crash landings, and bikes left in the sun, the rubber hardens, the grip surface smooths over, and eventually the grip starts twisting on the bar. A twisting grip is a real safety problem because your child's hands can slide off mid-ride.
The good news is that grip replacement is a beginner-friendly repair. You do not need a bike stand, a torque wrench, or a shop appointment. This guide walks through the full process for standard slide-on grips, plus what to check on lock-on styles, so you can swap grips in your garage or driveway in under 20 minutes.
When Your Child's Grips Actually Need Replacing
Grips do not have a fixed replacement schedule, but a few clear signals mean it is time. If the grip twists freely on the handlebar when you try to rotate it by hand, the friction between rubber and metal is gone. If the surface feels slick or shiny rather than slightly tacky, the texture has worn down. Cracks, gouges from crashes, or a grip that has slid inward and left the bare bar end exposed are all replacement triggers.
One more check: look at the bar end. If the grip no longer covers the end of the handlebar, a fall can turn that exposed metal tube into a puncture risk. Push the grip back into place as a temporary fix, but plan the replacement. Worn grips are also a common reason kids complain that their hands hurt or that they feel like they are gripping too hard.
- Twist test: a grip that moves by hand is already unsafe
- Texture test: slick or shiny rubber means the grip has worn smooth
- Coverage test: the grip should fully cover the end of the handlebar
What You Need Before You Start
For standard slide-on grips, gather rubbing alcohol, a clean rag, and a thin flathead screwdriver or a blunt skewer. If the grips are stubborn, a little soapy water helps, but alcohol is better because it evaporates and leaves the grip stuck in place rather than lubricated. A hair dryer or heat gun on a low setting can soften stiff rubber, especially on grips that have been on the bike for years.
If your child's bike uses lock-on grips, you will also need a 3mm or 4mm hex key, depending on the bolt size. Lock-on grips clamp to the bar with a collar, so they come off without any prying. Check which style is on the bike before you start so you do not scratch a perfectly good grip trying to remove a clamped one.
- Rubbing alcohol and a rag are the core removal tools
- A thin flathead screwdriver helps break the seal on stubborn grips
- Lock-on grips need a hex key, not alcohol
Step-by-Step: Removing the Old Grips
Work one side at a time. Slide the flathead screwdriver between the grip and the handlebar, about an inch in from the outer end, and gently pry upward while pushing the grip outward. Do not stab the screwdriver deep into the bar or twist hard, because you can tear the grip or scratch the bar. Once you create a small gap, drip rubbing alcohol into it and keep working the grip outward in small increments.
If the grip still will not budge, warm it with a hair dryer for 30 to 60 seconds, then try again. On lock-on grips, loosen the collar bolt with a hex key, then slide the grip straight off. Never pry a lock-on grip with a screwdriver, because the collar and the bar can both be damaged. Set the old grips aside so you can compare them with the new ones before installing.
- Common mistake: prying from the very end of the grip, which tears the rubber lip
- Work outward in small increments rather than yanking the grip off in one pull
- If the grip is stuck, add heat before adding force
Cleaning the Bar and Checking the New Grips
Once the old grips are off, wipe the handlebar clean with a rag and a little rubbing alcohol. Old adhesive, dirt, and oxidized aluminum all reduce friction and make new grips more likely to slip. Let the bar dry completely before installing. While the bar dries, compare the new grips to the old ones. They should match in length and inner diameter, and the new grip should slide over the bar end without needing force.
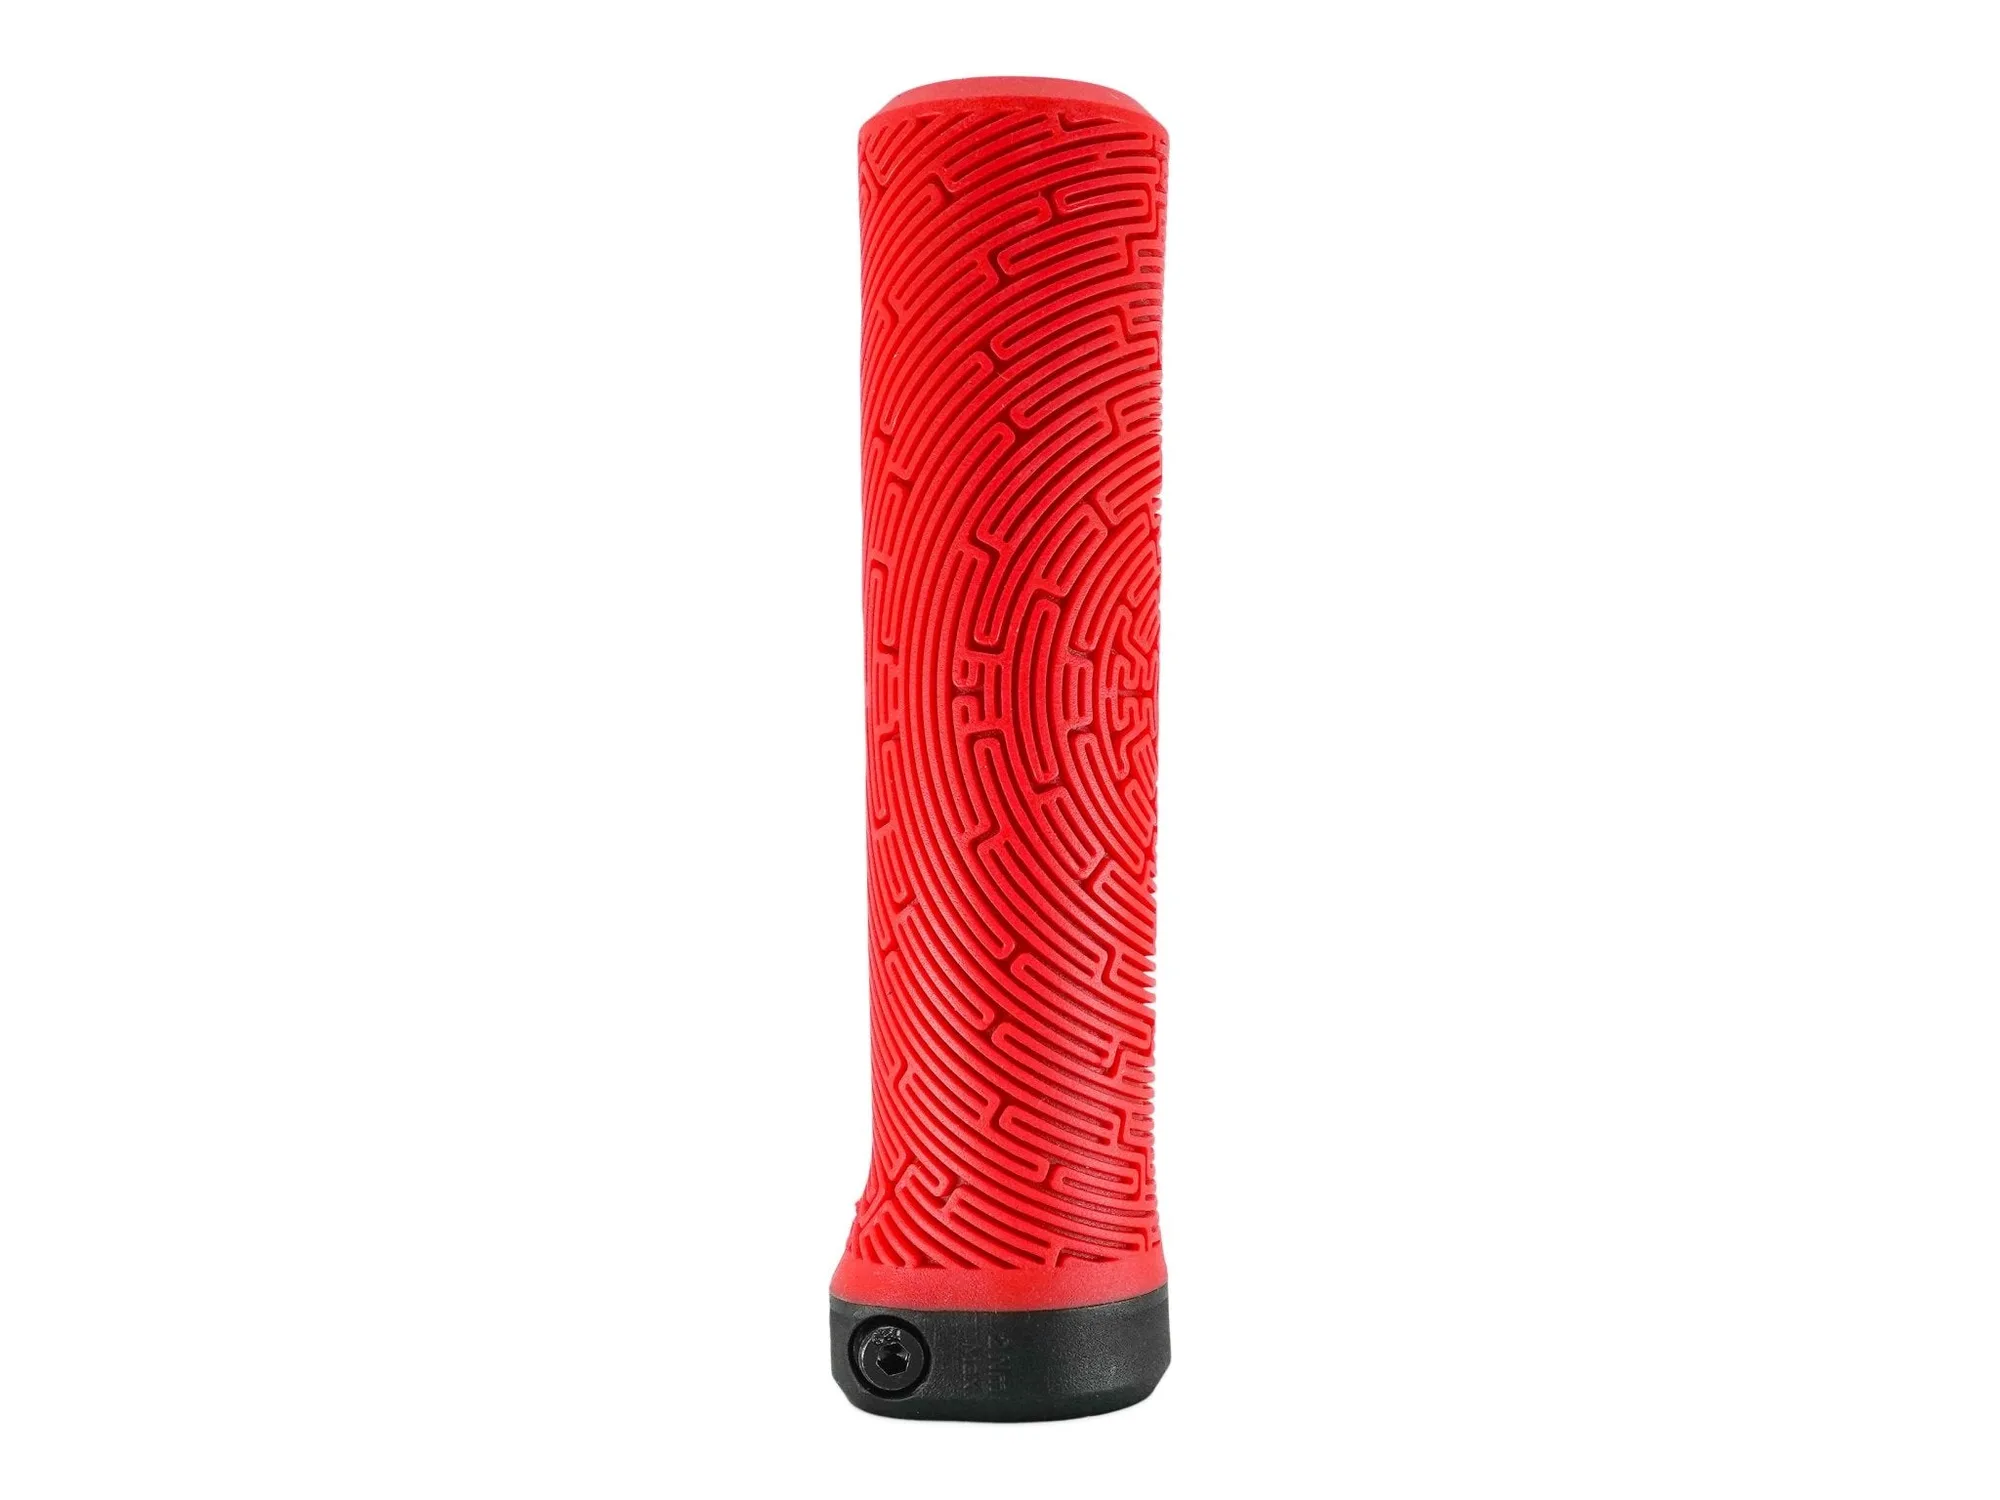
This is also the moment to check the bar itself. Look for deep scratches, dents, or cracks near the grip area. A cracked handlebar is not a grip problem, and no new grip will make it safe. If you spot damage, stop and replace the bar before continuing. Prevelo's Custom Color Grips use the same Kraton rubber as the stock grips and come in multiple widths and colors, so you can match the original fit or size up slightly for a bigger hand.
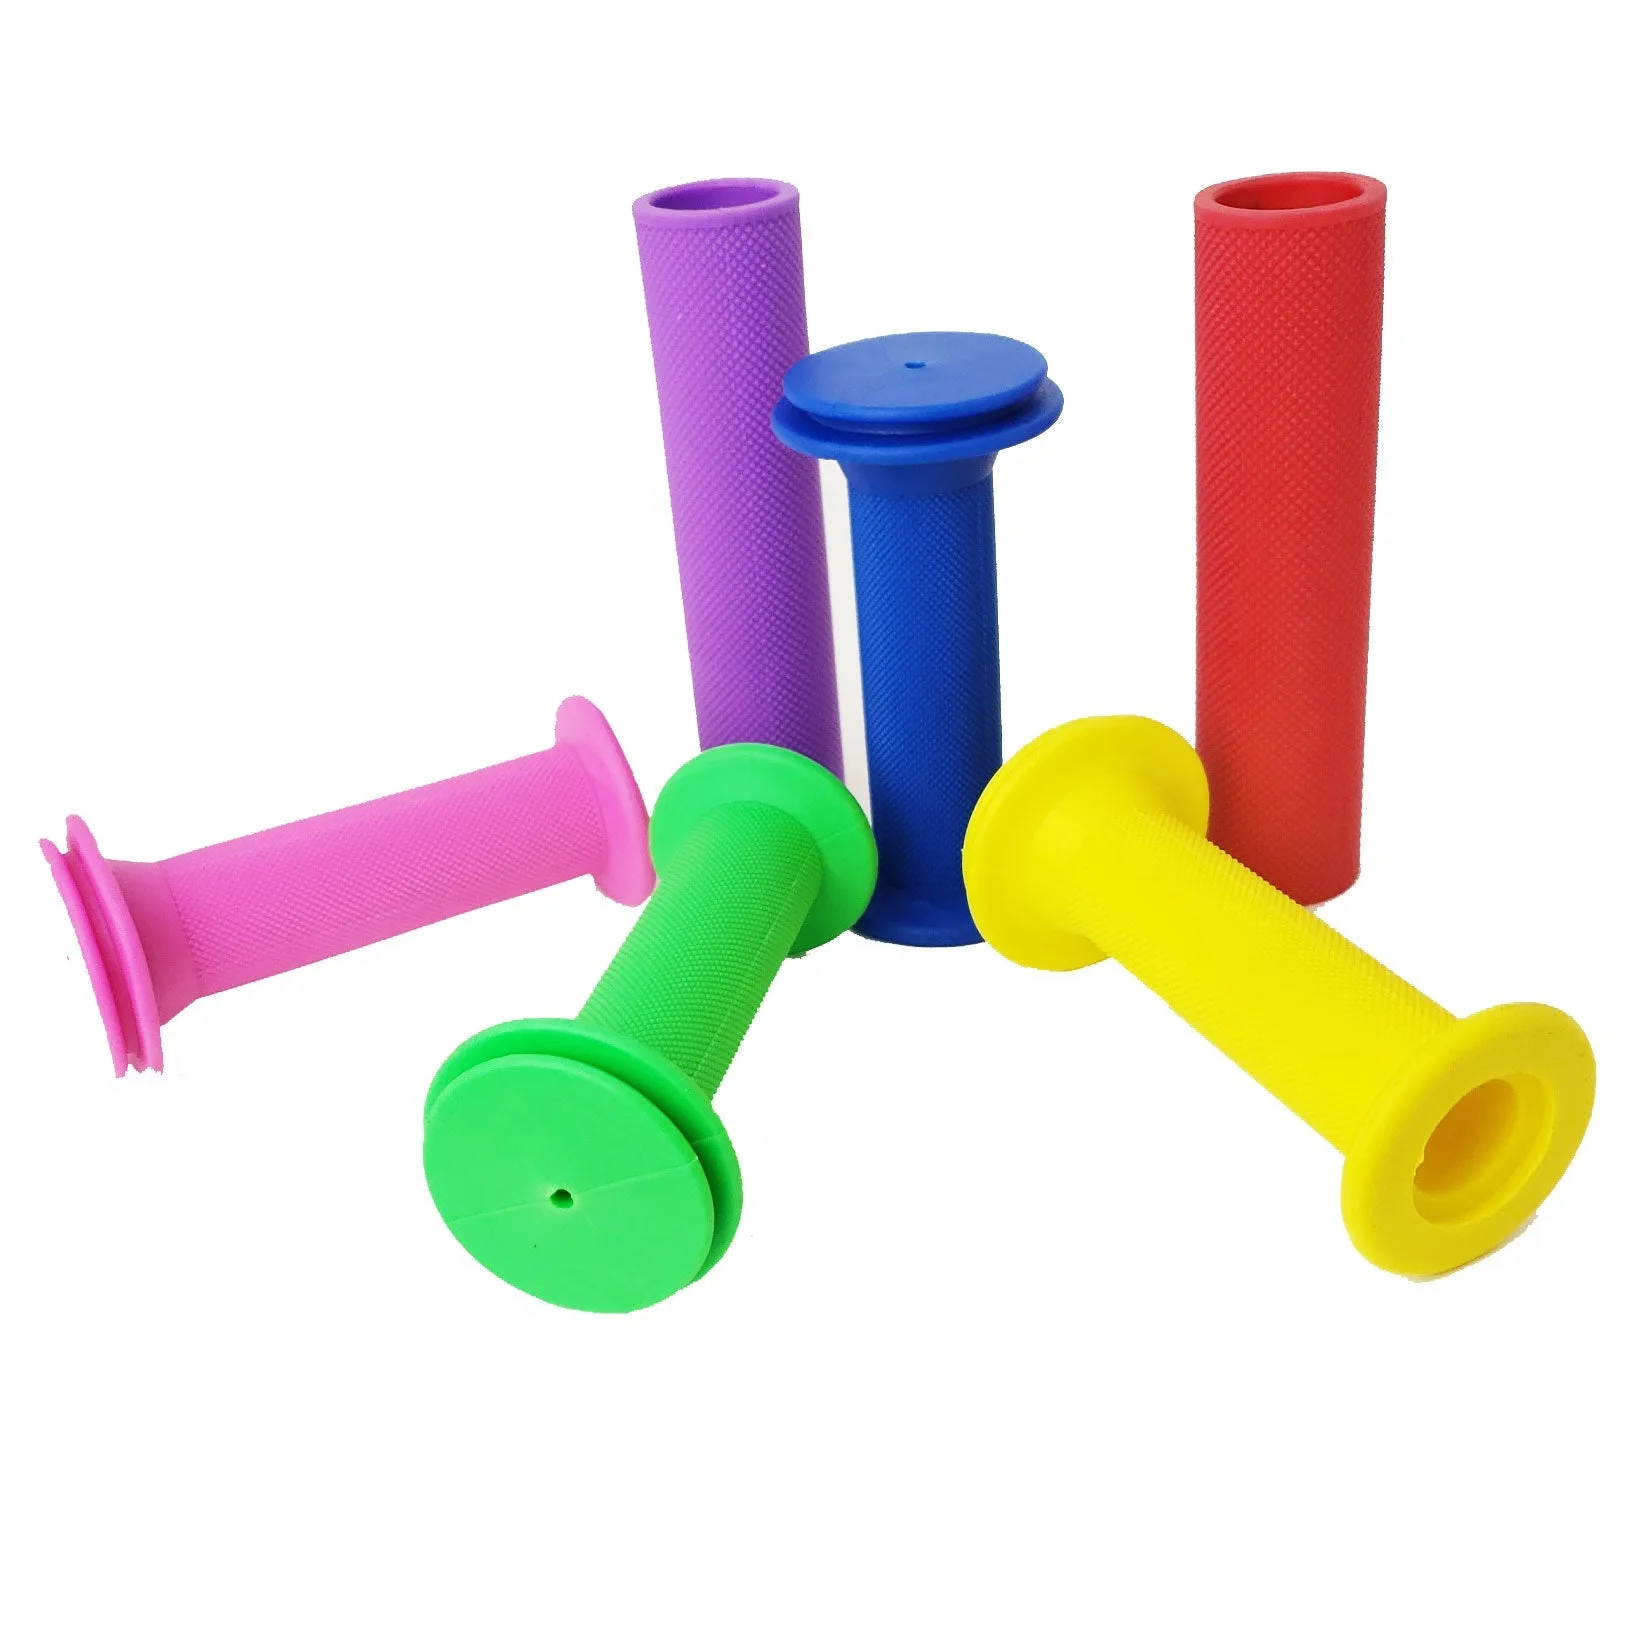
Custom Color Grips
- Clean and dry the bar fully before installing new grips
- Compare old and new grip length and diameter before pushing anything on
- Inspect the bar for cracks or dents while the grips are off
Installing the New Grips
For slide-on grips, wet the inside of the grip and the bar with rubbing alcohol, then push the grip on with a twisting motion. Push until the grip sits flush with the end of the handlebar and the outer edge is fully covered. Work quickly, because alcohol evaporates fast. If the grip stops halfway, pull it off, add more alcohol, and try again rather than forcing it, which can bunch the rubber or tear the inner sleeve.
For lock-on grips, slide the grip onto the bar, set the collar so the grip sits flush with the bar end, and tighten the bolt with a hex key. Snug is enough. Over-tightening can crush the collar or strip the bolt, and you do not need heavy torque to hold a grip in place. Repeat the process on the other side, then let the bike sit for 15 to 20 minutes so any remaining alcohol evaporates before your child rides.
- Common mistake: pushing a dry grip onto a dry bar, which leaves it half-installed
- Line up the grip edge with the bar end so no metal is exposed
- Snug lock-on bolts rather than cranking them down
Final Safety Check Before Your Child Rides
Grab each grip with both hands and try to twist and pull it off. A properly installed grip should not move at all. If it rotates, the alcohol has not fully evaporated or the grip is too loose for the bar diameter. Wait a few more minutes and recheck. If it still moves, remove the grip, clean the bar again, and reinstall with fresh alcohol. Do not let your child ride a bike with a twisting grip, even for a short test lap.
Also check that both grips match in position and that the brake levers and shifters still sit where your child expects them. Replacing grips sometimes shifts lever placement slightly, especially if you removed a lock-on collar. A two-minute parking-lot test ride lets your child confirm the new grips feel right before a real ride.
- Twist and pull test on both grips before every first ride after installation
- Confirm brake and shifter positions have not moved
- A short test ride catches problems before they become crashes
Grip Replacement at a Glance
- 1. Confirm the grip style: Check whether the bike has slide-on grips or lock-on grips with a collar bolt. Slide-on grips come off with alcohol and a thin screwdriver; lock-on grips come off with a hex key. Checkpoint: if you see a bolt at the inner edge of the grip, it is a lock-on.
- 2. Loosen and remove the old grip: Pry gently near the inner edge, drip in rubbing alcohol, and work the grip outward in small steps. Warm stiff rubber with a hair dryer if needed. Common mistake: prying from the outer lip and tearing the rubber.
- 3. Clean and inspect the bar: Wipe the bar with alcohol and let it dry. Look for cracks, dents, or deep scratches before installing anything new. Checkpoint: a damaged bar needs replacement, not a new grip.
- 4. Install the new grip: Wet the grip and bar with alcohol, push the grip on with a twist, and seat it flush with the bar end. For lock-on grips, slide on and snug the collar bolt. Common mistake: over-tightening lock-on bolts until the collar or bolt strips.
- 5. Twist-test and test ride: Wait 15 to 20 minutes, then twist and pull each grip hard. It should not move. Confirm brake and shifter positions, then take a short test ride. Next step: if a grip still twists, remove, clean, and reinstall before riding.
Grip Options From Prevelo
- Custom Color Grips: Prevelo colored grips are made of the same high quality Kraton rubber as the grips that come standard on Prevelo bikes, with added color, and are available in multiple widths and colors. If your child liked the feel of the original grips, these keep the same rubber compound while letting them pick a color. The width options also let you fine-tune fit for smaller or larger hands.
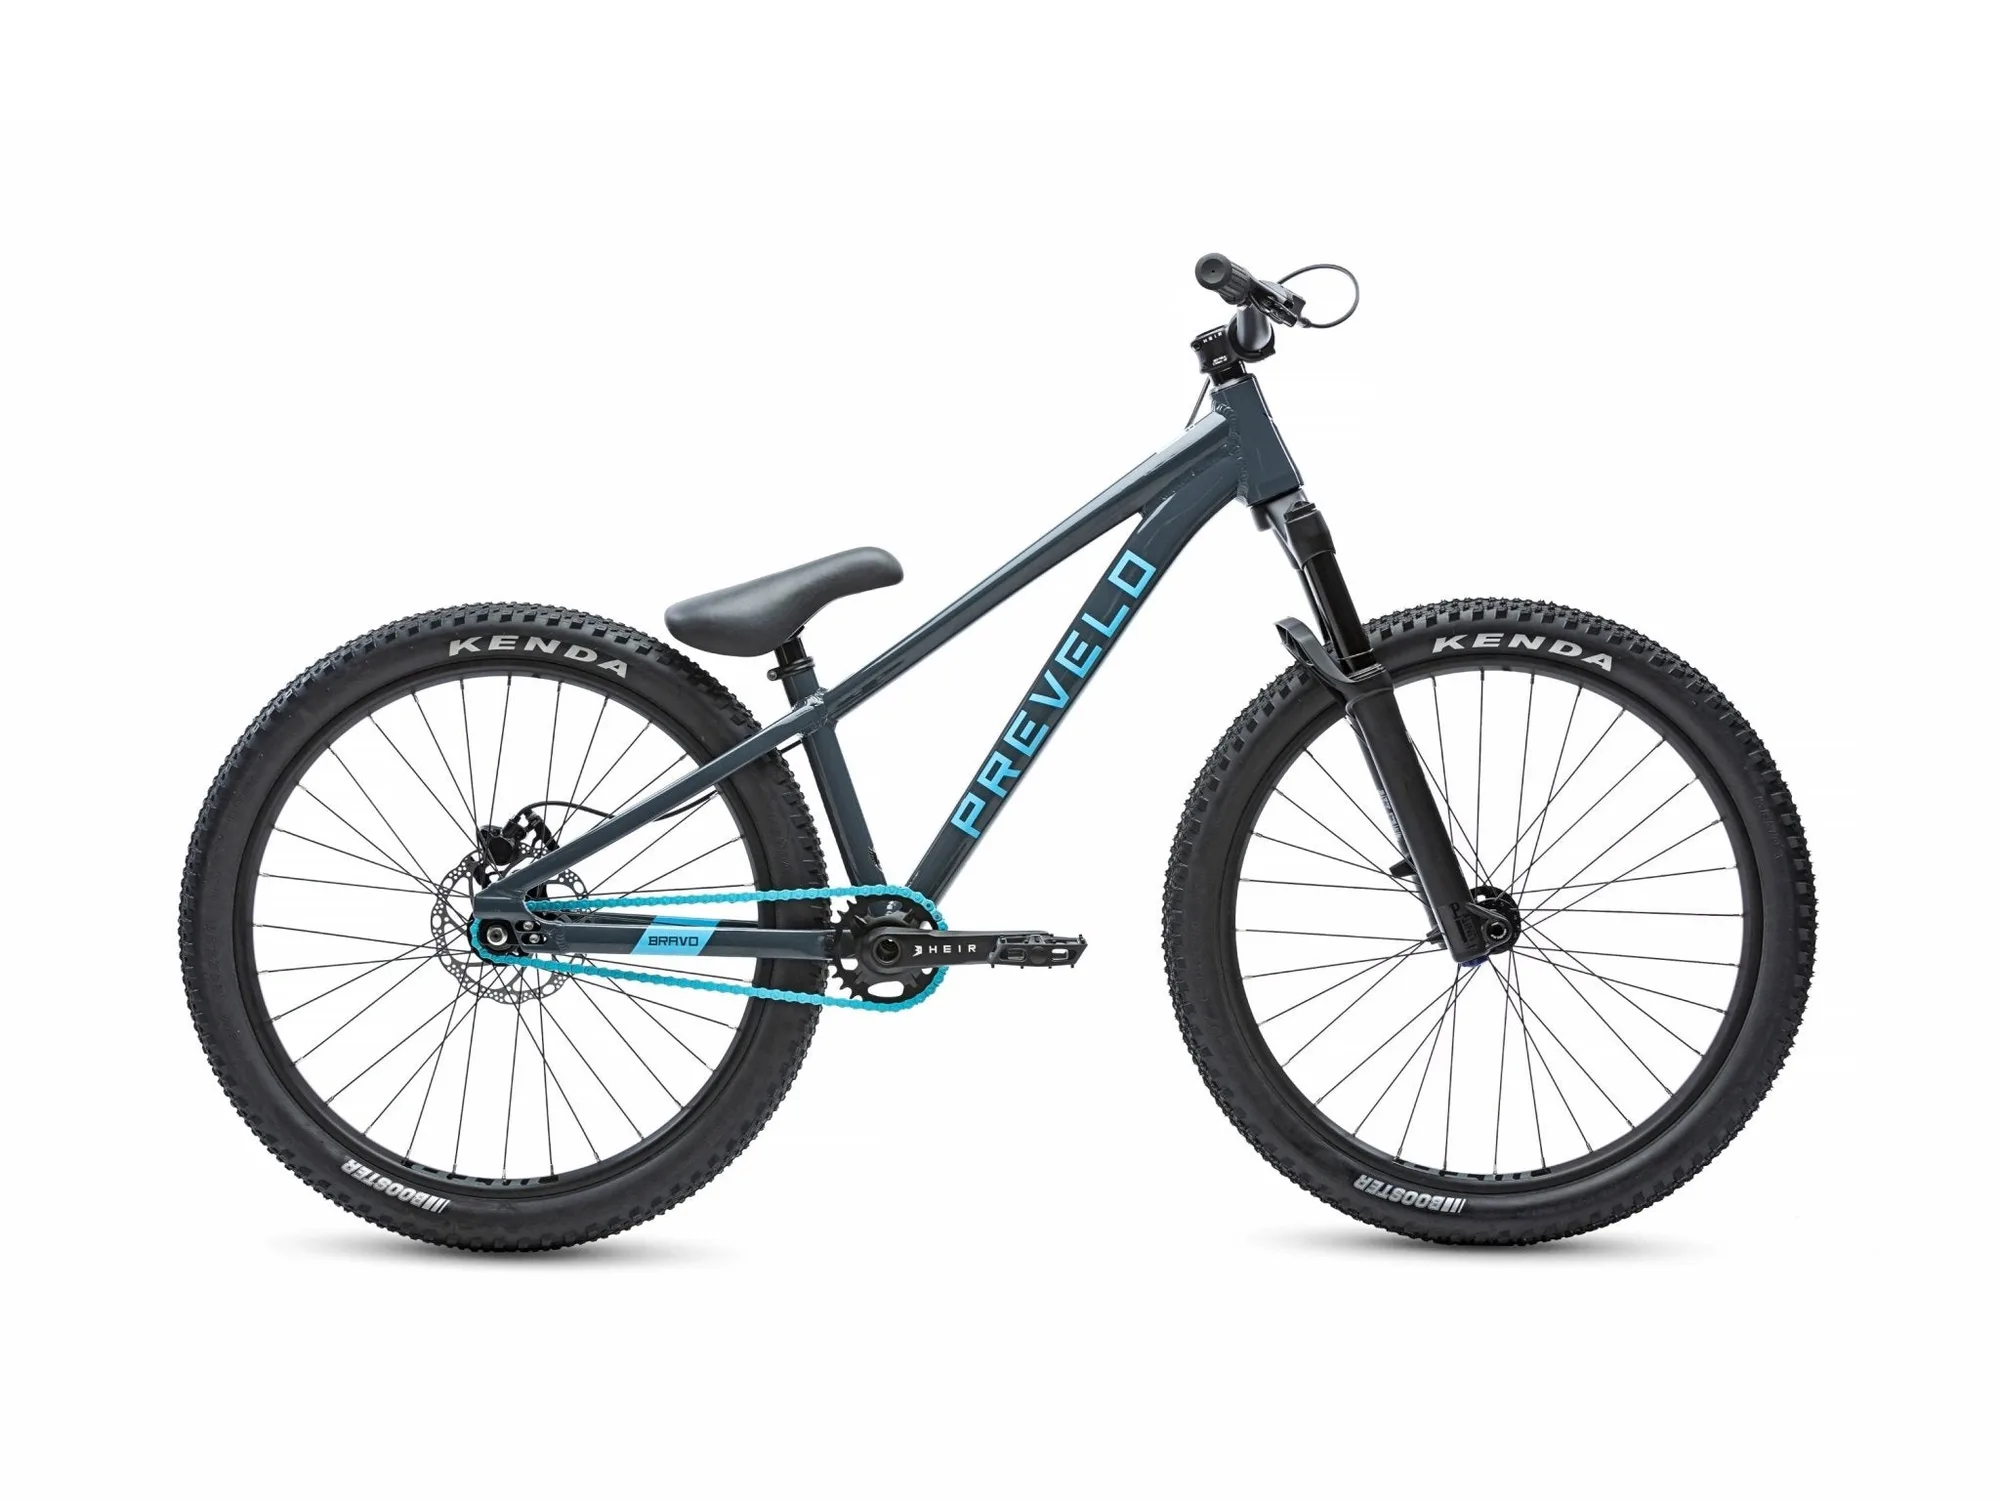
- Bravo Four: The Bravo Four comes with HEIR Lock-On Grips and a Manitou JUNIT Expert fork with 100mm of travel, plus a lightweight 6061 aluminum frame with internal cable routing. If your child's bike uses lock-on grips like the Bravo Four, replacement is a hex-key job rather than an alcohol-and-pry job. Knowing which system is on the bike tells you which tools to grab before you start.
Replacing grips is one of the easiest maintenance jobs you can do on your child's bike, and it pays off in comfort and control every ride. Match the grip style to what is on the bike, clean the bar properly, and always twist-test before your child takes off. Fifteen minutes of work now prevents a slipping-grip crash later.