Quick answer
To replace a HydroJug Traveler lid, unscrew the old lid, check that the gasket sits flat in its groove, set the new lid straight down on the threads, and turn it clockwise until it stops without forcing it. If the lid won't fit, the usual cause is a twisted or unseated seal rather than the lid itself, so reseat the gasket before you try again.
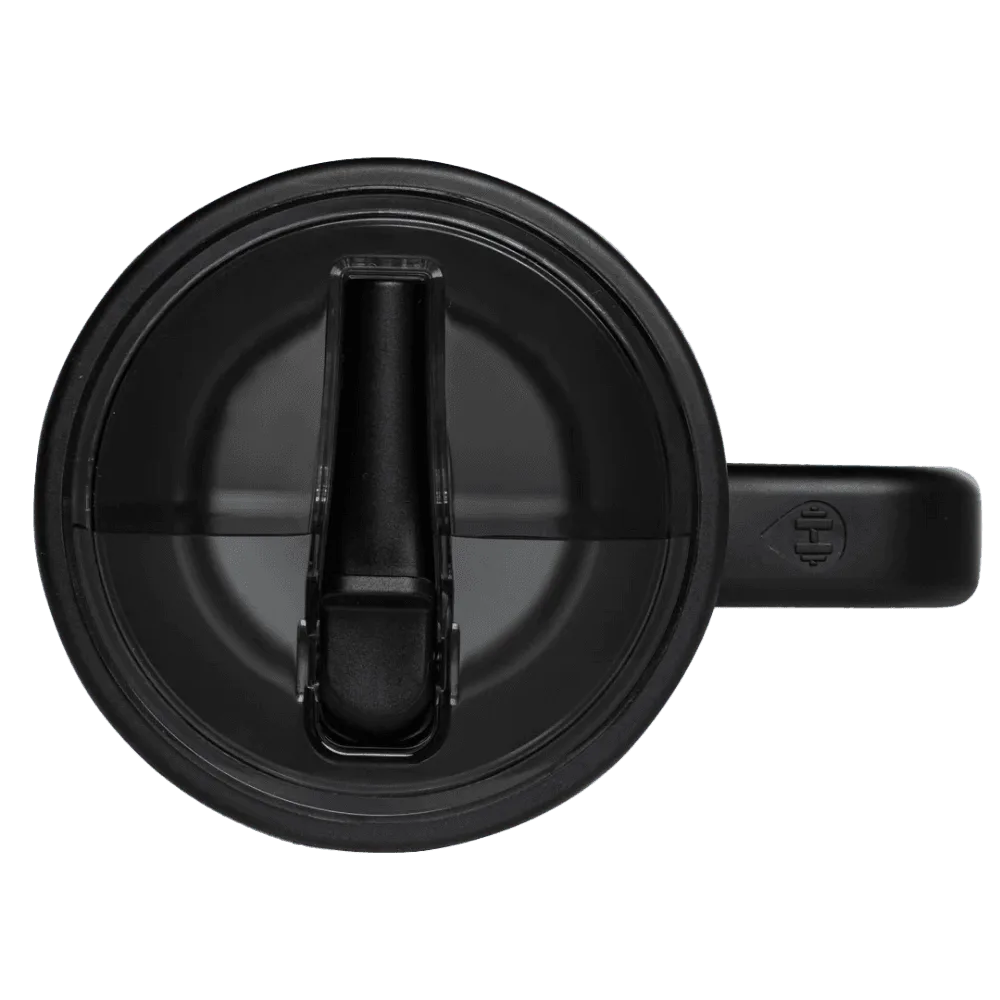
Traveler lid
Match the lid to your Traveler before you buy
Lids are not universal across the HydroJug line. A lid sold for the Sport Bottle is built for that bottle, and the Sport Lid 40oz is listed as compatible with the Sport Bottle only, so it is not a Traveler replacement. Before ordering, confirm the lid you are buying is described for your Traveler size and lid style. If a listing does not state Traveler compatibility, treat that as a decision limitation and check with the seller rather than assuming a fit.
Check the seal before you blame the lid
Most 'lid not fitting' complaints come from the gasket, not the threads. The seal must sit evenly in its channel all the way around, with no section rolled over or pinched. Run a finger around the groove to feel for a high spot, then press the gasket back down until it is flush. If the gasket is stretched, hardened, or torn, replace it instead of trying to force a seal.
When to replace instead of reseat
Reseating fixes a lid that is crooked or leaking at the rim. Replacement is the better call when the threads are cracked, the hinge or lock no longer holds, or the lid has been dropped hard enough to deform the rim. If you are switching between a straw lid and a chug-style lid for different activities, keep one spare on hand so you are not stuck with a leaking bottle mid-week.
Step-by-step: replacing and fitting a Traveler lid
- Empty and rinse the bottle: Pour out any liquid and give the rim a quick rinse so grit does not get trapped between the lid and the threads. Checkpoint: the rim should be visibly clean and dry before the new lid goes on.
- Remove the old lid and inspect the threads: Unscrew counterclockwise and look at both the bottle threads and the lid threads for cracks, cross-threading, or built-up residue. Mistake to avoid: forcing a lid that stopped early can strip the threads and turn a simple swap into a replacement bottle.
- Reseat or replace the gasket: Lift the seal out, wipe the groove, and press the gasket back in evenly with no twists or high spots. Checkpoint: run a finger around the full circle; it should feel level the whole way.
- Set the lid straight down, then turn: Lower the lid onto the bottle without tilting it, then turn clockwise until it seats. Do not push down hard while turning. Mistake to avoid: starting the lid at an angle is the most common cause of a lid that will not fit.
- Test for leaks before it goes in a bag: Fill with water, close the lid, and tip the bottle on its side over a sink for a few seconds. If it drips, unscrew and repeat the gasket check rather than tightening harder.
- Store a spare lid and straw set: Keep a backup lid and spare straws where you can find them so a lost or damaged part does not sideline the bottle. Next step: label the spare by bottle model so you do not grab the wrong lid later.
Parts that solve common Traveler lid problems
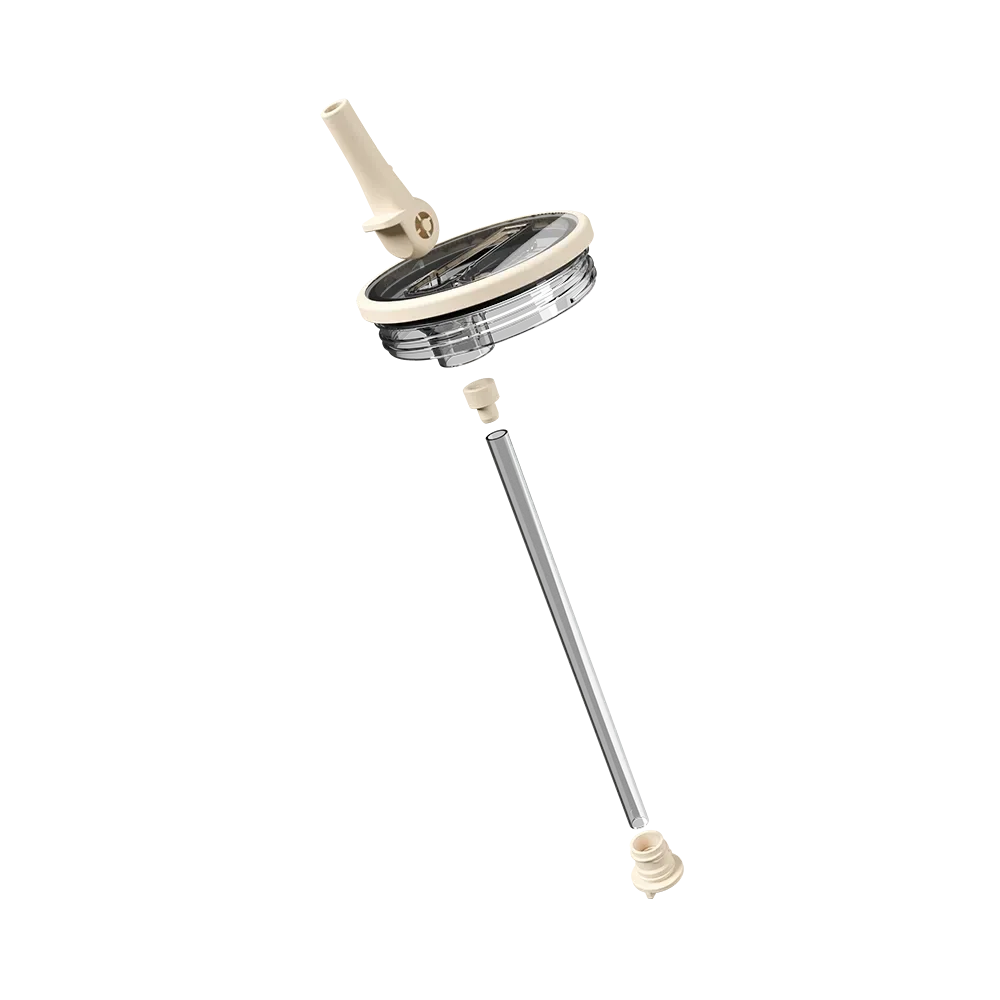
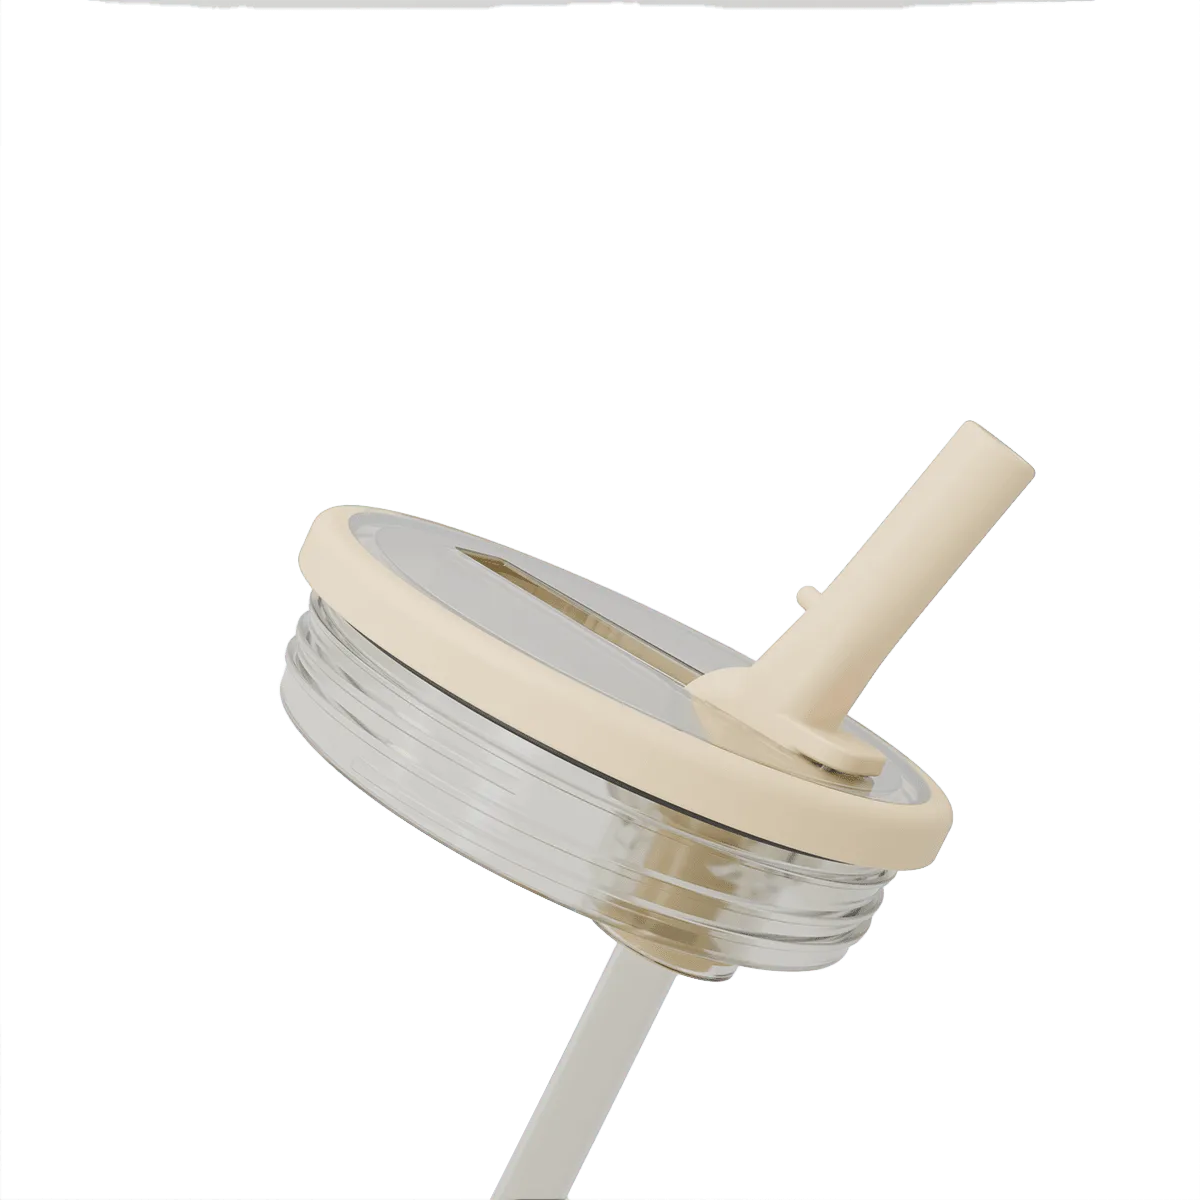
- Sport Lid 40oz: The Sport Lid 40oz is a replacement lid designed specifically for the Sport Bottle, with a patent pending design and color options including Cream, Sage, Black, Camo, Pink Sand, https://thehydrojugud.com/products/hydrojug-sport-jug-64oz-half-gallon-insulated-water-bottle-24hr-cold-light-blue-73992https://thehydrojugud.com/products/hydrojug-sport-20oz-insulated-water-bottle-leakproof-flip-straw-light-blue-74042Light Blue, Wildrose, Taffy, and Sweet Cherry. Useful if you own a Sport Bottle, but it is not a Traveler lid, so do not order it as a Traveler replacement.
- 32oz Sport Straws: The HydroJug 32oz Sport Straw Pack is a 4-pack of BPA-free, dishwasher-friendly, recyclable straws made for the HydroJug 32oz Sport. If your straw lid is fine but the straw is chewed, bent, or lost, replacing the straw pack is cheaper than buying a whole new lid.
- Under Construction: The 14 oz Ease2o has a dual-function lid with a No-Perse soft straw and a chug spout, plus a leakproof design, lid lock mechanism, and venting technology. A reminder that lid designs vary by bottle, so always match the replacement part to the exact model rather than a similar-looking one.