Quick Answer
To replace vacuum tubes safely, power off your equipment, let the tubes cool, and use a dedicated tube puller to gently remove each tube. This prevents damage to the tube and the socket.
Why Use a Tube Puller Instead of Your Fingers?
Vacuum tubes fit snugly into their sockets, and pulling them out by hand can be tricky. You risk breaking the glass envelope, bending pins, or damaging the socket. A tube puller grips the tube evenly, allowing you to apply steady, controlled force. It also keeps your fingers away from hot glass and sharp pins.
Tube rolling—trying different tubes to find the sound you prefer—is a common practice among audiophiles. A tube puller makes this process safer and more enjoyable, especially if you experiment frequently.
Safety First: Power Down and Cool Down
Before you touch any tube, ensure your amplifier or preamp is turned off and unplugged. Tubes operate at high voltages, and even after powering down, capacitors can hold a charge. Wait at least 15–30 minutes for the tubes to cool to a safe temperature. Hot tubes are more fragile and can cause burns.
If you are unsure about the safety of your equipment, consult the owner's manual or a qualified technician. This is especially important for vintage gear or modified units.
Step-by-Step: How to Replace Vacuum Tubes Safely
- Power Off and Unplug: Turn off your amplifier or preamp and unplug it from the wall. Wait at least 15–30 minutes for the tubes to cool completely. Never attempt to remove tubes while the equipment is hot or powered on.
- Identify the Tubes to Replace: Check the tube labels or the owner's manual to identify which tubes you need to remove. Note their positions and orientation (align pins with socket holes). Take a photo before removing to remember the correct placement.
- Position the Tube Puller: Place the tube puller over the top of the tube, ensuring the grip is centered and the jaws are below the glass lip. Do not squeeze too hard—just enough to hold securely. If the puller slips, reposition rather than squeezing harder.
- Pull Straight Up with Steady Pressure: Gently rock the tube side-to-side while pulling straight up. Apply even, steady force. Do not twist forcefully or pull at an angle, as this can bend pins. If the tube resists, stop and check for a locking ring or retaining clip.
- Inspect and Install the New Tube: Check the pins on the new tube for straightness and align them with the socket. Press the tube in gently until it is fully seated. Do not force it. If the tube does not seat easily, realign the pins rather than pushing harder.
- Power On and Test: Reconnect the power and turn on the equipment. Let the tubes warm up and listen for any unusual hum, noise, or distortion. If something sounds off, power down and re-check the tube seating. Keep the original tubes in a safe place; they can serve as backups or for comparison.
The Right Tool for the Job
-
Vacuum Tube Puller: The Vacuum Tube Puller is designed for removing tubes safely, whether you are replacing tired tubes or tube rolling to find the best sound. It provides a secure grip and even pressure, reducing the risk of breaking the glass or damaging the socket compared to pulling by hand.
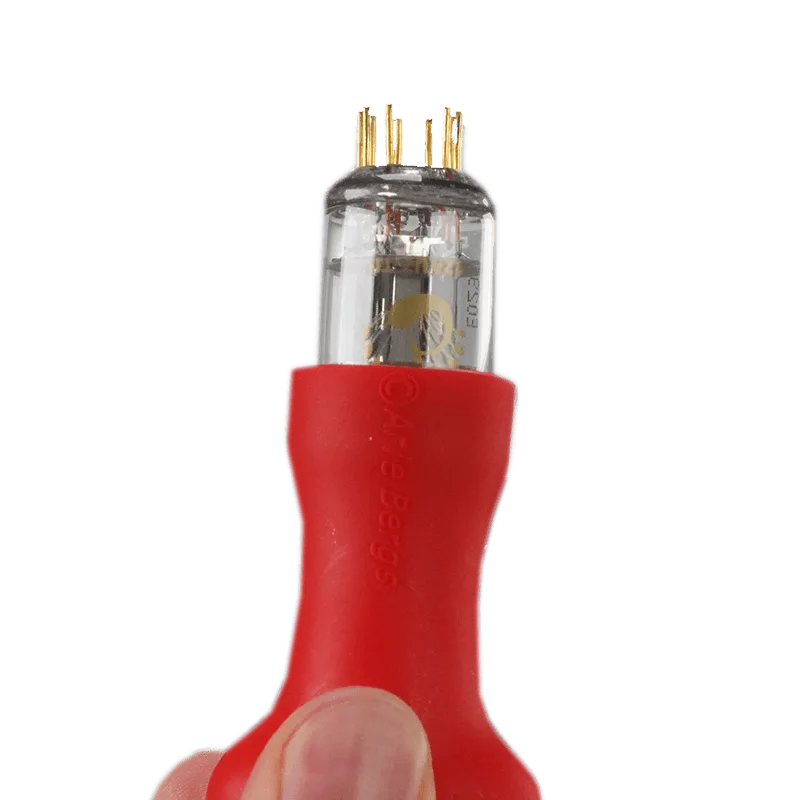
Vacuum Tube Puller