Quick Answer
To replace worn hobnails on approach shoes, first remove the old hobnails with a flathead screwdriver or pliers, clean the recesses, apply adhesive, and press in new hobnails. Ensure they sit flush and allow the adhesive to cure fully before use. For La Sportiva models like the TX2 EVO, this DIY repair can extend the life of your shoes significantly.
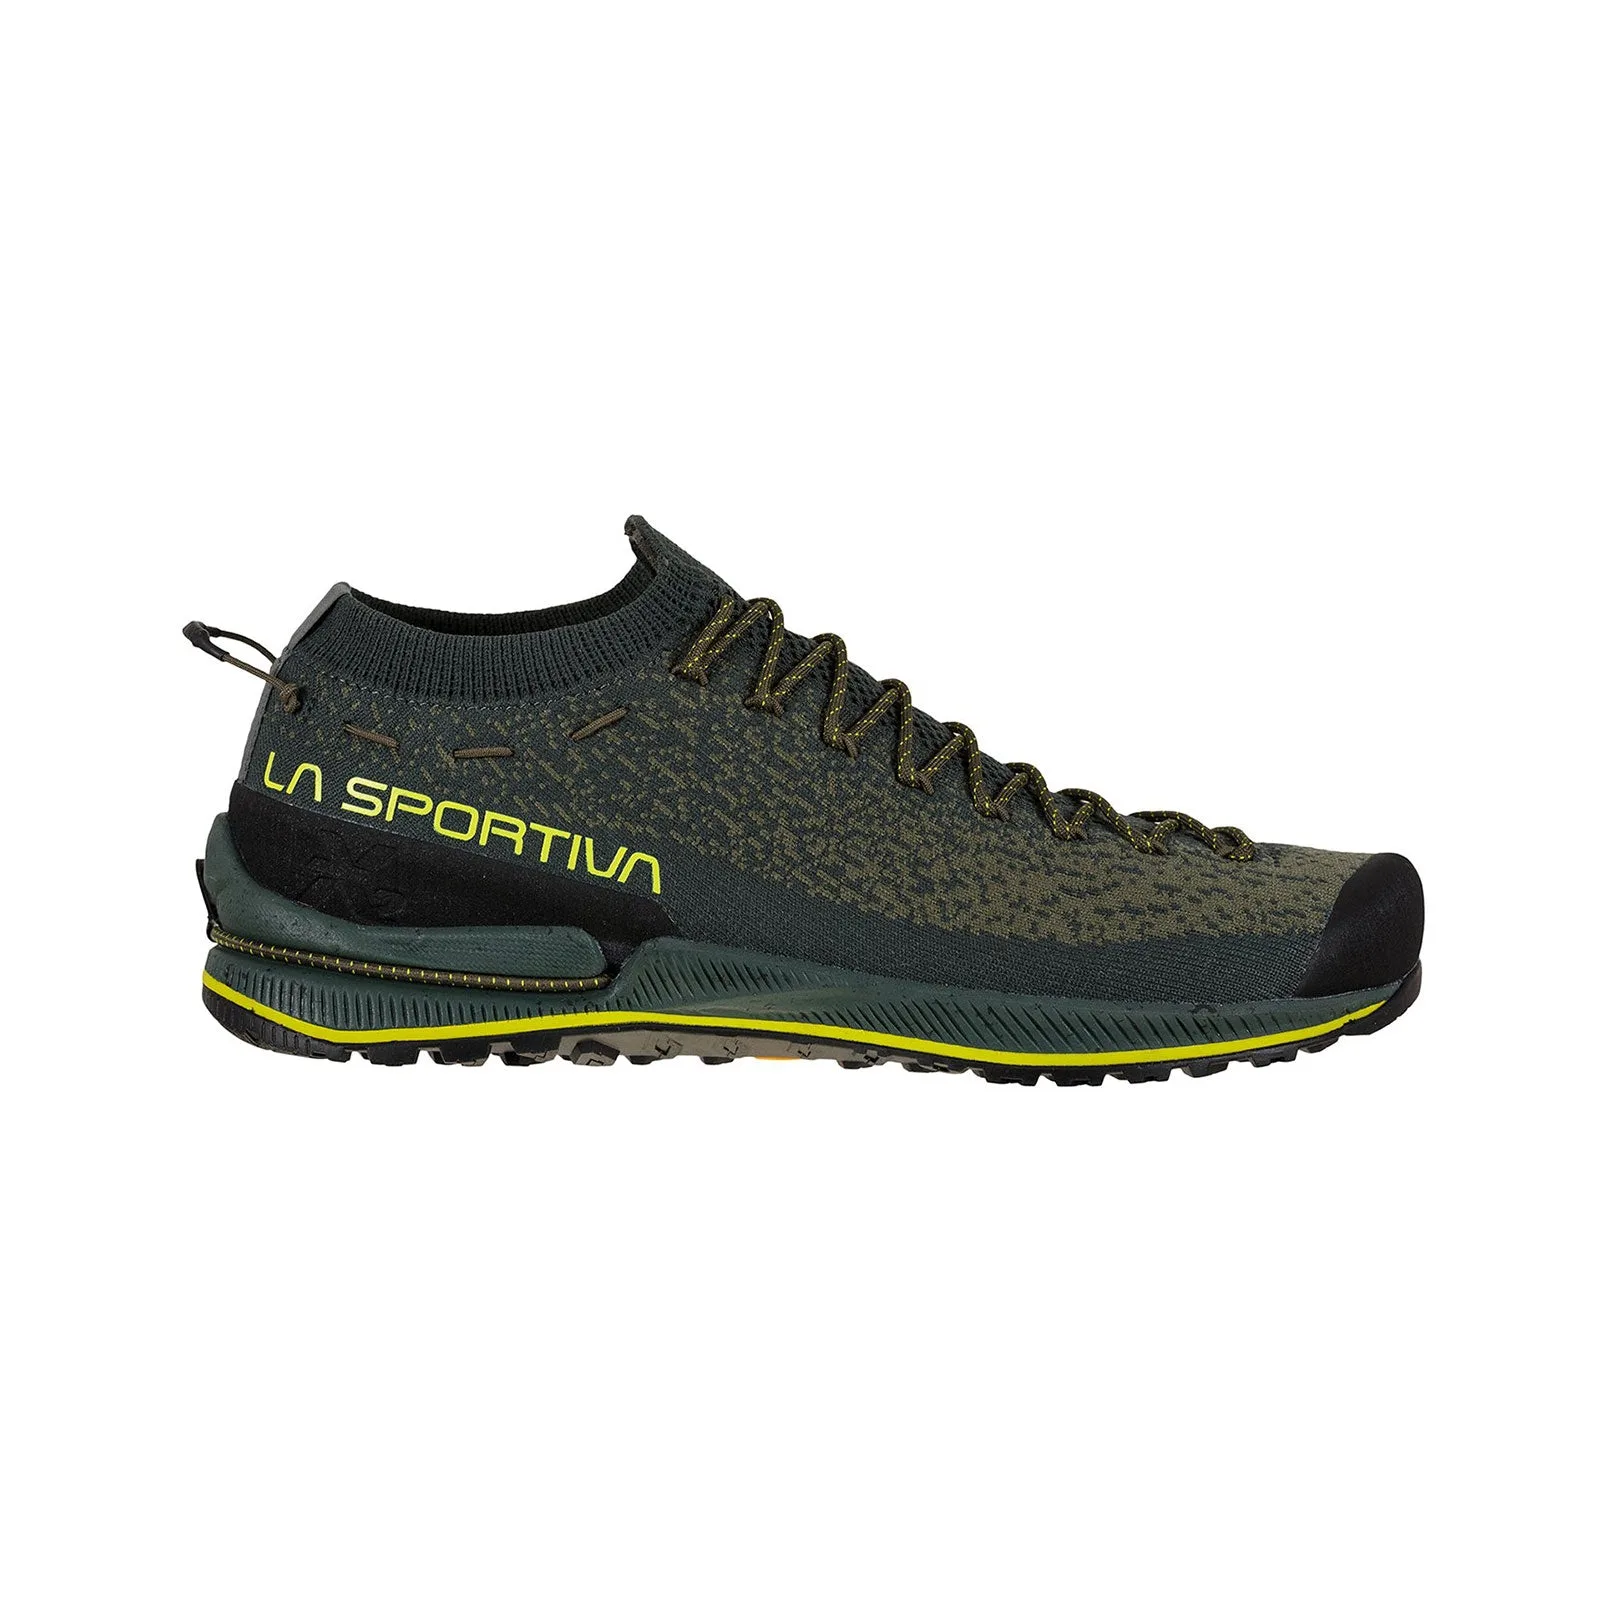
TX2 EVO
Approach shoes are built for rugged terrain, but the rubber hobnails on the outsole inevitably wear down with use. When they become smooth, traction on rock and dirt diminishes, increasing the risk of slips. Replacing them is a cost-effective way to restore grip and extend the life of your favorite pair.
This guide walks you through the process of replacing worn hobnails on approach shoes, covering the tools you need, step-by-step instructions, and common pitfalls to avoid. While specific models vary, the principles apply broadly, and we'll reference La Sportiva's TX2 EVO as an example of a shoe designed with repairability in mind.
Why Replace Hobnails?
Hobnails, also known as lug rubber or studs, provide the aggressive traction that approach shoes need on loose rock, mud, and slick surfaces. Over time, they wear down, reducing their effectiveness. Replacing them not only restores performance but also prevents uneven wear that can damage the midsole.
Regular inspection is key. Check the depth of the hobnails after every few outings. If they are worn down to the level of the midsole or show signs of cracking, it's time for a replacement. Ignoring worn hobnails can lead to slippery conditions and premature sole failure.
- Inspect hobnails monthly if you use your approach shoes frequently.
- Look for smooth spots, cracks, or missing rubber.
Tools and Materials You'll Need
Before you start, gather the following: replacement hobnails (available from La Sportiva or aftermarket suppliers), a flathead screwdriver or awl, pliers, a clean cloth, rubbing alcohol or mild solvent, and a strong rubber adhesive (such as Shoe Goo or a contact cement suitable for rubber).
Work in a well-ventilated area and protect your work surface with newspaper or a mat. Having a small brush for cleaning and a hammer (for gently tapping) can also be handy.
- Ensure replacement hobnails match the size and shape of the original ones.
- Use adhesive specifically designed for rubber to ensure a strong bond.
Step-by-Step: Removing Old Hobnails
Start by cleaning the outsole to remove dirt and debris. Use a stiff brush and rubbing alcohol to degrease the area around each hobnail.
Insert the flathead screwdriver or awl under the edge of the hobnail and gently pry it out. If it's stubborn, use pliers to grip and pull. Work carefully to avoid damaging the outsole or midsole. Remove all old hobnails and any residual adhesive.
- If hobnails are glued tightly, apply heat with a hairdryer for a few seconds to soften the adhesive.
- Avoid using excessive force that could tear the outsole.
Preparing the Surface
After removal, clean the recesses thoroughly. Use a small brush and rubbing alcohol to remove any old adhesive, dust, or debris. Ensure the surface is dry before proceeding.
Rough up the surface slightly with sandpaper to create a better bonding surface. This step is crucial for the new adhesive to grip effectively.
- Use fine-grit sandpaper (around 120 grit) to lightly scuff the recess.
- Wipe away any sanding dust with a clean cloth.
Applying New Hobnails
Apply a thin, even layer of adhesive to both the recess and the back of the new hobnail. Avoid over-applying, as excess adhesive can squeeze out and create a mess.
Press the hobnail firmly into place, ensuring it sits flush with the outsole. Hold it for a few seconds to set. If needed, use a hammer to gently tap it into position, but protect the rubber with a cloth to avoid marks.
Repeat for all hobnails. Allow the adhesive to cure for the time specified on the product label, typically 24 hours, before using the shoes.
- Work in a warm, dry environment for optimal adhesive curing.
- Check alignment frequently to avoid crooked placement.
Curing and Final Checks
Once all hobnails are in place, let the shoes sit undisturbed for at least 24 hours. This allows the adhesive to reach full strength.
After curing, inspect each hobnail to ensure it is secure. Gently try to wiggle them; if any move, apply more adhesive and let it cure again. Test the shoes on a flat surface to confirm even contact and traction.
- Avoid using the shoes immediately after repair to prevent premature failure.
- If hobnails are not flush, they may cause uneven wear or discomfort.
DIY Hobnail Replacement Steps
- Inspect and Clean: Remove dirt and debris from the outsole using a brush and rubbing alcohol. Assess the wear and identify which hobnails need replacement. Checkpoint: Ensure the area is dry and clean before proceeding.
- Remove Old Hobnails: Pry out old hobnails with a flathead screwdriver or pliers. Apply heat if needed to soften adhesive. Mistake to avoid: Using excessive force can damage the outsole. Work slowly.
- Prepare the Surface: Clean recesses and scuff with sandpaper to improve adhesive bonding. Wipe away dust. Checkpoint: Surface should be rough and clean for optimal adhesion.
- Apply Adhesive and New Hobnails: Apply a thin layer of adhesive to the recess and the back of the new hobnail. Press firmly into place, ensuring it sits flush. Mistake to avoid: Over-applying adhesive can cause mess and uneven seating.
- Cure and Test: Let the shoes cure for 24 hours, then inspect each hobnail for security. Test on a flat surface. Final checkpoint: If any hobnail moves, reapply adhesive and cure again before use.
Products That Make Replacement Easier
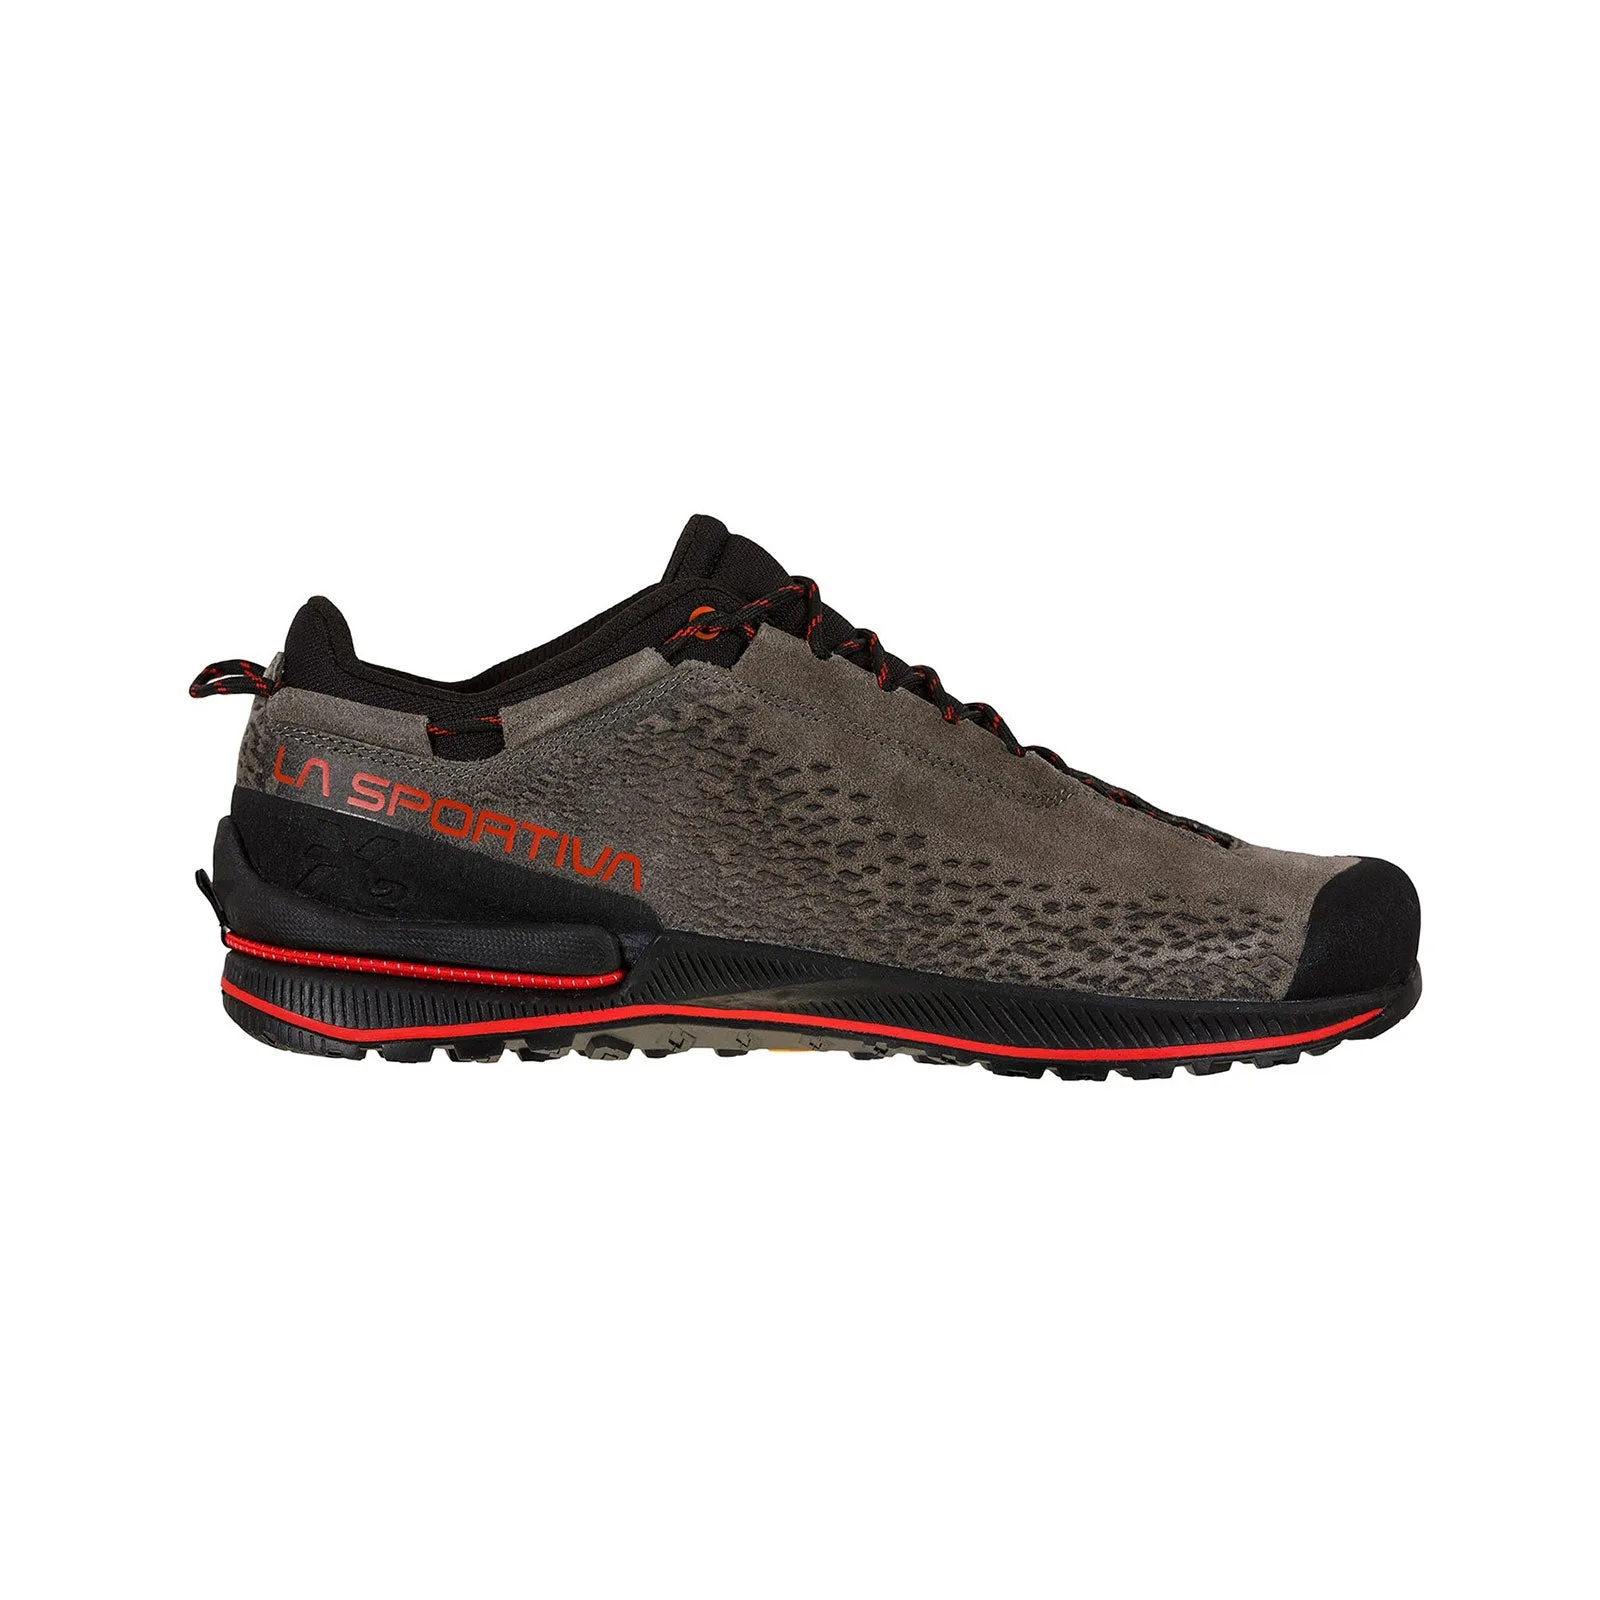
- TX2 EVO Leather Women's: The TX2 EVO Women's is a lightweight approach shoe that stows easily and is now designed with an easily re-soleable outsole. Enhanced support and sticky rubber keep you sure-footed in the mountains, while the Eco Nubuck leather provides durability and the Resole Platform extends the possible life of this shoe. This shoe's re-soleable design means you can replace worn hobnails or even the entire outsole, significantly extending the shoe's lifespan and saving money in the long run.
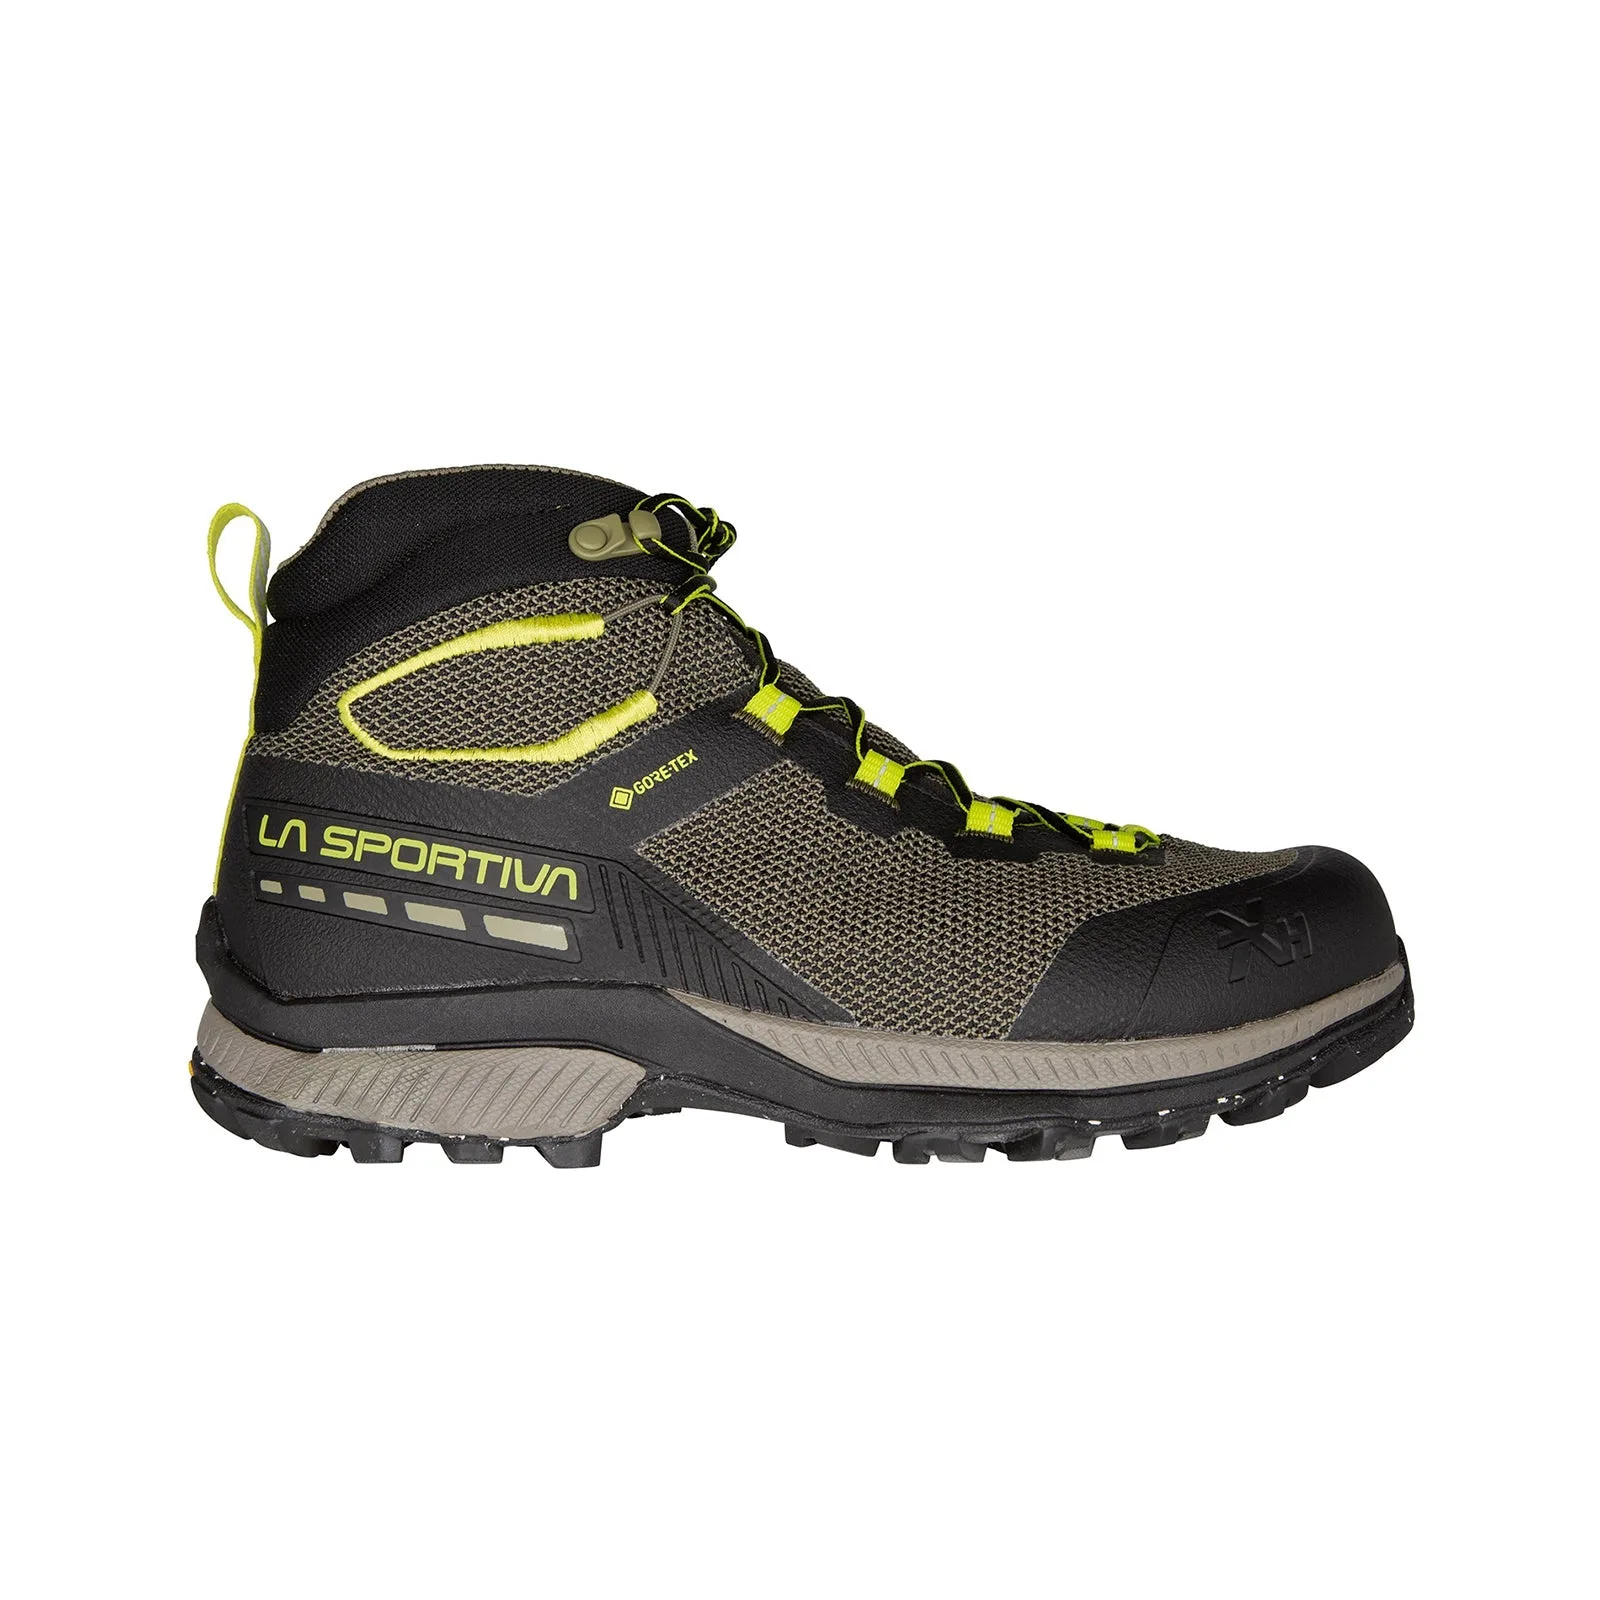
- TX Hike Mid GTX Women's (2023): A premium and technical boot that combines the support of a hiking boot with the agility of a trail running shoe designed for off-road terrain or a long day of city sightseeing. If you wear approach-style boots for hiking, understanding how to maintain their outsoles (including hobnail replacement) can keep them performing well on varied terrain.
Replacing worn hobnails on your approach shoes is a straightforward DIY task that can save you money and extend the life of your gear. By following these steps and using quality materials, you'll maintain the traction and performance you need on the trail. Remember to check your shoes regularly and address wear early to avoid more extensive damage.